


 My Orders




3ET16 Whirlpool Refrigerator - Overview
Models starting with 3ET16
Click on the best match to narrow your results.
- 3ET16NKXBG00 Whirlpool Refrigerator (Top freezer)
- 3ET16NKXBN00 Whirlpool Refrigerator (Top freezer)
- 3ET16NKXBW00 Whirlpool Refrigerator (Top freezer)
- 3ET16NKXDG00 Whirlpool Refrigerator (Top freezer)
- 3ET16NKXDG01 Whirlpool Refrigerator (Top freezer)
- 3ET16NKXDN00 Whirlpool Refrigerator (Top freezer)
- 3ET16NKXDN01 Whirlpool Refrigerator (Top freezer)
- 3ET16NKXDN02 Whirlpool Refrigerator (Top freezer)
- 3ET16NKXDW00 Whirlpool Refrigerator (Top freezer)
- 3ET16NKXDW01 Whirlpool Refrigerator (Top freezer)
- 3ET16NKXDW02 Whirlpool Refrigerator (Top freezer)
- 3ET16ZKXWG01 Whirlpool Refrigerator
- 3ET16ZKXWN01 Whirlpool Refrigerator
- 3ET16ZKXWW01 Whirlpool Refrigerator (Top freezer)
- 3ET16ZKYWG01 Whirlpool Refrigerator
- 3ET16ZKYWN01 Whirlpool Refrigerator
- 3ET16ZKYWW01 Whirlpool Refrigerator
Enter a part description. DIY Heroes keep it simple, eg. "belt" or "pump".
Search filter:
Clear Filter
Your search term must have 3 or more characters.

$109.58
In Stock
Refrigerator Crisper Drawer
Part #W10854037
A leaking crisper pan can be replaced to restore produce storage in your refrigerator. The pan is clear plastic and is an OEM part. Only the pan is included; the front white trim is not.

$30.53
In Stock
Refrigerator Door Switch
Part #W11384469
If your refrigerators interior light is not working, the door switch may be the cause. It turns the light off when the door closes. This is an OEM part. Confirm compatibility using your refrigerators model number.

$45.29
In Stock
Refrigerator Capacitor
Part #WPW10662129
This capacitor (Refrigerator and Freezer Compressor Run Capacitor, Run Capacitor) provides the voltage or energy current required to start the compressor and keep it running. It allows the compressor in your appliance to easily cycle on and off. This capacitor mounts directly onto the compressor starting relay. If the capacitor is faulty ...Read morethe compressor may get unusually hot and draw excessive amperage. It the compressor overheats, it may fail to run until it cools down again. The compressor may also get noisy from overheating. If this part is totally electrically open, it is defective (often due to overheating) and needs to be replaced. The part measures 1 inch by 1-1/2 inches, and is constructed of plastic with two metal wire terminals. This item includes 1 capacitor, sold individually. This part comes in black.
Read less

$34.74
In Stock
Refrigerator Bimetal Defrost Thermostat
Part #WPW10225581
If you have ice building up in your freezer, or if your freezer is getting too warm during the defrost cycle you may need to replace the bi-metal defrost thermostat. The function of the defrost bi-metal thermostat is to clip onto the evaporator and protect your evaporator from overheating during the defrost cycle. If your refrigerator doe...Read mores not defrost properly you can test both the thermostat and the heater to figure out which part is at fault. For this repair, you will need a Phillips screwdriver, a 1/4 inch nut driver, a flat blade screwdriver, a pair of wire strippers, a roll of electrical tape, and a few butt splice connectors.
Read less

$11.77
In Stock
Refrigerator Door Shelf Retainer Bar End Cap
Part #WP2156003
This refrigerator door shelf rail end cap holds the retainer bar securely against the inner door panel. It snaps into the door liner and supports the bar that keeps bottles, jars, and condiments from falling off the shelf. Cracked plastic or broken tabs may let the bar sag, loosen, or detach when the door moves. Replacing a damaged end ca...Read morep restores firm support and secure storage. Empty the shelf before replacement, then gently snap the new cap into place and reattach the bar. This is an OEM part sourced directly from the manufacturer.
Read less

$32.63
In Stock
Refrigerator Bimetal Defrost Thermostat
Part #WP4387503
This is a bimetal defrost thermostat for your refrigerator. It stops the fridge from overheating during the defrost cycle by protecting the evaporator. This clip-on thermostat will sense the temperature increase in the evaporator during the defrost process, and will cycle the defrost heater off after the ice or frost is melted. The most c...Read moreommon reasons for needing to replace this part are if your unit is leaking, has inconsistent temperatures (too hot or too cold), you are seeing buildup of ice, or your appliance is running too long.
Read less

No Longer Available

$10.70
In Stock

$26.82
In Stock
Refrigerator Crisper Drawer Rail
Part #WP2163835
This part goes in the center of the crisper shelf and acts as a support.

$69.91
In Stock
Evaporator Fan Motor Kit
Part #482731
The evaporator is found in the back of the freezer. This kit comes with two mounting grommets, two sleeves (not to be used on porcelain models), two #8 mounting screws, and a push-on fan blade. If you are experiencing symptoms such as the fridge making loud noises (generally stemming from the freezer compartment), or the fridge/freezer fe...Read moreeling warm in temperature, this may indicate a need to replace your evaporator fan motor. This part pulls air into the evaporator coils and then disperses the air in a continuous motion throughout the refrigerator and freezer.
NOTE: NO LONGER ABLE TO GET BRACKETS. SEE PART INSTRUCTIONS IN SERVICE MATTERS INSTRUCT SHEET# W11500157 11/20KC.
Read less

No Longer Available
Touch-Up Paint - White
Part #72017
This touch-up paint can be used on a wide variety of household appliances. It is most often used on washers, dryer, refrigerators, dishwashers, ranges, freezers, trash compactors, or microwaves. It is an 18 ml, or.6 fluid ounces, bottle of touch-up paint. It also features a brush for easy application. This quick-drying, long-lasting paint...Read more is perfect for fixing any nicks, scratches, or chips on the exterior of your appliance. This paint is white in color, and provides a durable finish.
Read less

$7.47
In Stock
Screw
Part #WP488729
Metallic screw that is less than an inch long. Does not include the plastic washer.
Common Symptoms of models starting with 3ET16
How this model fails, and the parts that fix it.
Light not working
Fixed by
these parts
these parts


Show All
Fridge too warm
Fixed by
these parts
these parts


Show All
Freezer not defrosting
Fixed by
these parts
these parts
Show All
Freezer section too warm
Fixed by
these parts
these parts
Show All
Fridge and Freezer are too warm
Fixed by
these parts
these parts

Show All
Will Not Start
Fixed by
these parts
these parts

Show All
Door won’t open or close
Fixed by
these parts
these parts


Show All
Leaking
Fixed by
these parts
these parts

Show All
Noisy
Fixed by
these parts
these parts

Show All
Fridge too cold
Fixed by
these parts
these parts

Show All
Clicking sound
Fixed by
these parts
these parts
Show All
Too warm
Fixed by
these parts
these parts
Show All
Frost buildup
Fixed by
these parts
these parts
Show All
Freezer too cold
Fixed by
these parts
these parts
Show All
Ice maker not making ice
Fixed by
these parts
these parts


Show All
Fridge runs too long
Fixed by
these parts
these parts
Show All
Door Sweating
Fixed by
these parts
these parts
Show All
Won’t start
Fixed by
these parts
these parts
Show All
Ice maker won’t dispense ice
Fixed by
these parts
these parts
Show All
Watch our pros, then fix it yourself.
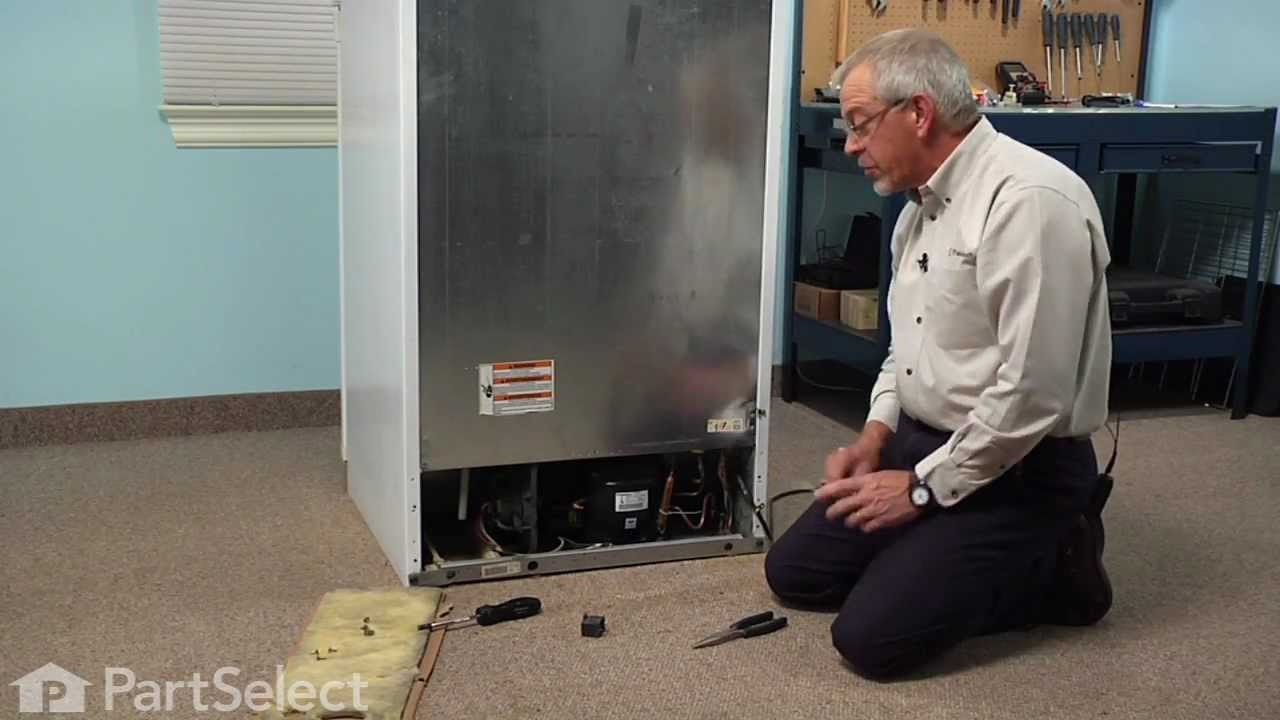
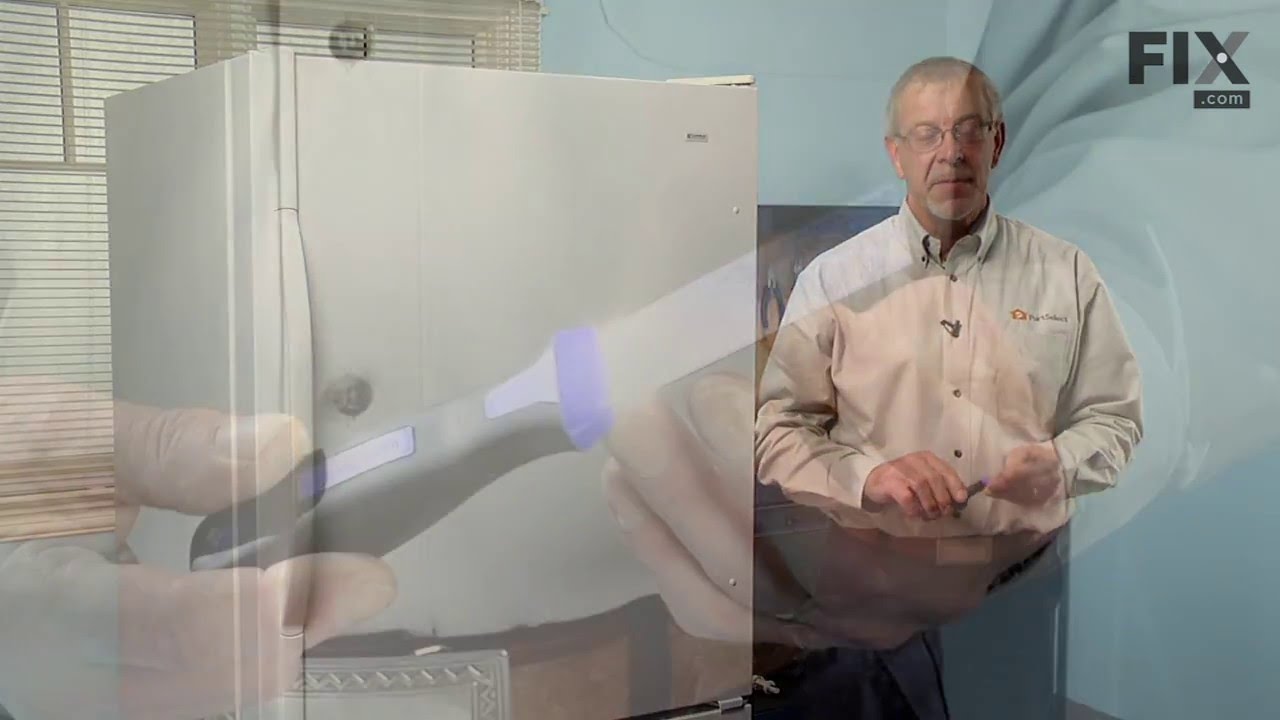
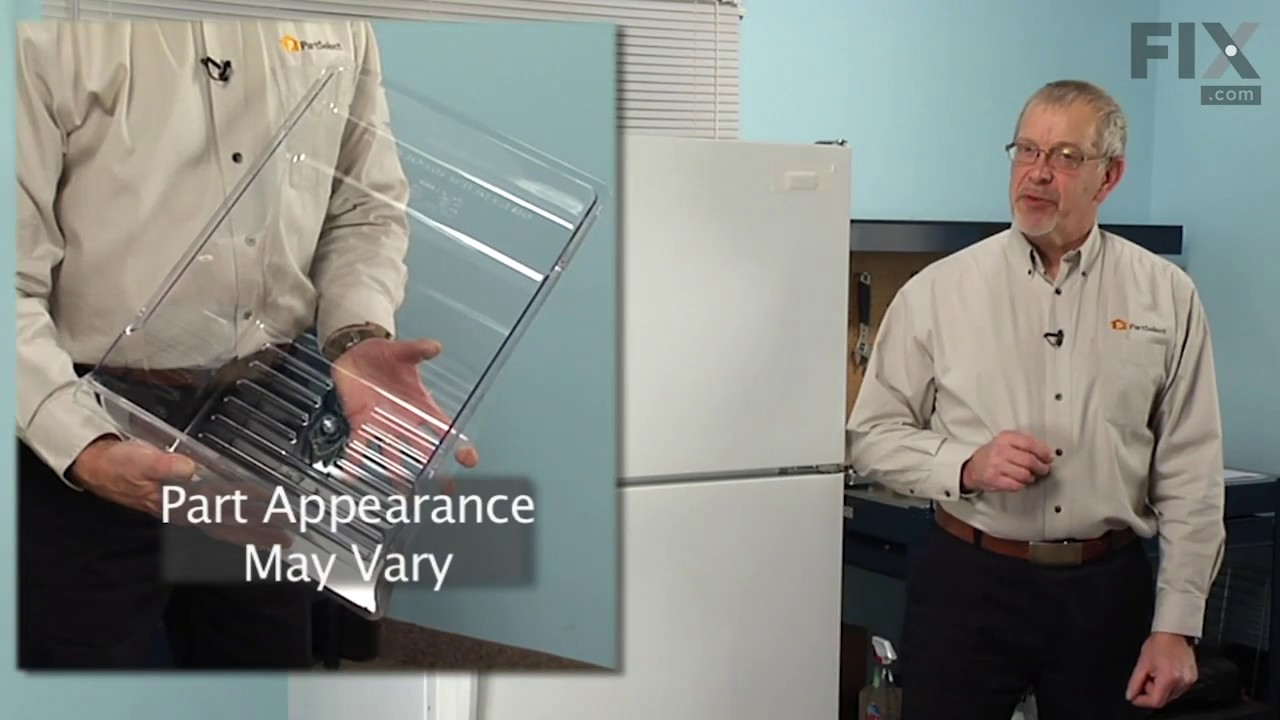
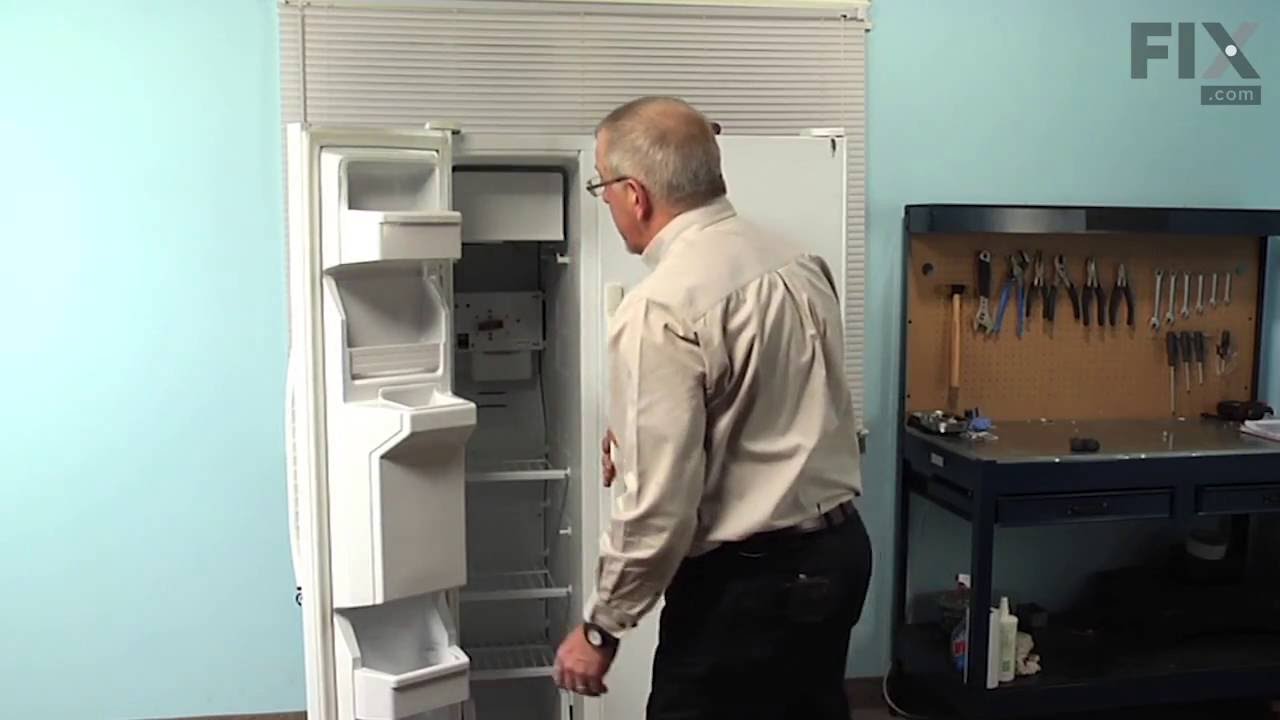
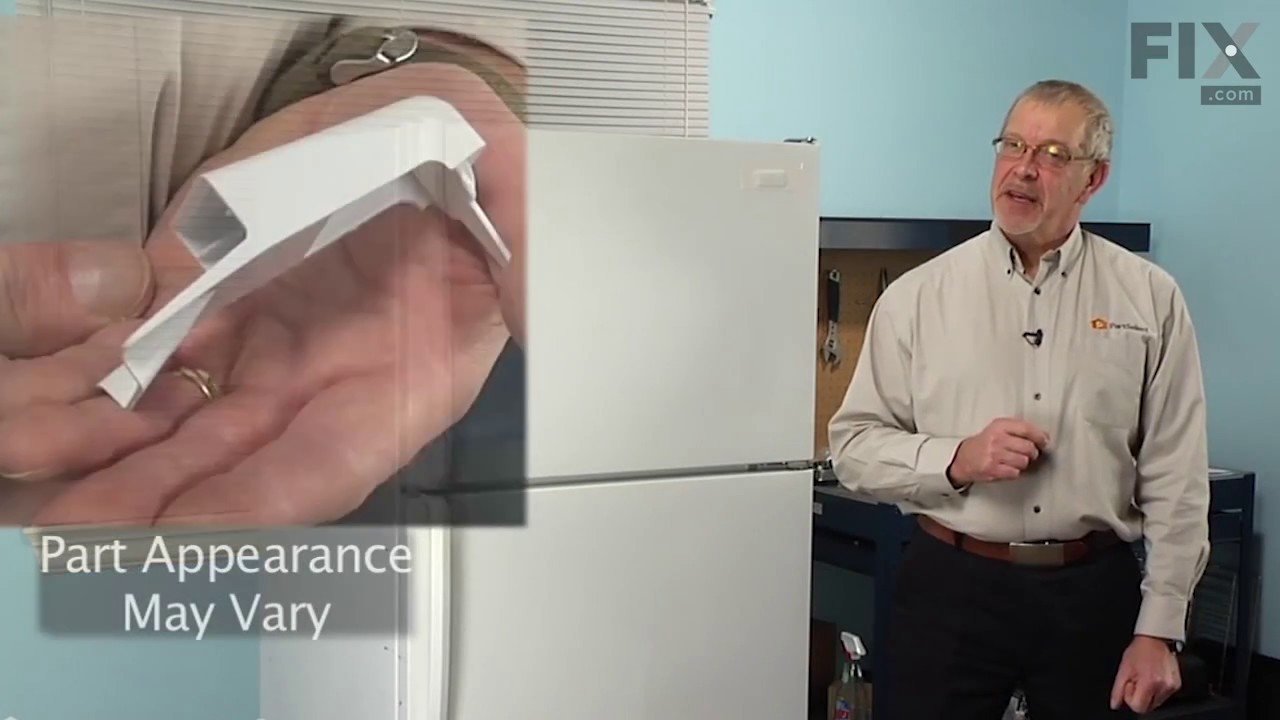
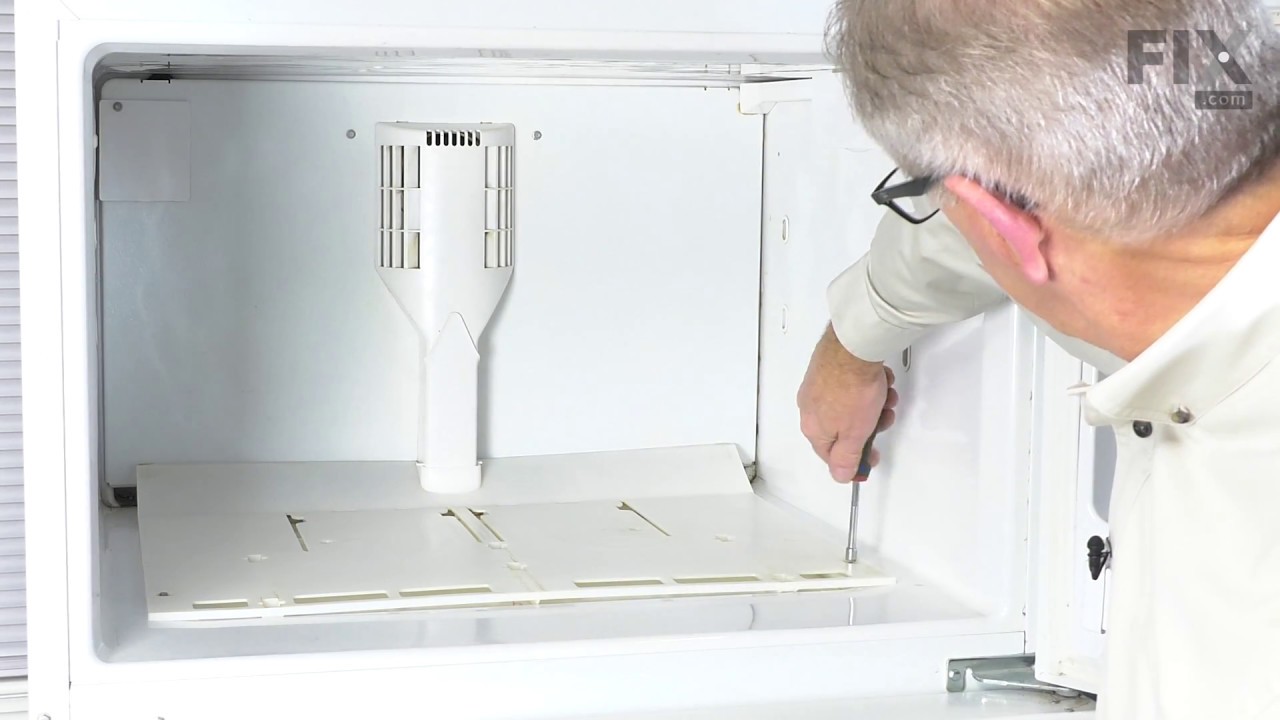
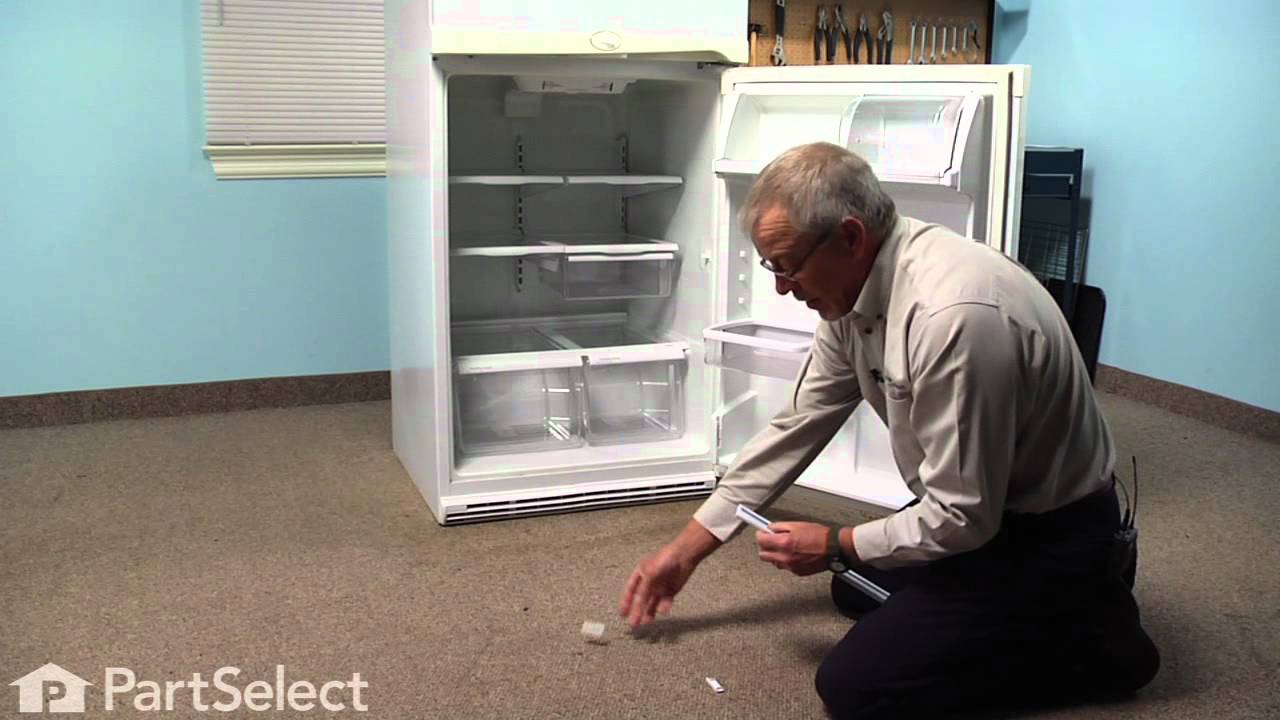
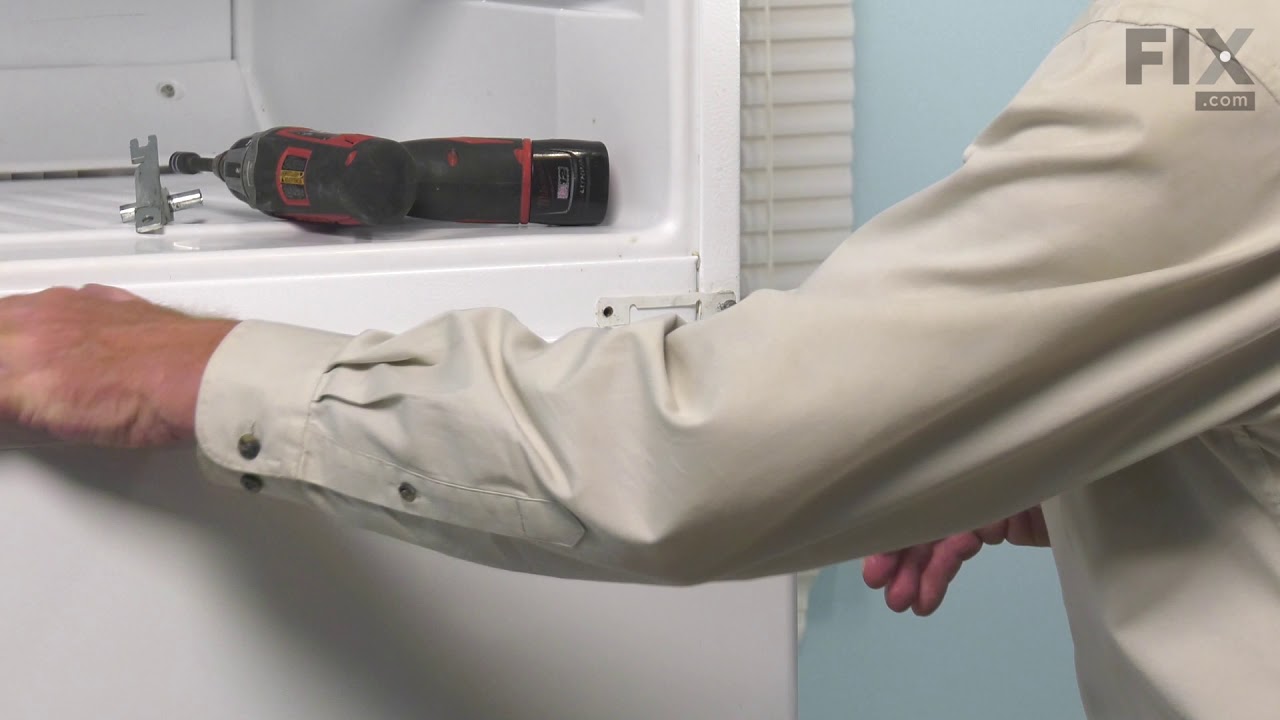
See how others fixed this model. Time, tools, difficulty, and steps that lead to victory!
View More