


 My Orders




3EAD19XMWR1 Whirlpool Refrigerator - Overview
Diagrams for 3EAD19XMWR1
See every part. Know exactly what you need.


Enter a part description. DIY Heroes keep it simple, eg. "belt" or "pump".
Search filter:
Clear Filter
Your search term must have 3 or more characters.

$30.53
In Stock
Refrigerator Door Switch
Part #W11384469
If your refrigerators interior light is not working, the door switch may be the cause. It turns the light off when the door closes. This is an OEM part. Confirm compatibility using your refrigerators model number.

$27.36
In Stock
Water Tube Kit
Part #W10823511
This is the replacement water tube kit for your refrigerator. This tubing is made of plastic, is 1/4 inch in diameter, and comes with 2 inserts. This tube may be longer than the original tube, and may need to be cut. This water tube transports water to the ice and water dispensers. If your refrigerator is leaking, or if the ice and water ...Read moredispensers are not dispensing properly, you may need to replace this tube. This part is sold individually and is an OEM part sourced directly from the manufacturer.
Read less

$7.47
In Stock

No Longer Available
Touch-Up Paint - White
Part #72017
This touch-up paint can be used on a wide variety of household appliances. It is most often used on washers, dryer, refrigerators, dishwashers, ranges, freezers, trash compactors, or microwaves. It is an 18 ml, or.6 fluid ounces, bottle of touch-up paint. It also features a brush for easy application. This quick-drying, long-lasting paint...Read more is perfect for fixing any nicks, scratches, or chips on the exterior of your appliance. This paint is white in color, and provides a durable finish.
Read less

$7.47
In Stock
Screw
Part #WP488729
Metallic screw that is less than an inch long. Does not include the plastic washer.

$54.24
In Stock
Light Socket Kit
Part #4387478
The light socket in your refrigerator houses the light bulb and connects it to the power source. If your refrigerator light is not coming on when you open the door, you may need to replace the light socket. Before you replace the light socket, be sure that your light bulb is in working condition, as this may solve the same problem. This l...Read moreight socket kit comes with 2 wire connectors, a light shield, and the new socket. The wire connectors that come with this kit are included so your new socket can replace a variety of old ones. If this light socket is different than your original, you will need to use the connectors to make it fit your refrigerator. Be sure to follow the instructions provided, so this part will fit your refrigerator properly.
Read less

$11.77
In Stock
Refrigerator Compression Nut
Part #WP627018
The compression nut is used as a connection between the water supply line and other components in your refrigerator such as your ice maker and your water dispenser. Tools required for this repair include a pair of pliers and a socket set. Before installing this part you should take all perishable foods out of your refrigerator and store t...Read morehem somewhere cool, unplug the refrigerator from the power source, and shut off the water supply. This repair may require you to wear work gloves to protect your hands, and is considered an easy do-it-yourself fix.
Read less

$11.77
In Stock
Refrigerator Door Hinge Nylon Washer
Part #WP487576
This small hinge washer acts as a spacer between the refrigerator door and hinge. It helps keep the door aligned and reduces wear as the door moves. Replace a missing, cracked, or worn washer. Empty the door shelves and have another person support the door during installation. Use the exact model number to confirm fit.

No Longer Available
Spray Paint - 12 oz. - White
Part #350930
Appliance spray paint is a great way to cover up any chips and scratches that have appeared on your appliances. Instead of replacing the part entirely, this is an easy fix. This is also a great way to give a fresh new look to any handles or areas that have discoloring due to wear. Make sure to clean the area before you begin and wear a pr...Read moreotective mask for safety. Give the can a good shake and spray a few inches away from the surface. Apply the paint until the area is fully covered as desired. Wait until the paint has dried before using the appliance.
Read less

$9.62
In Stock

$7.47
In Stock
Refrigerator Hinge Washer
Part #WP487802
This refrigerator door hinge washer provides a smooth contact surface between hinge parts and helps maintain proper door spacing. Made of nylon, it reduces friction as the refrigerator or freezer door opens and closes. A worn, cracked, or missing washer may cause squeaking, uneven door alignment, or extra movement at the hinge. Replacing ...Read morea damaged washer helps restore correct spacing and smoother door operation. Empty the door shelves and securely support the door before removing hinge hardware, then confirm the door moves freely after reassembly. This is an OEM part sourced directly from the manufacturer.
Read less

$7.47
In Stock
Refrigerator Screw
Part #WP98165
This screw is a little under an inch long and is made of metal. It is used with a refrigerator's ice maker assembly. Sold individually.
Common Symptoms of the 3EAD19XMWR1
How this model fails, and the parts that fix it.
Light not working
Fixed by
these parts
these parts


Show All
Leaking
Fixed by
these parts
these parts


Show All
Ice maker not making ice
Fixed by
these parts
these parts

Show All
Door won’t open or close
Fixed by
these parts
these parts


Show All
Not dispensing water
Fixed by
these parts
these parts

Show All
Door Sweating
Fixed by
these parts
these parts

Show All
Watch our pros, then fix it yourself.
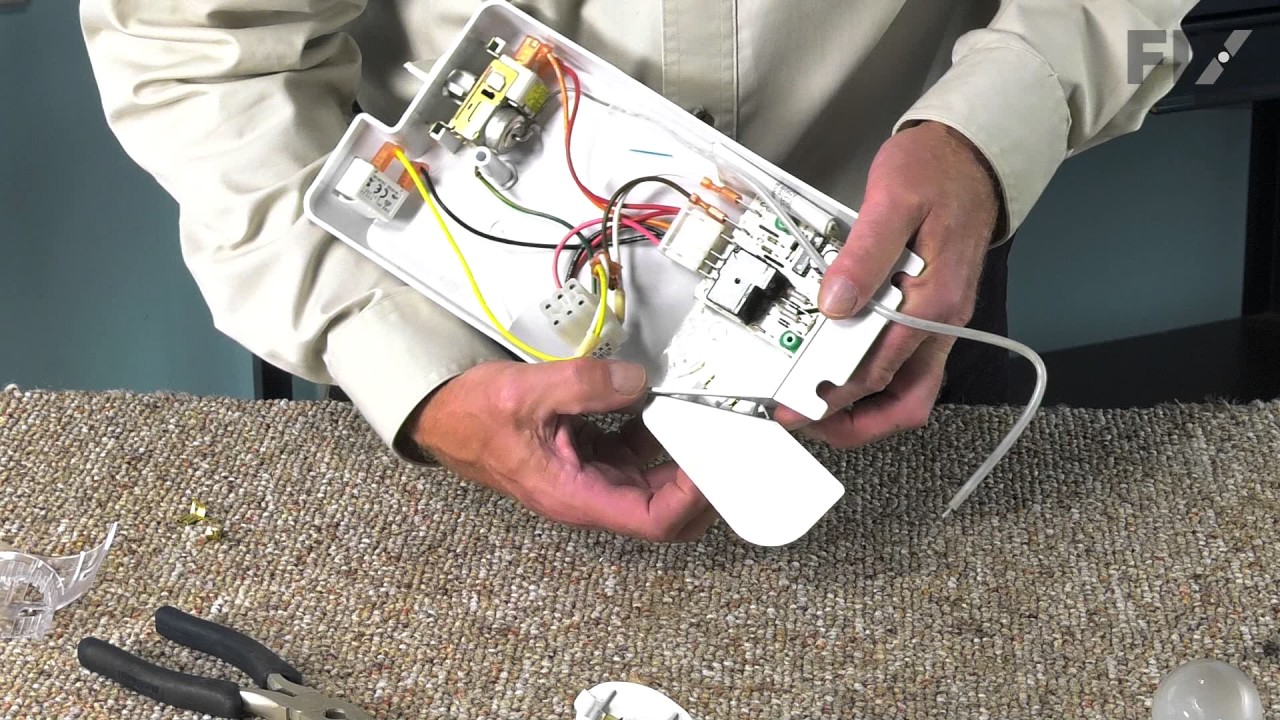
See how others fixed this model. Time, tools, difficulty, and steps that lead to victory!
View More