


 My Orders




3976 - Overview
Models starting with 3976
Click on the best match to narrow your results.
Enter a part description. DIY Heroes keep it simple, eg. "belt" or "pump".
Search filter:
Clear Filter
Your search term must have 3 or more characters.

$33.78
In Stock
Door Closing Cam
Part #WR2X4901
This refrigerator door hinge cam riser is designed to ensure smooth and consistent door movement. Installed directly on the door, it helps the appliance open and close properly by guiding the door to rise and fall gently, which also supports a secure seal. Made from durable plastic, this part is ideal for resolving issues such as doors that stick, fail to seal correctly, or make unusual noises during operation.

$55.23
In Stock
Bottom Hinge Assembly
Part #WR13X10020
Comes with both cam risers. This hinge kit is suitable for the bottom of either the freezer door or the refrigerator door of some refrigerators.

$16.05
In Stock
Evaporator/Condensor Fan Grommet
Part #WR02X10098
This evaporator fan motor grommet, or condenser fan grommet is built for refrigerators. It provides a cushion between the fan motor and the motor mounting bracket. It is made or round, black plastic and is approximately one inch in diameter. If your grommet is torn or damaged and you are getting noise from the fan motor, you may need to replace it. This is an OEM part sourced directly from the manufacturer.

$21.95
In Stock
Light Bulb - 40W
Part #40A15
This 40-Watt light bulb is sold individually.
It is specially designed to withstand extreme temperatures, so this bulb is compatible with a variety of appliance types including refrigerators, ranges, microwaves, and dryers. It features a frosted glass bulb with a standard metal socket base, which allows you to easily unscrew the burnt-out light and twist the new bulb into place.

$38.32
In Stock
LIGHT SWITCH
Part #WR23X37285
The interior light of your refrigerator is controlled by a switch that is activated when the door is opened and closed. If your refrigerator light will not turn on, there could be an issue with the switch. The switch is spring loaded and is a generally closed type of switch meaning there should be no continuity when the button is depresse...Read mored, and continuity through the switch when the button is not depressed. This plastic, white, OEM switch is sourced directly from the manufacturer, is sold individually and is easy to replace. The repair usually takes less than 15 minutes and requires a flat blade screwdriver and needle nose pliers.
Read less

$61.39
In Stock
Defrost Timer
Part #WR9X489
This device acts like a clock. It continually advances and alternates between activating the cooling cycle and the defrost heater.

$61.39
In Stock
Run Capacitor
Part #WR55X24064
Support steady compressor operation with this refrigerator run capacitor. It provides the electrical phase shift needed for the compressor motor to run properly as the cooling system operates. A failing capacitor may contribute to humming, difficulty starting, interrupted compressor operation, or rising compartment temperatures. Visible s...Read morewelling, leaking, or burned terminals may also indicate damage. Unplug the refrigerator before accessing the component. Capacitors can retain an electrical charge after power is disconnected, so follow approved discharge procedures and avoid touching or shorting the terminals. Record the wire positions before replacement. This is an OEM part sourced directly from the manufacturer.
Read less

$107.66
In Stock
Defrost Heater with Thermostat
Part #WR51X442
This part assembly has 2 functions: The defrost heater keeps the cooling coils from frosting over and the thermostat senses that the heat near the cooling coils has reached the desired temperature. Used with side by side models.

No Longer Available
Package of 12 Screws
Part #WZ4X244D
This is a package of twelve Phillips-head screws. They can be used as replacement screws in refrigerators, ice makers, or freezers. Be sure to check that your appliance model is compatible with these screws. The screws are approximately ¾ of an inch in length.

$23.16
In Stock
Light Socket
Part #WR2X9391
This part is a replacement light socket for your refrigerator. It connects to the power source, and holds the light bulb. If the light in your refrigerator is not working, you could have a faulty socket. It is important to determine if the light bulb is simply burned out, or if the socket is causing the issue. Be sure to disconnect your r...Read moreefrigerator from the power source before you begin this repair. This socket is black in color and is sold individually. This is an OEM part sourced directly from the manufacturer.
Read less

No Longer Available
Door Handle - White
Part #WR12X10332
Handle only. Extensions and mounting hardware is sold separately.

$54.95
In Stock
Defrost Thermostat
Part #WR50X122
This clip on refrigerator defrost thermostat clips on to your refrigerator's evaporator. It will cut out at 60 degrees Fahrenheit and kick back in when the temperature drops to 32 degrees Fahrenheit.
Exact Part matches for your search term

No Longer Available
No Longer Available
No Longer Available
$47.76
Special Order
Common Symptoms of models starting with 3976
How this model fails, and the parts that fix it.
Light not working
Fixed by
these parts
these parts


Show All
Fridge too warm
Fixed by
these parts
these parts


Show All
Door won’t open or close
Fixed by
these parts
these parts


Show All
Noisy
Fixed by
these parts
these parts


Show All
Freezer section too warm
Fixed by
these parts
these parts
Show All
Freezer not defrosting
Fixed by
these parts
these parts

Show All
Will Not Start
Fixed by
these parts
these parts

Show All
Leaking
Fixed by
these parts
these parts


Show All
Door Sweating
Fixed by
these parts
these parts
Show All
Fridge runs too long
Fixed by
these parts
these parts
Show All
Fridge and Freezer are too warm
Fixed by
these parts
these parts
Show All
Clicking sound
Fixed by
these parts
these parts
Show All
Frost buildup
Fixed by
these parts
these parts
Show All
Freezer too cold
Fixed by
these parts
these parts
Show All
Too warm
Fixed by
these parts
these parts
Show All
Ice maker not making ice
Fixed by
these parts
these parts
Show All
Watch our pros, then fix it yourself.
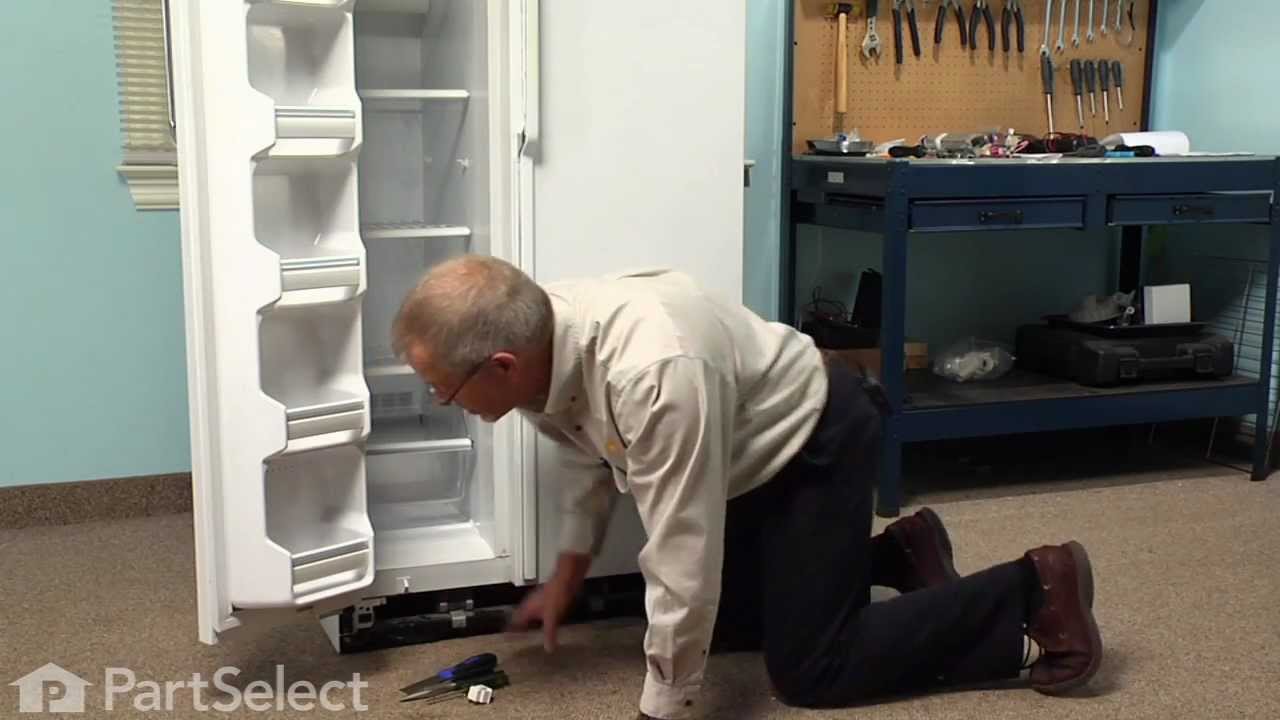
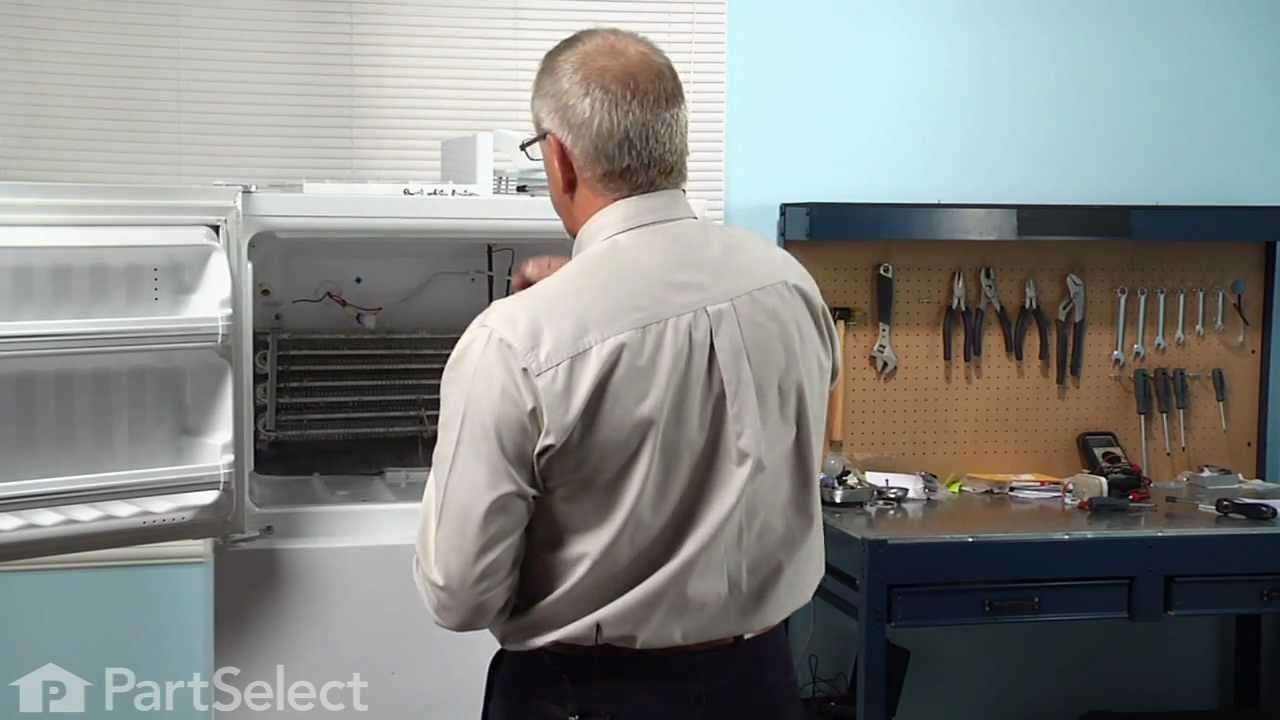
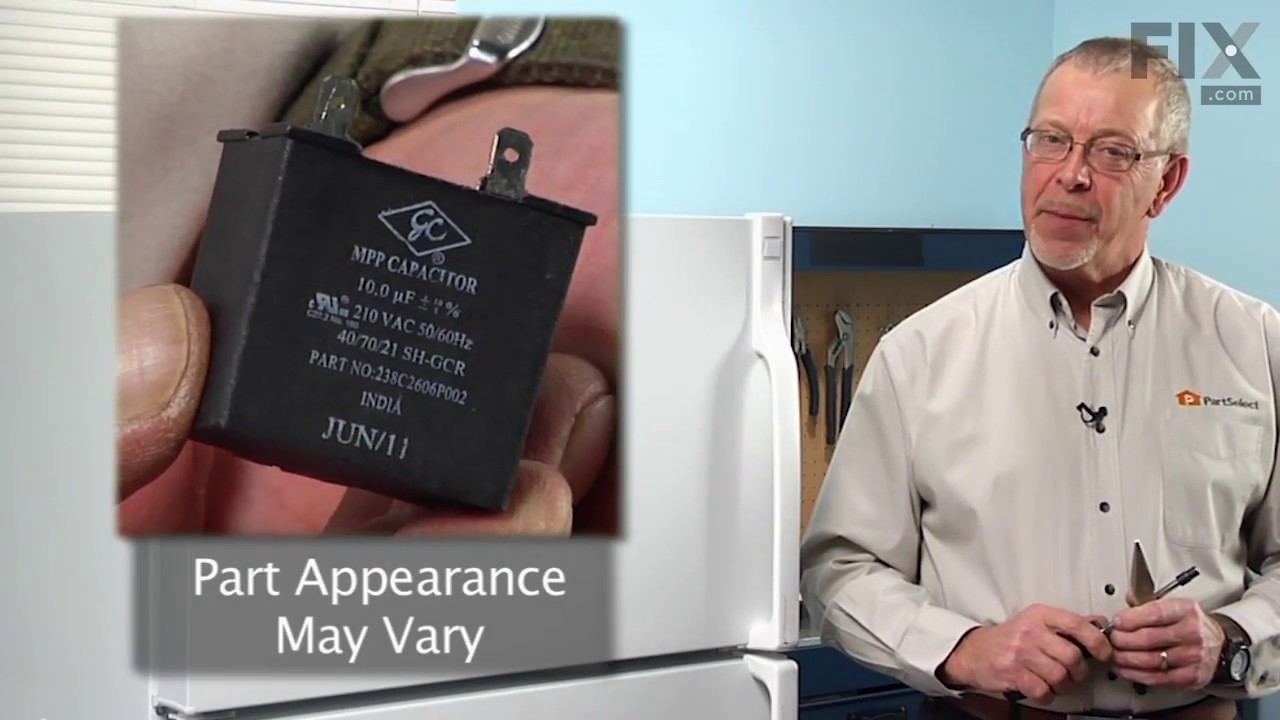
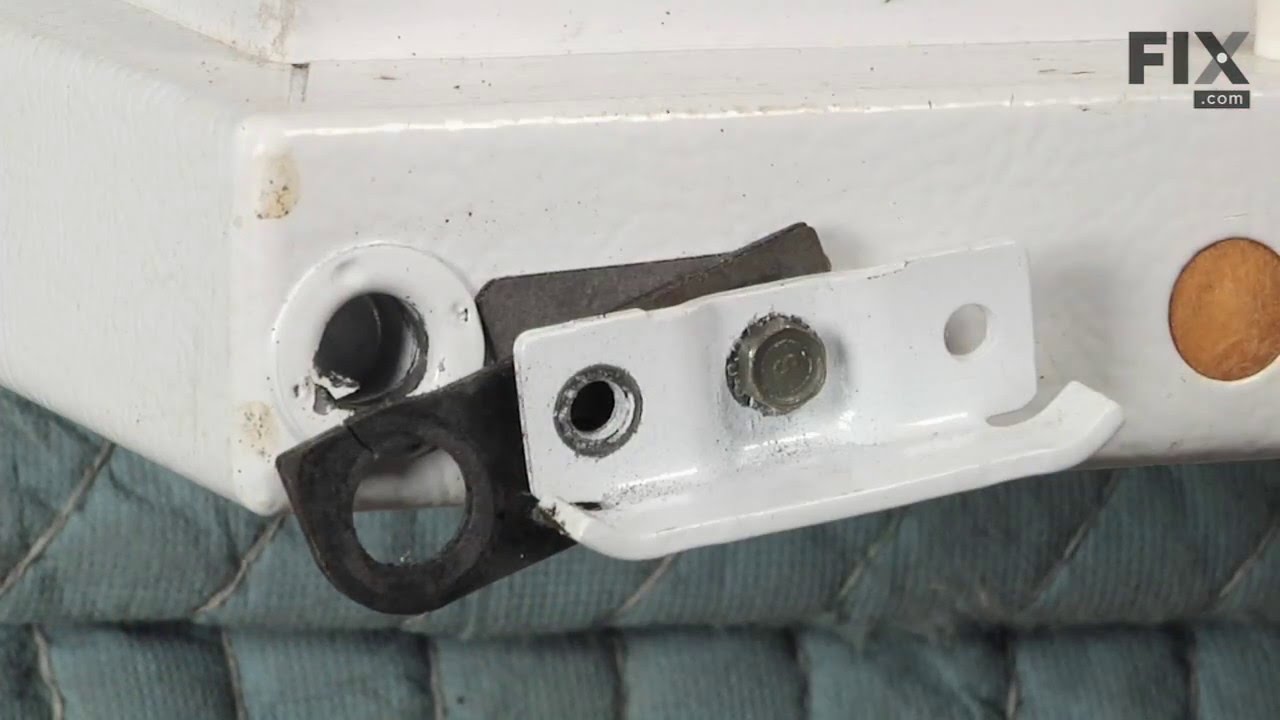

See how others fixed this model. Time, tools, difficulty, and steps that lead to victory!
View More
Search repair tips from other customers using simple keywords like "replace", "fit", "remove", "inspect". DIY doesn't mean you have to do it alone!
Search filter:
Clear Filter
Your search term must have 3 or more characters.
No power to the fan and compressor
222 of 302 people
found this instruction helpful.
I have a fridge in my garage. I have found that a glass of ice water or a cold drink outside is very important to me. When I discovered melting ice dripping onto the garage floor I was very upset. I spun the fridge and found that the compressor and fan weren't starting. I got out my multi-meter and discovered that power was not makin
... Read more
g it to these components. I did some research and found the wiring diagram online. There really isn't too much going on with a fridge and the most likely candidate seemed to be the run capacitor. I ordered the part, replaced it in a few minutes and the fridge began working again.
Read less
Other Parts Used:


Was this helpful?
Thank you for voting!
Defroster failure
128 of 145 people
found this instruction helpful.
Fridge was not really cold. Fan was working at back of freezer. Romoved the drawers and back panel of freezer compartment. Melted ice with a blow dryer and collected water with a towel so that it would not overflow the drip pan. Installed the new defroster units with 4 screws and the easy plug in wiring harness. Bingo! Defrost timer
... Read more
was probably OK but new one is easy to do.
Fixed in one day vs waiting for service call & payng $$$.
Fixed in one day vs waiting for service call & payng $$$.
Read less
Other Parts Used:


Was this helpful?
Thank you for voting!