



 My Orders




39671 General Electric Refrigerator - Overview
Diagrams for 39671
See every part. Know exactly what you need.


Enter a part description. DIY Heroes keep it simple, eg. "belt" or "pump".
Search filter:
Clear Filter
Your search term must have 3 or more characters.

$49.61
In Stock
Drawer Slide Rail - Right Side
Part #WR72X240
This drawer slide rail is for the right side of your refrigerator. The drawer slide rail attaches horizontally to the refrigerator wall and supports the drawer so it can easily slide in and out. If the drawer slide track is broken, not sliding, or the fridge is not dispensing water, replacing this part could solve the issue. Make sure to ...Read moreunplug the refrigerator from the power source and wear gloves to protect your hands when installing this part. Refer to the diagram provided by the manufacturer for further guidance and instruction.
Read less

$54.10
In Stock
Drawer Slide Rail - Left Side
Part #WR72X239
This is a manufacturer-approved drawer slide rail for your refrigerator. This slide rail is for the left side of the fridge. All you need to complete this repair is a Phillips screwdriver. Remove the shelves above and below the slide rail so you have room to access it. Unscrew the slide rail and replace it with the new one.

$207.55
In Stock
Ice Maker
Part #WR30X10093
This 10 by 5 inch ice maker (Electromechanical Icemaker Kit, Ice Maker Assembly) produces ice. This particular model will produce seven crescent shaped cubes every cycle. It is constructed of plastic and metal, and comes in black/white. This kit includes a set of installation instructions, a 4-pin round plug-in connector, 6 post plug-in c...Read moreonnectors, tube and fill cup. The ideal temperature of a freezer is zero degrees Fahrenheit. If the temperature in your freezer is at an appropriate level yet ice is still not being made, it could be an issue with the water inlet valve or your ice maker assembly. If you determine it is the ice maker, this is the replacement you need. The ice maker can break from normal wear and accidental damage. Ice makers will need to be replaced every 3-10 years depending on the frequency of usage and water quality. This model is mounted on the freezer wall.
Read less

$33.60
In Stock
Dispenser Door Assembly or Flapper
Part #WR17X11653
This “Dispenser Door Assembly” (Door Recess Assembly, Ice Door Assembly, Dispenser Door, Refrigerator Dispenser Ice Chute Door Kit, Dispenser Door Flap, Ice Chute Door, Flapper) keeps the room air from infiltrating the freezer. Once the lever is pressed, the door flap opens and allows the ice to dispense into your container. If your door...Read more flapper is broken, it could allow outside air to enter the freezer and alter the inside temperature. You may notice frost buildup surrounding the dispenser area. The door flap can disconnect from the dispenser lever, or the tabs that hold it in place may break. Frequent use may distort the sealing face and cause air leaks and frost buildup. This part mounts in the ice dispenser, and measures approximately 3.25 inches in diameter. It is constructed of plastic and rubber, and comes in white/black. This part is sold individually.
Read less

$33.78
In Stock
Door Closing Cam
Part #WR2X4901
This refrigerator door hinge cam riser is designed to ensure smooth and consistent door movement. Installed directly on the door, it helps the appliance open and close properly by guiding the door to rise and fall gently, which also supports a secure seal. Made from durable plastic, this part is ideal for resolving issues such as doors that stick, fail to seal correctly, or make unusual noises during operation.

$57.38
In Stock
Dual Inlet Water Valve
Part #WR57X10051
This valve comes with 1/4" compression inlet.
NOTE: This part comes with new quick connections. To install - cut retaining nuts off of existing plastic water lines and gently push them into new valve. To remove - depress ring that the tube slides into.

$55.23
In Stock
Bottom Hinge Assembly
Part #WR13X10020
Comes with both cam risers. This hinge kit is suitable for the bottom of either the freezer door or the refrigerator door of some refrigerators.

$15.00
In Stock
Union Connector - 5/16 Inch to 5/16 Inch
Part #WR02X11330
Quick connector for plastic water line - 5/16" to 5/16"

$21.95
In Stock
Light Bulb - 40W
Part #40A15
This 40-Watt light bulb is sold individually.
It is specially designed to withstand extreme temperatures, so this bulb is compatible with a variety of appliance types including refrigerators, ranges, microwaves, and dryers. It features a frosted glass bulb with a standard metal socket base, which allows you to easily unscrew the burnt-out light and twist the new bulb into place.

$38.32
In Stock
LIGHT SWITCH
Part #WR23X37285
The interior light of your refrigerator is controlled by a switch that is activated when the door is opened and closed. If your refrigerator light will not turn on, there could be an issue with the switch. The switch is spring loaded and is a generally closed type of switch meaning there should be no continuity when the button is depresse...Read mored, and continuity through the switch when the button is not depressed. This plastic, white, OEM switch is sourced directly from the manufacturer, is sold individually and is easy to replace. The repair usually takes less than 15 minutes and requires a flat blade screwdriver and needle nose pliers.
Read less

$61.39
In Stock
Defrost Timer
Part #WR9X489
This device acts like a clock. It continually advances and alternates between activating the cooling cycle and the defrost heater.

$61.39
In Stock
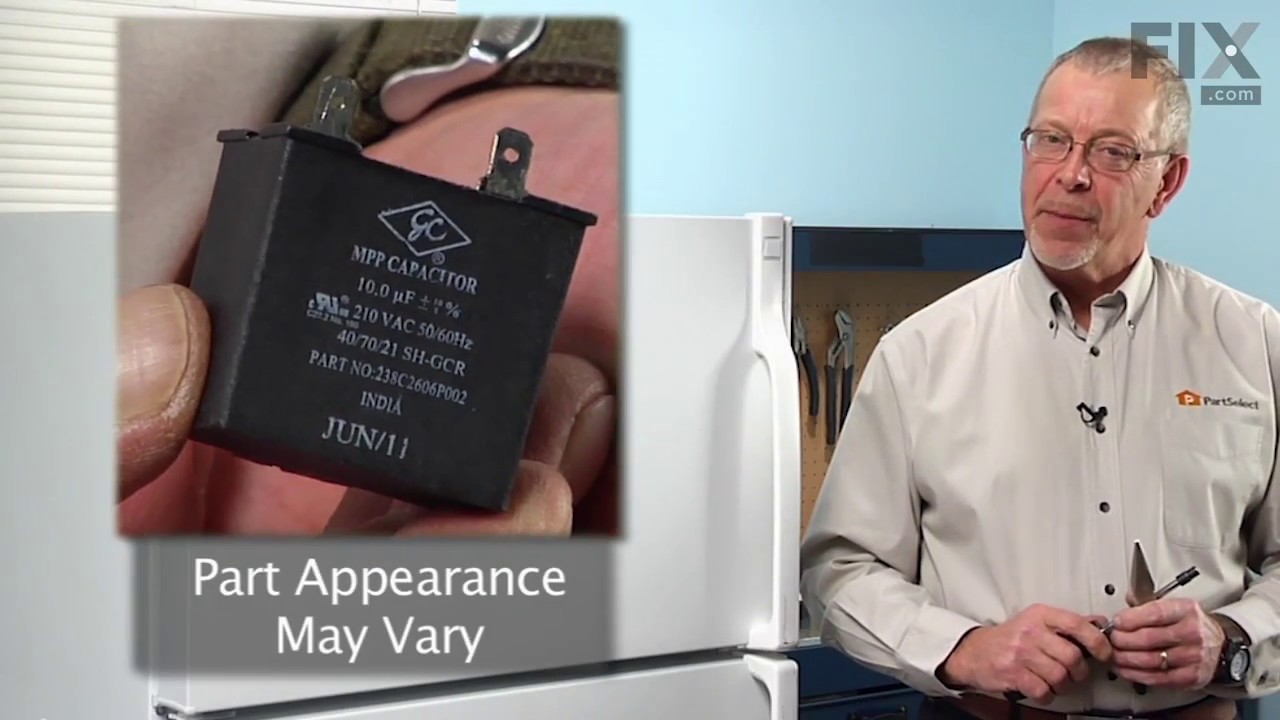
Run Capacitor
Part #WR55X24064
This part helps the compressor kick on and off while maintaining a constant temperature to keep things frozen in your freezer. This part has been updated by the manufacturer and may appear different than the original, but should function the same.
Exact Part matches for your search term

No Longer Available
Common Symptoms of the 39671
How this model fails, and the parts that fix it.
Leaking
Fixed by
these parts
these parts


Show All
Ice maker not making ice
Fixed by
these parts
these parts


Show All
Door won’t open or close
Fixed by
these parts
these parts


Show All
Light not working
Fixed by
these parts
these parts


Show All
Fridge too warm
Fixed by
these parts
these parts


Show All
Not dispensing water
Fixed by
these parts
these parts
Show All
Ice maker won’t dispense ice
Fixed by
these parts
these parts

Show All
Freezer section too warm
Fixed by
these parts
these parts
Show All
Door Sweating
Fixed by
these parts
these parts
Show All
Freezer not defrosting
Fixed by
these parts
these parts
Show All
Will Not Start
Fixed by
these parts
these parts

Show All
Noisy
Fixed by
these parts
these parts


Show All
Frost buildup
Fixed by
these parts
these parts
Show All
Fridge runs too long
Fixed by
these parts
these parts
Show All
Fridge and Freezer are too warm
Fixed by
these parts
these parts
Show All
Clicking sound
Fixed by
these parts
these parts
Show All
Freezer too cold
Fixed by
these parts
these parts

Show All
Ice maker dispenses too little ice
Fixed by
these parts
these parts
Show All
Ice maker dispenses too much ice
Fixed by
these parts
these parts
Show All
Won’t start
Fixed by
these parts
these parts
Show All
Too warm
Fixed by
these parts
these parts
Show All
Watch our pros, then fix it yourself.


See how others fixed this model. Time, tools, difficulty, and steps that lead to victory!
View More
Search repair tips from other customers using simple keywords like "replace", "fit", "remove", "inspect". DIY doesn't mean you have to do it alone!
Search filter:
Clear Filter
Your search term must have 3 or more characters.
No power to the fan and compressor
222 of 302 people
found this instruction helpful.
I have a fridge in my garage. I have found that a glass of ice water or a cold drink outside is very important to me. When I discovered melting ice dripping onto the garage floor I was very upset. I spun the fridge and found that the compressor and fan weren't starting. I got out my multi-meter and discovered that power was not makin
... Read more
g it to these components. I did some research and found the wiring diagram online. There really isn't too much going on with a fridge and the most likely candidate seemed to be the run capacitor. I ordered the part, replaced it in a few minutes and the fridge began working again.
Read less
Other Parts Used:


Was this helpful?
Thank you for voting!