


 My Orders




388952 Kenmore Laundry Accessories - Overview

Enter a part description. DIY Heroes keep it simple, eg. "belt" or "pump".
Search filter:
Clear Filter
Your search term must have 3 or more characters.

$47.40
In Stock
Clutch Lining Kit
Part #285790
This clutch band and lining kit helps control the washer's spin cycle by regulating the transfer of power between the drive system and the wash basket. It allows the basket to gradually reach full spin speed, helping remove excess water from clothing at the end of the cycle. If the washer is spinning slowly, leaving clothes wet, making un...Read moreusual noises, vibrating excessively, or not spinning at all, a worn clutch may be the cause. Replacing the clutch components with this kit can help restore proper spin performance, improve water extraction, and keep the washer operating efficiently. The kit includes the key parts needed to repair the clutch assembly and restore reliable operation.
Read less

$169.35
In Stock
Basket Drive Assembly with Clutch
Part #W10820043
This basket drive assembly is for washers. Basket drive assembly sits on top of the transmission shaft and houses the spin basket brake mechanism. The basket drive spins to rotate the basket during the spin cycle.

$9.62
In Stock
Washer Shaft Seal
Part #WP91939
This OEM upper transmission shaft seal, also known as the oil seal, is found in your washers and dryers. It acts as a barrier to prevent water from leaking into the transmission assembly. It measures 1/2 inch in height with a 1-inch diameter, and is located at the top of the transmission shaft where it enters the tub. Signs of a broken se...Read moreal include water stains, dampness, or pooling of water beneath the appliance. If left unreplaced, it can result in water damage to internal components, along with the potential for corrosion, mold growth, and unpleasant odors. To remove the shaft seal, consult your user guide for specific instructions. Start by shutting off the power and water supply. Remove the water hoses and drain hose, being cautious of any water that may leak out. You will need tools like a putty knife, screwdriver, nut driver, pliers, spanner, plastic mallet, and a socket set. Open the lid and proceed to remove the agitator assembly, detach the control panel, and disconnect any necessary wiring harnesses. Remove the cabinet and water break. Continue disassembling the inner tub until you can lift it out of the appliance and tilt it onto its back, propping it up with a block. This will allow access to the transmission assembly from beneath the appliance. Remove the mounting fasteners on the pump to reach the motor assembly. Once the motor assembly is out, further disassemble it to access the basket drive. The seal can be removed from the top of the shaft of the drive tube, below the thrust ring. When purchasing parts for your appliance repair, it is important to remember that your appliance uses various seals and gaskets. It is important to ensure that you purchase the correct part when making repairs.
Read less

$11.77
In Stock
Washer Ringwire
Part #W11033823
This is part of the Basket Drive and found under the Brake Lining parts.

$95.23
On Order

$12.85
In Stock
Ring Thrust
Part #WP62658

$154.37
Special Order
Washer Spin/Drive Tube
Part #WP64208
This part includes the spin tube "T" bearing, spacer, shaft pinion seal and another shaft seal.

$7.47
Special Order
Cam Brake Release
Part #WP8546461

$16.07
Special Order
SLEEVE
Part #285658
$12.85
In Stock
RING-E
Part #W10083190
No Longer Available
Spring
Part #387806
No Longer Available
Washer brake shoe roller and pin lubricant
Part #285208
Exact Part matches for your search term

$169.35
In Stock
Basket Drive Assembly with Clutch
This part number matches the current model number 388952
Part #W10820043
This basket drive assembly is for washers. Basket drive assembly sits on top of the transmission shaft and houses the spin basket brake mechanism. The basket drive spins to rotate the basket during the spin cycle.
Common Symptoms of the 388952
How this model fails, and the parts that fix it.
Leaking
Fixed by
these parts
these parts

Show All
Spins slowly
Fixed by
these parts
these parts


Show All
Will not agitate
Fixed by
these parts
these parts
Show All
Spinning Issues
Fixed by
these parts
these parts
Show All
Watch our pros, then fix it yourself.
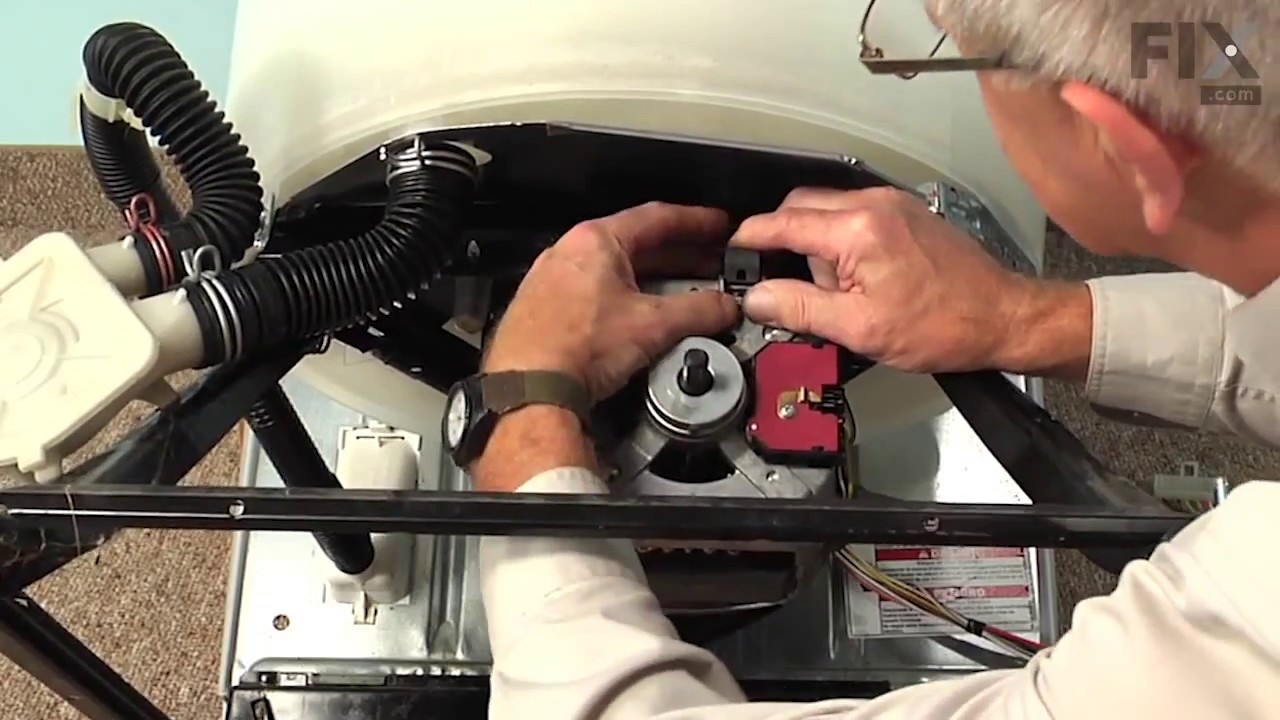
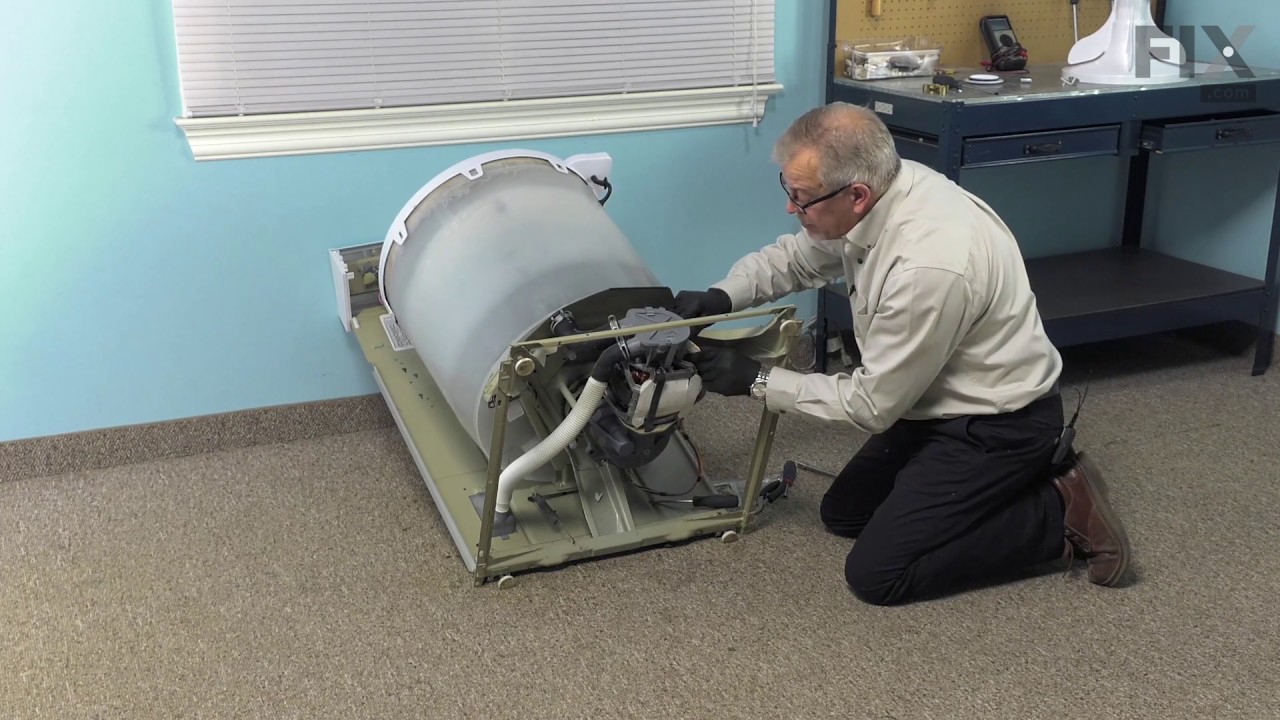

See how others fixed this model. Time, tools, difficulty, and steps that lead to victory!
View More