


 My Orders




3835 - Overview
Models starting with 3835
Click on the best match to narrow your results.
- 3835 Shakespeare Spinning Reels (Intrepid Ss Reel)
- 38350 (3000001-3999999 - 1983) Lawn Boy Snow Blower (Gas Power Shovel Snowblower)
- 38350 ( 4000001-4999999 1984 ) Toro Snow Blower (Gas Power Shovel Snowthrower)
- 38350 ( 5000001-5999999 1985 ) Toro Snow Blower (Gas Power Shovel Snowthrower)
- 38350 (5000001 - 5999999) Toro Snow Blower (Gas Power Shovel Snowthrower)
- 38350 (4000001 - 4999999) Toro Snow Blower (Gas Power Shovel Snowthrower)
- 38350 (3000001 - 3999999) Toro Snow Blower (Gas Power Shovel Snowthrower)
- 38350-1 General Electric Refrigerator
- 38351HBMERWW General Electric Refrigerator
- 38351HBMFRWW General Electric Refrigerator
- 38351HBRERWW General Electric Refrigerator
- 38351HBRFRWW General Electric Refrigerator
- 38358-1 General Electric Refrigerator
Enter a part description. DIY Heroes keep it simple, eg. "belt" or "pump".
Search filter:
Clear Filter
Your search term must have 3 or more characters.

$75.13
In Stock
Evaporator Fan Motor
Part #WR60X31522
A refrigerator that runs warmer than usual may need a new evaporator fan motor. Located in the freezer compartment, it moves air over the cooling coils. This OEM motor is rated at 115 VAC, 60 Hz, and 3.3 W, and is compatible with flammable refrigerants.

$13.92
In Stock
Evaporator Fan Grommet - Red
Part #WR02X12008
This red evaporator fan grommet cushions the fan motor where it meets the mounting bracket inside the freezer. It measures approximately 1 inch in diameter and helps reduce vibration transferred from the running motor. Wear, tears, or damage may contribute to buzzing or rattling from the fan area. Inspect the grommet, bracket, and fan bla...Read morede before replacement, since loose parts or blade contact can cause similar noise. The grommet sits behind the evaporator fan cover. Disconnect power before accessing the assembly and follow the mounting instructions for correct placement. This is an OEM part sourced directly from the manufacturer.
Read less

$43.93
In Stock
Door Shelf Retainer Bar End Cap - Left or Right Side
Part #WR2X8345
This end cap is sold individually. It can be used for the right or left side of either the freezer or refrigerator door shelves.

$82.61
In Stock

$16.05
In Stock
Evaporator/Condensor Fan Grommet
Part #WR02X10098
This evaporator fan motor grommet, or condenser fan grommet is built for refrigerators. It provides a cushion between the fan motor and the motor mounting bracket. It is made or round, black plastic and is approximately one inch in diameter. If your grommet is torn or damaged and you are getting noise from the fan motor, you may need to replace it. This is an OEM part sourced directly from the manufacturer.

$21.95
In Stock
Light Bulb - 40W
Part #40A15
This 40-Watt light bulb is sold individually.
It is specially designed to withstand extreme temperatures, so this bulb is compatible with a variety of appliance types including refrigerators, ranges, microwaves, and dryers. It features a frosted glass bulb with a standard metal socket base, which allows you to easily unscrew the burnt-out light and twist the new bulb into place.

$38.32
In Stock
LIGHT SWITCH
Part #WR23X37285
The interior light of your refrigerator is controlled by a switch that is activated when the door is opened and closed. If your refrigerator light will not turn on, there could be an issue with the switch. The switch is spring loaded and is a generally closed type of switch meaning there should be no continuity when the button is depresse...Read mored, and continuity through the switch when the button is not depressed. This plastic, white, OEM switch is sourced directly from the manufacturer, is sold individually and is easy to replace. The repair usually takes less than 15 minutes and requires a flat blade screwdriver and needle nose pliers.
Read less

$16.05
In Stock
Compression Ring
Part #WR02X12149
This compression ring is meant to hold the evaporator fan motor in place in the freezer compartment of your refrigerator. This is is a genuine OEM part. The tools needed to complete this repair are a Phillips screw driver and small flat blade screw driver. Be sure to turn off your refrigerator before removing the evaporator fan cover so t...Read morehe fan does not turn on during repair. It is recommended to check the grommets, evaporator fan, and fan blades during repair in case they also need replacning. The compression ring may need replacing if the fan is noisy, or the refrigerator compartments are too warm. This part is sold individually.
Read less

$29.32
In Stock
BLADE EVAP FAN ASM
Part #WR60X46086
The evaporator fan blade assembly attaches to the refrigerators evaporator fan motor. Check your model to confirm compatibility before buying. It is an OEM part.

$16.05
In Stock
Lid Bumper
Part #WR02X10540
The lid bumper or evaporator fan motor bumper in your refrigerator prevents the fan motor from scraping against the side bracket. If your refrigerator/freezer is noisy, the bumper could be worn down or missing, and the sound could be a result of the motor scraping the side bracket. You will find it between the fan motor and the side brack...Read moreet on the evaporator fan motor assembly. To access the bumper, you will need to remove the evaporator fan motor assembly from the freezer. This part is made of orange rubber and is less than half an inch in diameter. It has a rounded top and a slightly pointed bottom, and is sold individually.
Read less

$61.39
In Stock
Run Capacitor
Part #WR55X24064
Support steady compressor operation with this refrigerator run capacitor. It provides the electrical phase shift needed for the compressor motor to run properly as the cooling system operates. A failing capacitor may contribute to humming, difficulty starting, interrupted compressor operation, or rising compartment temperatures. Visible s...Read morewelling, leaking, or burned terminals may also indicate damage. Unplug the refrigerator before accessing the component. Capacitors can retain an electrical charge after power is disconnected, so follow approved discharge procedures and avoid touching or shorting the terminals. Record the wire positions before replacement. This is an OEM part sourced directly from the manufacturer.
Read less

$78.14
In Stock
Defrost Timer - 120V 60Hz
Part #WR9X502
This defrost timer will cycle for 25 minutes after every six hours of run time. The timer itself is made of plastic, and its terminals are bent, the leads are internal, and the label is orange. If you notice that your fridge is too warm, the fridge is running for a long time or is leaking, it could be due to the defrost timer becoming ina...Read morective. The defrost timer is found underneath the light cover (may need to remove lightbulb) and will need to be removed along with the air inlet assembly and housing.
Read less
Exact Part matches for your search term

No Longer Available

$530.74
Special Order
Common Symptoms of models starting with 3835
How this model fails, and the parts that fix it.
Noisy
Fixed by
these parts
these parts


Show All
Fridge too warm
Fixed by
these parts
these parts


Show All
Light not working
Fixed by
these parts
these parts


Show All
Will Not Start
Fixed by
these parts
these parts

Show All
Freezer section too warm
Fixed by
these parts
these parts
Show All
Fridge and Freezer are too warm
Fixed by
these parts
these parts
Show All
Freezer not defrosting
Fixed by
these parts
these parts


Show All
Door won’t open or close
Fixed by
these parts
these parts


Show All
Clicking sound
Fixed by
these parts
these parts
Show All
Fridge too cold
Fixed by
these parts
these parts

Show All
Fridge runs too long
Fixed by
these parts
these parts
Show All
Leaking
Fixed by
these parts
these parts


Show All
Door Sweating
Fixed by
these parts
these parts
Show All
Too warm
Fixed by
these parts
these parts
Show All
Frost buildup
Fixed by
these parts
these parts
Show All
Won’t start
Fixed by
these parts
these parts
Show All
Freezer too cold
Fixed by
these parts
these parts
Show All
Watch our pros, then fix it yourself.
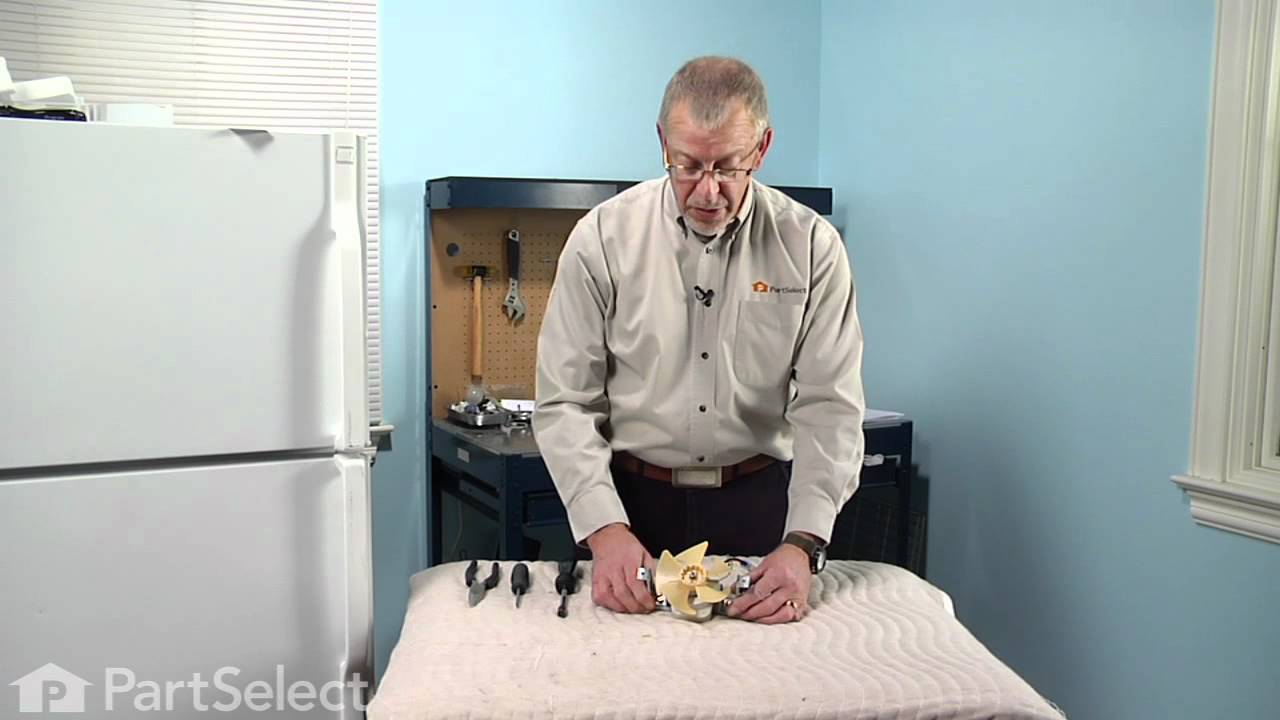
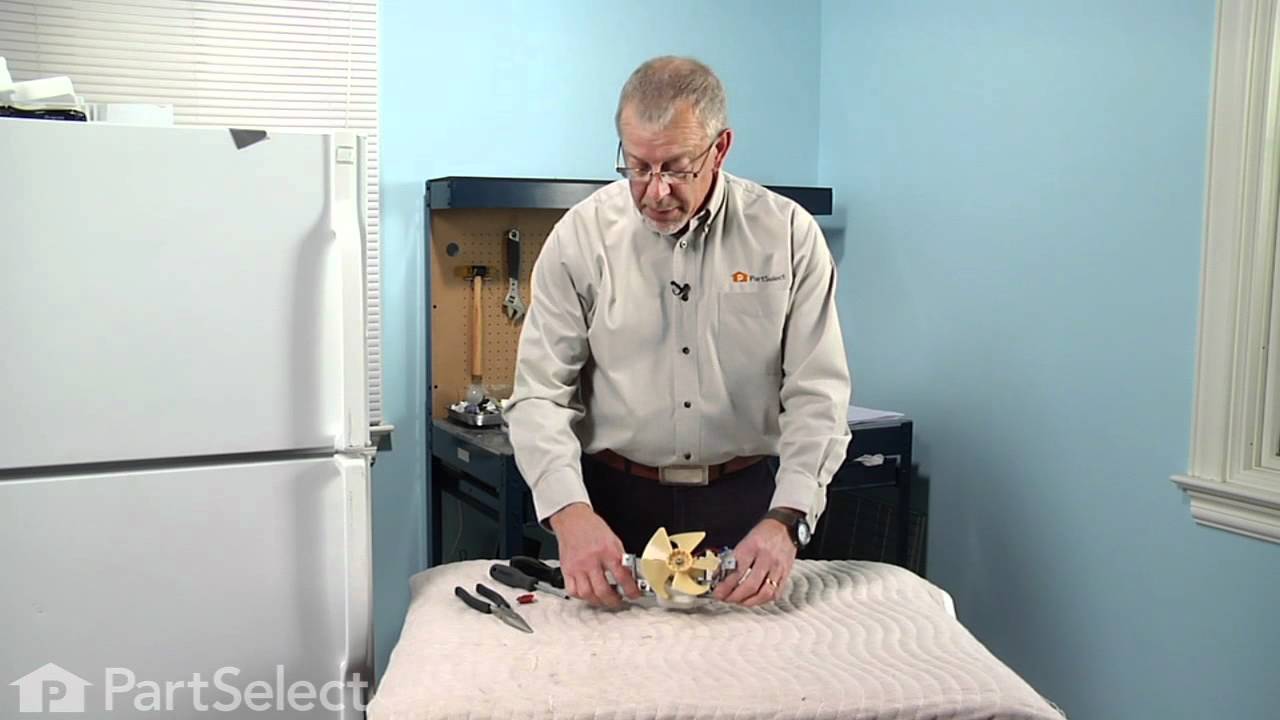
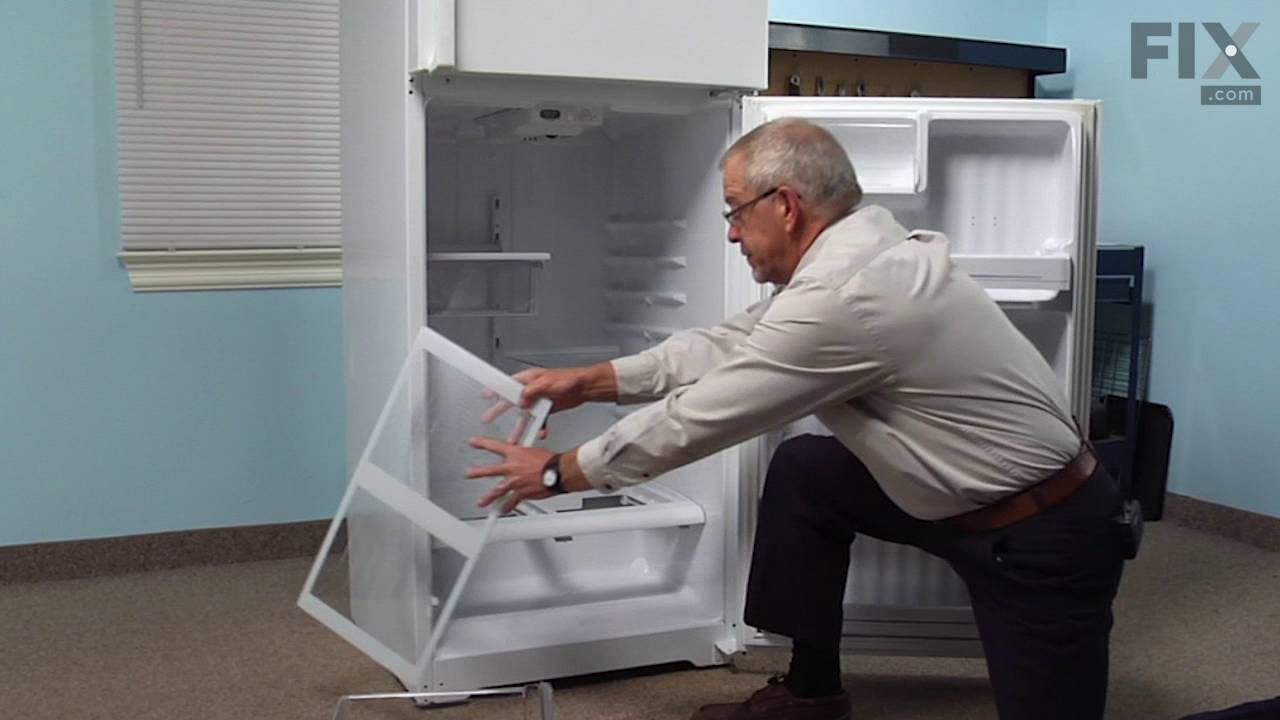
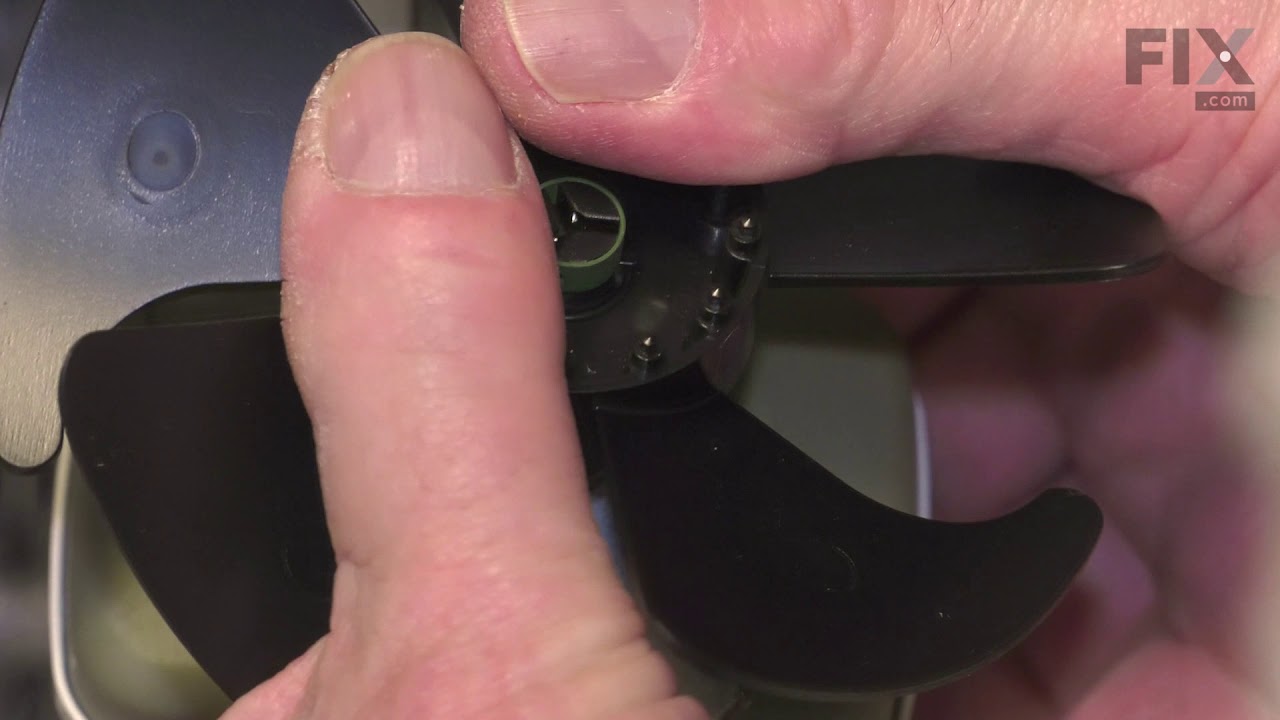
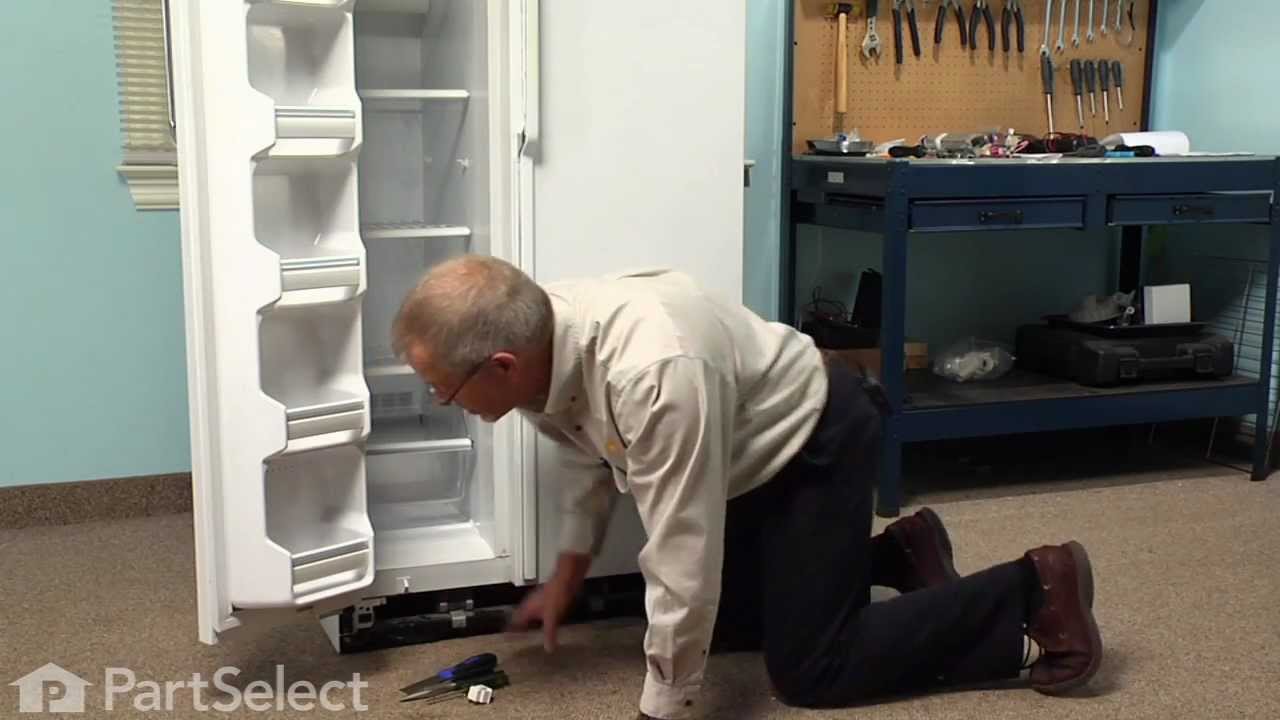
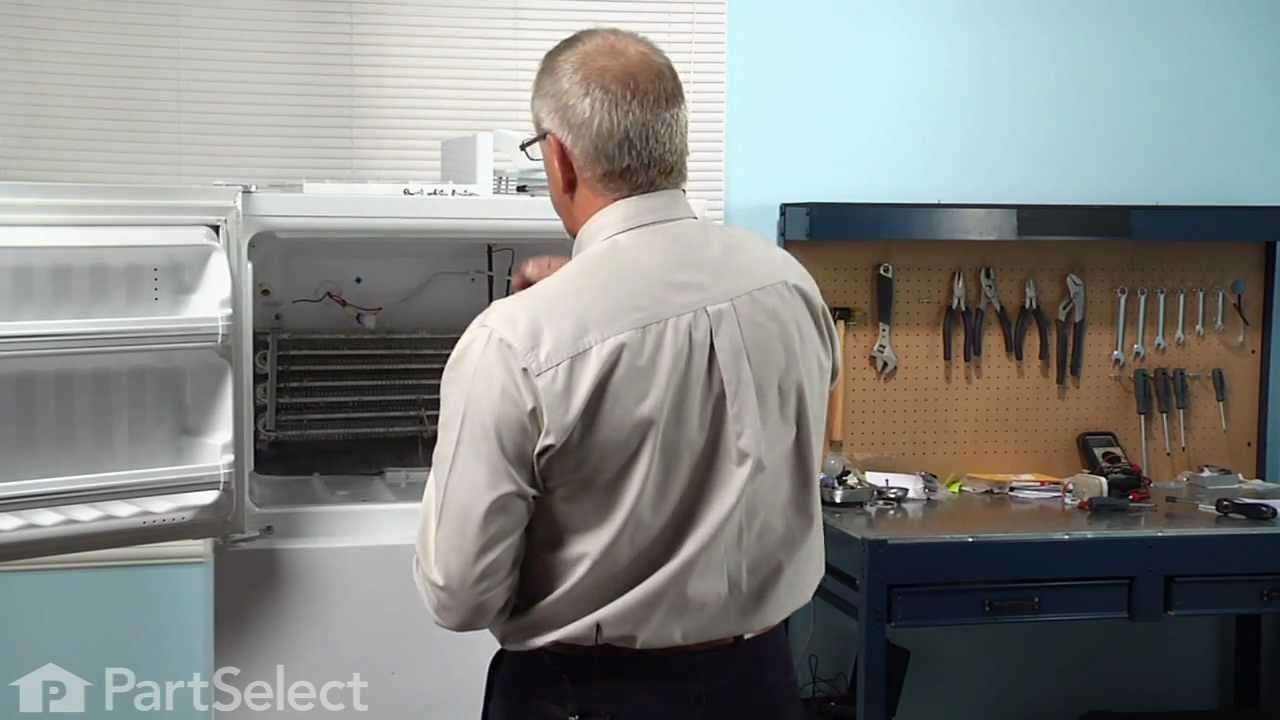
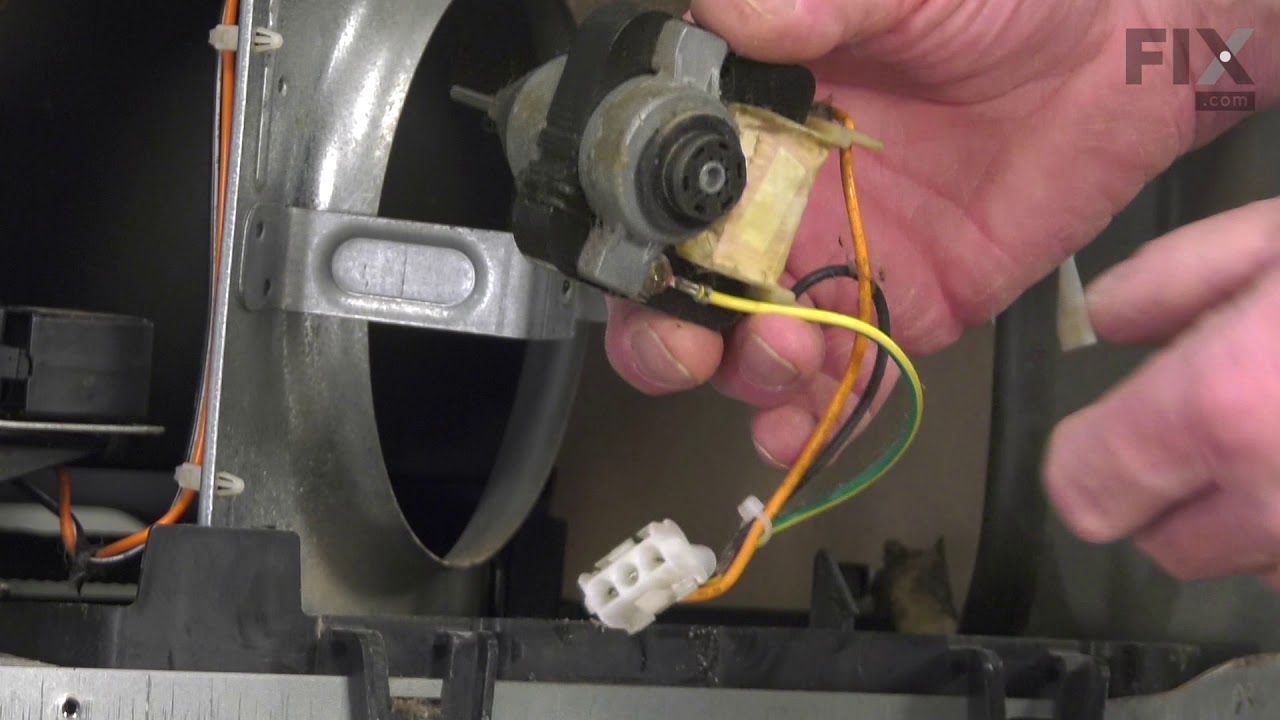
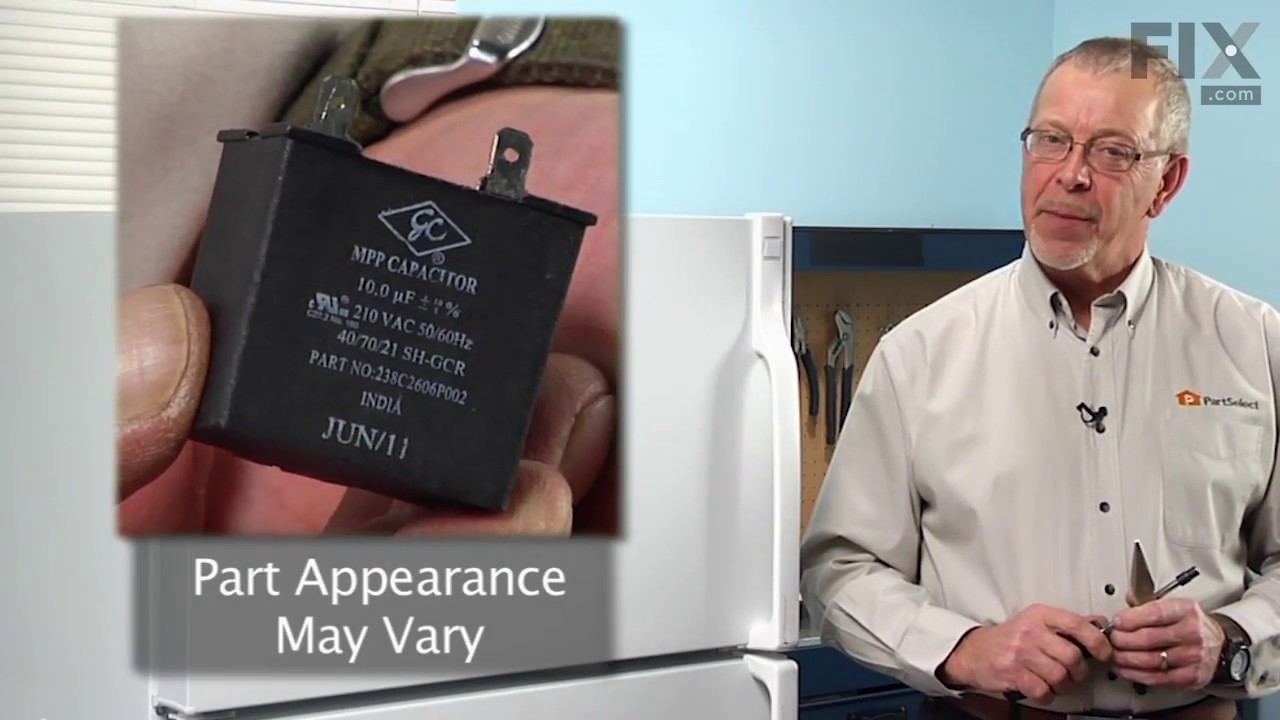
See how others fixed this model. Time, tools, difficulty, and steps that lead to victory!
View More
Search repair tips from other customers using simple keywords like "replace", "fit", "remove", "inspect". DIY doesn't mean you have to do it alone!
Search filter:
Clear Filter
Your search term must have 3 or more characters.
No power to the fan and compressor
222 of 302 people
found this instruction helpful.
I have a fridge in my garage. I have found that a glass of ice water or a cold drink outside is very important to me. When I discovered melting ice dripping onto the garage floor I was very upset. I spun the fridge and found that the compressor and fan weren't starting. I got out my multi-meter and discovered that power was not makin
... Read more
g it to these components. I did some research and found the wiring diagram online. There really isn't too much going on with a fridge and the most likely candidate seemed to be the run capacitor. I ordered the part, replaced it in a few minutes and the fridge began working again.
Read less
Other Parts Used:


Was this helpful?
Thank you for voting!
evaporator fan making lots of noise
122 of 150 people
found this instruction helpful.
the repair was really easy!!! took longer to put the little clip on the fan part than it was to install the whole moter and put everthing back together
save money do it yourself.....
save money do it yourself.....
Other Parts Used:


Was this helpful?
Thank you for voting!