


 My Orders




38185 - Overview
Models starting with 38185
Click on the best match to narrow your results.
- 38185 (9000001-9999999 - 1989) Toro Snow Blower (Snowthrower)
- 38185 (8000001-8999999 - 1988) Toro Snow Blower (Snowthrower)
- 38185 (7000001-7999999 - 1987) Toro Snow Blower (Snowthrower)
- 38185 (6900001-6999999 - 1996) Toro Snow Blower (Snowthrower)
- 38185 (5900001-5999999 - 1995) Toro Snow Blower (Snowthrower)
- 38185 (4900001-4999999 - 1994) Toro Snow Blower (Snowthrower)
- 38185 (3900001-3999999 - 1993) Toro Snow Blower (Snowthrower)
- 38185 (2000001-2999999 - 1992) Toro Snow Blower (Snowthrower)
- 38185 (1000001-1999999 - 1991) Toro Snow Blower (Snowthrower)
- 38185 (0000001-0999999 - 1990) Toro Snow Blower (Snowthrower)
- 38185 (6900001 - 6999999) Toro Snow Blower (Ccr 2000 Snowthrower)
- 38185 (5900001 - 5999999) Toro Snow Blower (Ccr 2000 Snowthrower)
- 38185 (9000001 - 9999999) Toro Snow Blower (Ccr 2000 Snowthrower)
- 38185 (8000001 - 8999999) Toro Snow Blower (Ccr 2000 Snowthrower)
- 38185 (1000001 - 1999999) Toro Snow Blower (Ccr 2000 Snowthrower)
- 38185 (2000001 - 2999999) Toro Snow Blower (Ccr 2000 Snowthrower)
- 38185 (3900001 - 3999999) Toro Snow Blower (Ccr 2000 Snowthrower)
- 38185 (7000001 - 7999999) Toro Snow Blower (Ccr 2000 Snowthrower)
- 38185 (0000001 - 0999999) Toro Snow Blower (Ccr 2000 Snowthrower)
- 38185 (4900001 - 4999999) Toro Snow Blower (Ccr 2000 Snowthrower)
- 38185C (8000001 - 8999999) Toro Snow Blower (Ccr 2000 Snowthrower)
- 38185C (9000001 - 9999999) Toro Snow Blower (Ccr 2000 Snowthrower)
- 38185C (9000001-9999999 - 1989) Toro Snow Blower (Snowthrower)
- 38185C (8000001-8999999 - 1988) Toro Snow Blower (Snowthrower)
- 38185KBPARBB General Electric Refrigerator
- 38185KBPCRBB General Electric Refrigerator
- 38185KBRARBB General Electric Refrigerator
Enter a part description. DIY Heroes keep it simple, eg. "belt" or "pump".
Search filter:
Clear Filter
Your search term must have 3 or more characters.

$13.92
In Stock
Evaporator Fan Grommet - Red
Part #WR02X12008
This red evaporator fan grommet cushions the fan motor where it meets the mounting bracket inside the freezer. It measures approximately 1 inch in diameter and helps reduce vibration transferred from the running motor. Wear, tears, or damage may contribute to buzzing or rattling from the fan area. Inspect the grommet, bracket, and fan bla...Read morede before replacement, since loose parts or blade contact can cause similar noise. The grommet sits behind the evaporator fan cover. Disconnect power before accessing the assembly and follow the mounting instructions for correct placement. This is an OEM part sourced directly from the manufacturer.
Read less

$16.05
In Stock
Evaporator/Condensor Fan Grommet
Part #WR02X10098
This evaporator fan motor grommet, or condenser fan grommet is built for refrigerators. It provides a cushion between the fan motor and the motor mounting bracket. It is made or round, black plastic and is approximately one inch in diameter. If your grommet is torn or damaged and you are getting noise from the fan motor, you may need to replace it. This is an OEM part sourced directly from the manufacturer.

$21.95
In Stock
Light Bulb - 40W
Part #40A15
This 40-Watt light bulb is sold individually.
It is specially designed to withstand extreme temperatures, so this bulb is compatible with a variety of appliance types including refrigerators, ranges, microwaves, and dryers. It features a frosted glass bulb with a standard metal socket base, which allows you to easily unscrew the burnt-out light and twist the new bulb into place.

$38.32
In Stock
LIGHT SWITCH
Part #WR23X37285
The interior light of your refrigerator is controlled by a switch that is activated when the door is opened and closed. If your refrigerator light will not turn on, there could be an issue with the switch. The switch is spring loaded and is a generally closed type of switch meaning there should be no continuity when the button is depresse...Read mored, and continuity through the switch when the button is not depressed. This plastic, white, OEM switch is sourced directly from the manufacturer, is sold individually and is easy to replace. The repair usually takes less than 15 minutes and requires a flat blade screwdriver and needle nose pliers.
Read less

$16.05
In Stock
Compression Ring
Part #WR02X12149
This compression ring is meant to hold the evaporator fan motor in place in the freezer compartment of your refrigerator. This is is a genuine OEM part. The tools needed to complete this repair are a Phillips screw driver and small flat blade screw driver. Be sure to turn off your refrigerator before removing the evaporator fan cover so t...Read morehe fan does not turn on during repair. It is recommended to check the grommets, evaporator fan, and fan blades during repair in case they also need replacning. The compression ring may need replacing if the fan is noisy, or the refrigerator compartments are too warm. This part is sold individually.
Read less

$16.05
In Stock
Lid Bumper
Part #WR02X10540
The lid bumper or evaporator fan motor bumper in your refrigerator prevents the fan motor from scraping against the side bracket. If your refrigerator/freezer is noisy, the bumper could be worn down or missing, and the sound could be a result of the motor scraping the side bracket. You will find it between the fan motor and the side brack...Read moreet on the evaporator fan motor assembly. To access the bumper, you will need to remove the evaporator fan motor assembly from the freezer. This part is made of orange rubber and is less than half an inch in diameter. It has a rounded top and a slightly pointed bottom, and is sold individually.
Read less

No Longer Available
Package of 12 Screws
Part #WZ4X244D
This is a package of twelve Phillips-head screws. They can be used as replacement screws in refrigerators, ice makers, or freezers. Be sure to check that your appliance model is compatible with these screws. The screws are approximately ¾ of an inch in length.

$16.05
In Stock
Door Hinge Nylon Washer
Part #WR01X27364
Reduce friction at the door pivot with this refrigerator nylon hinge washer. It fits over the hinge pin to provide a smooth contact surface and maintain proper spacing between hinge components. A worn, cracked, or missing washer may cause squeaking, scraping, sagging, or uneven door movement. Replacing a damaged washer helps restore corre...Read morect spacing and smoother opening and closing. Empty the door shelves and securely support the door before removing hinge hardware, then check that the door swings freely and closes evenly after reassembly. This is an OEM part sourced directly from the manufacturer.
Read less

$16.05
In Stock
Screw
Part #WR01X10590
This refrigerator door handle mounting screw connects your refrigerator door to the handle. The part is less than 1 inch in length, and can come in both silver and gold colors. When installing this screw, make sure to avoid cross-threading and use reasonable torque to avoid damage to components. This part is an OEM part sourced directly from the manufacturer. This part is sold individually.

$20.17
In Stock
Compressor Start Relay
Part #WR07X26748
This part is the replacement compressor start relay for your refrigerator. It is made of black plastic and is approximately 1 ¼ inches long and 1 inch wide. The compressor start relay attaches to the compressor and helps to start the compressor motor. If the compressor will not start, or if your refrigerator or freezer is too warm, you ma...Read morey need to replace the compressor start relay. This part is sold individually. It is an OEM part sourced directly from the manufacturer.
Read less

$80.08
On Order

$28.72
In Stock
Evaporator Fan Blade
Part #WR60X10205
Exact Part matches for your search term

No Longer Available
No Longer Available
$39.74
Special Order
Common Symptoms of models starting with 38185
How this model fails, and the parts that fix it.
Noisy
Fixed by
these parts
these parts


Show All
Light not working
Fixed by
these parts
these parts


Show All
Fridge too warm
Fixed by
these parts
these parts


Show All
Will Not Start
Fixed by
these parts
these parts


Show All
Freezer section too warm
Fixed by
these parts
these parts
Show All
Door won’t open or close
Fixed by
these parts
these parts


Show All
Freezer not defrosting
Fixed by
these parts
these parts

Show All
Clicking sound
Fixed by
these parts
these parts
Show All
Leaking
Fixed by
these parts
these parts

Show All
Won’t start
Fixed by
these parts
these parts
Show All
Frost buildup
Fixed by
these parts
these parts
Show All
Fridge and Freezer are too warm
Fixed by
these parts
these parts
Show All
Watch our pros, then fix it yourself.
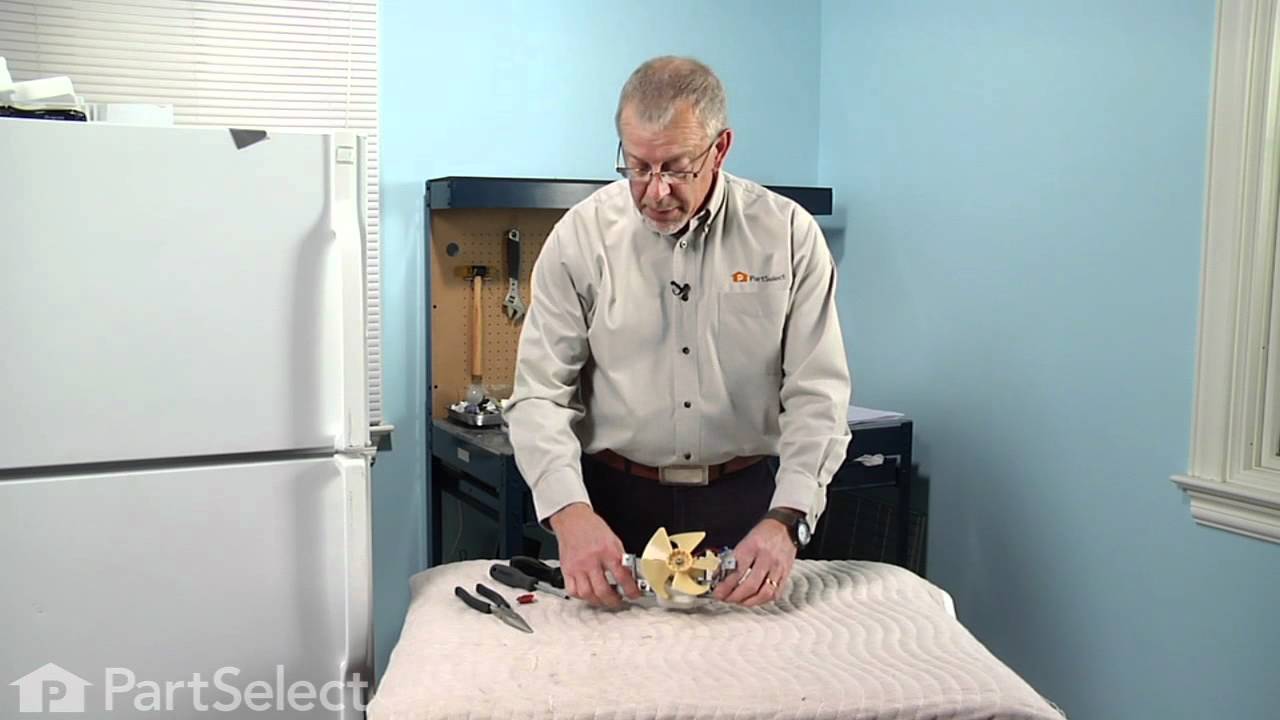
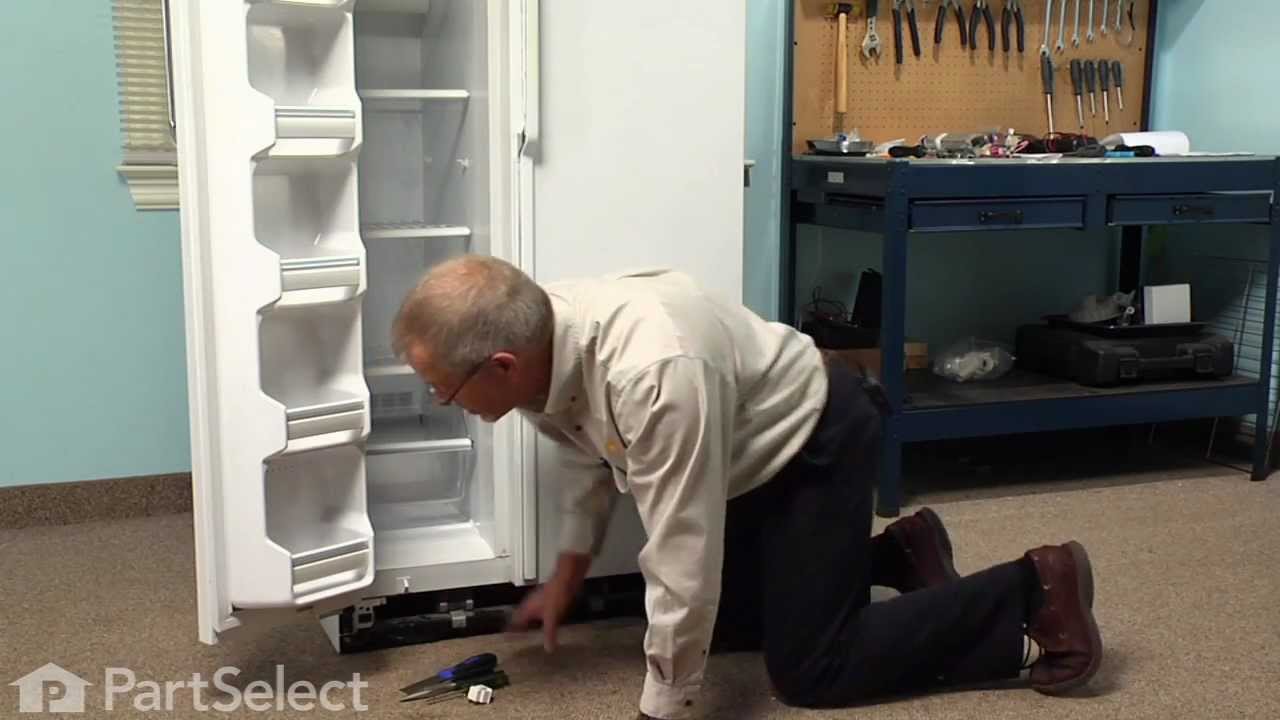
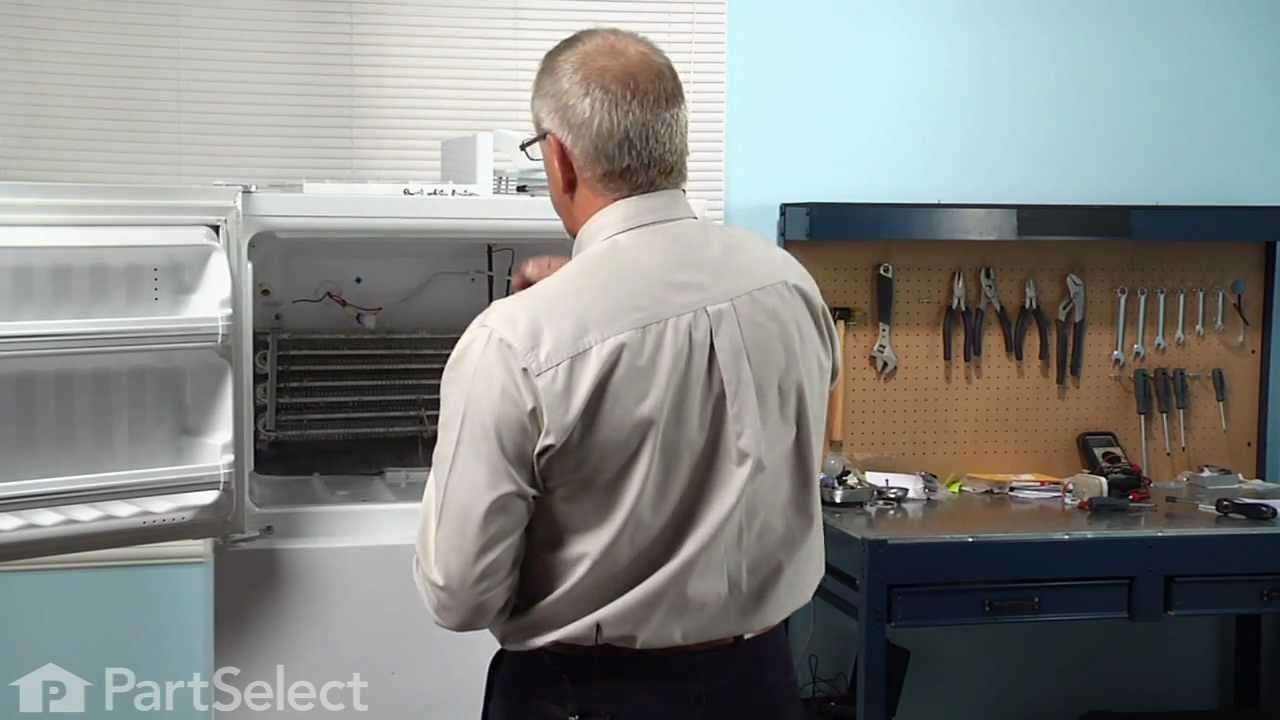
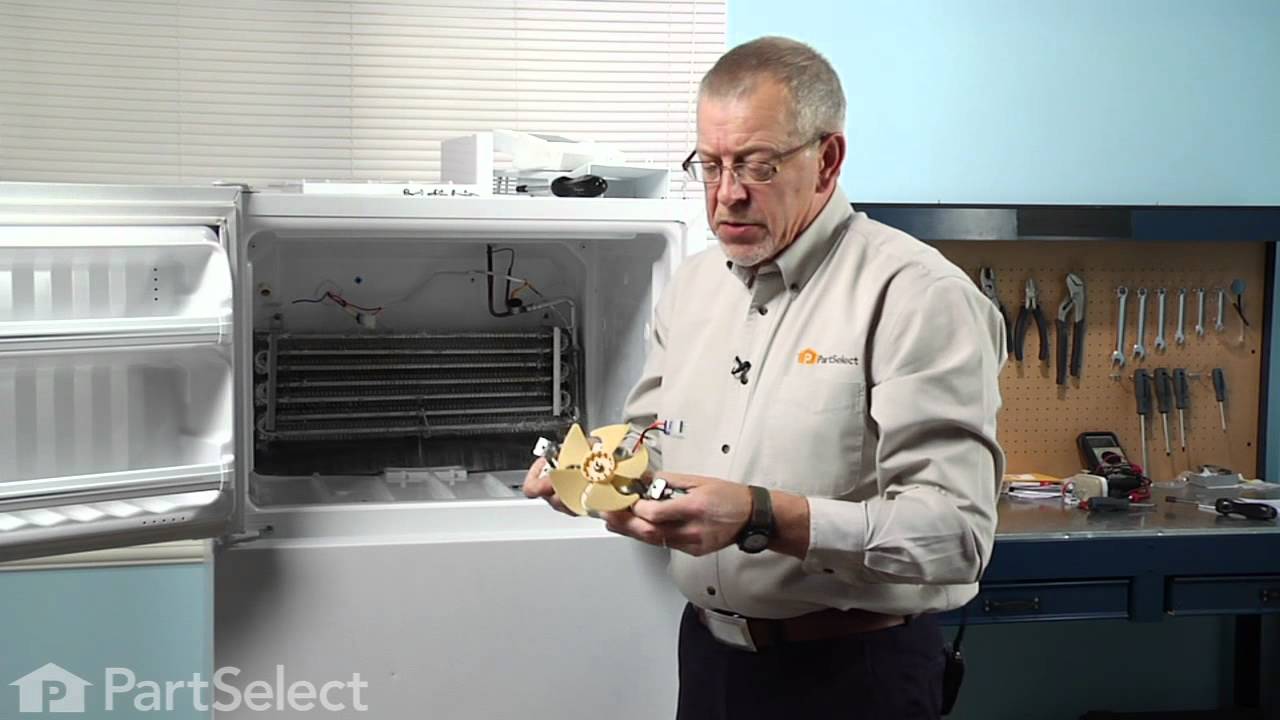
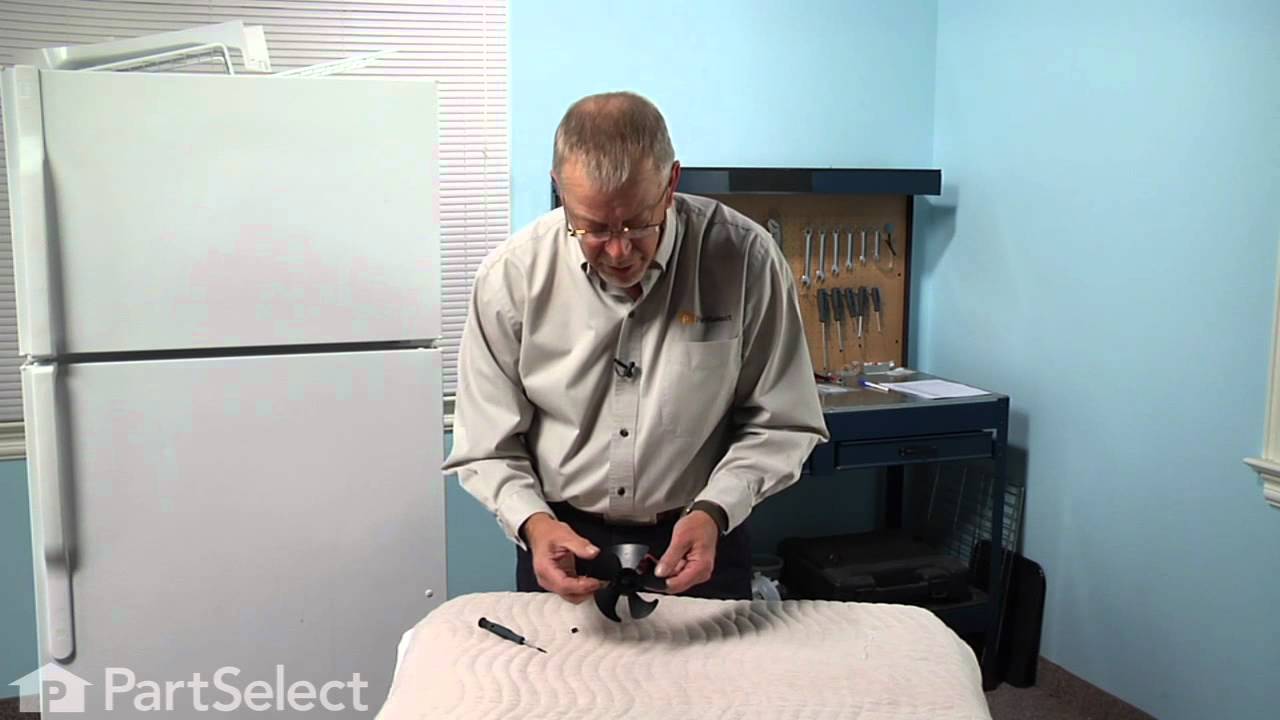
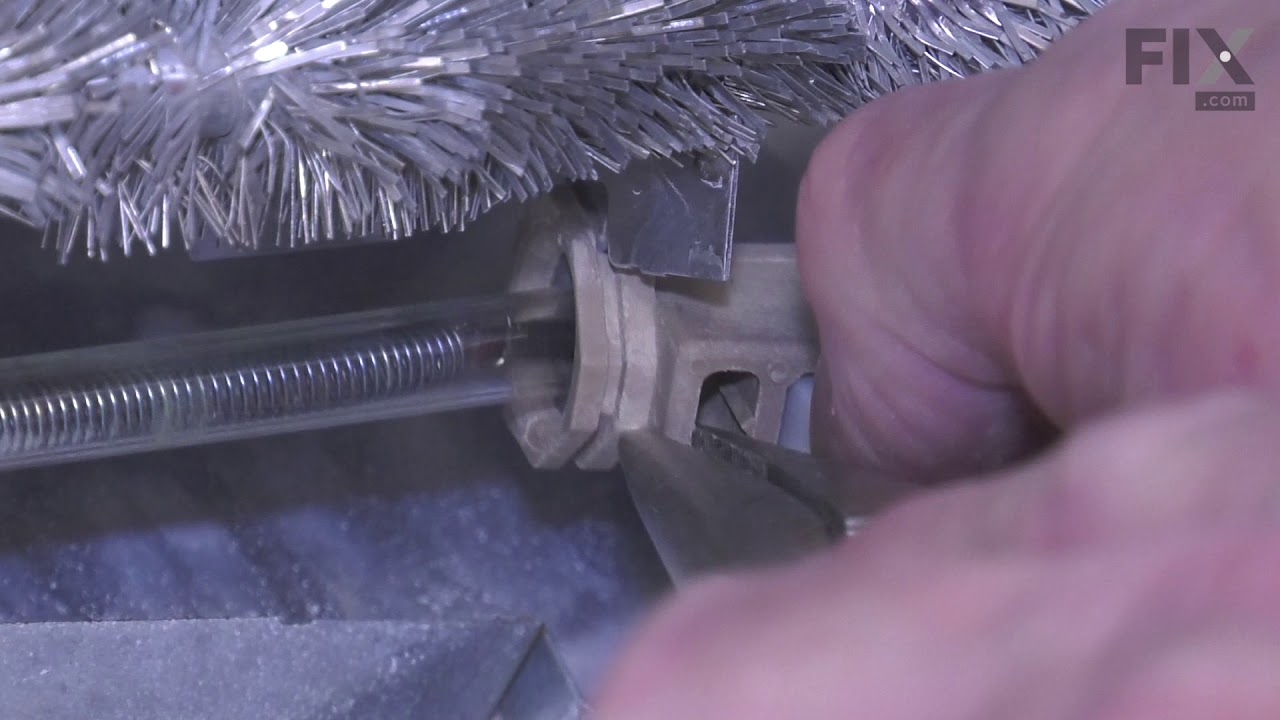


See how others fixed this model. Time, tools, difficulty, and steps that lead to victory!
View More