


 My Orders




3749 - Overview
Models starting with 3749
Click on the best match to narrow your results.
- 37490-1 General Electric Refrigerator
- 37490-5 General Electric Refrigerator
- 3749099 Weber Built-In Cooking (Genesis E-310 Lp)
- 37491 Gravely Lawn Tractor Accessories (37491 60 Inch Deck Pm Gear)
- 37491-1 General Electric Refrigerator
- 37491-5 General Electric Refrigerator
- 37492 Gravely Lawn Tractor (37492 Pm Gear, 17hp Kohler)
- 37493 Gravely Lawn Tractor (37493 Pm Gear, 19hp Kohler)
- 3749500 MTD Lawn Mower (Lawn Mower)
- 3749609 MTD Lawn Mower (Gas Walk-Behind Mower)
- 37498-5 General Electric Refrigerator
- 37499-5 General Electric Refrigerator
Enter a part description. DIY Heroes keep it simple, eg. "belt" or "pump".
Search filter:
Clear Filter
Your search term must have 3 or more characters.

$61.39
In Stock
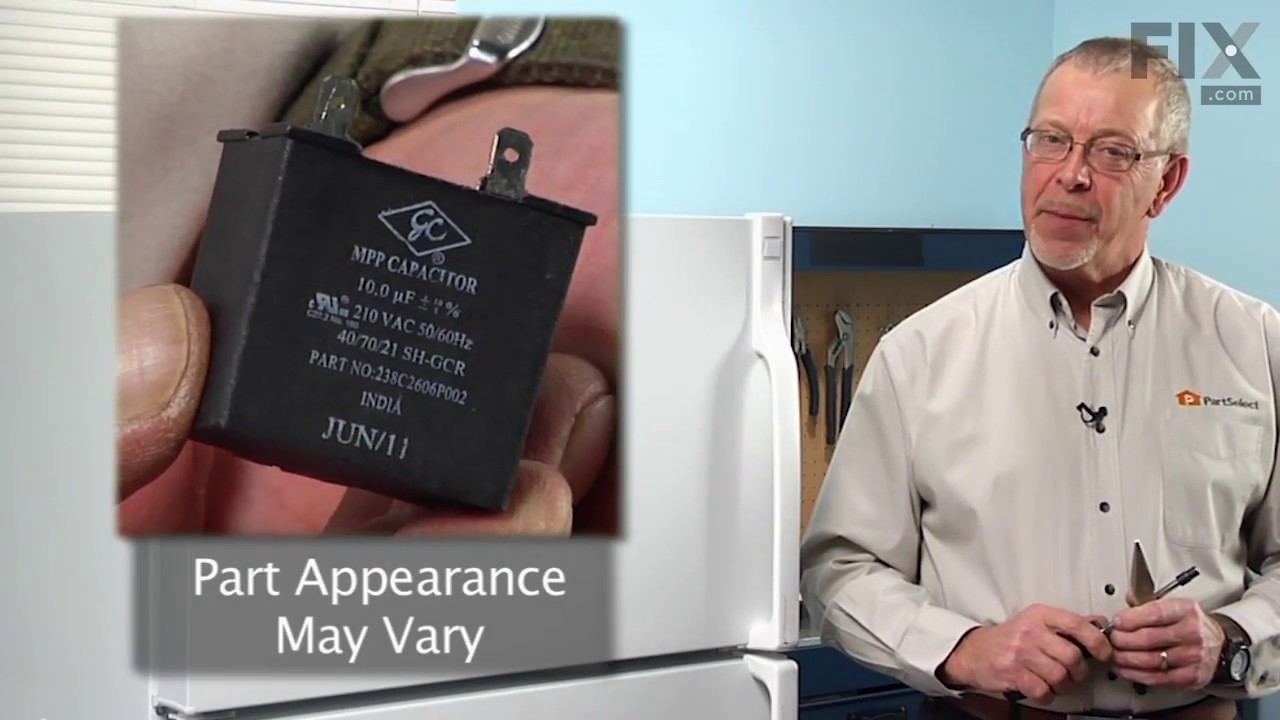
Run Capacitor
Part #WR55X24064
Support steady compressor operation with this refrigerator run capacitor. It provides the electrical phase shift needed for the compressor motor to run properly as the cooling system operates. A failing capacitor may contribute to humming, difficulty starting, interrupted compressor operation, or rising compartment temperatures. Visible s...Read morewelling, leaking, or burned terminals may also indicate damage. Unplug the refrigerator before accessing the component. Capacitors can retain an electrical charge after power is disconnected, so follow approved discharge procedures and avoid touching or shorting the terminals. Record the wire positions before replacement. This is an OEM part sourced directly from the manufacturer.
Read less

$23.16
In Stock
Light Socket
Part #WR2X9391
This part is a replacement light socket for your refrigerator. It connects to the power source, and holds the light bulb. If the light in your refrigerator is not working, you could have a faulty socket. It is important to determine if the light bulb is simply burned out, or if the socket is causing the issue. Be sure to disconnect your r...Read moreefrigerator from the power source before you begin this repair. This socket is black in color and is sold individually. This is an OEM part sourced directly from the manufacturer.
Read less

$41.70
In Stock
Refrigerator Defrost Timer
Part #WR9X483
This refrigerator defrost timer will cycle for thirty minutes after every ten hours of run time.

No Longer Available
Relay PTCR - 3 Wire
Part #WR07X10055
Also known as the Start Relay. The start relay briefly boosts the compressor, and then shuts off as soon as the motor gets up to speed.

$21.45
Special Order
Lawn Mower Zone Control Cable
Part #946-1130
This Genuine OEM control cable is designed to connect the control handle to the engine mechanism on compatible lawn mowers, enabling safe and responsive blade engagement. When the control handle is pressed, the cable activates the blade rotation; releasing the handle stops the blade, ensuring operator safety.
This specific part feature...Read mores a 40-inch covered housing with a total cable length of 53 inches, including 13 inches of exposed cable. It is sold individually and includes all necessary components for straightforward replacement. Please note that part number 946-1137 features a fully covered cable with a length of 53 inches. To ensure proper fit and function, carefully compare your existing cable before ordering.
Read less

$19.50
In Stock

No Longer Available
RETAINER
Part #WB2X1082

$6.40
In Stock
Screw, 3/8-24 x 1.50 (w/25mm Blade Adapter)
Part #710-1044
The hex bolt attaches to the washer and the square key. This part is an OEM from Craftsman for use in snowblowers and lawn mowers. It is available as an individual replacement part and is made of metal. If this item becomes broken or stripped it will need to be replaced and may require a socket set during the installation.

$15.00
Special Order
CLIP
Part #WR2X8583

No Longer Available
Butter Dish
Part #WR19X5003

$6.65
In Stock
Lawn Mower Carriage Bolt
Part #710-0260A
This genuine OEM carriage bolt is used to secure various parts in lawn and garden outdoor equipment. The bolt has a round head with a square area underneath it that prevents the bolt from turning and coming loose when it is installed. The bolt shaft has a diameter of 5/16 inches, with 18 threads per inch and the threaded portion of the bo...Read morelt is 0.62 inches long. If the bolt is corroded, the threads are worn down, or the head is damaged or deformed, you will need to replace the bolt to keep your equipment parts secured and functioning efficiently. To replace the bolt, first remove the nut using a wrench or socket. Once the nut is removed, you can unthread the bolt. Insert the new bolt in position, thread the nut on and use a wrench to tighten it. Be careful not to overtighten the bolt to avoid damaging it or stripping the threads. This carriage bolt is sold individually.
Read less

$7.04
In Stock
Wiong Nut
Part #720-0279
This is a type of handle with a knob-shaped grip used in a variety of lawn and garden tools with adjustable features. This genuine OEM part is 0.8 x 0.2 x 1 inches and is made from plastic. It is designed to connect and disconnect individual parts together without using any tools. By loosening the knob, you can easily adjust the height of...Read more the handles on your equipment to your liking as well as fold the handles for proper storage. Over time the handle knob can wear down or break. If this happens, you will need to unscrew the knob and remove the old rope guide before you can place the new knob on. Place the new rope guide in position, thread the eye of the cable through the eye hook loop and finally thread the new knob on to the shaft and turn it clockwise with your hands until it is secure.
Read less
Exact Part matches for your search term
$68.09
Special Order
No Longer Available
Common Symptoms of models starting with 3749
How this model fails, and the parts that fix it.
Will Not Start
Fixed by
these parts
these parts


Show All
Light not working
Fixed by
these parts
these parts

Show All
Fridge too warm
Fixed by
these parts
these parts

Show All
Freezer section too warm
Fixed by
these parts
these parts
Show All
Fridge and Freezer are too warm
Fixed by
these parts
these parts
Show All
Clicking sound
Fixed by
these parts
these parts
Show All
Too warm
Fixed by
these parts
these parts
Show All
Noisy
Fixed by
these parts
these parts
Show All
Fridge runs too long
Fixed by
these parts
these parts
Show All
Freezer not defrosting
Fixed by
these parts
these parts
Show All
Watch our pros, then fix it yourself.
See how others fixed this model. Time, tools, difficulty, and steps that lead to victory!
View More
Search repair tips from other customers using simple keywords like "replace", "fit", "remove", "inspect". DIY doesn't mean you have to do it alone!
Search filter:
Clear Filter
Your search term must have 3 or more characters.
No power to the fan and compressor
222 of 302 people
found this instruction helpful.
I have a fridge in my garage. I have found that a glass of ice water or a cold drink outside is very important to me. When I discovered melting ice dripping onto the garage floor I was very upset. I spun the fridge and found that the compressor and fan weren't starting. I got out my multi-meter and discovered that power was not makin
... Read more
g it to these components. I did some research and found the wiring diagram online. There really isn't too much going on with a fridge and the most likely candidate seemed to be the run capacitor. I ordered the part, replaced it in a few minutes and the fridge began working again.
Read less
Other Parts Used:


Was this helpful?
Thank you for voting!