


 My Orders




3721 - Overview
Models starting with 3721
Click on the best match to narrow your results.
- 37210-1 General Electric Refrigerator
- 37210-5 General Electric Refrigerator
- 3721001 Weber Grill (Spirit E-310 Gas Grill)
- 37211-1 General Electric Refrigerator
- 37211-5 General Electric Refrigerator
- 37211A MTD Lawn Mower (Gas Walk-Behind Mower)
- 37217 Tecumseh Engine (Tecumseh Small Engine Model 37217 Parts)
- 3721805 MTD Lawn Mower (Gas Walk-Behind Mower)
- 37218A MTD Lawn Mower (Gas Walk-Behind Mower)
Enter a part description. DIY Heroes keep it simple, eg. "belt" or "pump".
Search filter:
Clear Filter
Your search term must have 3 or more characters.

$23.16
In Stock
Light Socket
Part #WR2X9391
This part is a replacement light socket for your refrigerator. It connects to the power source, and holds the light bulb. If the light in your refrigerator is not working, you could have a faulty socket. It is important to determine if the light bulb is simply burned out, or if the socket is causing the issue. Be sure to disconnect your r...Read moreefrigerator from the power source before you begin this repair. This socket is black in color and is sold individually. This is an OEM part sourced directly from the manufacturer.
Read less

$41.70
In Stock
Refrigerator Defrost Timer
Part #WR9X483
This refrigerator defrost timer will cycle for thirty minutes after every ten hours of run time.

No Longer Available
RETAINER
Part #WB2X1082

$10.70
Special Order

$48.32
In Stock
Lawn Mower Lower Handle
Part #749-0928A-0637
This is the lower handle for various models of walk-behind lawn mowers. This handle is made of durable black metal and attaches directly to the rear of the lawn mower. This handle is an OEM part that is sold by itself and does not come with any hardware or other parts. If your current lower lawn mower handle is corroded or damaged, it nee...Read moreds to be replaced immediately so you can properly and safely handle your lawn mower. This handle measures approximately 24.5-inches long and 17-inches wide and connects the rear of the lawn mower with the upper and main handle that the user holds when operating the lawn mower. Replacing this handle will not require any tools but must start with turning off the lawn mower. Loosen and remove the knobs around the handle, including the ones connecting the lower handle to the mower and those securing the upper and lower handles. Once each knob is removed, replace the old lower handle with the new one, and resecure • all the knobs onto the handle(s).
Read less

$15.00
Special Order
CLIP
Part #WR2X8583

$6.65
In Stock
Lawn Mower Carriage Bolt
Part #710-0260A
This genuine OEM carriage bolt is used to secure various parts in lawn and garden outdoor equipment. The bolt has a round head with a square area underneath it that prevents the bolt from turning and coming loose when it is installed. The bolt shaft has a diameter of 5/16 inches, with 18 threads per inch and the threaded portion of the bo...Read morelt is 0.62 inches long. If the bolt is corroded, the threads are worn down, or the head is damaged or deformed, you will need to replace the bolt to keep your equipment parts secured and functioning efficiently. To replace the bolt, first remove the nut using a wrench or socket. Once the nut is removed, you can unthread the bolt. Insert the new bolt in position, thread the nut on and use a wrench to tighten it. Be careful not to overtighten the bolt to avoid damaging it or stripping the threads. This carriage bolt is sold individually.
Read less

No Longer Available
Butter Dish
Part #WR19X10005

$37.91
Special Order
SCREW
Part #WR2X9260

$20.08
In Stock
Cable-throttle 55
Part #946-0671A
This Throttle Control Wire is a 55-inch black Throttle Cable, made of metal with a rubberized casing. It's rated as "Easy" to install, attaching from the throttle control to the carburetor, and requires both pliers and a screw driver. This cable controls the speed of the engine. If broken or damaged (due to typical wear from use) you will...Read more lose control of the engine speed, and the part must be replaced. Refer to your make, model and diagrams to ensure this is the correct part.
Read less

$7.08
In Stock
Screw-ab Tap
Part #710-1242
A genuine item that is supplied directly from the original equipment manufacturer for use with lawn and garden equipment. This is a high-quality hardware which has multiple applications depending on the model of your unit, make sure to check appropriate diagrams for the correct location and application of this component. It is made of dur...Read moreable metal and is sold individually, you will need a screwdriver to secure or remove it.
Read less

$47.69
In Stock
Control Box-thrott
Part #811-0185
This is a genuine manufacturer-sourced component which is specially designed for lawn mowers. This is the box that the throttle cable is connected to. The cable connects to the carburetor and it stops the engine when you shift the lever to the full choke position. To ensure the correct repair procedure, refer to the appropriate diagrams f...Read moreor your model. Keep in mind this high-quality throttle box is sold as an individual item. It includes the housing, the trigger, and the hardware to secure these components. A screwdriver will be needed to perform this repair.
Read less
Exact Part matches for your search term

No Longer Available
$101.20
Special Order
$227.20
Special Order
Common Symptoms of models starting with 3721
How this model fails, and the parts that fix it.
Light not working
Fixed by
these parts
these parts

Show All
Fridge too warm
Fixed by
these parts
these parts

Show All
Freezer not defrosting
Fixed by
these parts
these parts
Show All
Watch our pros, then fix it yourself.
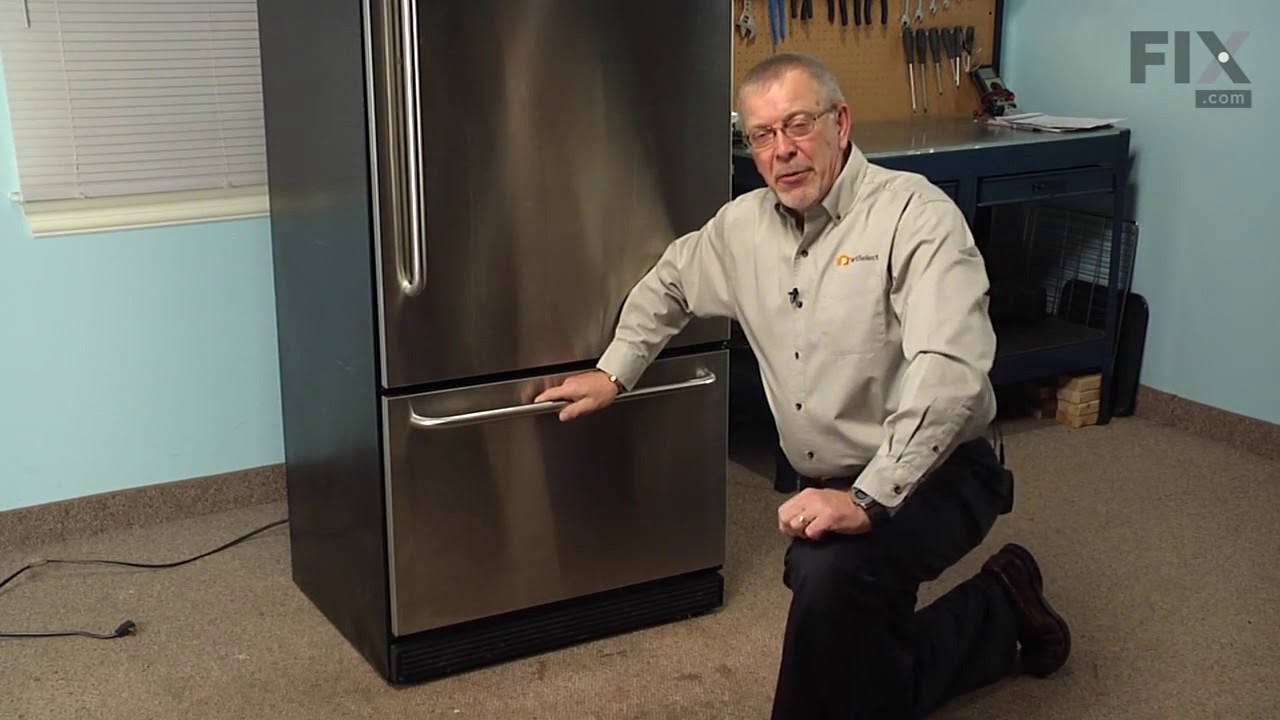
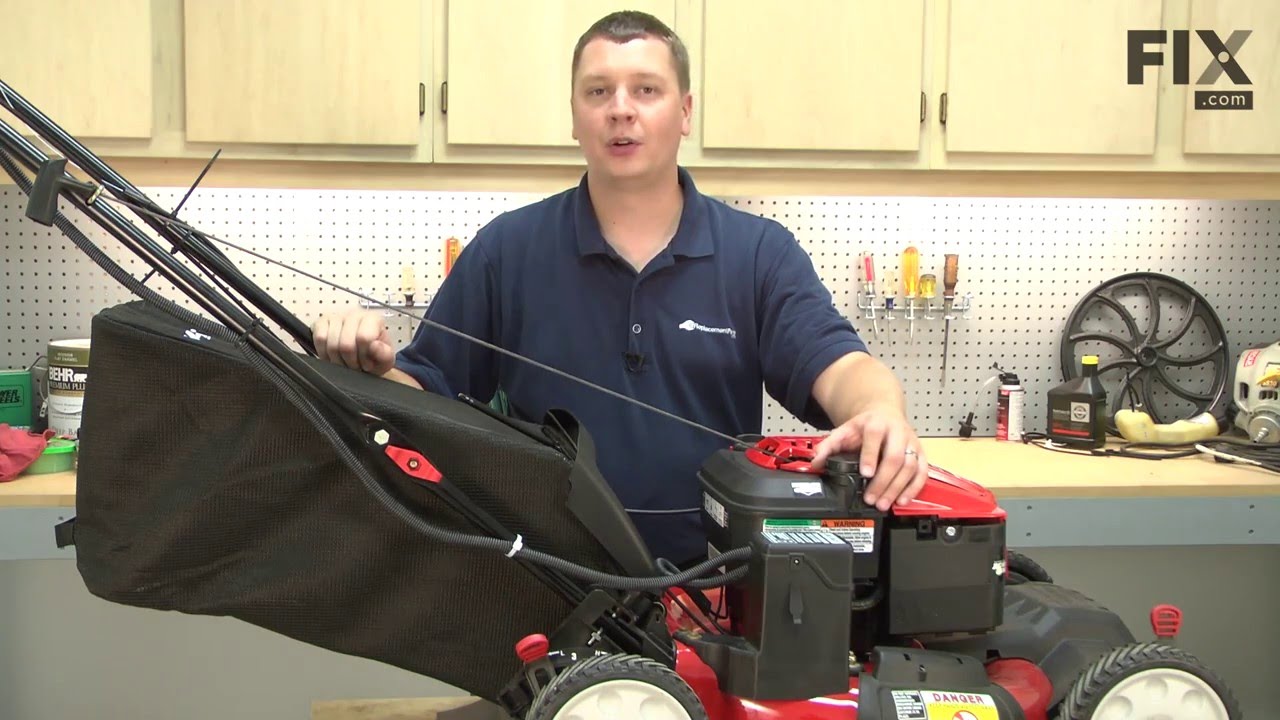
See how others fixed this model. Time, tools, difficulty, and steps that lead to victory!
View More