


 My Orders




363W Kenmore - Overview
Models starting with 363W
Click on the best match to narrow your results.
- 363WR30M0153 Kenmore Refrigerator (Kenmore Refrigerator Model 363.WR30M0153 (363WR30M0153, 363 WR30M0153) Parts)
- 363WR30X0153 Kenmore Refrigerator (Kenmore Refrigerator Model 363.WR30X0153 (363WR30X0153, 363 WR30X0153) Parts)
- 363WR30X0280 Kenmore Refrigerator (Kenmore Refrigerator Model 363.WR30X0280 (363WR30X0280, 363 WR30X0280) Parts)
- 363WR30X0284 Kenmore Refrigerator (Kenmore Refrigerator Model 363.WR30X0284 (363WR30X0284, 363 WR30X0284) Parts)
- 363WR30X0289 Kenmore Refrigerator (Kenmore Refrigerator Model 363.WR30X0289 (363WR30X0289, 363 WR30X0289) Parts)
- 363WR30X0290 Kenmore Refrigerator (Kenmore Refrigerator Model 363.WR30X0290 (363WR30X0290, 363 WR30X0290) Parts)
- 363WR30X0304 Kenmore Refrigerator (Kenmore Refrigerator Model 363.WR30X0304 (363WR30X0304, 363 WR30X0304) Parts)
- 363WR30X0305 Kenmore Refrigerator (Kenmore Refrigerator Model 363.WR30X0305 (363WR30X0305, 363 WR30X0305) Parts)
- 363WR30X0306 Kenmore Refrigerator (Kenmore Refrigerator Model 363.WR30X0306 (363WR30X0306, 363 WR30X0306) Parts)
- 363WR30X0307 Kenmore Refrigerator (Kenmore Refrigerator Model 363.WR30X0307 (363WR30X0307, 363 WR30X0307) Parts)
- 363WR30X0310 Kenmore Ice Maker (Kenmore Ice Machine Model 363.WR30X0310 (363WR30X0310, 363 WR30X0310) Parts)
- 363WR30X0315 Kenmore Refrigerator (Kenmore Refrigerator Model 363.WR30X0315 (363WR30X0315, 363 WR30X0315) Parts)
- 363WR30X0316 Kenmore Refrigerator (Kenmore Refrigerator Model 363.WR30X0316 (363WR30X0316, 363 WR30X0316) Parts)
- 363WR30X0318 Kenmore Ice Maker (Kenmore Ice Machine Model 363.WR30X0318 (363WR30X0318, 363 WR30X0318) Parts)
- 363WR30X0320 Kenmore Refrigerator (Kenmore Refrigerator Model 363.WR30X0320 (363WR30X0320, 363 WR30X0320) Parts)
- 363WR30X0327 Kenmore Refrigerator (Kenmore Refrigerator Model 363.WR30X0327 (363WR30X0327, 363 WR30X0327) Parts)
Enter a part description. DIY Heroes keep it simple, eg. "belt" or "pump".
Search filter:
Clear Filter
Your search term must have 3 or more characters.

$207.55
In Stock
Ice Maker
Part #WR30X10093
This 10 by 5 inch ice maker (Electromechanical Icemaker Kit, Ice Maker Assembly) produces ice. This particular model will produce seven crescent shaped cubes every cycle. It is constructed of plastic and metal, and comes in black/white. This kit includes a set of installation instructions, a 4-pin round plug-in connector, 6 post plug-in c...Read moreonnectors, tube and fill cup. The ideal temperature of a freezer is zero degrees Fahrenheit. If the temperature in your freezer is at an appropriate level yet ice is still not being made, it could be an issue with the water inlet valve or your ice maker assembly. If you determine it is the ice maker, this is the replacement you need. The ice maker can break from normal wear and accidental damage. Ice makers will need to be replaced every 3-10 years depending on the frequency of usage and water quality. This model is mounted on the freezer wall.
Read less

$15.00
In Stock
Union Connector - 5/16 Inch to 5/16 Inch
Part #WR02X11330
Quick connector for plastic water line - 5/16" to 5/16"

No Longer Available
Door Shelf Retainer Bar End Cap - Right Side
Part #WR2X8700
This is the replacement door shelf retainer bar end cap for your refrigerator. An end cap connects to the lower shelf bar on either side, and then snaps into position on the refrigerator door, allowing you to store items in the refrigerator door. To replace the end cap, simply disengage the whole bar assembly from the refrigerator door, t...Read morehen disengage the hook on the end cap from the rest of the bar assembly. Snap the end cap back into place, and connect it back to the refrigerator door. This part is sold individually.
Read less

No Longer Available
Door Shelf Retainer Bar End Cap - Left Side
Part #WR2X8699
This part is the replacement door shelf retainer bar end cap for the left side of your refrigerator door. The end cap is approximately 4 inches by 5 inches and is made of white plastic. The end cap snaps into place on the refrigerator door so you can attach the door shelf retainer bar to the inner door liner. The main reason to replace th...Read moree end cap is if it is broken, and the retainer bar cannot connect to the refrigerator door. To replace the end cap, simply disconnect it from the refrigerator door and the shelf retainer bar, and replace it with a new end cap. This part is for the left side of the shelf bar only, and the cap for the right side is sold separately. This is an OEM part from the manufacturer.
Read less

No Longer Available
Vegetable Drawer Slide Rail - Right Side
Part #WR17X2769

No Longer Available
Touch-Up Paint - White
Part #72017
This touch-up paint can be used on a wide variety of household appliances. It is most often used on washers, dryer, refrigerators, dishwashers, ranges, freezers, trash compactors, or microwaves. It is an 18 ml, or.6 fluid ounces, bottle of touch-up paint. It also features a brush for easy application. This quick-drying, long-lasting paint...Read more is perfect for fixing any nicks, scratches, or chips on the exterior of your appliance. This paint is white in color, and provides a durable finish.
Read less

No Longer Available
Vegetable Drawer Slide Rail - Left Side
Part #WR17X2770
This is the replacement vegetable drawer side rail for the left side of your refrigerator. It is made of white plastic and is approximately 18 inches long, and 6 inches wide. The slide rail supports the crisper drawer as it slides in and out. If the slide rail is broken, you may have difficulty sliding the drawer in and out. This rail is ...Read morefor the left side of the drawer, and the slide for the right side is sold separately. This part is sold individually and is and OEM part.
Read less

No Longer Available
Center Cover Slide
Part #WR17X2768
This slide cover or slide rail is a genuine OEM replacement part for your refrigerator. This part is made of white plastic. To install it, simply remove the glass shelf, remove the current slide rail and put the new one in place.

No Longer Available

$36.85
In Stock
Spray Paint - 12 oz. - White
Part #350930
Appliance spray paint is a great way to cover up any chips and scratches that have appeared on your appliances. Instead of replacing the part entirely, this is an easy fix. This is also a great way to give a fresh new look to any handles or areas that have discoloring due to wear. Make sure to clean the area before you begin and wear a pr...Read moreotective mask for safety. Give the can a good shake and spray a few inches away from the surface. Apply the paint until the area is fully covered as desired. Wait until the paint has dried before using the appliance.
Read less

$7.47
In Stock

$46.34
In Stock
Sheet Metal Screws - 12 per pack
Part #WR1X1726D
This is a replacement pack of sheet metal screws for your refrigerator. These are Phillips-head screws, and are approximately ¾ of an inch long. This package contains 12 screws. These screws are typically used to attach your refrigerator or freezer door handles to the door. These screws are OEM parts sourced directly from the manufacturer.
Common Symptoms of models starting with 363W
How this model fails, and the parts that fix it.
Leaking
Fixed by
these parts
these parts


Show All
Ice maker not making ice
Fixed by
these parts
these parts

Show All
Not dispensing water
Fixed by
these parts
these parts
Show All
Ice maker won’t dispense ice
Fixed by
these parts
these parts
Show All
Ice maker dispenses too little ice
Fixed by
these parts
these parts
Show All
Ice maker dispenses too much ice
Fixed by
these parts
these parts
Show All
Won’t start
Fixed by
these parts
these parts
Show All
Noisy
Fixed by
these parts
these parts
Show All
Watch our pros, then fix it yourself.

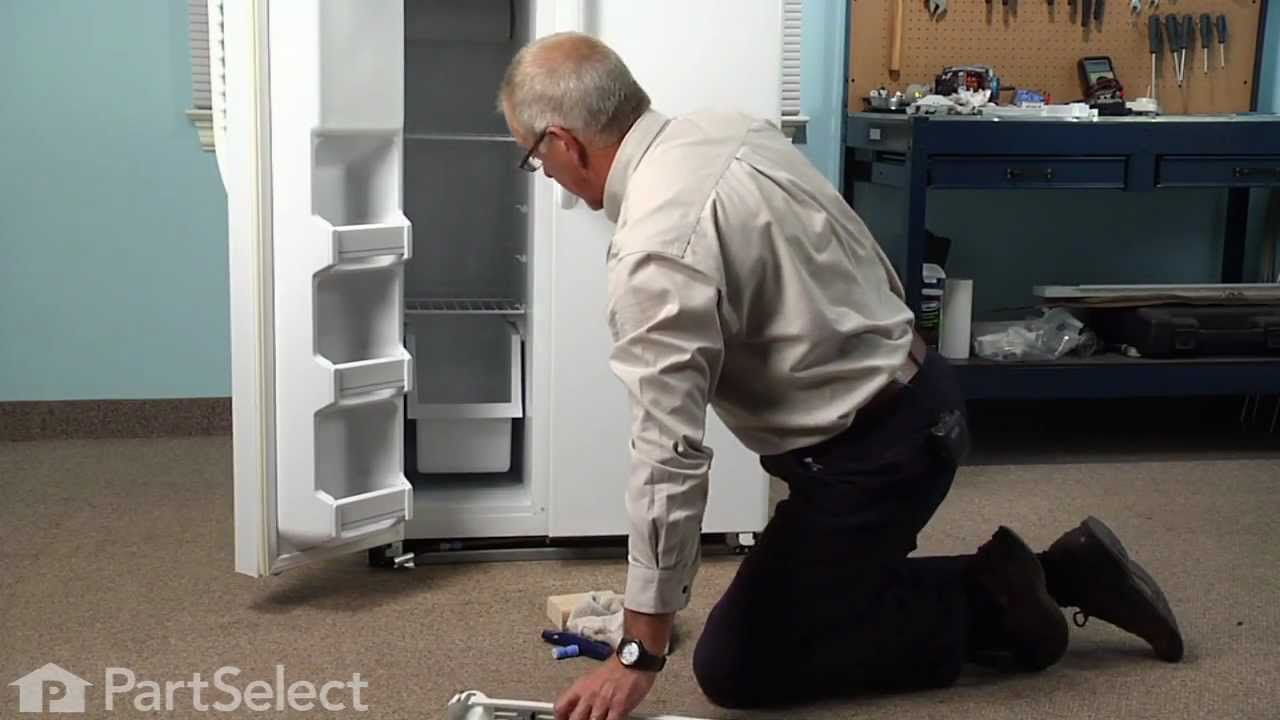
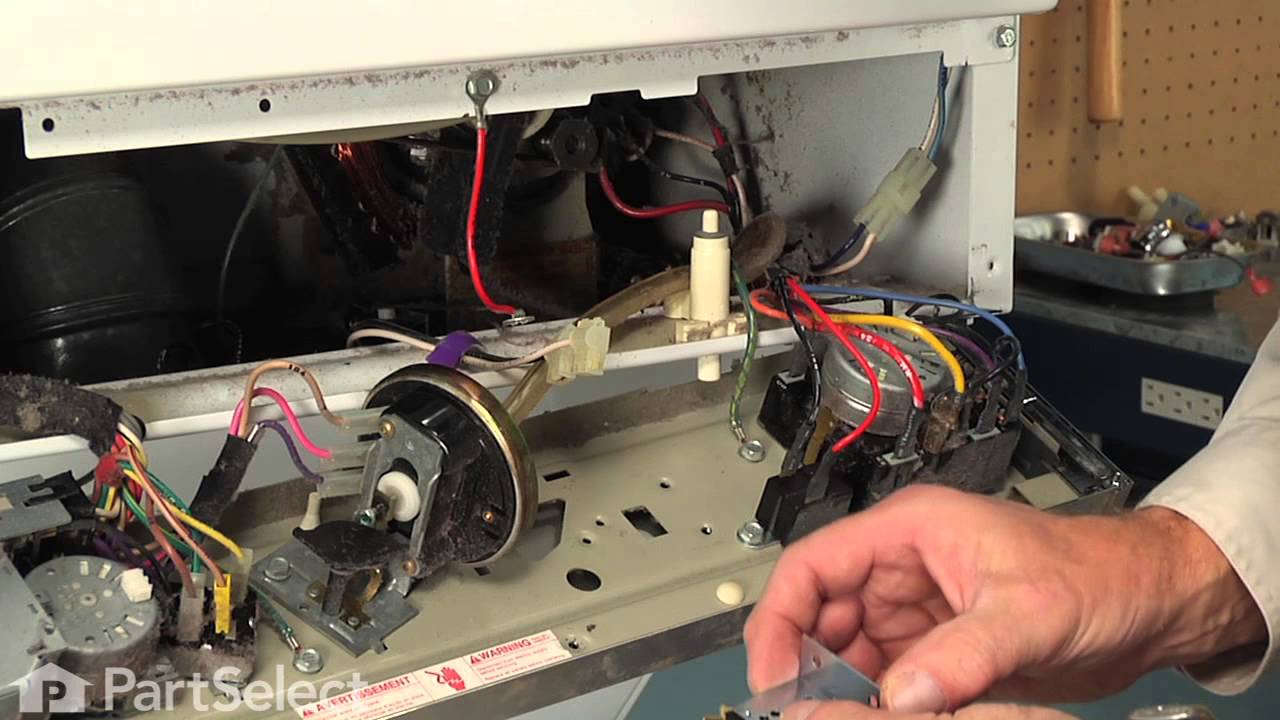

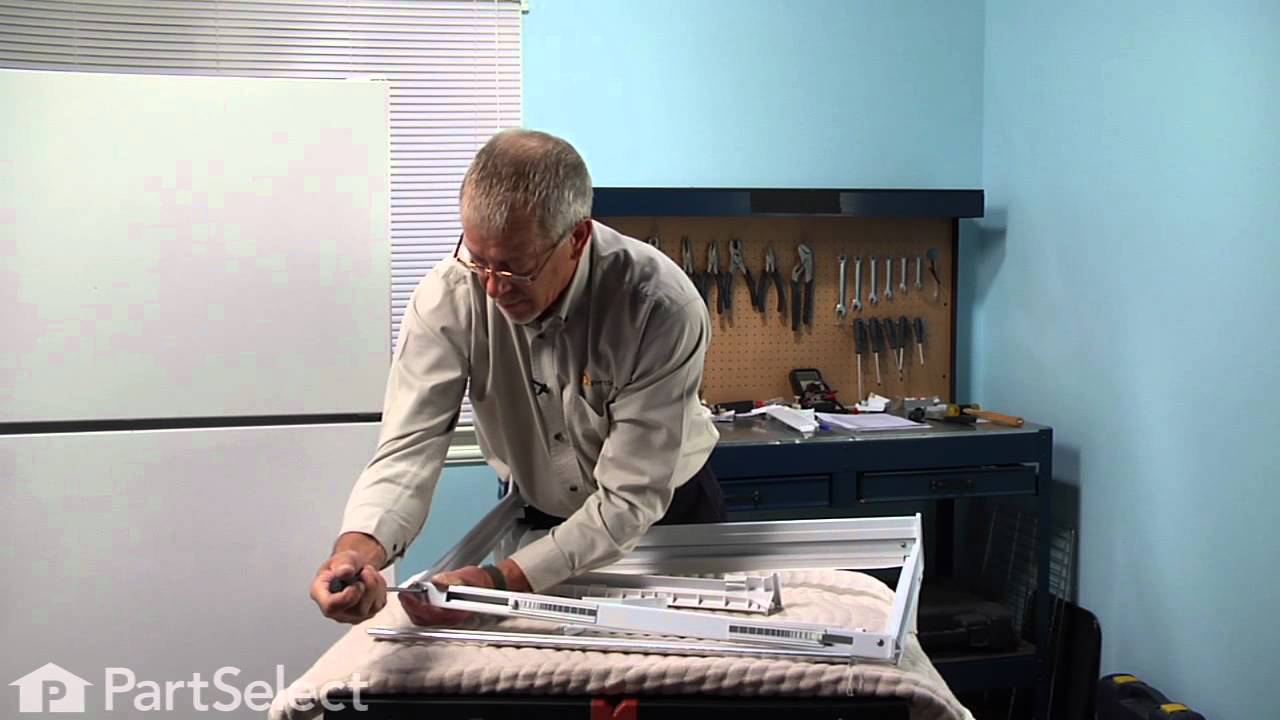
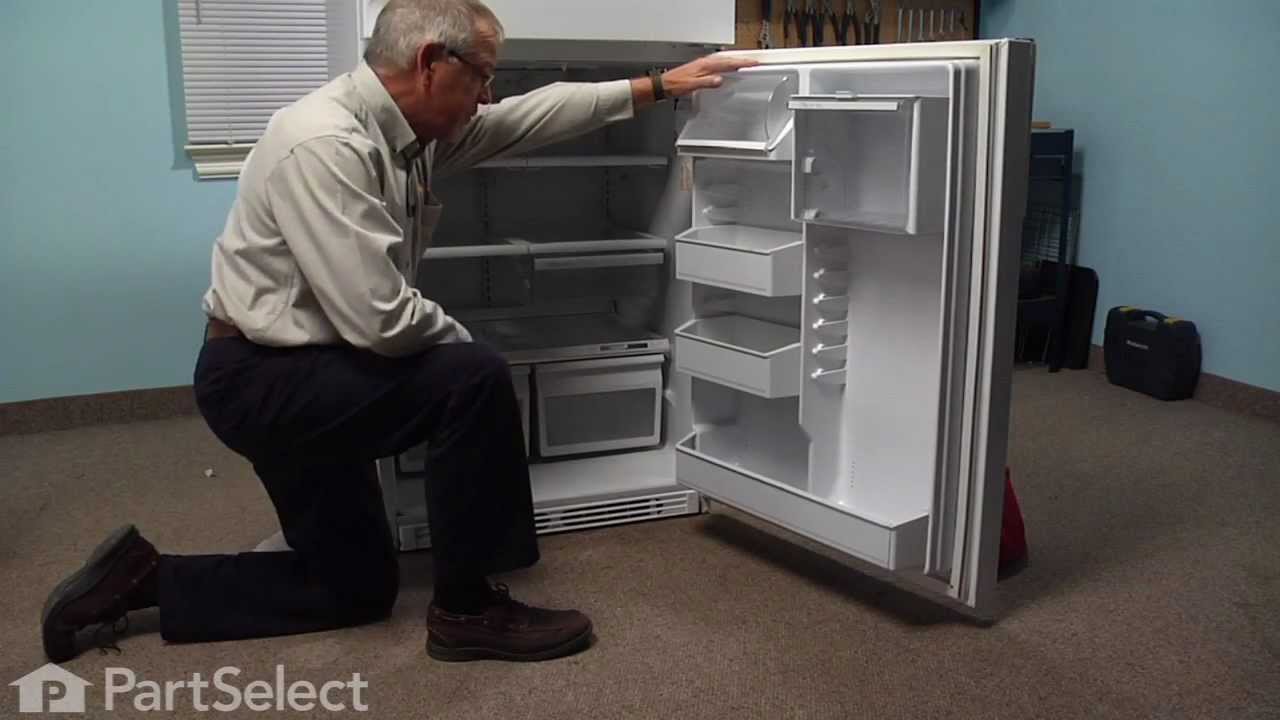
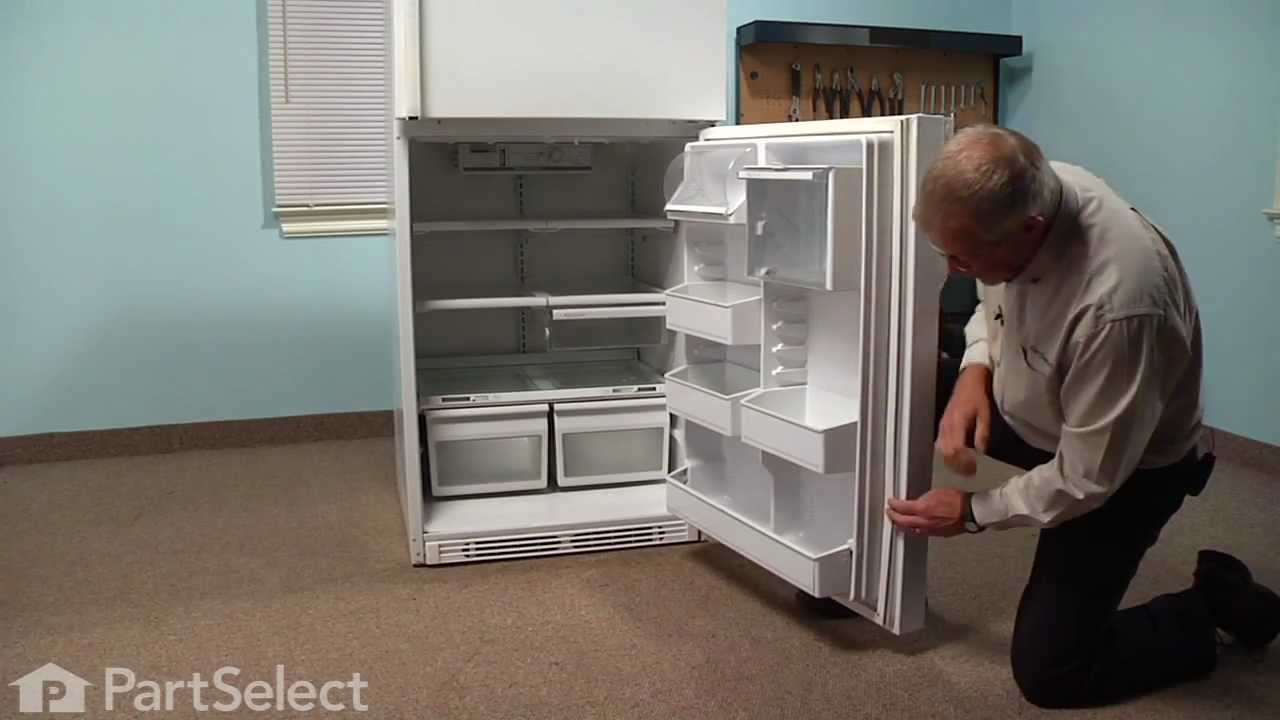
See how others fixed this model. Time, tools, difficulty, and steps that lead to victory!
View More