


 My Orders




363D Kenmore Dryer - Overview
Models starting with 363D
Click on the best match to narrow your results.
- 363DDE8109VML Kenmore Dryer
- 363DDE8200GAL Kenmore Dryer
- 363DDE8509RCMA Kenmore Dryer (Kenmore Dryer Model 363.DDE8509RCMA (363DDE8509RCMA, 363 DDE8509RCMA) Parts)
- 363DDE8509RCMAA Kenmore Dryer
- 363DDE8509RCMW Kenmore Dryer (Kenmore Dryer Model 363.DDE8509RCMW (363DDE8509RCMW, 363 DDE8509RCMW) Parts)
- 363DDE8509RCMWW Kenmore Dryer
- 363DDE9200GAL Kenmore Dryer
- 363DDE9600RCMA Kenmore Dryer (Kenmore Dryer Model 363.DDE9600RCMA (363DDE9600RCMA, 363 DDE9600RCMA) Parts)
- 363DDE9600RCMAA Kenmore Dryer
Enter a part description. DIY Heroes keep it simple, eg. "belt" or "pump".
Search filter:
Clear Filter
Your search term must have 3 or more characters.

$17.15
In Stock
DRYER FRONT BEARING WHITE 2PK
Part #WE03X37318
This authentic, white Drum Bearing Slide, also known as the bearing drum slide, glide, or pad, is a plastic, easy-to-install part for your dryer. It replaces the dryer's front drum slide to allow for easier movement. You'll know if this part is an issue if your dryer is unable to tumble properly or is very noisy. Damage can come from reg...Read moreular use. The part attaches to the outermost side of the bearing. Check both slides for signs of wear, because they often wear at the same rate, and should be replaced at the same time; there are 2 of these particular slides per dryer. This part is sold individually, so you'll need to purchase multiple parts if replacing both at the same time.
Read less

$29.47
On Order
Dryer Belt
Part #WE12X10014
This belt has a length of 87 inches, width of 1/4”, flat, with 4 ridges.

$32.63
In Stock
Idler Pulley Wheel
Part #WE12X83
A dryer's idler pulley wheel serves to help the belt to rotate the drum.

$142.49
In Stock
Heating Element and Housing
Part #WE11M23
Note: The insulators on the housing are NOT sold separately.

$16.05
In Stock

$64.69
In Stock

No Longer Available

$37.91
In Stock
SCREW-PKG 12
Part #WZ5X158D

$41.07
Special Order
GR STRAP Assembly
Part #WE1X1172

$16.07
In Stock
STRAP MOTOR
Part #WE13X200

$38.85
Special Order
EXHAUST DUCT
Part #WE14X20421

No Longer Available
KNOB & CLIP
Part #WE1X1180
Common Symptoms of models starting with 363D
How this model fails, and the parts that fix it.
Noisy
Fixed by
these parts
these parts


Show All
Marks left on clothes
Fixed by
these parts
these parts
Show All
Drum Not Spinning
Fixed by
these parts
these parts
Show All
Not Heating
Fixed by
these parts
these parts

Show All
Watch our pros, then fix it yourself.

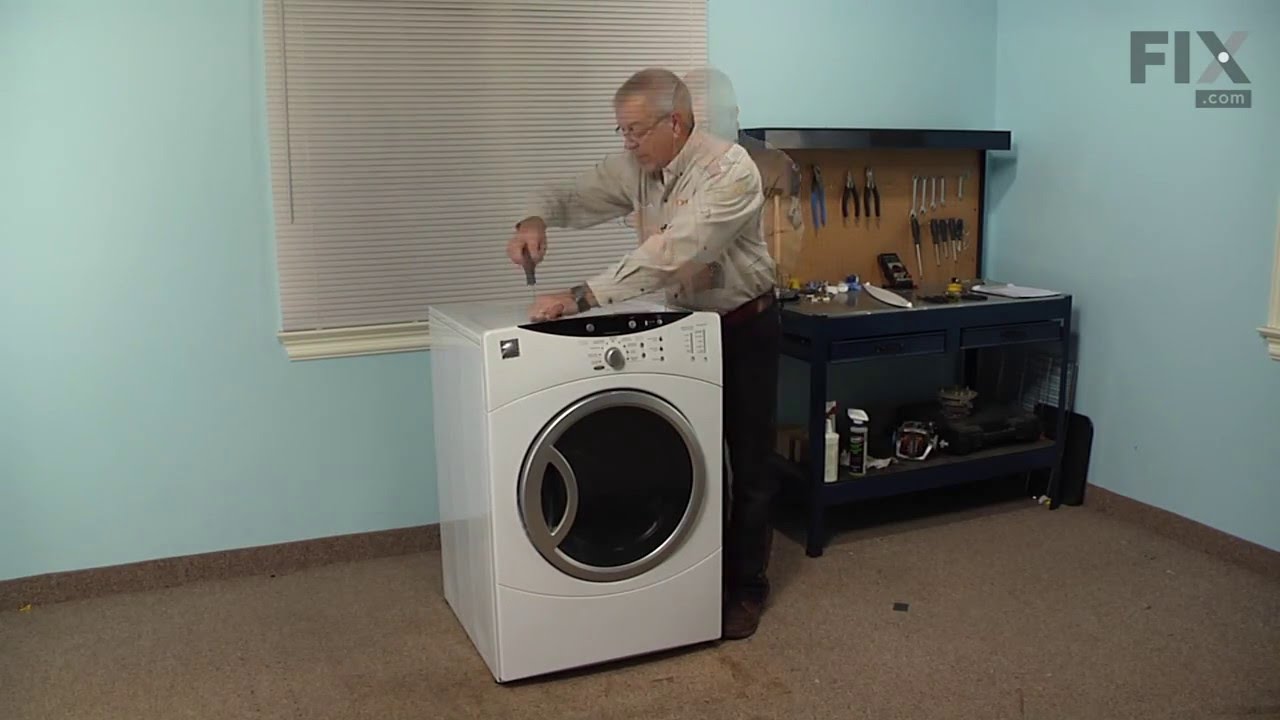
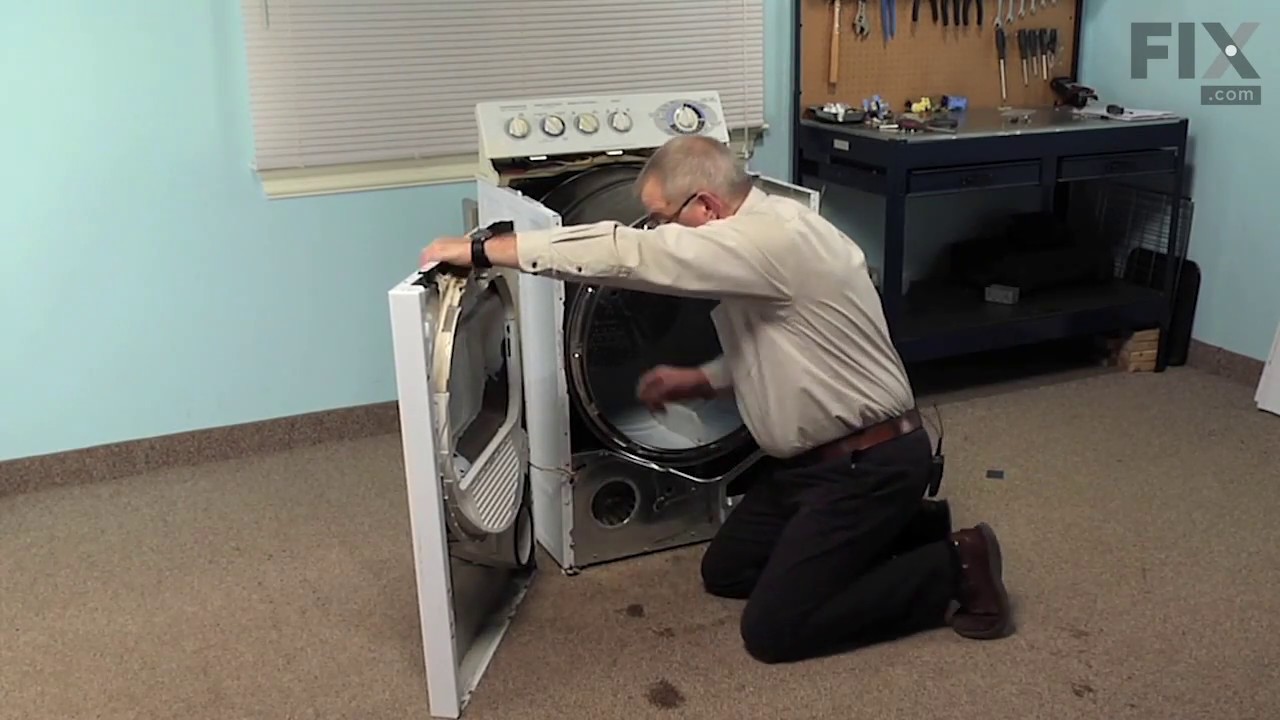
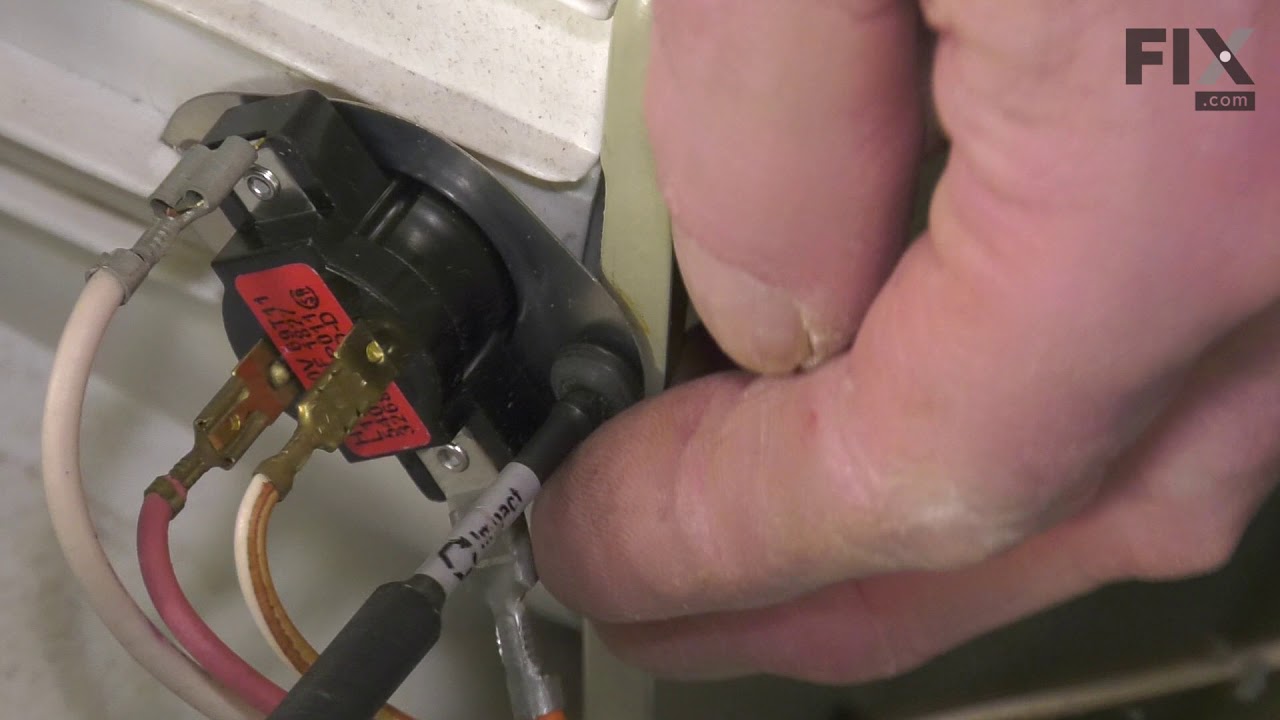
See how others fixed this model. Time, tools, difficulty, and steps that lead to victory!
View More