


 My Orders




36393 Kenmore - Overview
Models starting with 36393
Click on the best match to narrow your results.
- 3639308810 Kenmore Range
- 3639321191 Kenmore Range
- 3639324190 Kenmore Range
- 3639324590 Kenmore Range
- 3639330193 Kenmore Range
- 3639332783 Kenmore Refrigerator
- 3639334190 Kenmore Range
- 3639344190 Kenmore Range
- 3639354190 Kenmore Range
- 3639354590 Kenmore Range
- 3639378810 Kenmore Range
- 3639378880 Kenmore Range
Enter a part description. DIY Heroes keep it simple, eg. "belt" or "pump".
Search filter:
Clear Filter
Your search term must have 3 or more characters.

$52.67
In Stock
Bake Element - 220V 2300W
Part #WB44X5082
This bake element goes in the bottom of your range and is 220 volts and 2300 watts. This closed hinged style element with screw-in terminals measures at 15-1/4 inches long and 18-1/4 inches wide. The bottom bake element provides heat for baking. Tools you will need for this repair include pliers, screwdrivers, and an adjustable wrench. Be...Read morefore you begin this installation, remember to shut off the house circuit breaker or unplug your range. For safety purposes we also recommend wearing work gloves.
Read less

$47.40
In Stock
Bake Element
Part #WB44K5012
At the floor of your electric oven is the bake element. This partially open-style element comes with push-on terminals. The bake element will likely provide most of the heat for baking. Therefore, if the oven is not heating properly, or if food is burnt on top and undercooked below, your bake element may be at fault. If you can see that t...Read morehe element has been separated or blistered, you should replace the part immediately. If there is no visible damage, turn the oven on and check to see if the element heats evenly. If the element is not heating evenly, or if it is not heating at all, use a multi-meter to test for electrical continuity to see if the element needs replacing.
Read less

$207.55
In Stock
Ice Maker
Part #WR30X10093
This 10 by 5 inch ice maker (Electromechanical Icemaker Kit, Ice Maker Assembly) produces ice. This particular model will produce seven crescent shaped cubes every cycle. It is constructed of plastic and metal, and comes in black/white. This kit includes a set of installation instructions, a 4-pin round plug-in connector, 6 post plug-in c...Read moreonnectors, tube and fill cup. The ideal temperature of a freezer is zero degrees Fahrenheit. If the temperature in your freezer is at an appropriate level yet ice is still not being made, it could be an issue with the water inlet valve or your ice maker assembly. If you determine it is the ice maker, this is the replacement you need. The ice maker can break from normal wear and accidental damage. Ice makers will need to be replaced every 3-10 years depending on the frequency of usage and water quality. This model is mounted on the freezer wall.
Read less

$58.42
In Stock
Surface Element - 8 Inch - 2350W
Part #WB30M2
The surface element, also known as the coil surface element, transfers heat to the area on top of range. The element is 8 inches in diameter. If your surface element does not heat, over heats, or heats inconsistently, replacing this part can be the solution to your issue. To determine whether the element is defective, use a multimeter to ...Read moretest it. Before installing the new element, make sure the drip bowl is properly aligned with the notch of the pan. Insert the new element into the reciprocal at a 40 degree angle. Refer to the instructions provided by the manufacturer for more guidance.
Read less

$21.95
In Stock
Light Bulb - 40W
Part #40A15
This 40-Watt light bulb is sold individually.
It is specially designed to withstand extreme temperatures, so this bulb is compatible with a variety of appliance types including refrigerators, ranges, microwaves, and dryers. It features a frosted glass bulb with a standard metal socket base, which allows you to easily unscrew the burnt-out light and twist the new bulb into place.

$51.61
In Stock
Surface Element - 6 Inch - 240V
Part #WB30M1
If you notice that your surface element will not heat properly, you may need to replace it. This surface element is 6 inches in diameter and 240V. It is a Y-frame surface burner element with five turns and a metallic center medallion. When completing this repair, if you notice any signs of corrosion or overheating on the terminal, you may...Read more want to consider replacing the terminal block as well as the surface element. Many of our customers have rated this repair as easy. To complete this repair, simply tilt the old element up and remove it, and then replace it with your new one.
Read less

$53.20
In Stock
Range Infinite Heat Switch Kit
Part #WB21X36771
The infinite switch controls the stove top surface burner. This switch will work with most of the electrical range models with coil burner elements.

$37.91
In Stock
Range Terminal Block
Part #WB17X5113
This kit includes one ceramic block with 6" wire leads, 2 wire nuts and 2 heat shrink with mounting bracket.

$23.60
In Stock
Drip Bowl - 6"
Part #WB31K5024
This is a drip bowl for your range or cooktop. The drip bowl sits beneath the burner of an electric range and collects any spills that occur while cooking. The bowl is 6 inches in diameter and represents the smaller burner for your range. This product is sold individually and is an authentic OEM part sourced directly from the manufacturer.

$22.52
In Stock
Drip Bowl - 8 Inch
Part #WB31K5025
The surface element or the coil surface element transfers heat to the area on top of the range. The element is 8 inches in diameter. If your surface element does not heat, overheats, or is inconsistent, replacing this part can be the solution. If you would like to determine whether the element is defective, use a multimeter. Before instal...Read moreling your new element, make sure that the drip bowl is properly aligned with the notch of the pan. Insert new element into the reciprocal at a 40 degree angle. Refer to the instructions provided by the manufacturer for more guidance.
Read less

No Longer Available
Vegetable Drawer Slide Rail - Right Side
Part #WR17X2769

No Longer Available
Vegetable Drawer Slide Rail - Left Side
Part #WR17X2770
This is the replacement vegetable drawer side rail for the left side of your refrigerator. It is made of white plastic and is approximately 18 inches long, and 6 inches wide. The slide rail supports the crisper drawer as it slides in and out. If the slide rail is broken, you may have difficulty sliding the drawer in and out. This rail is ...Read morefor the left side of the drawer, and the slide for the right side is sold separately. This part is sold individually and is and OEM part.
Read less
Exact Part matches for your search term

No Longer Available
No Longer Available
$17.87
Special Order
Common Symptoms of models starting with 36393
How this model fails, and the parts that fix it.
Little to no heat when baking
Fixed by
these parts
these parts


Show All
Element will not heat
Fixed by
these parts
these parts

Show All
Ice maker not making ice
Fixed by
these parts
these parts


Show All
Oven not heating evenly
Fixed by
these parts
these parts
Show All
Leaking
Fixed by
these parts
these parts


Show All
Ice maker won’t dispense ice
Fixed by
these parts
these parts
Show All
Oven is too hot
Fixed by
these parts
these parts
Show All
Will Not Start
Fixed by
these parts
these parts
Show All
Little to no heat when broiling
Fixed by
these parts
these parts
Show All
Ice maker dispenses too little ice
Fixed by
these parts
these parts
Show All
Ice maker dispenses too much ice
Fixed by
these parts
these parts
Show All
Won’t start
Fixed by
these parts
these parts
Show All
Noisy
Fixed by
these parts
these parts
Show All
Watch our pros, then fix it yourself.

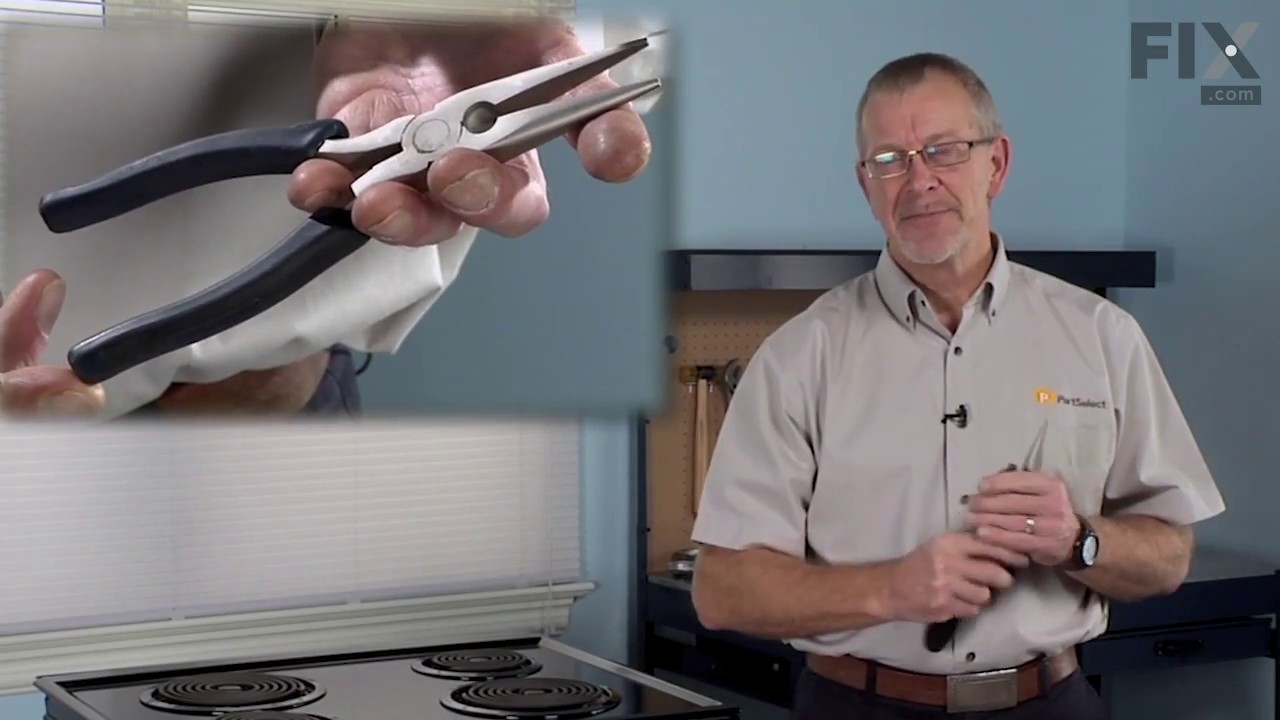
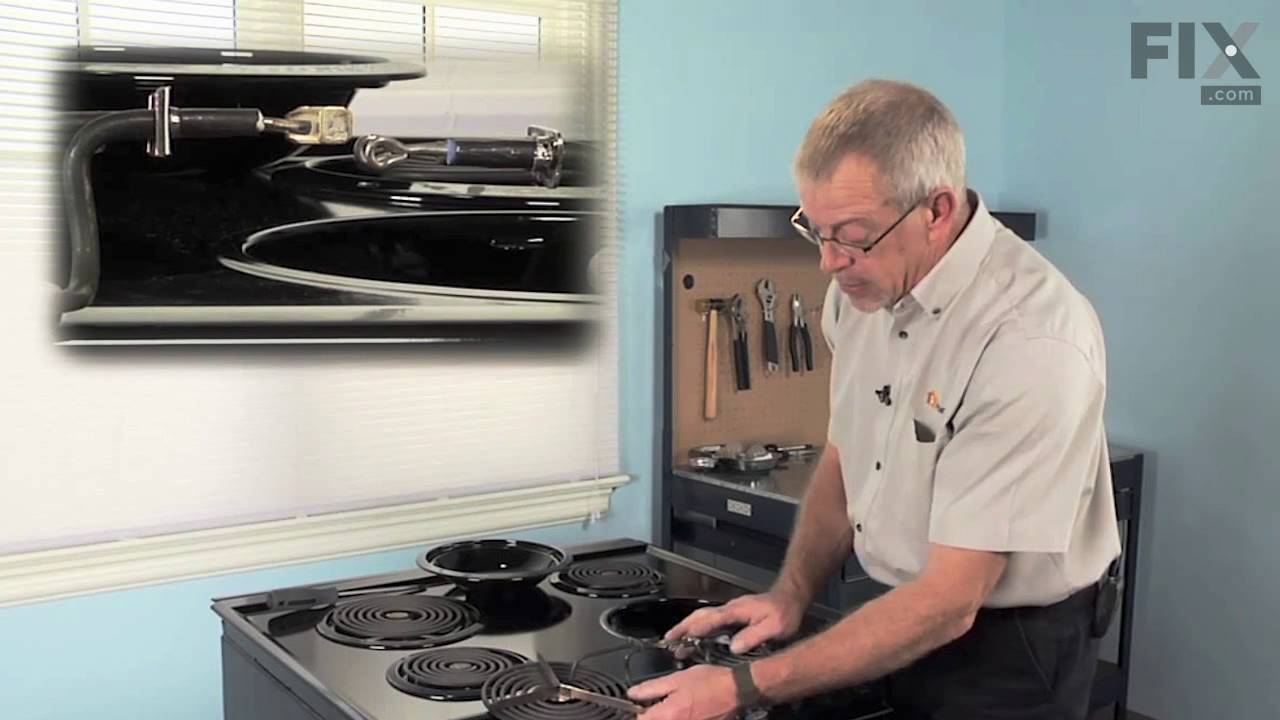
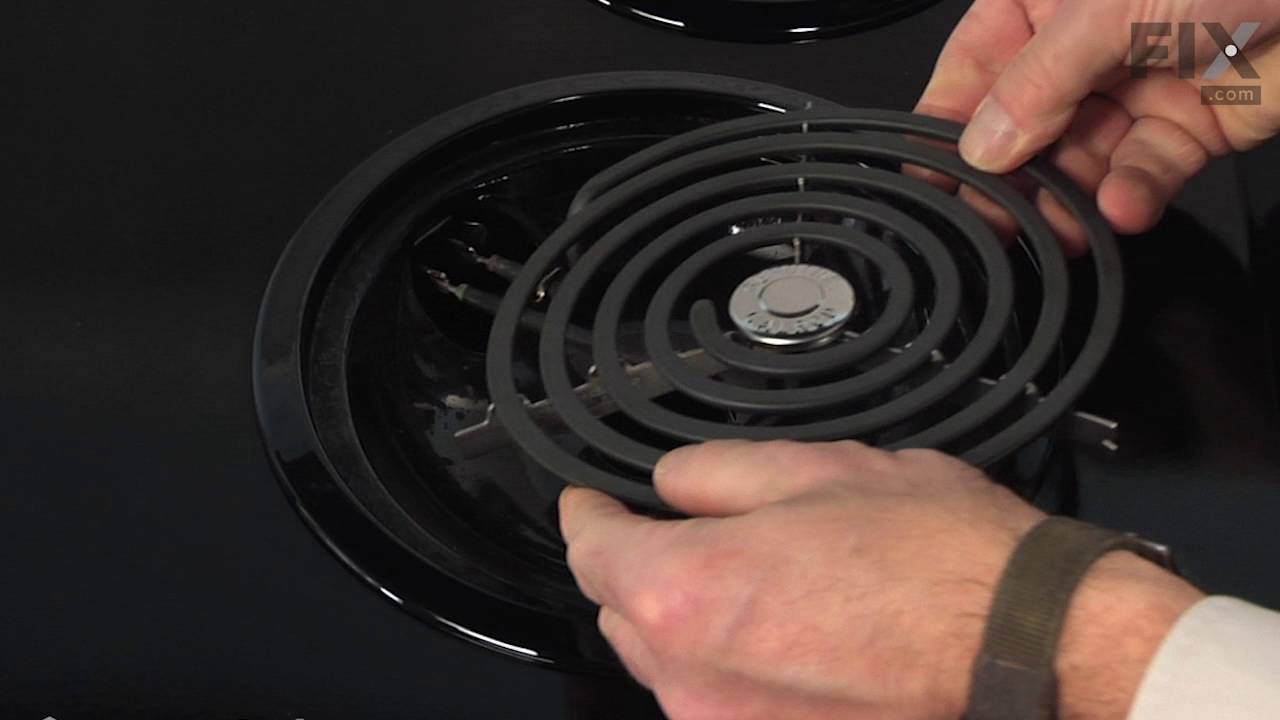
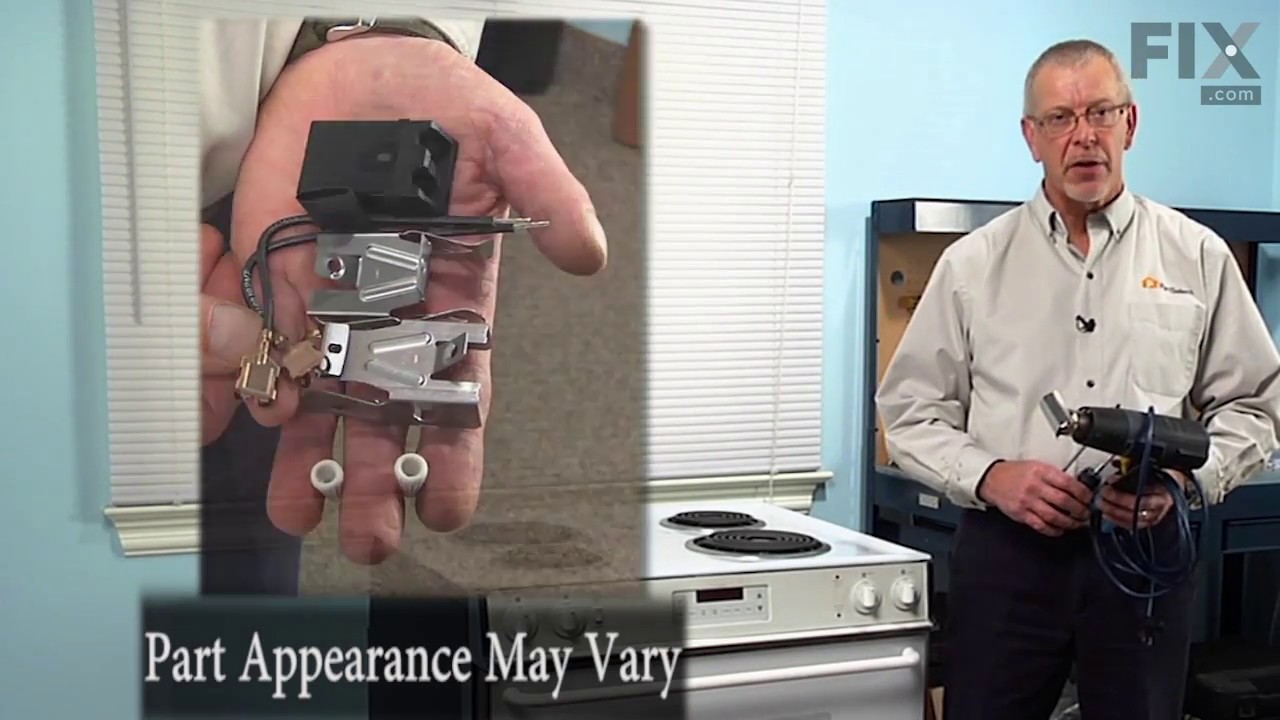

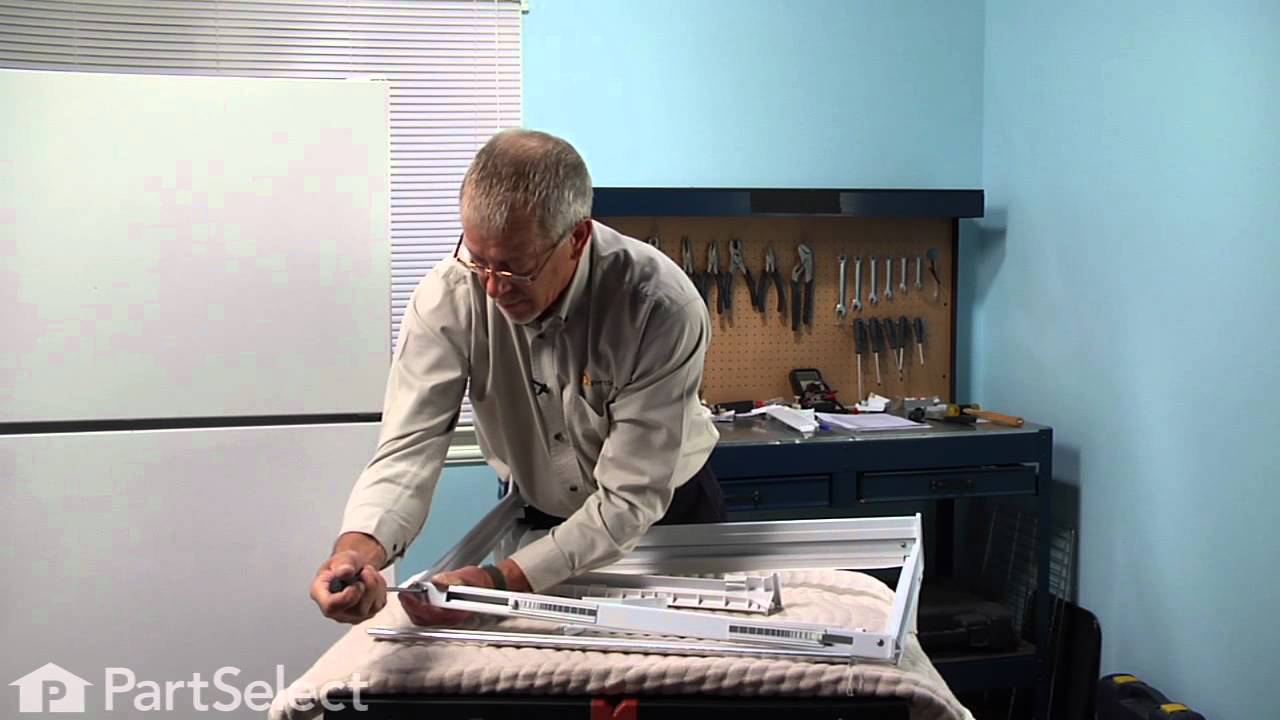
See how others fixed this model. Time, tools, difficulty, and steps that lead to victory!
View More