EasyApplianceParts is now PartSelect! We've merged our sites to provide a better shopping experience for you.   Full Details

Find Parts

Parts Departments

Top Model Types

Top Brands

Repair Help

Expert Repair Videos

Keep typing for more specific results...

36348047892 Kenmore Refrigerator - Overview

Enter a part description. DIY Heroes keep it simple, eg. "belt" or "pump".

Search filter:
Clear Filter
Your search term must have 3 or more characters.
Bottom Hinge Assembly – Part Number: WR13X10020
$55.23
In Stock
Bottom Hinge Assembly
★★★★★
★★★★★
(30)
Part #WR13X10020
Comes with both cam risers. This hinge kit is suitable for the bottom of either the freezer door or the refrigerator door of some refrigerators.
Evaporator/Condensor Fan Grommet – Part Number: WR02X10098
$16.05
In Stock
Evaporator/Condensor Fan Grommet
★★★★★
★★★★★
(14)
Part #WR02X10098
This evaporator fan motor grommet, or condenser fan grommet is built for refrigerators. It provides a cushion between the fan motor and the motor mounting bracket. It is made or round, black plastic and is approximately one inch in diameter. If your grommet is torn or damaged and you are getting noise from the fan motor, you may need to replace it. This is an OEM part sourced directly from the manufacturer.
Light Bulb - 40W – Part Number: 40A15
$21.95
In Stock
Light Bulb - 40W
★★★★★
★★★★★
(10)
Part #40A15
This 40-Watt light bulb is sold individually. It is specially designed to withstand extreme temperatures, so this bulb is compatible with a variety of appliance types including refrigerators, ranges, microwaves, and dryers. It features a frosted glass bulb with a standard metal socket base, which allows you to easily unscrew the burnt-out light and twist the new bulb into place.
Hinge Cam Riser – Part Number: WR02X10140
$17.15
In Stock
Hinge Cam Riser
★★★★★
★★★★★
(10)
Part #WR02X10140
This part helps with the closing of the door and helps keep it in position.
Screw – Part Number: WH2X930
$16.05
In Stock
Screw
★★★★★
★★★★★
(1)
Part #WH2X930
This screw is sold individually.
Drawer Slide Rail - Left Side – Part Number: WR72X10010
No Longer Available
Drawer Slide Rail - Left Side
★★★★★
★★★★★
(2)
Part #WR72X10010
This part is the replacement drawer slide rail for your refrigerator. It is made of white plastic and is approximately 16 inches long and 1.5 inches wide. The crisper draw will slide in and out along this rail. If the rail is damaged or missing, the crisper will either hang from one side, or it will not stay in place at all. The drawer slide rail is for the left side of the drawer only, so be sure to check that you are replacing the correct drawer rail. This part is sold individually and is an OEM part sourced directly from the manufacturer.
Screw – Part Number: WR01X10038
No Longer Available
Screw
Part #WR01X10038
This screw is sold individually. Size 8 -18 ab fltr 5/8.
Drawer Slide Rail - Right Side – Part Number: WR72X10009
No Longer Available
Drawer Slide Rail - Right Side
★★★★★
★★★★★
(2)
Part #WR72X10009
This drawer track supports the right hand side of the sliding drawer.
Screw -  8-18 AB IHW 5/8 S – Part Number: WR01X10652
$15.00
In Stock
Screw - 8-18 AB IHW 5/8 S
Part #WR01X10652
Sold individually.
Screw 12-24 tt hx .811 – Part Number: WR01X10600
$15.00
In Stock
Screw 12-24 tt hx .811
Part #WR01X10600
Condenser Fan Motor - 115V – Part Number: WR60X187
$252.05
In Stock
Condenser Fan Motor - 115V
★★★★★
★★★★★
(6)
Part #WR60X187
This part comes with 3 round pin connection terminals. This fan motor circulates the air through the refrigerator grille and cools the compressor and condenser coils. It also helps to evaporate extra water in the drain pan.
Freezer Wire Shelf – Part Number: WR71X10715
No Longer Available
Freezer Wire Shelf
★★★★★
★★★★★
(4)
Part #WR71X10715
Let's talk about your GE appliance and its predicament. Facing a little water issue? Not sure how to handle it? Relax. We have just the solution for you - our trusted GE Float Switch Assembly. It plays a crucial role in keeping your appliance safe and sound. Here's why it's so important: Think of this component as a vigilant guard on duty 24/7. Its job is to control your water fill valve, stepping in to shut it off if the water level gets too high before the fill timer says it's fine. In simple terms, it helps prevent flooding. No excess water, no nasty floods, and no damage to your precious appliance ? isn?t that a relief? Robust and reliable, the GE Float Switch Assembly certainly proves it's worth its weight in gold when it comes to preventing water-related disasters. So upgrade to this little lifesaver now and secure the safety and functionality of your dishwasher. Trust us, your appliance will thank you with a smooth and flawless performance.

Common Symptoms of the 36348047892

How this model fails, and the parts that fix it.

Watch our pros, then fix it yourself.
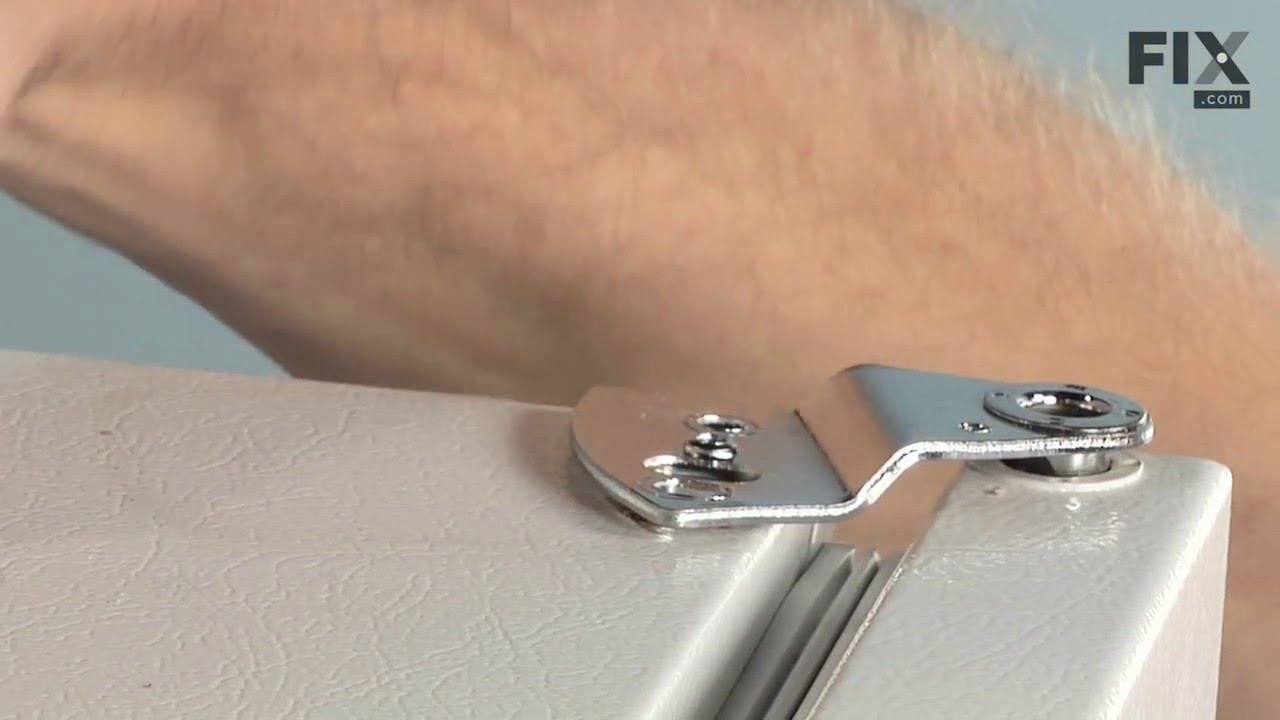
See how others fixed this model. Time, tools, difficulty, and steps that lead to victory! View More

Search repair tips from other customers using simple keywords like "replace", "fit", "remove", "inspect". DIY doesn't mean you have to do it alone!

Search filter:
Clear Filter
Your search term must have 3 or more characters.
My wife said, "the refrigerator door won't close".
54 of 58 people found this instruction helpful.
  • Gregory from Zephyrhills, FL
  • Really Easy
  • 15 - 30 mins
  • Socket set
Our refrigerator is a double door unit with ice and water in the left door. The right door was the one with the problem. It was 5:15 AM when the problem occured. I could see that the door was out of alighnment and had dropped down - preventing it from closing. I lifted the door and closed it. I wrote down the model number and found a detailed drawing of the appliance on the web site "partselect.com". When the hing earrived I compared it to the broken one. I removed all the food stored on the door, put several pieces of wood under the door to shim it to the same height as the adjacent door. I then removed two bolts from the refrigerator with a 1/4" socket set. I put the shim from the old hing aside for later. I removed two bolts from the door with the same socket -Note a metal tab had to be bent silghtly so the wrench could go on the head of the bolt- I removed the plastic cam and made note of its orientation and that of the shim above it on the door. I put the shim and new cam in place on the door and installed the 2 bolts. I inserted the pin of the new hing into the hole in the cam (I had just mounted) on the door. I put the shim (the one put aside earlyer) behind the hing and replaced the two bolts. I held the shim and hing up against the door as I tightened the two bolts. When I was satisfied that the bolts were tight I removed the wooden blocks that were holding the door up so the door was supported by the new bottom hing assembly. The door now opperates perfectly and the refrigerator was not taken out of service for the repair. Total time including cleanup was a little over 15 minutes.
Was this helpful?
Thank you for voting!
Panel hot to touch between freezer & refrigerator. Motor hot, fan not rotating.
32 of 39 people found this instruction helpful.
  • Kimberly from Grandy, NC
  • Really Easy
  • 15 - 30 mins
  • Screw drivers
Unplugged refrigerator, removed three screws to take out part, disconnected the wires and removed bad unit. Removed fan blade from old unit and attached to the new unit. Attached wires, placed the new motor back in. Plugged it back in, within 20 minutes panel between freezer and refrigerator was cool to touch.
Was this helpful?
Thank you for voting!
Fridge door wouldn't close easily like it used to
21 of 22 people found this instruction helpful.
  • Christopher from Roseville, MN
  • Really Easy
  • Less than 15 mins
  • Nutdriver, Socket set
This is a sibe-by-side refrigerator/freezer that needed a new lower hinge set for the fridge door.

First I removed everything from inside the fridge door, closed it, then loosened the top hinge bolts with an 8mm socket on a 1/4-inch ratchet. Using an 8mm nutdriver, I removed one bolt and loosed the other just far enough to be able to lift the hinge and swing it out of the way. (These bolts are long. The nutdriver is faster than the ratchet but you need a ratchet or a wrench to first break them loose.) Then I just lifted the door off the bottom hinge and set it aside.

The plastic lower front grill was covering the lower hinge but that grill is just held at the ends by spring clamps -- popped off easily so I could get to the hinge bolts. Again, 8mm bolts, just remove & replace hinge. I also had to replace the upper half of the door closer cam, which is screwed to the bottom of the door, being careful that the holes lined up: cam, shim, door holes.

Now the tricky part was lifitng the door back on the lower hinge. (It helps to have an assistant at the bottom to locate the hole for you.) Once the door was up, I swung the top hinge over, ran the two bolts in finger tight with my nutdriver, checked & adjusted the spacing* of the fridge door and tightened the bolts. This was all very easy! (*^_^*)

*On a side-by-side, you'll want the door to be straight up & down with a consistent gap top to bottom with the freezer door. The hinge has some slack for adjustment by positioning the door, then tightening the bolts. You'll see what I mean.
Was this helpful?
Thank you for voting!