


 My Orders




36314038001 Kenmore Dishwasher - Overview
Diagrams for 36314038001
See every part. Know exactly what you need.

Enter a part description. DIY Heroes keep it simple, eg. "belt" or "pump".
Search filter:
Clear Filter
Your search term must have 3 or more characters.

$79.71
On Order
Door Gasket - White
Part #WD08X10057
This one piece dishwasher door gasket provides a water tight seal to keep water from leaking out of your dishwasher.

$78.26
In Stock
Water Inlet Valve
Part #WD15X10003
This water inlet valve should be located behind the lower kickplate panel in either the right or left corner. The attaching solenoids on the valve open and close according to the desired amount of water needed. This valve has a 3/8" inlet and comes with the mounting bracket.

$34.74
In Stock
Rinse Aid Fill Cap
Part #WD12X10284
This part helps keep the rinse aid the dispenser until its needed.

$16.05
In Stock
Hinge Arm Link
Part #WD14X10009
The hinge link on your dishwasher connects the spring to the dishwasher door hinge. If the hinge link becomes cracked or damaged, you may not be able to shut or lock your dishwasher door properly. In this case, you will need to replace the hinge link. Pull out your dishwasher to inspect the hinge and spring, if the link is broken, it may ...Read morebe disconnected and on the ground already. If not, you can remove the hinge arm link by simply disconnecting it from the hinge and spring, then replacing it with the new part. The hinge arm link is a small piece of white plastic about an inch and a half long. It is sold individually, and is an OEM part from the manufacturer.
Read less

$63.64
In Stock

$198.71
In Stock
Motor and Pump Kit
Part #WD26X10013
This is a pump and motor kit for your dishwasher. This assembly replaces many old-style pump and motor kits that were manufactured since 1970. The instructions are included with this kit in to assist you. Take note that this is a completely redesigned kit by the manufacturer and now includes the drain solenoid. You may need to replace thi...Read mores part is if your appliance is leaking, not draining properly, noisy, or will not start or clean your dishes properly.
Read less

No Longer Available
Impeller and Seal Kit
Part #WD19X10032
The impeller and seal kit is used in a dishwasher. The kit includes all the parts needed to do this repair, including the impeller, seal, blade, filter, skidder and skidder holder. If your washer is leaking, not cleaning dishes properly, or not draining, then replacing some parts in the pump can help solve the issues mentioned. The tools ...Read moreneeded for this installation project are: 5/16 nut driver, 1/4 inch nut driver, flat-blade screwdriver, Phillips screwdriver, and pliers. Refer to the manual provided by the manufacturer for installation instructions and accurate guidance. Remember to unplug your dishwasher from the power source and wear work gloves as a safety precaution.
Read less

$28.42
In Stock
Detergent Cup Release Arm
Part #WD16X10011
This is the replacement detergent cup release arm for your dishwasher. It is made of black plastic and is sold individually. The detergent cup release arm is found on the inside of the dishwasher door, and it is the part that releases both the detergent and the rinse-aid. If the rinse-aid and detergent are not being released during the di...Read moreshwasher cycle, or you notice that the release arm is cracked or damaged, then you will need to replace it. A damaged detergent cup release arm can also lead to a door latch failure on your dishwasher, and it may cause the dishwasher not to start. This is an OEM part sourced directly from the manufacturer.
Read less

$47.40
In Stock

$47.40
In Stock
Drain Hose
Part #WD24X10014
This drain hose is an OEM, manufacturer-approved replacement part for your dishwasher. The drain hose filters out the wastewater from the dishwasher. If there is a hole in it, water will leak out of your dishwasher. Shut off the water and power to the unit before beginning this repair. Accessing the drain hose involves unscrewing the dish...Read morewasher and pulling it out. Remove the clamp holding the hose in place to its connection under the sink, using a 5/16ths socket. Disconnect the fill line. Use a 1/4 inch nut driver to loosen the clamp at the other end of the drain hose. Keep a towel handy for any water still inside. Keep the clamps for use on your new drain hose. Reinstall all hoses and lines in reverse order.
Read less

$49.50
In Stock
Detergent Cup Door Spring
Part #WD3X764
Enhance the performance of your dishwasher with this genuine GE Detergent Cup Door Spring. Specially designed, this Soap Cup Spring plays a crucial role in automatically opening the dispenser cover when the control releases the dispenser latch. It's advised to unplug the dishwasher or shut off the house circuit breaker before installing t...Read morehis part to ensure your safety. Always remember to wear work gloves to protect your hands during the process. Opt for this authentic replacement part, tailored by General Electric to uphold the durability and effective operation of your dishwasher.
Read less

$15.00
In Stock
Leveling Leg
Part #WD2X320
This leveling leg is located under the dishwasher cabinet. It is sold individually.
Manuals & Care Guides for 36314038001
Click to downloadCommon Symptoms of the 36314038001
How this model fails, and the parts that fix it.
Leaking
Fixed by
these parts
these parts


Show All
Not draining
Fixed by
these parts
these parts


Show All
Will not fill with water
Fixed by
these parts
these parts
Show All
Door latch failure
Fixed by
these parts
these parts


Show All
Will not dispense detergent
Fixed by
these parts
these parts


Show All
Not cleaning dishes properly
Fixed by
these parts
these parts
Show All
Will Not Start
Fixed by
these parts
these parts
Show All
Door won’t close
Fixed by
these parts
these parts
Show All
Noisy
Fixed by
these parts
these parts
Show All
Not drying dishes properly
Fixed by
these parts
these parts
Show All
Watch our pros, then fix it yourself.
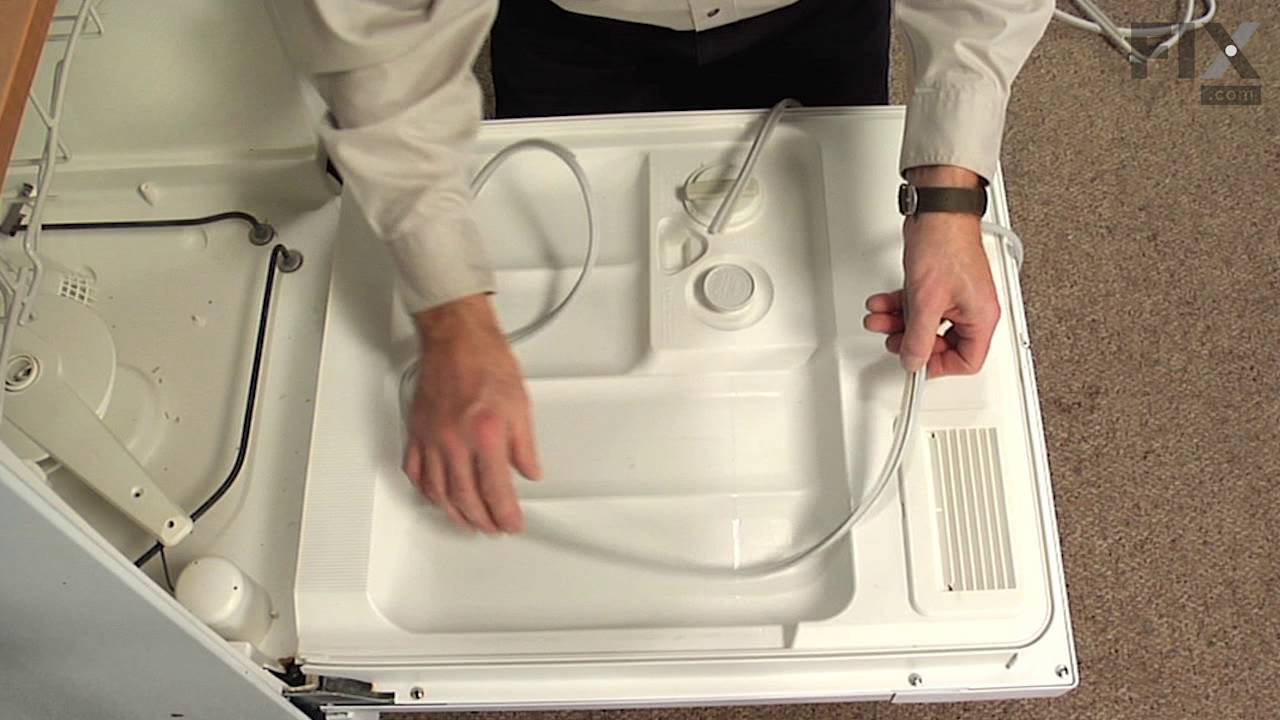
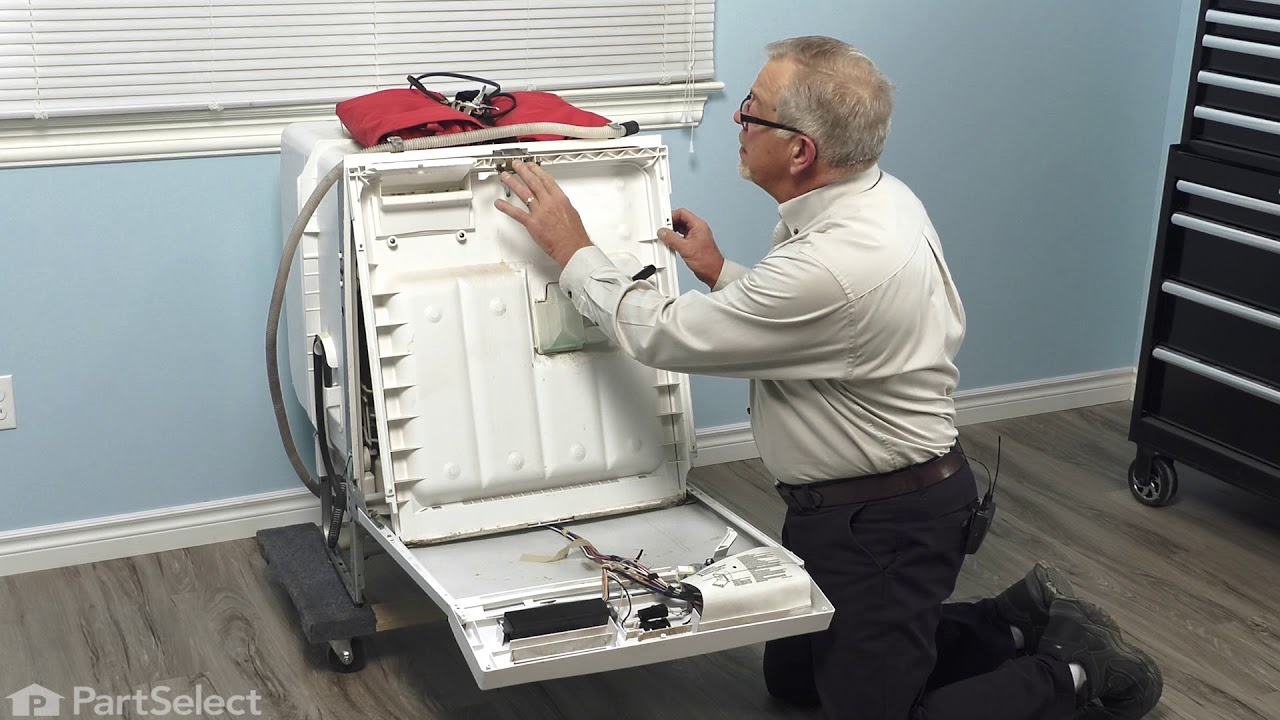
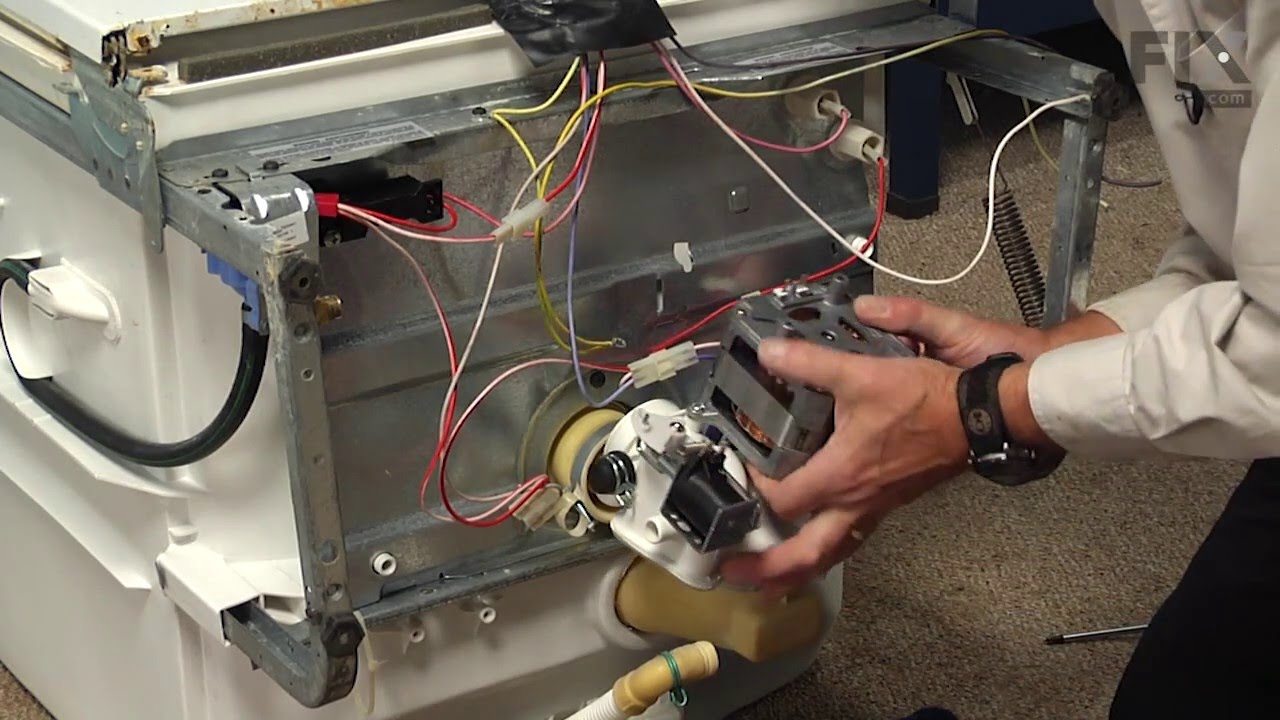
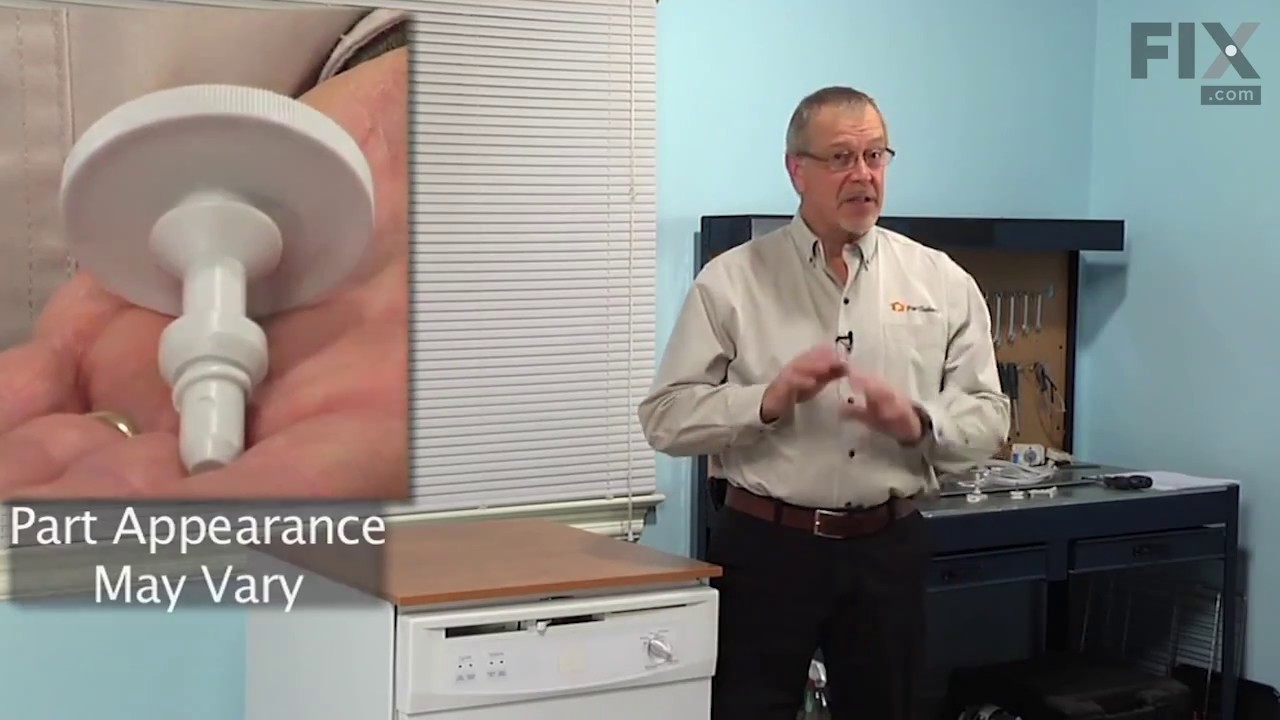
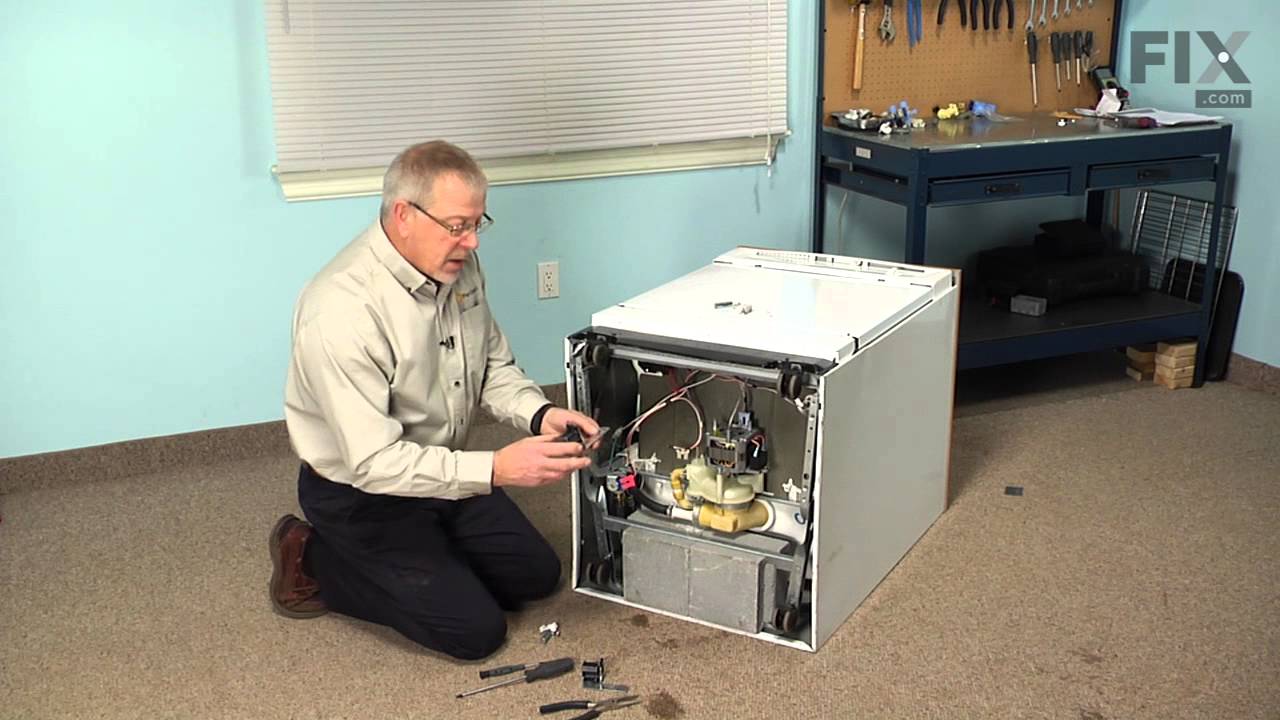

See how others fixed this model. Time, tools, difficulty, and steps that lead to victory!
View More