


 My Orders




36275944100 Kenmore Range - Overview
Diagrams for 36275944100
See every part. Know exactly what you need.

Enter a part description. DIY Heroes keep it simple, eg. "belt" or "pump".
Search filter:
Clear Filter
Your search term must have 3 or more characters.

$59.47
In Stock
Flat Style Oven Igniter Kit
Part #WB13K21
The flat style oven igniter kit comes with a mounting bracket and a wire connector with a plug. The igniter kit is used to light the oven burner. If you notice that your oven will not heat up properly, the igniter kit may need to be replaced. This flat style gas oven igniter has a body length of 3-3/4 inches. When completing this repair, ...Read morethe connector plug might need to be removed and spliced to the range wiring using porcelain wire nuts. Before you begin this repair, be sure to disconnect the power source from the oven, and shut off the gas supply.
Read less

$21.95
In Stock
Light Bulb - 40W
Part #40A15
This 40-Watt light bulb is sold individually.
It is specially designed to withstand extreme temperatures, so this bulb is compatible with a variety of appliance types including refrigerators, ranges, microwaves, and dryers. It features a frosted glass bulb with a standard metal socket base, which allows you to easily unscrew the burnt-out light and twist the new bulb into place.

$82.45
In Stock
Burner Head - Medium - 9500
Part #WB16K10055
This burner head, or surface burner, is used in ranges and ovens. The burner sends gas through the holes and slots to create an equal flame across the cooking area. If the gas igniter glows but will not light up, or there are heating inconsistencies, replacing the burner head could be the solution to your problem. No tools are required fo...Read morer this installation. To change the burner, first lift the grate and take the burner cap off. Next, lift the burner away from the cooktop. To set the new burner in place correctly, check the locating tab that fits into the V-shaped notch and make sure the igniter fits into the cut-out. Refer to the diagram provided by the manufacturer for further instructions.
Read less

$64.85
In Stock
Burner Head - Large - 12K
Part #WB16T10046
This large surface burner head is designed for use with gas cooktops and ranges, delivering consistent heat output for everyday cooking. Rated at 12,000 BTUs, it distributes gas evenly through precision-engineered slots or holes to create a stable flame. Made of metal with a silver finish, the burner head measures approximately 3.5 inches...Read more in diameter and sits beneath the burner cap. It is a direct replacement for worn or malfunctioning burner heads and helps restore efficient performance. For safety, always shut off the gas supply and unplug the appliance before installation. Compatibility should be confirmed with your specific model prior to replacement.
Read less

$56.05
In Stock
Small Burner - 5K
Part #WB16K10070
This genuine small burner is an original replacement part from GE, designed for use with a wide range of gas ranges. Positioned between the rangetop and bracket assembly and the burner cap, it plays a key role in generating the flame needed for cooking. No tools are required for installation, making it a quick and convenient replacement. ...Read moreThe burner is sold individually, and users should consult their appliance manual for proper installation and safety guidelines.
Read less

$25.26
In Stock

$19.93
In Stock
Top Electrode Mounting Clip
Part #WB01K10112
This Genuine OEM GE Electrode Clip is a precision-engineered component designed for use across a wide range of gas ranges. Constructed from durable metal, the clip plays a critical role in securing the electrode top within the rangetop and bracket assembly, ensuring stable and reliable ignition performance. Sold individually, this replace...Read morement part is ideal for routine maintenance or repair. For ease of installation, a pair of pliers is often recommended to assist with proper placement. Trust in genuine GE parts to maintain the safety and efficiency of your appliance.
Read less

No Longer Available
Cooktop Mounting Screw
Part #WB01K10008
This is a replacement cooktop mounting screw, used to secure the burner. If you are missing that screw on your range, this is the part to replace it. This screw is about a half an inch in length and is sold individually. It is an OEM part sourced directly from the manufacturer.

$56.73
In Stock
Burner Tube - Left Front
Part #WB28K10025
Having trouble with your MTD snowblower? If so, the MTD Left Hand Wheel Assembly is exactly what you need to fix the problem and get your snowblower back to top-notch condition. This is much more than just a tire?it's a complete wheel and rim set, designed with meticulous precision to fit your MTD snowblower perfectly. This isn't just a...Read more cosmetic fix, it's a practical solution that can determine how well your machine operates in challenging winter conditions. A smoothly functioning wheel assembly is crucial for effective and efficient operation, turning what could be a chore into a breeze. Installing this part is simple, but we do advise wearing work gloves for your safety. And don't worry about whether it will fit your model?we've ensured this MTD Wheel Assembly is fully compatible with your snowblower. In short, with the MTD Left Hand Wheel Assembly, you're not just buying a spare part, you're investing in the longevity and efficient operation of your MTD snowblower. So why wait? Get your snowblower ready for the winter season with our reliable MTD Wheel Assembly.
Read less

$57.79
Special Order
Burner Tube - Right Front
Part #WB28K10024
Presenting the right front burner tube, a vital component to keep your GE ranges functioning optimally. This authentic part ensures your surface burner gets an adequate and consistent supply of gas, contributing to a seamless cooking experience. Remindful of safety, it implores you to turn off the gas supply and unplug the range before in...Read morestallation. Also, the usage of work gloves is recommended for protection. Possessing the GE hallmark, this burner tube promises quality and reliability. Enhance your appliance's performance with this genuine GE range part.
Read less

No Longer Available
Medium Burner Cap
Part #WB29K10005
This is the replacement burner cap for your gas range. It is made of gray plastic and is approximately 3 inches in diameter. It has 3 small tabs on the bottom, with one tab that is larger than the others. This tab fits into the v-shaped slot. The burner cap is found under the grate, and it protects the burner. If your current burner cap i...Read mores damaged or missing, this is the part that replaces it. Before you begin this repair, be sure that the burner cap and the grate are cool to the touch. To replace the burner cap, simply lift the grate off and remove the cap. Replace it with the new cap to complete your repair. This part is sold individually and is an OEM part sourced directly from the manufacturer.
Read less

$40.57
Special Order
Manuals & Care Guides for 36275944100
Click to downloadCommon Symptoms of the 36275944100
How this model fails, and the parts that fix it.
Gas igniter glows, but will not light
Fixed by
these parts
these parts


Show All
Will Not Start
Fixed by
these parts
these parts

Show All
Little to no heat when baking
Fixed by
these parts
these parts

Show All
Element will not heat
Fixed by
these parts
these parts

Show All
Gas smell
Fixed by
these parts
these parts

Show All
Oven not heating evenly
Fixed by
these parts
these parts
Show All
Little to no heat when broiling
Fixed by
these parts
these parts
Show All
Watch our pros, then fix it yourself.
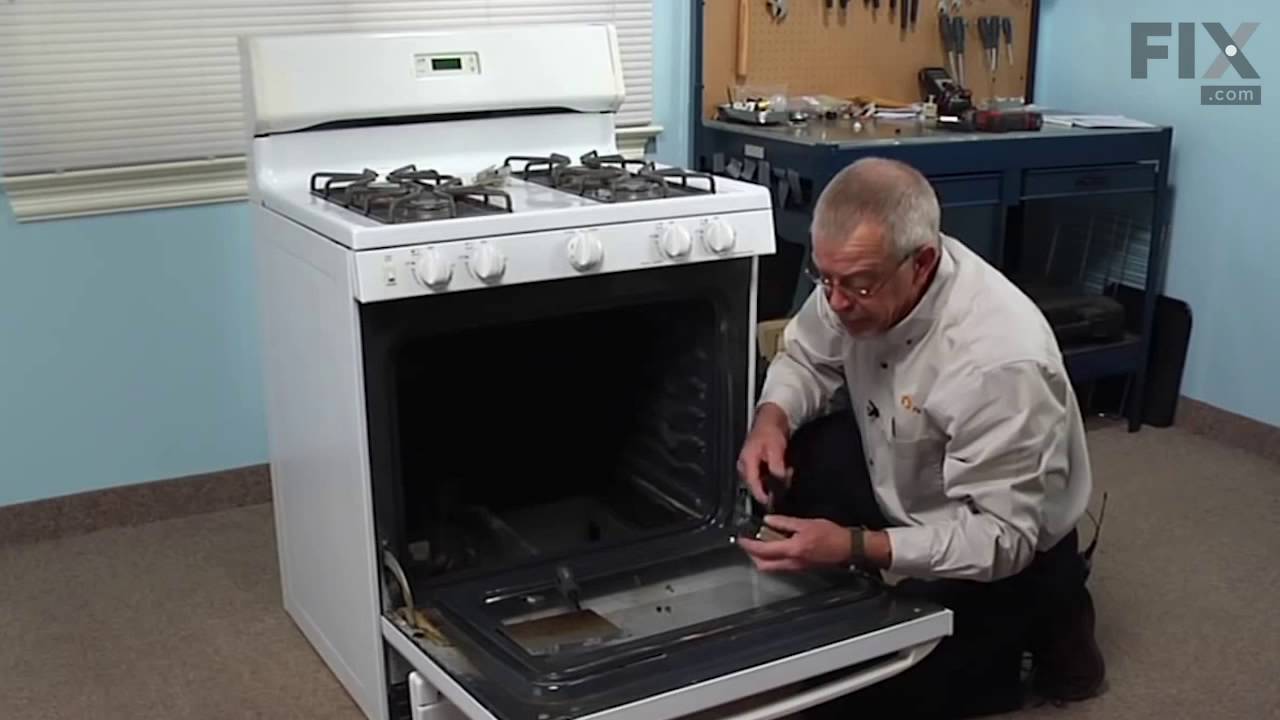
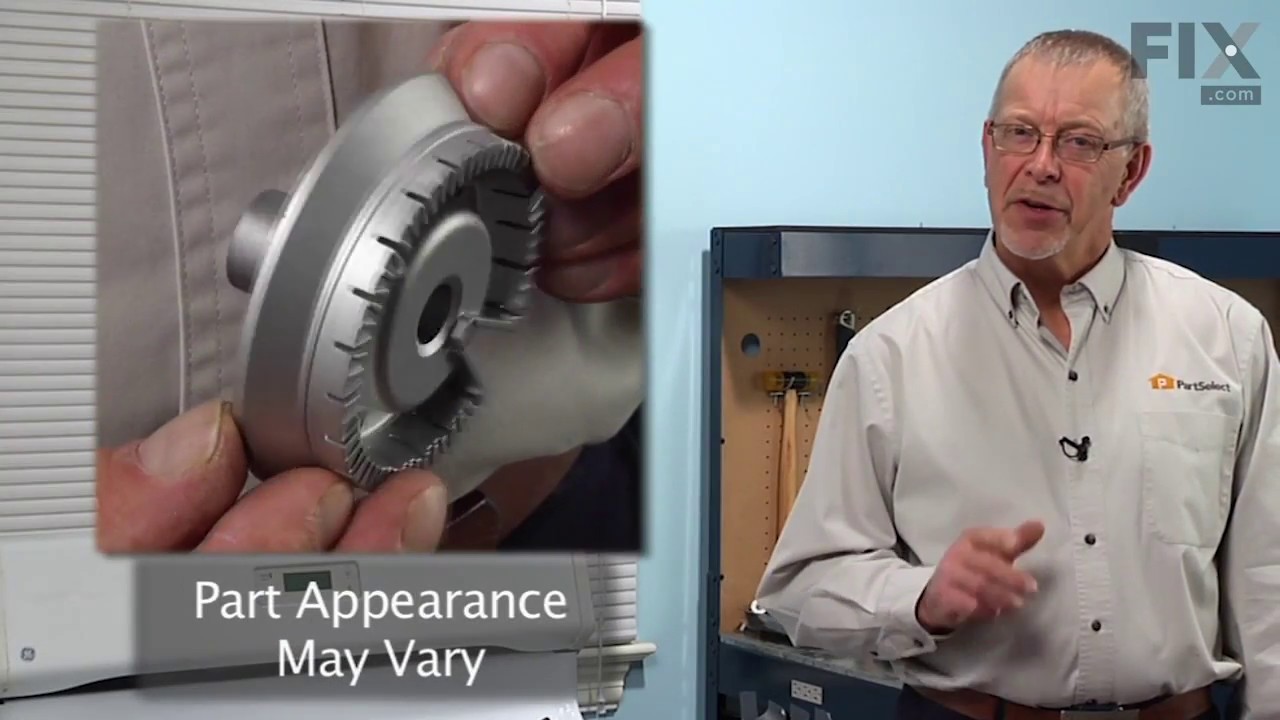

See how others fixed this model. Time, tools, difficulty, and steps that lead to victory!
View More