


 My Orders




3627586692 Kenmore Range - Overview
Diagrams for 3627586692
See every part. Know exactly what you need.

Enter a part description. DIY Heroes keep it simple, eg. "belt" or "pump".
Search filter:
Clear Filter
Your search term must have 3 or more characters.

$59.47
In Stock
Flat Style Oven Igniter Kit
Part #WB13K21
The flat style oven igniter kit comes with a mounting bracket and a wire connector with a plug. The igniter kit is used to light the oven burner. If you notice that your oven will not heat up properly, the igniter kit may need to be replaced. This flat style gas oven igniter has a body length of 3-3/4 inches. When completing this repair, ...Read morethe connector plug might need to be removed and spliced to the range wiring using porcelain wire nuts. Before you begin this repair, be sure to disconnect the power source from the oven, and shut off the gas supply.
Read less

$21.95
In Stock
Light Bulb - 40W
Part #40A15
This 40-Watt light bulb is sold individually.
It is specially designed to withstand extreme temperatures, so this bulb is compatible with a variety of appliance types including refrigerators, ranges, microwaves, and dryers. It features a frosted glass bulb with a standard metal socket base, which allows you to easily unscrew the burnt-out light and twist the new bulb into place.

$35.80
Special Order
Screw - Package of 12
Part #WZ4X345D

No Longer Available
Bake Burner Tube
Part #WB16K22

$12.85
Special Order
GROMMET
Part #WB2K8

$15.16
In Stock
GSKT OV SEAL
Part #WB32K2

No Longer Available

$99.66
In Stock
WINDOW SPACER Assembly
Part #WB34K10087

No Longer Available
DISCONTINUED
Part #WB11K19

$51.61
Special Order
Broil Burner
Part #WB16K8
No Longer Available
Cover END RGHT
Part #WB7K269
$66.77
Special Order
KNOB MINIVLV
Part #WB3K168
Common Symptoms of the 3627586692
How this model fails, and the parts that fix it.
Gas igniter glows, but will not light
Fixed by
these parts
these parts

Show All
Little to no heat when baking
Fixed by
these parts
these parts
Show All
Will Not Start
Fixed by
these parts
these parts
Show All
Element will not heat
Fixed by
these parts
these parts
Show All
Oven not heating evenly
Fixed by
these parts
these parts
Show All
Little to no heat when broiling
Fixed by
these parts
these parts
Show All
Gas smell
Fixed by
these parts
these parts
Show All
Watch our pros, then fix it yourself.
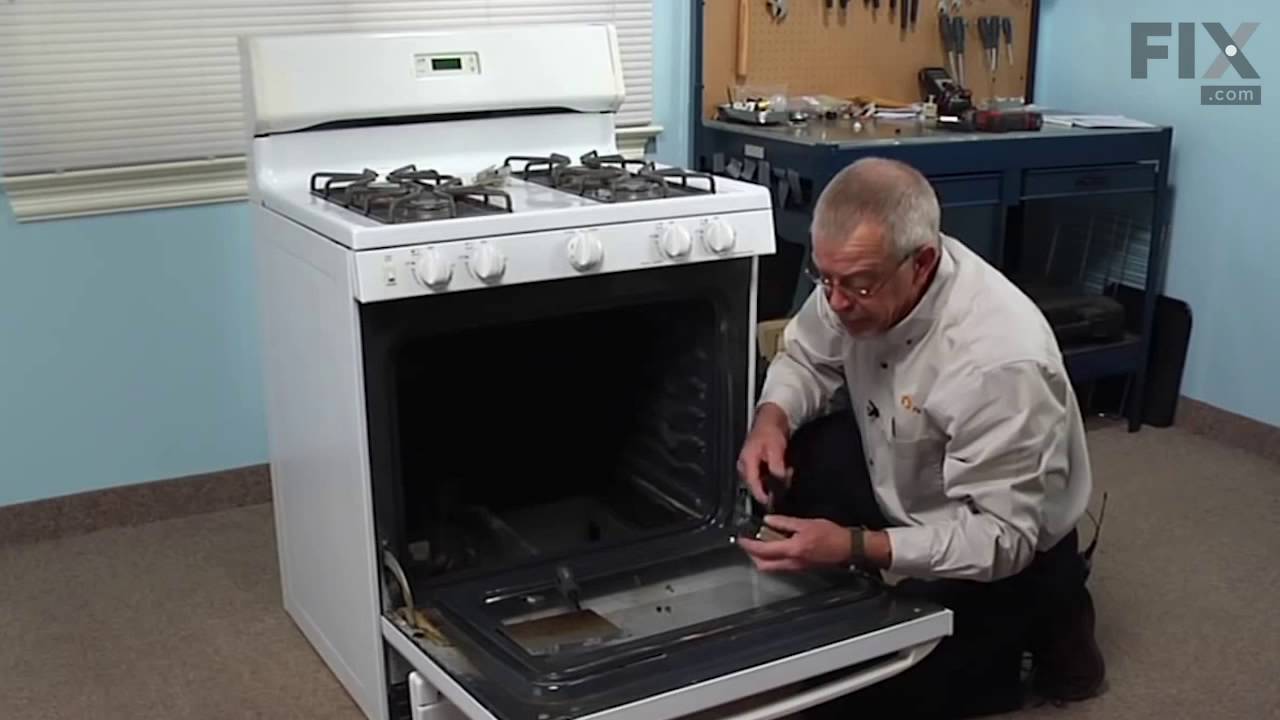
See how others fixed this model. Time, tools, difficulty, and steps that lead to victory!
View More