


 My Orders




3612 - Overview
Models starting with 3612
Click on the best match to narrow your results.
- 3612 Makita Router (Router)
- 3612 (5629) Braun Shaver Razor (() InterFace)
- 36120-1 General Electric Refrigerator
- 36121-1 General Electric Refrigerator
- 36123 Tecumseh Engine (Tecumseh Small Engine Model 36123 Parts)
- 36128-1 General Electric Refrigerator
- 36129-1 General Electric Refrigerator
- 3612B Makita Router (Router)
- 3612BR Makita Router (Router)
- 3612BRA Makita Router (Router)
- 3612C Makita Router (Router)
Enter a part description. DIY Heroes keep it simple, eg. "belt" or "pump".
Search filter:
Clear Filter
Your search term must have 3 or more characters.

$78.14
In Stock
Defrost Timer - 120V 60Hz
Part #WR9X502
This defrost timer will cycle for 25 minutes after every six hours of run time. The timer itself is made of plastic, and its terminals are bent, the leads are internal, and the label is orange. If you notice that your fridge is too warm, the fridge is running for a long time or is leaking, it could be due to the defrost timer becoming ina...Read morective. The defrost timer is found underneath the light cover (may need to remove lightbulb) and will need to be removed along with the air inlet assembly and housing.
Read less

$37.91
Special Order
RECEPTACLE
Part #WB8X191

$6.40
In Stock
Cup Washer
Part #34951

$19.88
In Stock
Drive Nut
Part #34953

$6.47
In Stock
Driver-pinion
Part #34946
The pinion driver goes between the drive nut and the gear. This item is an original part from Tecumseh and Toro for use in lawn mowers. It is made of rubber and is available as an individual replacement part. When replacing this item a screwdriver and a socket set might be required during the installation process. Over time this part may break and will need to be replaced.

$6.40
Special Order
Anti-Drift Spring
Part #590654

$10.92
In Stock
Gear
Part #37788
This is an authentic replacement part manufactured for use with lawnmower engines. The special gear is connected to the armature of the starter motor and drives the flywheel which spins past the ignition coil creating the charge that is sent to the spark plug. This gear is sold as an individual replacement part.

$6.40
Special Order
Dust Washer
Part #590608

$6.40
In Stock
Tapping Screw
Part #265995-6
Genuine Manufacturer Sourced replacement part used on a variety of Makita Power Tools. This is a Metal Pan-Head Screw and it is sold individually. This screws is commonly used to hold two pieces of Housing Set together.

$6.40
In Stock
Spring Washer 6
Part #253428-3
This part is available individually. The spring washer fits between the wing nut and the flat washer. This washer is small and will need to be replaced if it gets lost or if it breaks. It is made out of metal and no tools should be necessary when replacing this item. This is an OEM Makita part directly sourced from the manufacturer for use with saws, cutters, planers, drills, and trimmers.

$6.40
In Stock
Retainer Ring
Part #34955

$18.87
In Stock
Carbon Brush Set
Part #CB154
This is a genuine Makita replacement part that includes two carbon brushes with wire leads attached. Carbon brushes are essential components in power tools and are among the most commonly replaced parts due to regular wear from friction. Over time, worn brushes can cause a motor to run poorly, operate intermittently, or lose electric brak...Read moreing power. Replacing them can often restore your tool’s performance. A worn brush may appear cracked, pitted, burned, or worn down near the wire lead. It’s always best to replace both brushes at the same time, even if only one shows signs of wear. When installing new brushes, be sure to inspect the armature for any damage such as burns or cracks, which could indicate more serious motor issues.
Read less
Exact Part matches for your search term
No Longer Available
No Longer Available
Common Symptoms of models starting with 3612
How this model fails, and the parts that fix it.
Fridge too warm
Fixed by
these parts
these parts

Show All
Freezer section too warm
Fixed by
these parts
these parts
Show All
Freezer not defrosting
Fixed by
these parts
these parts
Show All
Fridge and Freezer are too warm
Fixed by
these parts
these parts
Show All
Leaking
Fixed by
these parts
these parts
Show All
Will Not Start
Fixed by
these parts
these parts
Show All
Fridge runs too long
Fixed by
these parts
these parts
Show All
Noisy
Fixed by
these parts
these parts
Show All
Freezer too cold
Fixed by
these parts
these parts
Show All
Watch our pros, then fix it yourself.
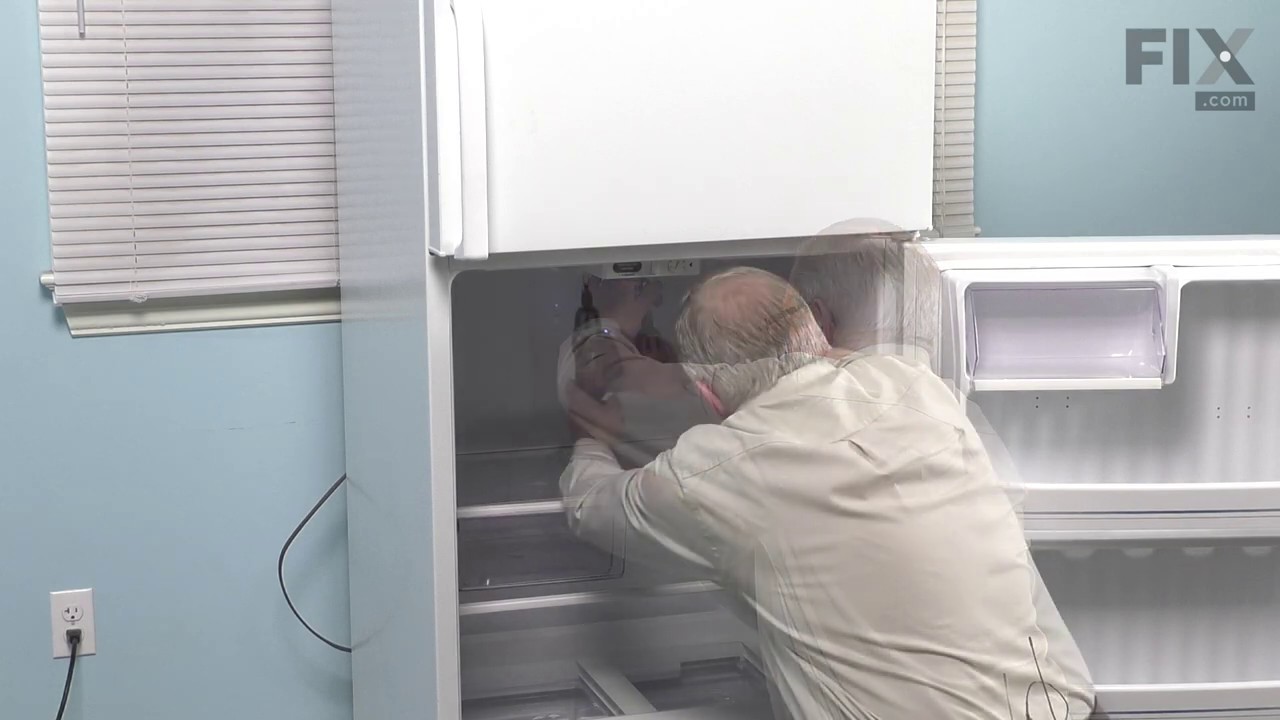
See how others fixed this model. Time, tools, difficulty, and steps that lead to victory!
View More