


 My Orders




36098-P1115904W Amana Refrigerator - Overview

Enter a part description. DIY Heroes keep it simple, eg. "belt" or "pump".
Search filter:
Clear Filter
Your search term must have 3 or more characters.

$9.62
In Stock
Door Closure Cam Kit
Part #R0181181
This door closing cam kit is intended for use on the bottom of your refrigerator and freezer door hinges. The cam helps close the doors and to lifts them slightly when opened. If your door will not open or close, or will not stay closed, there could be an issue with the door close cam. Other common symptoms associated with the door close ...Read morecam are: the door is sweating, the fridge is too warm, or a clicking sound can be heard coming from the door. If your refrigerator has an ice and water dispenser, you will need to disconnect the power and water to the unit before you begin the repair.
Read less

$17.15
In Stock
Refrigerator Plastic Tubing
Part #WPB5705307
This part supplies water to refrigerator components that require water, such as the ice maker and water dispenser. If you notice a leak coming from your refrigerator, the plastic tubing that feeds your water and ice dispenser might need to be replaced. This part is made of clear plastic and is 1/4 inch thick, and 8 1/2 feet long. Make sur...Read moree to disconnect power to the refrigerator and shut off the water supply prior to installing this part. Safely store any perishable food items that could deteriorate while the power to the refrigerator is disconnected. Work gloves are recommended to protect your hands during this installation.
Read less

$7.47
In Stock

$7.47
In Stock
Refrigerator Screw
Part #WP98165
This screw is a little under an inch long and is made of metal. It is used with a refrigerator's ice maker assembly. Sold individually.

$11.77
In Stock

$9.62
Special Order

No Longer Available
Outer Door Handle Pad
Part #D7863101

No Longer Available

$7.47
In Stock

No Longer Available

$21.45
Special Order
SCREW
Part #W11214483

No Longer Available
Bottom Hinge Shim Kit of 2
Part #R0131015
Used in conjunction with the hinge assembly on your appliance.
Common Symptoms of the 36098-P1115904W
How this model fails, and the parts that fix it.
Door won’t open or close
Fixed by
these parts
these parts


Show All
Leaking
Fixed by
these parts
these parts

Show All
Clicking sound
Fixed by
these parts
these parts
Show All
Door Sweating
Fixed by
these parts
these parts
Show All
Fridge too warm
Fixed by
these parts
these parts
Show All
Noisy
Fixed by
these parts
these parts
Show All
Watch our pros, then fix it yourself.
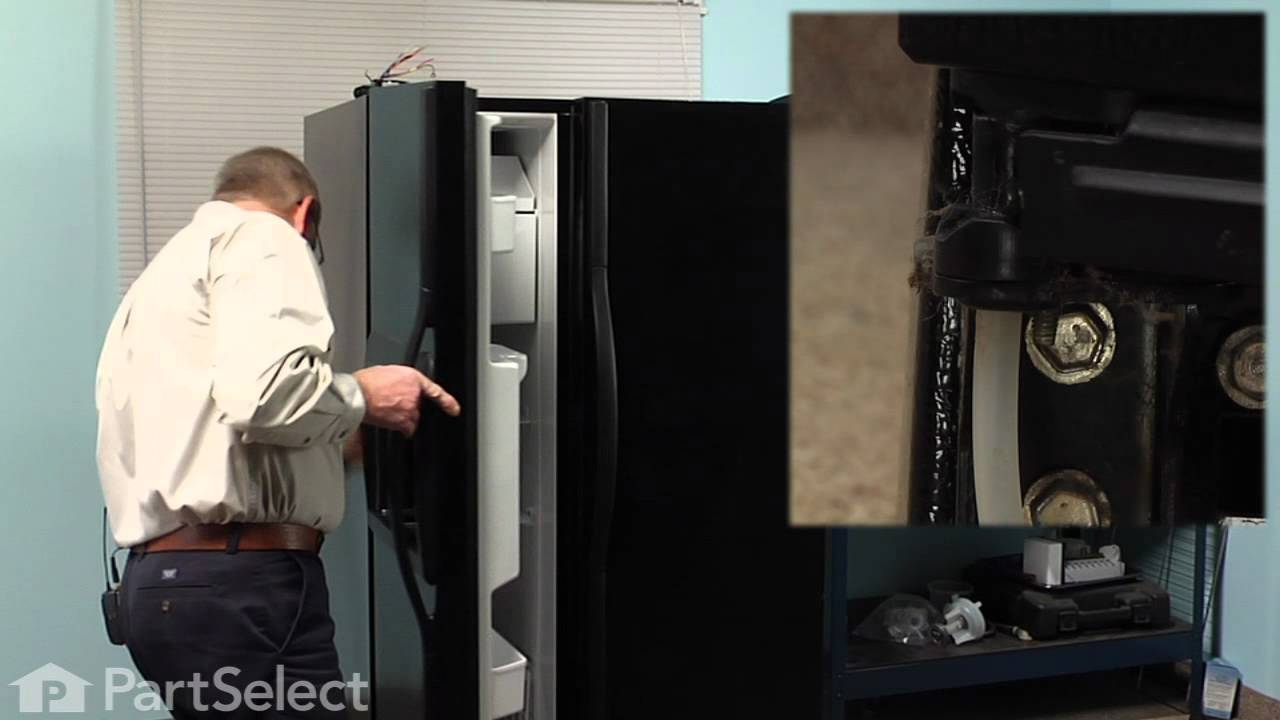
See how others fixed this model. Time, tools, difficulty, and steps that lead to victory!
View More