


 My Orders




36041W-P1122101WW Amana Refrigerator - Overview
Diagrams for 36041W-P1122101WW
See every part. Know exactly what you need.
-
Evaporator And Air Handling

-
Factory Installed Ice Maker

-
Freezer Door

-
Freezer Door Hinge And Trim Parts

-
Freezer Shelving And Refrigerator Light

-
Machine Compartment

-
Refrigerator Door

-
Refrigerator Door

-
Refrigerator Shelving And Drawers

-
Refrigerator/freezer Controls And Cabinet Parts

-
Rollers And Back Unit

-
Rollers And Back Unit

Enter a part description. DIY Heroes keep it simple, eg. "belt" or "pump".
Search filter:
Clear Filter
Your search term must have 3 or more characters.

$19.54
In Stock
Light Bulb - 40W
Part #8009
This an authentic OEM 40-Watt replacement light bulb, used in a number of household appliances. It is specially designed to withstand extreme temperatures, which is why these replacement bulbs are most often used to light the inside of refrigerators and ranges. It features a standard socket base, which means you simply unscrew the burnt-o...Read moreut bulb and screw in the replacement. Depending on the appliance you may require a screwdriver or nut driver to access the light bulb. We recommend you wear work gloves while handling this replacement part. It is constructed of glass and metal and is sold individually. Depending on the appliance and location of the bulb within it, you may want to consider disconnecting power and using a flashlight for easier access to unscrewing and re-screwing in your bulb during this repair.
Read less

$95.17
In Stock
Replacement Ice Maker
Part #D7824706Q
This ice maker (Ice Maker Assembly, Refrigerator Ice Maker) produces ice cubes that are ejected into the storage bucket. It is located in the freezer section of your appliance, mounted on the freezer wall. The ice maker can break from normal wear and accidental damage. If this happens, your refrigerator may no longer make ice cubes, or ma...Read morey not make enough cubes, and the part should be replaced. This model measures approximately 11 inches long and 5 inches wide. It’s constructed of plastic and metal, and comes in black/white/silver. This assembly includes the ice mold and the control device.
Read less

$30.53
In Stock

$45.29
In Stock
Refrigerator Capacitor
Part #WPW10662129
This capacitor (Refrigerator and Freezer Compressor Run Capacitor, Run Capacitor) provides the voltage or energy current required to start the compressor and keep it running. It allows the compressor in your appliance to easily cycle on and off. This capacitor mounts directly onto the compressor starting relay. If the capacitor is faulty ...Read morethe compressor may get unusually hot and draw excessive amperage. It the compressor overheats, it may fail to run until it cools down again. The compressor may also get noisy from overheating. If this part is totally electrically open, it is defective (often due to overheating) and needs to be replaced. The part measures 1 inch by 1-1/2 inches, and is constructed of plastic with two metal wire terminals. This item includes 1 capacitor, sold individually. This part comes in black.
Read less

$13.95
In Stock
Light Bulb - 120V 25W
Part #WPA3073101
This light bulb is a 120 volt, 25 watt incandescent appliance light bulb with a small base screw-in that fits in a variety of appliances such as microwaves, refrigerators, freezers, cooktops, or stoves. Its purpose is to light up the appliance when the door is open. This is a genuine OEM part. You may need to replace the light bulb if the...Read more existing bulb is burnt out or broken. This light bulb is sold individually and is a common wear part, it is recommended to order a spare.
Read less

$65.73
In Stock
Refrigerator Condenser Fan Motor Kit
Part #833697
This condenser fan motor kit is designed for use with refrigerators. This fan draws air through the condenser coils and over the compressor. It does this with the goal of cooling the warm refrigerant before it enters the evaporator. When your fan or fan motor is not working your refrigerator will not cool properly. This is a 2-Watt, 115 V...Read moreolt motor that rotates the fan in a counter clockwise direction. This kit includes the hardware needed for installation, and a set of instructions. Before you begin any repair work make sure to unplug your appliance.
Read less

$9.62
In Stock
Door Closure Cam Kit
Part #R0181181
This door closing cam kit is intended for use on the bottom of your refrigerator and freezer door hinges. The cam helps close the doors and to lifts them slightly when opened. If your door will not open or close, or will not stay closed, there could be an issue with the door close cam. Other common symptoms associated with the door close ...Read morecam are: the door is sweating, the fridge is too warm, or a clicking sound can be heard coming from the door. If your refrigerator has an ice and water dispenser, you will need to disconnect the power and water to the unit before you begin the repair.
Read less

$7.47
In Stock

$54.24
In Stock
Defrost Timer Kit - 120V 60Hz
Part #R0131577
The timer will shut off the cooling system of the refrigerator and the defrost heater will turn on.

$47.40
In Stock
Single Outlet Water Valve Kit
Part #4318047
This part is a solenoid-operated switch located at the bottom of the refrigerator. When the water inlet valve is turned on, water is released from the supply line through the water valve and into the compact icemaker mold. The kit includes the mounting hardware and bracket plastic tubing fittings. The retaining nut must be cut off the pla...Read morestic water line and gently pushed into the new valve. To remove, press down on the ring that the tube slides into. Refer to the installation instructions for further guidance. Please note: the manufacturer has redesigned this part and it can appear different than the original. It has a new quick connection.
Read less

$11.77
On Order
Refrigerator Compression Nut
Part #WP627018
The compression nut is used as a connection between the water supply line and other components in your refrigerator such as your ice maker and your water dispenser. Tools required for this repair include a pair of pliers and a socket set. Before installing this part you should take all perishable foods out of your refrigerator and store t...Read morehem somewhere cool, unplug the refrigerator from the power source, and shut off the water supply. This repair may require you to wear work gloves to protect your hands, and is considered an easy do-it-yourself fix.
Read less

No Longer Available
Freezer Shelf Support
Part #WPC8973801
This part is the replacement shelf support for your refrigerator/freezer. It is made of white plastic and is approximately 1 inch by 1 inch. The shelf support attaches to the side of your refrigerator wall and supports the shelf. If your shelf is sagging or will not stay in place, you may need to replace the support. To replace the suppor...Read moret, use a wrench to turn the support clockwise until you can use a flat blade screwdriver to pop it out. Push the new support into the hole left by the old one until it is flush with the liner, then use the wrench to turn it clockwise until it locks in. This part is sold individually and is and OEM part.
Read less
Common Symptoms of the 36041W-P1122101WW
How this model fails, and the parts that fix it.
Ice maker not making ice
Fixed by
these parts
these parts


Show All
Light not working
Fixed by
these parts
these parts

Show All
Leaking
Fixed by
these parts
these parts

Show All
Fridge too warm
Fixed by
these parts
these parts


Show All
Freezer section too warm
Fixed by
these parts
these parts
Show All
Will Not Start
Fixed by
these parts
these parts
Show All
Fridge and Freezer are too warm
Fixed by
these parts
these parts
Show All
Noisy
Fixed by
these parts
these parts

Show All
Ice maker won’t dispense ice
Fixed by
these parts
these parts
Show All
Door won’t open or close
Fixed by
these parts
these parts

Show All
Clicking sound
Fixed by
these parts
these parts
Show All
Fridge runs too long
Fixed by
these parts
these parts
Show All
Freezer not defrosting
Fixed by
these parts
these parts
Show All
Too warm
Fixed by
these parts
these parts
Show All
Door Sweating
Fixed by
these parts
these parts

Show All
Ice maker dispenses too much ice
Fixed by
these parts
these parts
Show All
Ice maker dispenses too little ice
Fixed by
these parts
these parts
Show All
Won’t start
Fixed by
these parts
these parts
Show All
Frost buildup
Fixed by
these parts
these parts
Show All
Freezer too cold
Fixed by
these parts
these parts
Show All
Watch our pros, then fix it yourself.





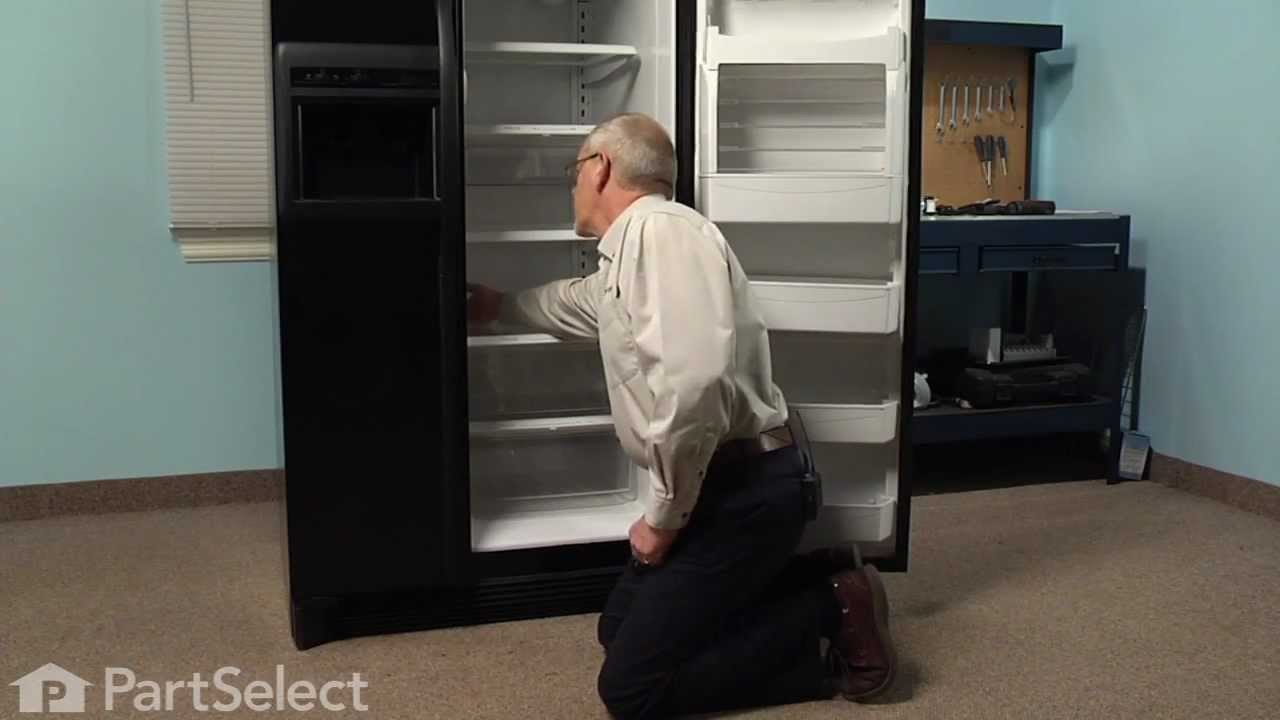
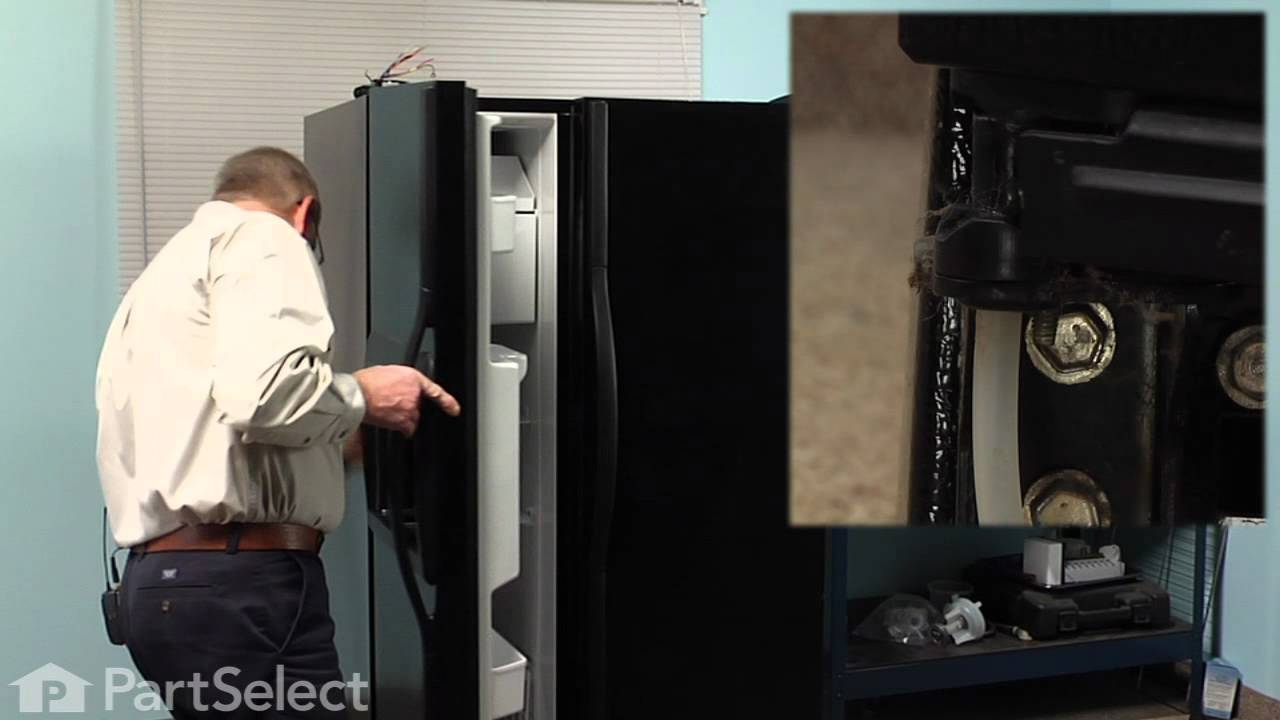
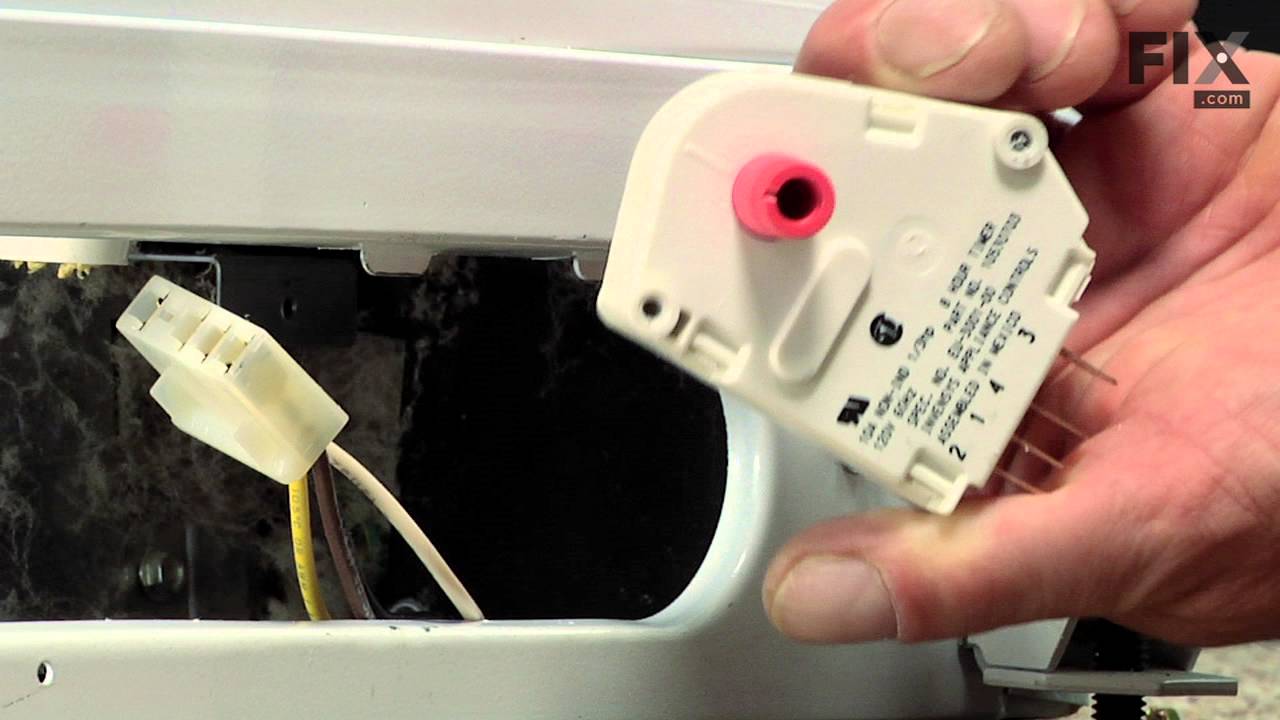
See how others fixed this model. Time, tools, difficulty, and steps that lead to victory!
View More