


 My Orders




356- - Overview
Models starting with 356-
Click on the best match to narrow your results.
- 356-0510 (2008-08) Husqvarna Lawn Mower (Hydrogear)
- 356-11 Maytag Range (Maytag Range/Stove/Oven Model 356-11 (35611, 356 11) Parts)
- 356-915 (1990) MTD Snow Blower (MTD Snowblower Model 356-915/1990 (356915/1990, 356 915/1990) Parts)
- 356-915 (1988) MTD Snow Blower (MTD Snowblower Model 356-915/1988 (356915/1988, 356 915/1988) Parts)
- 356-A Broan Range Hood (Broan Range Vent Hood Model 356-A (356A, 356 A) Parts)
- 356-B Broan Range Hood (Broan Range Vent Hood Model 356-B (356B, 356 B) Parts)
- 356-C Broan Range Hood (Broan Range Vent Hood Model 356-C (356C, 356 C) Parts)
- 356-D Broan Range Hood (Broan Range Vent Hood Model 356-D (356D, 356 D) Parts)
- 356-E Broan Range Hood (Broan Range Vent Hood Model 356-E (356E, 356 E) Parts)
- 356-F Broan Range Hood (Broan Range Vent Hood Model 356-F (356F, 356 F) Parts)
- 356-G Broan Range Hood (Broan Range Vent Hood Model 356-G (356G, 356 G) Parts)
Enter a part description. DIY Heroes keep it simple, eg. "belt" or "pump".
Search filter:
Clear Filter
Your search term must have 3 or more characters.

$10.95
In Stock
Chrome Drip Bowl - 8 inch
Part #WPW10196405
This manufacturer-certified drip bowl is also known as a drip pan, and it is designed for use with cooktops and ranges. It sits below 8-inch burner elements and catches drips and spills from the cookware on the burner. The diameter of the drip bowl is approximately 10 inches. This replacement might appear slightly different, but it will f...Read moreit your appliance.
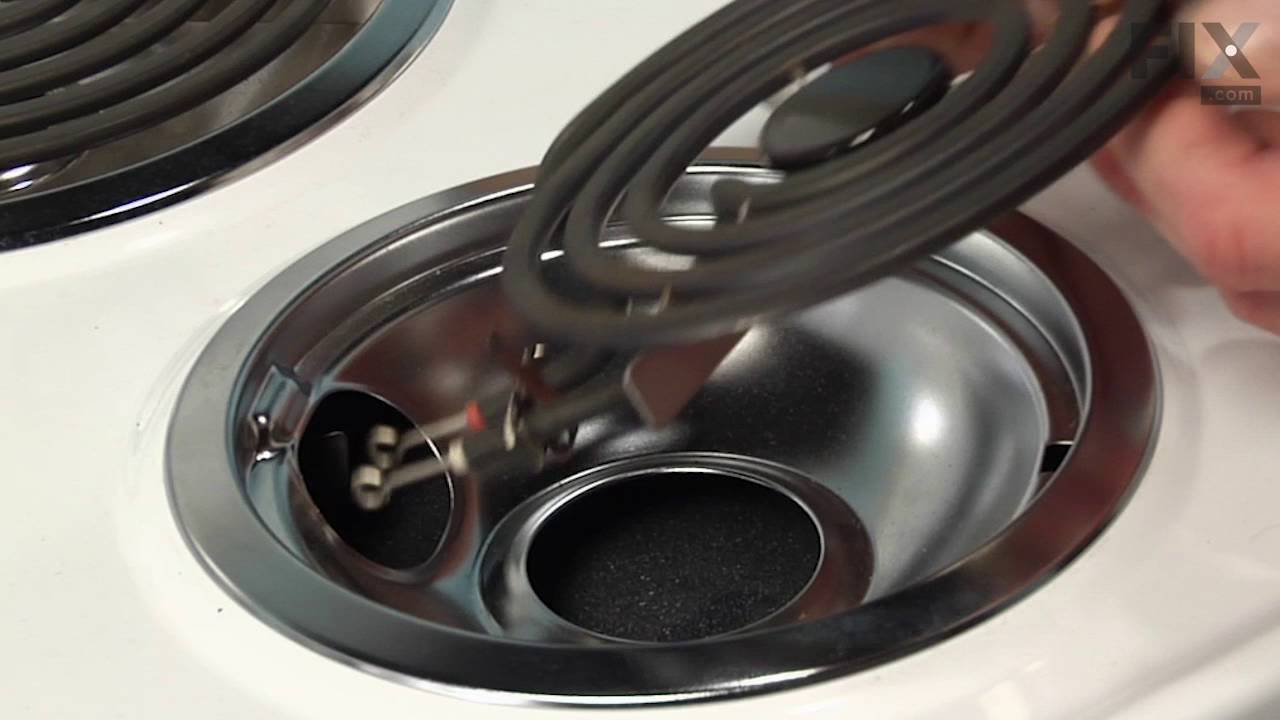
You will need no tools to complete this repair. Simply remove the burner element, remove the old bowl, line up the hole on the new bowl with the terminal block and drop it into place. Make sure the bowl is flat before reinstalling the element. While you have the element out you should inspect the terminals for corrosion, damage, or discolouration. If you notice any of those things you should also replace the element and terminal block. You will need to replace your drip bowl if it is lost, damaged, or can no longer be cleaned. This replacement part is sold individually. To extend the life of your new drip bowl we recommend you clean it regularly with soap and water. We recommend only using the recommended drip bowl for your appliance; generic versions will not fit properly which could affect the performance of your elements and cause long-term damage.
Read less

$19.54
In Stock
Light Bulb - 40W
Part #8009
This an authentic OEM 40-Watt replacement light bulb, used in a number of household appliances. It is specially designed to withstand extreme temperatures, which is why these replacement bulbs are most often used to light the inside of refrigerators and ranges. It features a standard socket base, which means you simply unscrew the burnt-o...Read moreut bulb and screw in the replacement. Depending on the appliance you may require a screwdriver or nut driver to access the light bulb. We recommend you wear work gloves while handling this replacement part. It is constructed of glass and metal and is sold individually. Depending on the appliance and location of the bulb within it, you may want to consider disconnecting power and using a flashlight for easier access to unscrewing and re-screwing in your bulb during this repair.
Read less

$19.30
In Stock
Surface Burner Receptacle Kit
Part #12001676
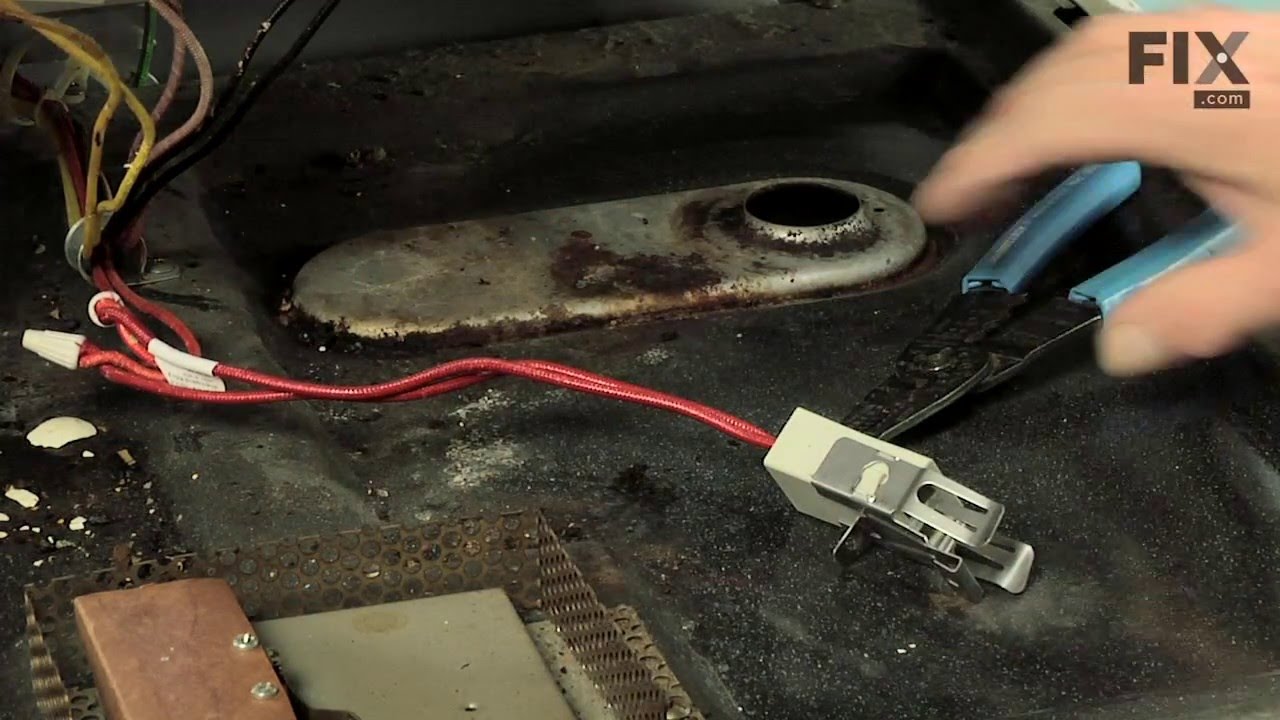
The tools you will need to replace the surface burner receptacle kit on your range include a Phillips screw driver, and a pair of wire strippers. Before doing this repair, make sure to disconnect your appliance from the power supply and wear work gloves to protect your hands. The surface burner receptacle kit comes with a plastic block, h...Read moreigh temperature wire nuts, a metal bracket, and wires. This part functions as the connection between the wire harness and the surface element in your range.
Read less

$28.42
In Stock
Standard Y-Frame Range Surface Burner
Part #WP660532
The standard y-frame surface burner provides heat to your range. If you notice that your element will not heat, you may need to replace your surface burner. This product is 6 inches in diameter, and 1500W. The manufacturer suggests replacing the receptacle at the same time that you replace the surface burner. Many of our customers have ra...Read moreted this repair as very easy, and you will not need any tools. To complete the repair, simply lift out the old burner and replace it with the new one. Check that the burners are turned off before you begin this repair.
Read less

$80.82
In Stock
Economy Y-frame Surface Unit - 8"
Part #WPY04000035
This electric range economy Y-frame surface element measures eight inches and has five turns. It carries 2100 watts and is used on some electric ranges. The center medallion is chrome.

$6.40
In Stock
Carriage Bolt 5/16-18 x 3/4" Lg.
Part #710-0451
This carriage bolt measures 5/16-18 x .75 and fastens two parts in your machine together. It has a round domed head and a square underside so the bolt does not rotate once it has been secured into place. If it has signs of deformation or wear, you will need to replace it. To unthread this bolt, you need an adjustable wrench to loosen the ...Read morenut found on the end of the bolt. You may need to apply a lubricating oil to the bolt if it is stuck. You may need to clamp down on the head of the bolt with pliers while continuing to turn the nut counterclockwise. You can then slide the carriage bolt out of its hole or tap it gently with a hammer. This bolt is a standalone product and the nut is not included. This bolt was sourced directly from its manufacturer.
Read less

$6.40
In Stock
Lawn Mower Hex Washer Head Screw
Part #710-0599
This is an original replacement part sourced directly from the manufacturer. The screw is commonly found in yard equipment from Craftsman, such as lawn tractors, snow blowers, and edgers. This part is made of metal, and may be found in various locations in the machine, depending on model. Please be aware that there are different screws...Read more used in the machine. Refer to the parts diagram to be sure of ordering the correct part. You will require a wrench when replacing this item. The screw is sold as an individual replacement part.
Read less

$6.40
In Stock
Shear Bolt (5/16-18 X 1.5'' Lg.)
Part #710-0890A
This is a shear bolt, also known as a snap-off bolt. This is a fastener designed to break under a specific amount of pressure and protect the machine it is installed on from that excessive load. In lawn equipment, the shear bolts typically connect the auger or blade to the drive shaft. Therefore, if the bolt snaps, the auger gets jammed a...Read morend cannot rotate so that it will not damage the rest of the unit. This bolt has a diameter of 5/16 inches, with 18 threads per inch, and is 1.5 inches long. To remove the shear bolt from your machine, you need to turn the power off first. With pliers or a wrench, grip onto the broken end of the bolt and twist it gently out of its hole. If it is stuck, you may need to coat the bolt with a penetrating oil or tap the bolt out with a mallet. Since this authentic OEM part is sold individually, refer to your instruction manual so that you can purchase the correct number of bolts for your machine.
Read less

$6.40
In Stock
Chute Flange Keeper
Part #731-0851A
This chute flange keeper is sourced from the original equipment manufacturer for use in snowblowers. The plastic keeper allows the snowblower chute to pivot, and secures the flange that connects the chute to the blower frame and holds it in place during use. Over time the flange keeper can break or fall off, which causes the chute to disl...Read moreodge or shift from its position. If you notice that debris is discharged in the wrong direction, and you have difficulties adjusting the chute then this is a sign that the flange keeper is no longer functioning as it should. Clean the chute flange and surrounding area before placing the new keeper on. Use a pair of pliers to align the the holes on the flange keeper with the holes on the chute and lock it in place.
Read less

$6.40
In Stock
Bushing-.380 Id
Part #941-0475
This is an authentic OEM part for Craftsman lawn and garden equipment. This bushing has an internal diameter of 0.380", is made of durable black plastic, is not part of an assembly or kit, and is sold individually. The purpose of this bushing is to ensure there is a tight fit between parts.
A common sign this part needs to be replaced i...Read mores if you notice any parts loosely connected or detached. This part will become worn through regular use of the machine. It is located in various areas, depending on your model. Refer to your owner's manual for the exact location. You will need a wrench and pliers to complete this repair.
Customers rate this repair as Medium difficulty.
Read less

$6.40
In Stock
Tiller Jamlock Nut
Part #712-0266A
The Jamlock Nut is a 3/8-16 inch metal nut which can be installed using a socket or wrench set. It's used to secure and lock parts in place. If the part is damaged and comes loose it should be replaced. This is an authentic part authorized by the manufacturer.

$17.15
Special Order
Common Symptoms of models starting with 356-
How this model fails, and the parts that fix it.


Watch our pros, then fix it yourself.
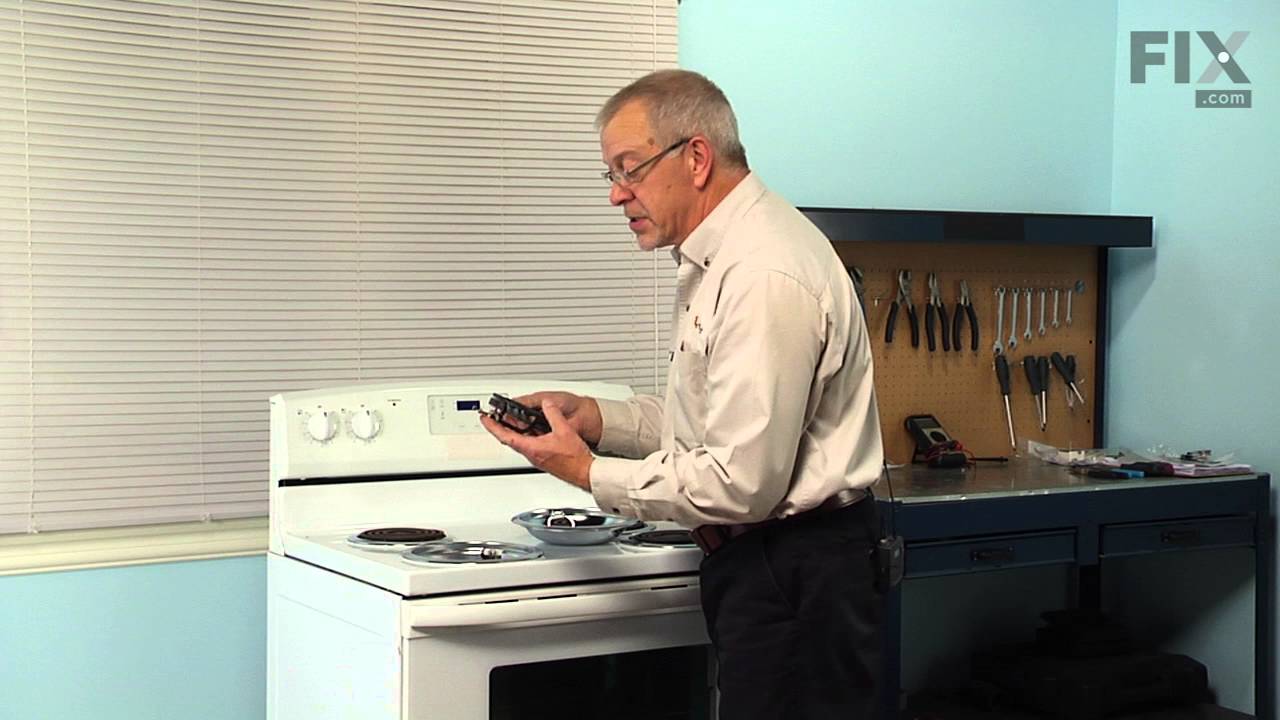
See how others fixed this model. Time, tools, difficulty, and steps that lead to victory!
View More