


 My Orders




3455 - Overview
Models starting with 3455
Click on the best match to narrow your results.
- 34550 Homelite Lawn Mower (Gas Walk-Behind Mower)
- 34550-2 General Electric Refrigerator
- 34551 Homelite Lawn Mower (Gas Walk-Behind Mower)
- 34551-2 General Electric Refrigerator
- 3455A89 Husqvarna Tiller (Husqvarna Tiller Model 3455A89 Parts)
- 3455A89 (1998) Husqvarna Tiller (Tiller)
- 3455A99 (1999) Husqvarna Tiller (Tiller)
- 3455A99 Husqvarna Tiller (Husqvarna Tiller Model 3455A99 Parts)
- 3455B89 Husqvarna Tiller (Husqvarna Tiller Model 3455B89 Parts)
- 3455B89 (1998) Husqvarna Tiller (Tiller)
Enter a part description. DIY Heroes keep it simple, eg. "belt" or "pump".
Search filter:
Clear Filter
Your search term must have 3 or more characters.

$23.16
In Stock
Light Socket
Part #WR2X9391
This part is a replacement light socket for your refrigerator. It connects to the power source, and holds the light bulb. If the light in your refrigerator is not working, you could have a faulty socket. It is important to determine if the light bulb is simply burned out, or if the socket is causing the issue. Be sure to disconnect your r...Read moreefrigerator from the power source before you begin this repair. This socket is black in color and is sold individually. This is an OEM part sourced directly from the manufacturer.
Read less

$34.93
In Stock
Evaporator Fan Blade Kit
Part #WR60X114
This kit features a 5-blade plastic evaporator fan blade that rotates CCW and measures 4.5-inches in diameter and has a 3/8-inch-tall shaft. This kit also has a metal compression ring that secures the fan to the evaporator. The evaporator mechanism is normally located in the freezer and is responsible for pulling the warmer air over the c...Read moreondenser coils, cooling it off and then blowing and circulating that cooler air through the rest of the refrigerator. If the freezer compartment has a frost buildup or if there is a lack of cooling and airflow in your refrigerator, this fan likely needs to be replaced. To replace your evaporator fan, you will likely need a screwdriver and a set of pliers and check your user manual for the exact location of your evaporator fan.
Read less

$6.72
In Stock
Lawn Mower Hairpin Clip
Part #532003146
This hairpin clip, also known as a cotter pin, is a genuine OEM sourced part used to secure rotating components together in various outdoor power equipment. It is made of steel and is approximately 1.5 inches long. The clip acts as a fastener to prevent the moving parts from loosening and falling off during usage. The clip is vulnerable t...Read moreo corrosion and general wear over time. However, it can also fail prematurely due to overloading and excessive stress. A damaged hairpin clip will result in misalignment of parts, accidental disassembly, increased friction and wear, and potential harm to the user. Remove the faulty pin and align the new one with the insertion points. Ensure that the pin is securely fitted in its appropriate slot and compress the ends to prevent it from dislodging.
Read less

$48.45
In Stock
Defrost Timer
Part #WR9X480
This refrigerator defrost timer will cycle for twenty-five minutes after every six hours of run time. The timer itself is made of plastic, but its terminals are bent and the leads are external.

No Longer Available
RETAINER
Part #WB2X1082

$10.70
Special Order

$15.00
Special Order
CLIP
Part #WR2X8583

$26.35
In Stock
Bearing, Needle
Part #532005020
This needle bearing is sourced from the original equipment manufacturer for use in lawn and garden equipment. It is a cylindrical roller that allows the rotating parts such as the drive shaft to move smoothly and avoid friction damage. The bearing is made from steel and designed to withstand heavy loads, and harsh outdoor conditions. Over...Read more time the bearing may wear down from lack of lubrication, or damage from the heavy loads and impacts. If the needle bearing is faulty, you will notice excessive vibration, grinding and squeaking noises, and overall lower performance from your equipment. Carefully remove the old bearing from your equipment using bearing pullers and clean the area thoroughly to ensure a good fit for the new bearing. Lubricate the new bearing and press it into position to complete your repair.
Read less

$28.55
In Stock
Solenoid Kit
Part #532146154
It is a genuine OEM sourced part is specially designed for riding lawn mowers and garden tractors. The solenoid acts like an electromagnetic switch, it engages and routes the battery electrical supply to the engine starter when the ignition switch is rotated to the start position. Unfortunately, over time it may wear out or get damaged ev...Read moreentually requiring a replacement. Keep in mind this high-quality solenoid is sold individually. You will need a screwdriver and a wrench set to perform this repair.
Read less

$6.72
In Stock
Nut Lock
Part #596040501
This is a Manufacturer Approved replacement nut for lawn and garden equipment. This item is Metal an is Sold Individually. A lock nut is a type of nut that resists loosening when properly threaded onto a bolt.

$7.39
In Stock
Washer Thrust 5/8 X 1.10 X 1/3
Part #532001370
It is a genuine OEM item that is made for Craftsman lawn and garden equipment. This is a special component which helps to provide a tight fit for the connected parts. Over time it may wear out and get compressed eventually requiring a replacement. Check the appropriate diagrams for your model to ensure the proper repair procedure. This high-quality seal is made of durable metal and is sold as an individual item.

$37.74
In Stock
Stake, Depth
Part #532102156
Exact Part matches for your search term

No Longer Available
Common Symptoms of models starting with 3455
How this model fails, and the parts that fix it.
Light not working
Fixed by
these parts
these parts

Show All
Noisy
Fixed by
these parts
these parts

Show All
Fridge too warm
Fixed by
these parts
these parts
Show All
Watch our pros, then fix it yourself.
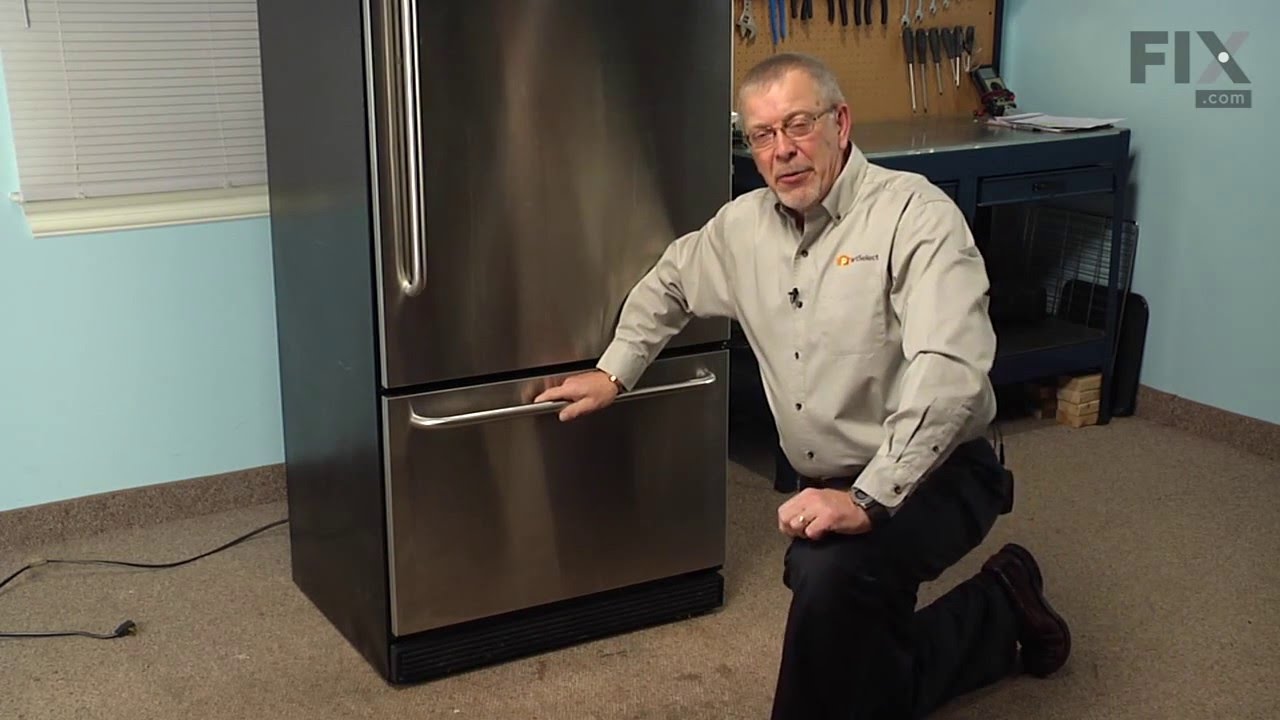
See how others fixed this model. Time, tools, difficulty, and steps that lead to victory!
View More