


 My Orders




3450 - Overview
Models starting with 3450
Click on the best match to narrow your results.
- 3450 Poulan Chainsaw (Gas Chainsaw)
- 3450 (0601956060) Bosch Worklight & Flashlight (Work Light)
- 34500 Troy-Bilt Lawn Mower (Troy-Bilt Lawn Mower Model 34500 Parts)
- 34500 (0100101-0199999) Troy-Bilt Lawn Tractor Accessories (34500 36" Grs Attachment (S/N 0100101-0199999))
- 34500-7 General Electric Refrigerator
- 34501 Troy-Bilt Lawn Mower (Troy-Bilt Lawn Mower Model 34501 Parts)
- 34501 (0100101-0199999) Troy-Bilt Lawn Tractor Accessories (34501 42" & 48" Grs Attachment (S/N 0100101-0199999))
- 34501-7 General Electric Refrigerator
- 34503 Troy-Bilt Lawn Tractor Accessories (Electric Start Kit-Wide Cut Mowers)
- 34504 Troy-Bilt Lawn Mower (34504 Grass Collector Kit-High Wheel Mowers)
- 34505 Troy-Bilt Lawn Mower (34505 Grass Catcher Kit-Mulching Mowers)
- 34506 Hamilton Beach Pressure Cooker (6 Quart Precision Pressure Cooker (34506))
- 34506 Troy-Bilt Lawn Tractor Accessories (Swivel Wheel Kit-High Wheel Mowers)
- 34507 Troy-Bilt Lawn Mower (34507 Grass Collector Kit-Wide Cut Mowers)
- 34508 Hamilton Beach Pressure Cooker (Quikcook™ 8 Quart Pressure Cooker, Stainless (34508))
- 34509 MTD Lawn Mower (MTD Lawn Mower Model 34509 Parts)
Enter a part description. DIY Heroes keep it simple, eg. "belt" or "pump".
Search filter:
Clear Filter
Your search term must have 3 or more characters.

$23.16
In Stock
Light Socket
Part #WR2X9391
This part is a replacement light socket for your refrigerator. It connects to the power source, and holds the light bulb. If the light in your refrigerator is not working, you could have a faulty socket. It is important to determine if the light bulb is simply burned out, or if the socket is causing the issue. Be sure to disconnect your r...Read moreefrigerator from the power source before you begin this repair. This socket is black in color and is sold individually. This is an OEM part sourced directly from the manufacturer.
Read less

$41.70
In Stock
Refrigerator Defrost Timer
Part #WR9X483
This refrigerator defrost timer will cycle for thirty minutes after every ten hours of run time.

$19.50
In Stock

$6.40
In Stock
Lawn Mower Hex Washer Head Screw
Part #710-0599
This is an original replacement part sourced directly from the manufacturer. The screw is commonly found in yard equipment from Craftsman, such as lawn tractors, snow blowers, and edgers. This part is made of metal, and may be found in various locations in the machine, depending on model. Please be aware that there are different screws...Read more used in the machine. Refer to the parts diagram to be sure of ordering the correct part. You will require a wrench when replacing this item. The screw is sold as an individual replacement part.
Read less

$28.55
In Stock
Walbro Gasket/Diaphragm Kit
Part #530069844
This is an authentic OEM replacement kit for use with lawn and garden equipment. Each kit includes the carburetor, cylinder, crankcase, and muffler gaskets. The carburetor gasket seals the area between the carburetor and engine block to prevent the entry of contaminants into the carburetor. The crankcase gasket prevents oil from leaking o...Read moreut of the crankcase. The cylinder and muffler gaskets prevent the combustion and exhaust gases from escaping. If you are experiencing common problems such as leaking, loss of compression, and poor engine performance this indicates that your gaskets may be worn down or damaged and need replacement. Carefully remove the old gaskets and thoroughly clean the mating surfaces where the new gaskets will be installed to ensure a good seal. Install the new gaskets and ensure that they fit properly.
Read less

No Longer Available
RETAINER
Part #WB2X1082

$10.70
Special Order

No Longer Available
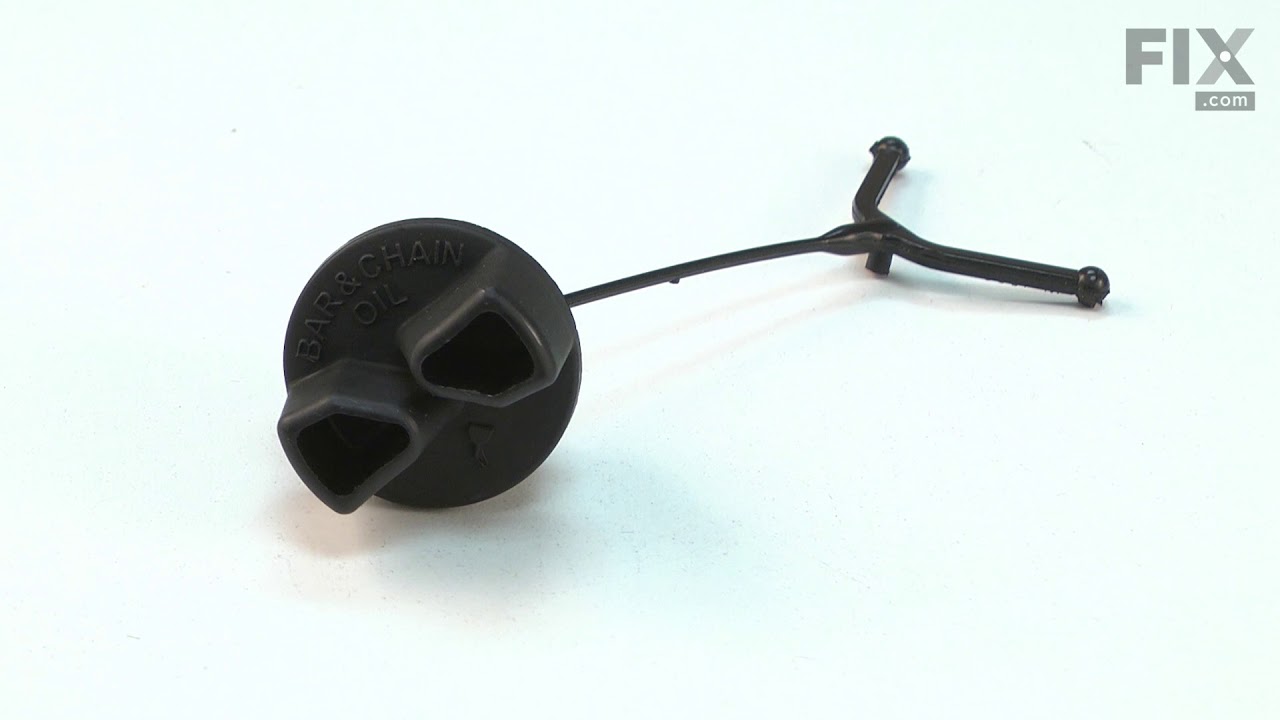
Oil Filler Cap
Part #530057236
This is an authentic Craftsman replacement part that has been sourced from the original manufacturer to be used with chainsaws. The oil cap connects to the saw\\\'s chassis by covering the oil fill spout to prevent spills and to prevent contaminants from entering the oil tank. This item is available as an individual replacement part. Tools are not necessary to install this item.

$6.57
In Stock
Washer-lock 5/16
Part #936-0119
This Washer-Lock 5/16 is a silver, metal part that is sold individually and comes direct from the manufacturer. With a 5/16 Inch Interior Diameter and 1/2 Inch Outside Diameter, it is used to prevent the nut from backing off and becoming loose on the pulley shaft, and is attached to the drive belt pulley assembly. You will know if you nee...Read mored this because your owners manual will specify it, or the model number of your machine will correspond with this part. If the part is broken due to fatigue, the shafts will free spin when they should be locked together, and must be replaced.
Read less

$6.72
In Stock
Bar Adjustment Retainer
Part #530038593
This OEM bar adjustment retainer is a metal component that securely holds the adjustment screw and pin in place, allowing you to adjust the chain tension. It is typically located near the front of the chainsaw, close to the guide bar. If the guide bar is over-pressured, the retainer can become stressed and fail, causing it to ride up on t...Read morehe screw. Signs of a damaged retainer include visible breaks or deformations. You may also have trouble in tightening or loosening the chain, as the screw may become loose during adjustment. To remove a faulty retainer, remove the side cover by loosening the nuts and the tension screw on it with a socket. Unscrew the guide bar and replace the damaged retainer. When installing the new retainer, ensure the cone points towards the adjustment pin. Please note that the replacement retainer is sold separately from the guide bar and adjustment pin.
Read less

$6.72
In Stock
Tension Screw 36/41
Part #530016110
This is an authentic item sourced from original manufacturer. If the chainsaw bar doesn't adjust when you turn the tension screw usually the tension gear/pin or the adjustment bolt is worn or damaged. This part is made out of metal and it is sold individually. You would need a phillips head screwdriver to remove or secure this screw.

No Longer Available
Butter Dish
Part #WR19X10005
Exact Part matches for your search term
No Longer Available
$179.68
Special Order
Common Symptoms of models starting with 3450
How this model fails, and the parts that fix it.
Light not working
Fixed by
these parts
these parts

Show All
Fridge too warm
Fixed by
these parts
these parts

Show All
Freezer not defrosting
Fixed by
these parts
these parts
Show All
Watch our pros, then fix it yourself.
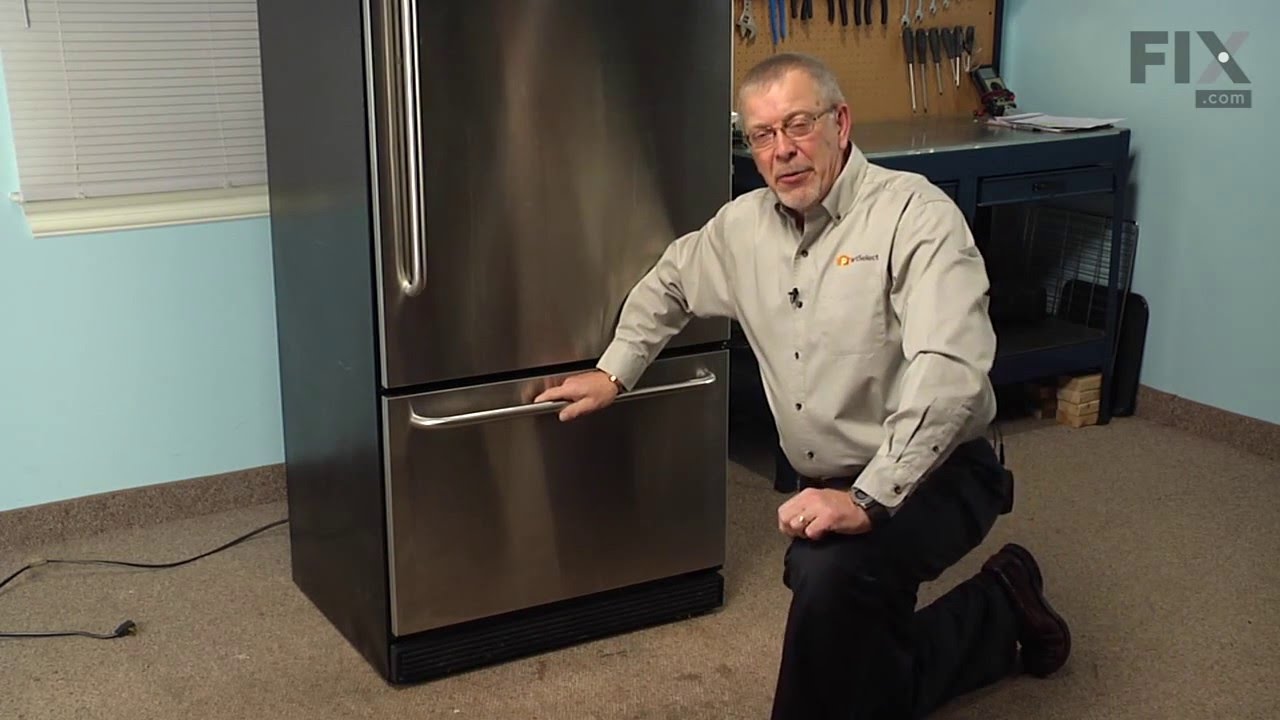
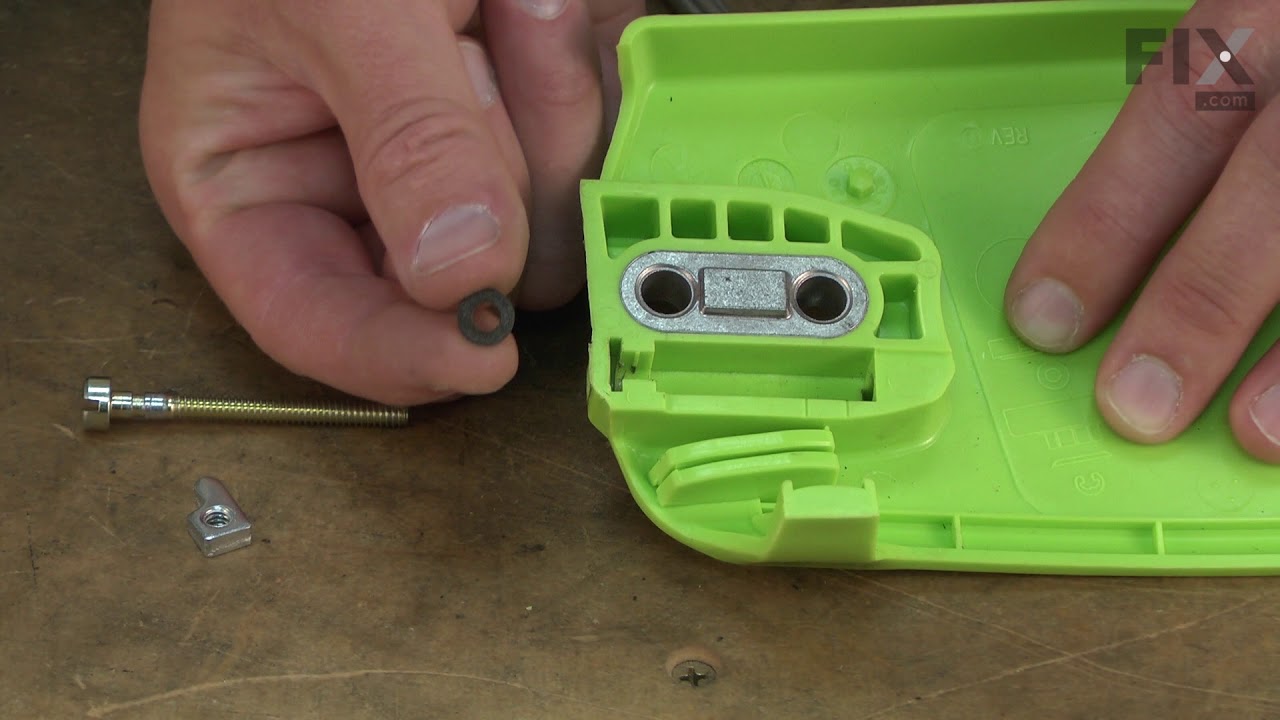
See how others fixed this model. Time, tools, difficulty, and steps that lead to victory!
View More