


 My Orders




3334 - Overview
Models starting with 3334
Click on the best match to narrow your results.
Enter a part description. DIY Heroes keep it simple, eg. "belt" or "pump".
Search filter:
Clear Filter
Your search term must have 3 or more characters.

$17.18
In Stock
Crisper Support - Rear
Part #241993001
The crisper drawer cover rests on this support, which mounts inside the refrigerator cabinet wall. This is an OEM replacement part. Confirm it fits your refrigerator model before ordering.

$59.35
In Stock
Door Closing Cam
Part #240457701
This door closing cam works with the lower hinge mechanism to help the refrigerator or freezer door move into its closed position. It is located at the bottom of the door and is sold individually. A worn or damaged cam may cause clicking during movement or prevent the door from closing smoothly. Inspect the cam and surrounding hinge parts...Read more if the door sags or closes unevenly, since other faults can cause similar symptoms. Match the cam to the appliance parts diagram and follow the door support instructions before removing hinge hardware. This is an OEM part sourced directly from the manufacturer.
Read less

$54.95
In Stock
Door Shelf Bin
Part #240363701
Keep bottles, jars, and condiments organized with a white refrigerator door shelf bin designed to hold items such as two litre bottles. The bin snaps onto the inner door liner, providing accessible storage while keeping containers contained as the door opens and closes. Cracks, broken mounting tabs, or damaged edges can leave the bin unst...Read moreable or unable to hold items securely. Replacing a damaged bin restores usable door storage and helps prevent containers from tipping or falling because of a broken support. This is an OEM part sourced directly from the manufacturer.
Read less

$87.51
In Stock
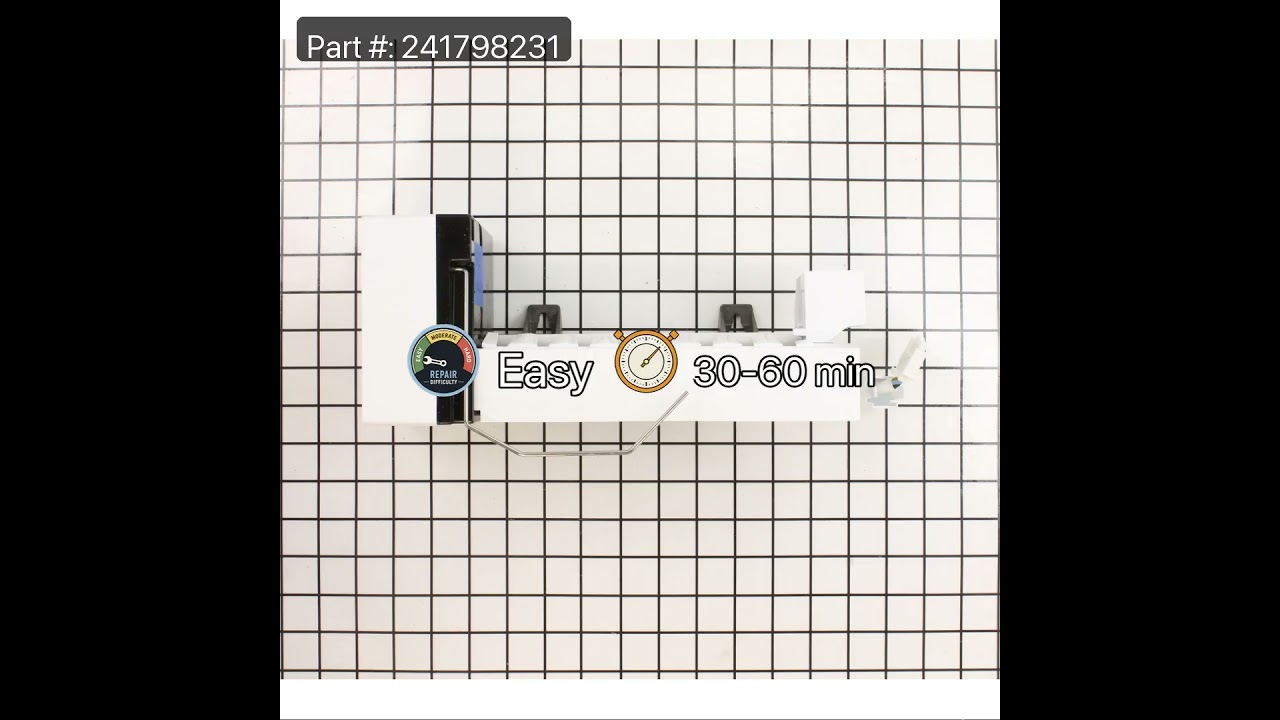
Refrigerator Ice Maker Assembly
Part #241798231
This 8-cube ice maker is used to create ice for your refrigerator. The ice maker receives water from the water inlet valve and will freeze until ice cubes are formed. Once the water has been frozen the cubes will be ejected from the mold in to the ice bucket. The ice maker will continue the process until the ice bucket has reached the l...Read moreimit. If your ice maker is not making ice you may need to replace this part. Please remember to disconnect the power and water supply before starting your repair. This ice maker is a genuine OEM part.
Read less

$21.95
In Stock
Light Bulb - 40W
Part #40A15
This 40-Watt light bulb is sold individually.
It is specially designed to withstand extreme temperatures, so this bulb is compatible with a variety of appliance types including refrigerators, ranges, microwaves, and dryers. It features a frosted glass bulb with a standard metal socket base, which allows you to easily unscrew the burnt-out light and twist the new bulb into place.

$59.35
In Stock
Water Dispenser Actuator
Part #241682003
A press of a glass against this black refrigerator water dispenser actuator moves the lever to engage the internal dispensing switch. The plastic paddle provides the contact surface used to request water from the door dispenser. Cracks, broken pivot points, or a snapped arm may prevent it from moving correctly or reaching the switch. Repl...Read moreacing a damaged actuator helps restore normal lever movement and reliable response when water is requested. Its pivoting action transfers pressure from the glass to the switch inside the dispenser housing. This is an OEM part sourced directly from the manufacturer.
Read less

$43.95
In Stock
Evaporator Fan Motor Kit - 120V 60Hz
Part #5303918549
Cold air moves through the food compartments with help from this refrigerator evaporator fan motor kit. The motor drives the fan that circulates air across the evaporator coils and distributes cooled air through the freezer and fresh food sections. A worn or failed motor may cause squealing, buzzing, reduced airflow, or warmer compartment...Read more temperatures. Replacing a faulty motor helps restore air circulation and more even cooling. The kit includes the motor, two retainer clips, three terminal connectors, and an installation instruction sheet. This is an OEM part sourced directly from the manufacturer.
Read less

$113.30
In Stock
Ice Container and Auger Assembly
Part #241860803
This ice container and auger assembly collects and stores ice in the freezer, then moves it toward the door dispenser. The assembly includes the bucket, rotating auger, and crusher mechanism. A cracked container, damaged auger, or broken internal part may cause jams or prevent ice from dispensing. Check for clumped ice and inspect the mot...Read moreor coupling as well, since these can cause similar symptoms. Turn off the ice maker before removing the old bucket, and follow the appliance instructions to align and fully seat the replacement assembly. This is an OEM part sourced directly from the manufacturer.
Read less

$99.95
In Stock
Replacement Ice Maker
Part #5303918277
Fresh ice is produced automatically by this refrigerator ice maker assembly, which fills its mold, freezes water, and releases cubes into the storage bin. Its heat release mechanism briefly warms the mold to loosen the ice during harvesting. A damaged or failed assembly may stop cycling, leave cubes stuck in the mold, or leak into the buc...Read moreket. Replacing a faulty unit helps restore automatic ice production. The assembly includes a wiring harness and adapter plug to support the electrical connections used by the replacement kit. This is an OEM part sourced directly from the manufacturer.
Read less

$71.98
In Stock
Dispenser Crusher Housing
Part #241885001
This dispenser crusher housing may also be known as a refrigerator ice crusher housing, and is compatible with your refrigerator. The function of the dispenser crusher housing is to shield the ice crushing blades within the ice container. To make this repair you will need a Phillips screwdriver, a flat blade screwdriver, a quarter-inch nu...Read moret driver, and a pair of channel lock pliers. For this installation, work gloves are recommended. Note that this piece may look different or be a different color than the original, but this part will fit and function in the same way as the original part.
Read less

$89.54
In Stock
Ice Container/Bucket
Part #241734001
This genuine OEM ice container, also known as an ice bucket, is designed for use in refrigerators to store ice cubes. It should be replaced if it develops significant cracks or breaks that could affect performance. To remove the container, open the freezer door and lift it out, ensuring the ice maker’s shut-off arm is in the off position....Read more Transfer the front panel, access door, shield, crusher assembly, and auger assembly from the old container to the new one—without disassembling the crusher and auger assembly, if possible, to simplify the process. When aligning the control rod, make sure one set of crimps sits in front of the crusher assembly plate and the other behind it. To secure the other end, hook the spring around the tab at the bottom of the container and tuck the bracket behind the tab. Engage the rod’s hook by rotating it into the flapper door. Reinstall the front panel and access door by aligning the holes and fastening them in place. Finally, snap the guard back onto the side rails of the bin, ensuring the ridged edge faces forward. Please note that this replacement part includes only the ice bucket; additional components must be purchased separately.
Read less

$54.95
In Stock
Ice Dispenser Drum
Part #241685101
This genuine replacement ice dispenser drum is designed for use with a wide range of refrigerator models. Made from durable plastic, the drum plays a key role in your ice maker by capturing ice and directing it to the crusher for dispensing. It is positioned between the ice dispenser drive plate and the ice crusher mounting plate, ensurin...Read moreg smooth and efficient operation.
If the drum becomes damaged or worn, replacing it is a simple process. All you’ll need is a Phillips head screwdriver. Just remove the necessary components to access the drum, unfasten it, and install the new one in its place. This part is sold individually and is compatible with many refrigerator models—check your model’s diagram to confirm fit.
Read less
Exact Part matches for your search term

No Longer Available
$555.47
Special Order
Common Symptoms of models starting with 3334
How this model fails, and the parts that fix it.
Ice maker not making ice
Fixed by
these parts
these parts


Show All
Ice maker won’t dispense ice
Fixed by
these parts
these parts

Show All
Fridge too warm
Fixed by
these parts
these parts


Show All
Door won’t open or close
Fixed by
these parts
these parts


Show All
Clicking sound
Fixed by
these parts
these parts

Show All
Noisy
Fixed by
these parts
these parts
Show All
Not dispensing water
Fixed by
these parts
these parts


Show All
Light not working
Fixed by
these parts
these parts

Show All
Leaking
Fixed by
these parts
these parts

Show All
Freezer section too warm
Fixed by
these parts
these parts
Show All
Fridge and Freezer are too warm
Fixed by
these parts
these parts
Show All
Ice maker dispenses too much ice
Fixed by
these parts
these parts


Show All
Door Sweating
Fixed by
these parts
these parts
Show All
Too warm
Fixed by
these parts
these parts
Show All
Won’t start
Fixed by
these parts
these parts
Show All
Ice maker dispenses too little ice
Fixed by
these parts
these parts
Show All
Will Not Start
Fixed by
these parts
these parts
Show All
Watch our pros, then fix it yourself.
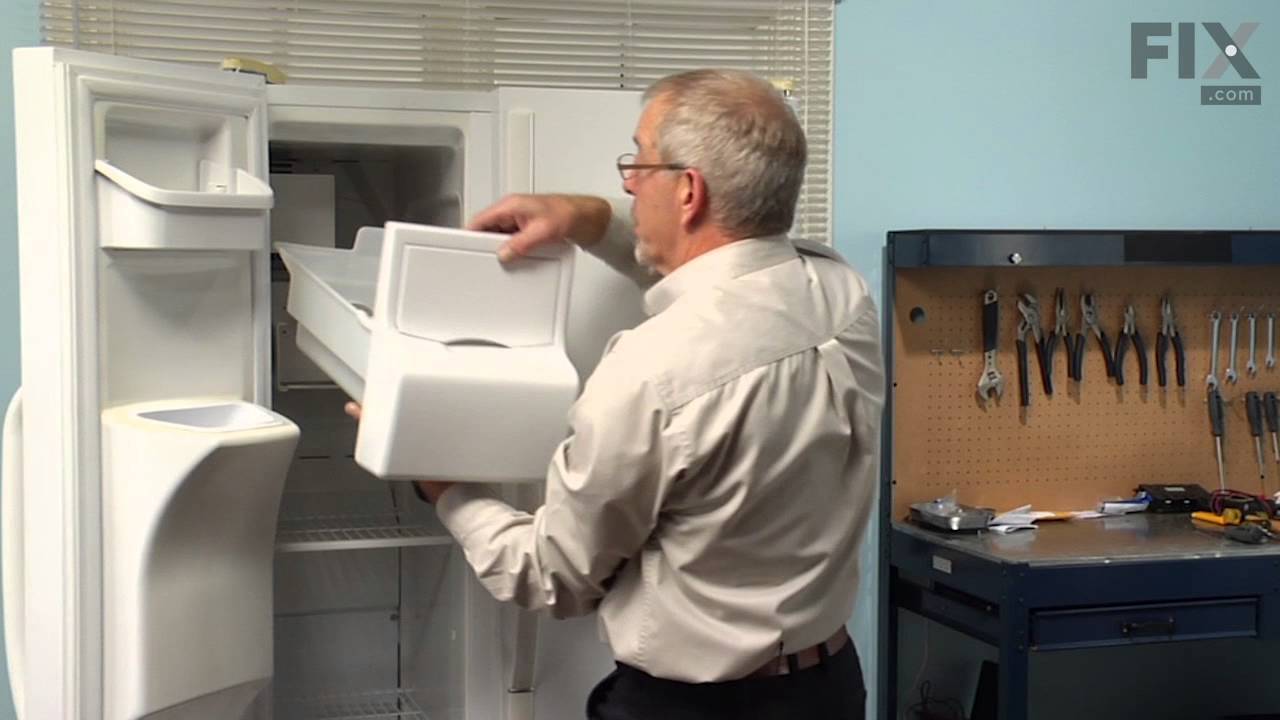
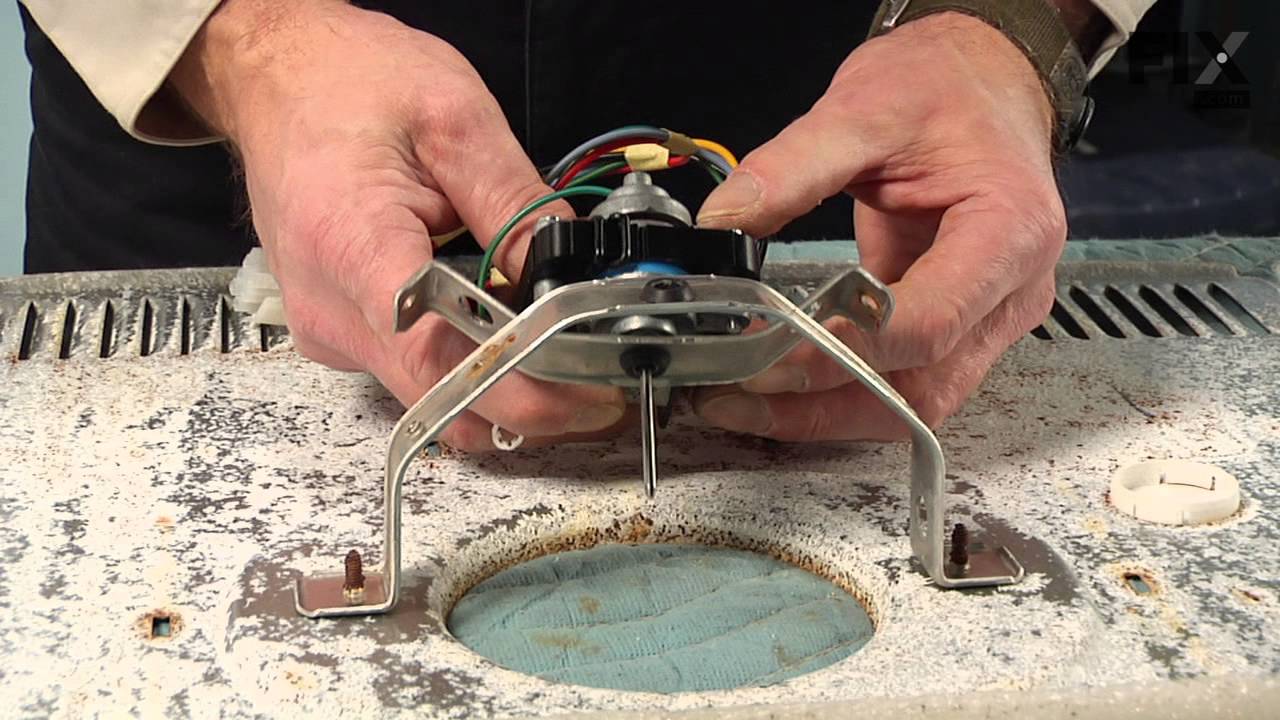
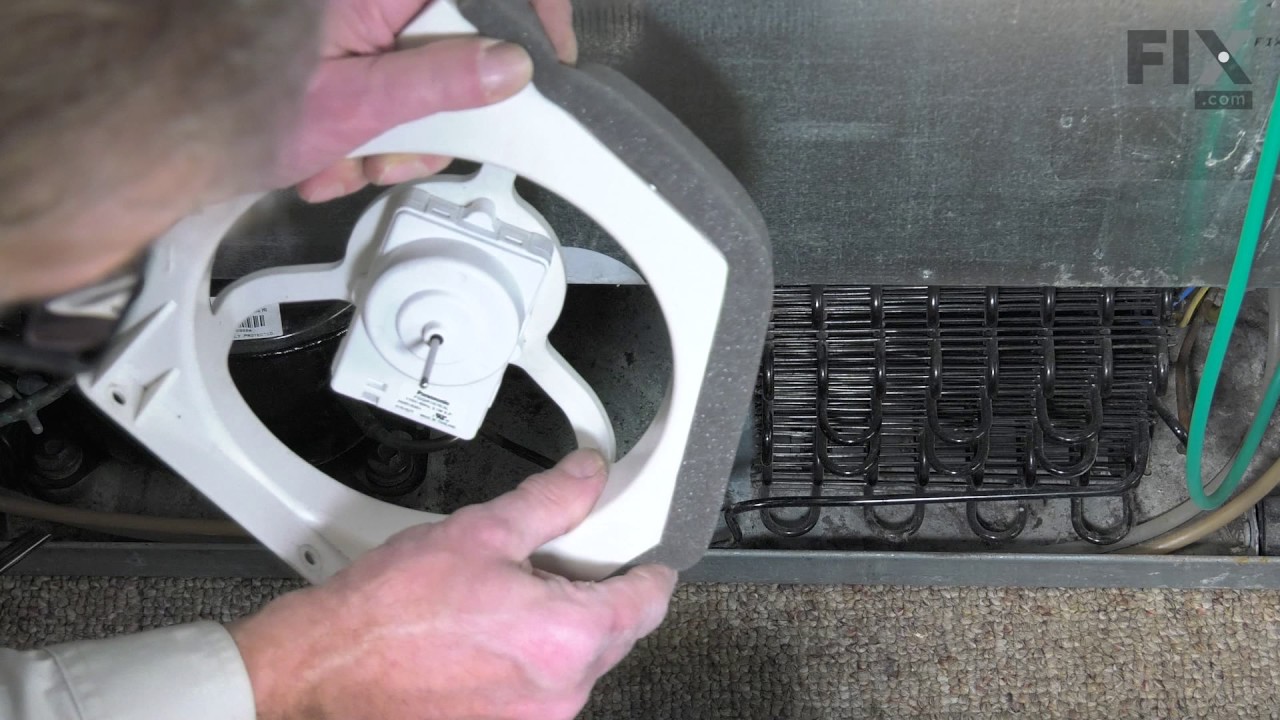
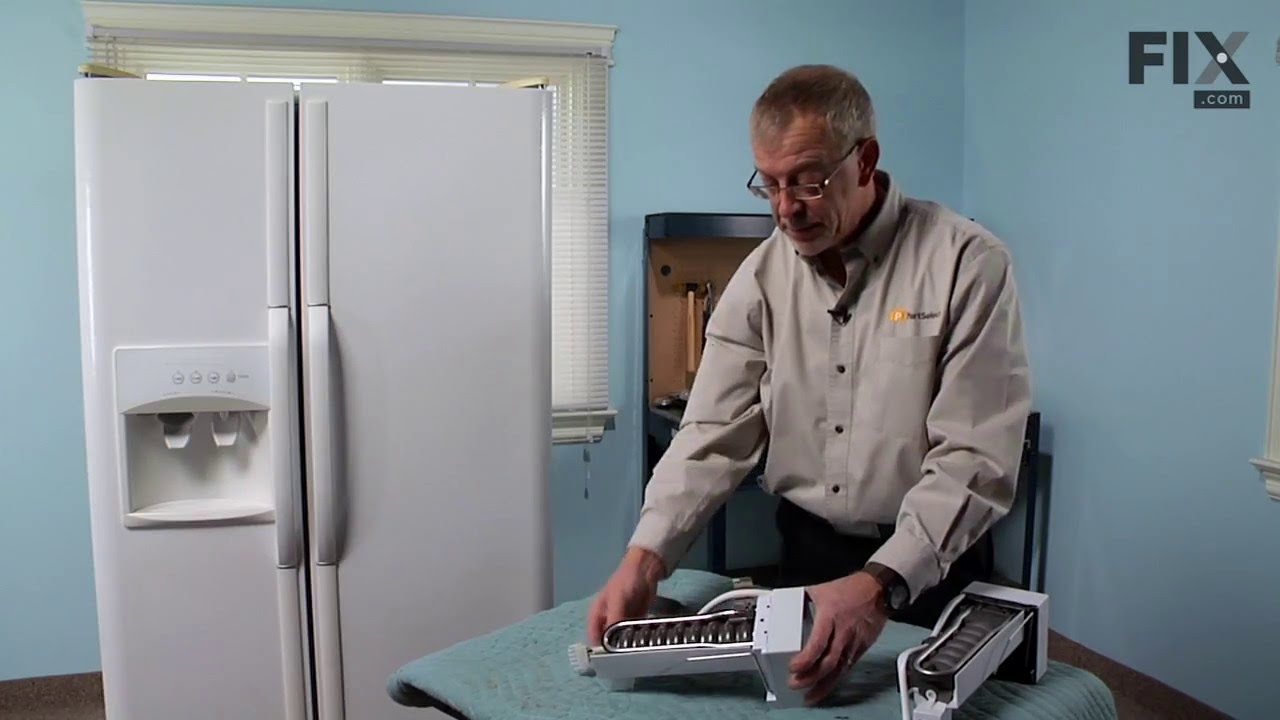
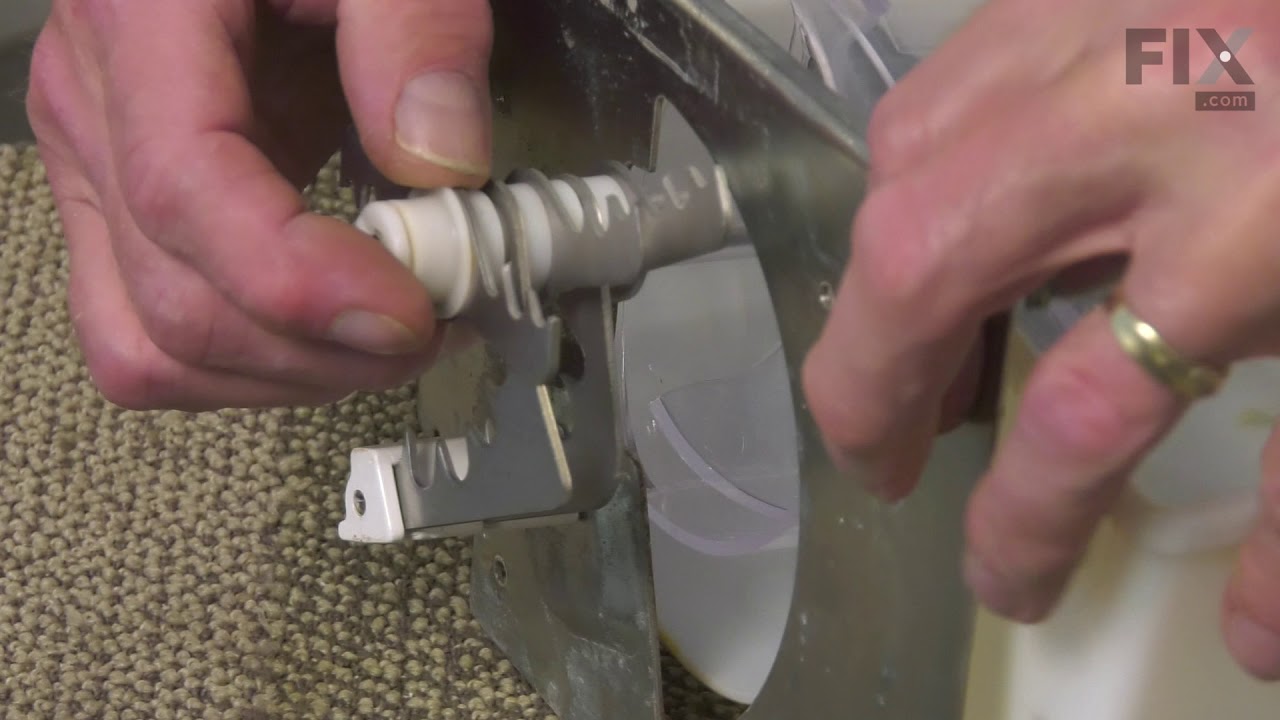
See how others fixed this model. Time, tools, difficulty, and steps that lead to victory!
View More