


 My Orders




33128 - Overview
Models starting with 33128
Click on the best match to narrow your results.
- 33128-1 General Electric Refrigerator
- 33128BE Snapper Lawn Tractor (33" 12 Hp Rear Engine Rider Series 8)
- 33128BE (80113) Snapper Lawn Mower (33 Inch Rear-Engine Riding Mower, 12hp)
- 33128RE Snapper Lawn Tractor (33" 12 Hp Rear Engine Rider Series 8)
- 33128RE (80118) Snapper Lawn Mower (33 Inch Rear-Engine Riding Mower, 12hp)
- 33128TVE (80114) Snapper Lawn Mower (33 Inch Rear-Engine Riding Mower, 12hp)
- 33128TVE Snapper Lawn Tractor (33" 12 Hp Rear Engine Rider Series 8)
Enter a part description. DIY Heroes keep it simple, eg. "belt" or "pump".
Search filter:
Clear Filter
Your search term must have 3 or more characters.

$78.14
In Stock
Defrost Timer - 120V 60Hz
Part #WR9X502
This defrost timer will cycle for 25 minutes after every six hours of run time. The timer itself is made of plastic, and its terminals are bent, the leads are internal, and the label is orange. If you notice that your fridge is too warm, the fridge is running for a long time or is leaking, it could be due to the defrost timer becoming ina...Read morective. The defrost timer is found underneath the light cover (may need to remove lightbulb) and will need to be removed along with the air inlet assembly and housing.
Read less

$10.75
In Stock
Lawn Mower Wing Knob
Part #703065
This 5/16-18 wing knob is sold individually. It is a plastic part, black in color, that works on a variety of equipment. Its general function is to allow you to quickly loosen, remove, or fold down things such as handles. If it no longer loosens or tightens, it may be broken or damaged due to fatigue and wear.
Replacing this part is an easy repair that does not require any tools.

$6.40
In Stock
Lawn Mower Cotter Pin
Part #703312
This cotter pin is an OEM part that is 1.25 inches long, gold in color, and sold individually. Made of metal, it can have a range of applications on a variety of lawn and garden equipment. Generally, you will need to replace this part if it becomes broken due to age and wear, or if you need to remove it for making other repairs.
This is...Read more an easy repair that only requires a pair of pliers to carry out. You need to bend one end around the shaft or bolt and bend the other around the back end of the bolt to complete the repair.
Read less

$14.76
In Stock
Snow Blower Greased Bearing
Part #2108202SM
This Ball Bearing is an individually sold, silver/black, metal part. It reduces friction in the spindle assembly between the spindle shaft and the spindle housing. If broken due to wear/fatigue, you will hear a grinding, growling, rumbling or screeching sound, and should replace the part. Refer to your make, model and diagrams to ensure this is the right part for you.

$13.23
Special Order
BOOT, Rear Axle, Thick Flange
Part #7075115YP
This rear axle, thick flange boot, also known simply as the boot, protects the rear axle of your riding lawn mower/tractor. It measures 4.75 x 3 inches, and is black and made of plastic. This part can dry out and crack due to fatigue and wear; you may notice a rip in it, and debris entering the hub of your mower. When this occurs, it is t...Read moreime to replace the boot, which our customers rated as a medium-difficulty repair.
You will need to attach your new boot to the rear axle of your machine, and the repair will require a screwdriver, pliers, a socket set, wrench set, and snap ring pliers.
Read less

$10.60
In Stock
Hose-vacuum
Part #791766
This genuine part is sourced directly from the original equipment manufacturer. It is specially designed for use with Briggs and Stratton engines commonly installed on lawn and garden equipment. The purpose of this hose is to transfer vacuum from the engine. Unfortunately, over time the material may wear out and begin to crack eventually ...Read morerequiring a replacement. Make sure to check the diagrams of your model for the exact location and the correct installation of this part. Note, this item includes one durable rubber hose and two metal clamps to secure it.
Read less

$55.06
In Stock
Lawn Mower Friction Ring
Part #7600135YP
Inside some rear-engine riding mowers, a friction ring helps the clutch transfer power smoothly into the drive system. A glazed, cracked, bent, or badly worn ring can cause delayed movement, slipping, uneven takeoff, or loss of drive even while the engine runs normally. Check tire pressure, belt condition, cable adjustment, and the mating...Read more drive plate before choosing a replacement. Oil on the ring can also reduce grip. Match the replacement to the full equipment model and product number. Before service, turn off the engine, remove the key, disconnect starting power, and support the mower safely. Clean the contact area and follow the service diagram during installation.
Read less
No Longer Available
HUBCAP
Part #7011022YP
This OEM hub cap keeps debris out of the hub and axle of your lawn mower. It is black in color, sold individually, and made of plastic. Over time, your hub cap may get removed or damaged due to fatigue and wear. If you notice it is missing or damaged, you will need to replace the hub cab.
This is an easy repair that just requires the us...Read moree of a flat blade screwedriver for removal, and a rubber mallet for installing the new one inside the wheel hub.
Read less

$8.19
In Stock
Lawn Mower Nut
Part #703409
This hex nut is a fastener made from steel and is used to secure the end of a bolt in various lawn and garden equipment and machinery. It is a genuine OEM replacement part that comes in a standard size of 5/16 of an inch with 18 threads per inch. The hex nut has a hexagonal shape, which gives it greater grip and makes it easy to tighten u...Read moresing a wrench or a set of pliers. The nut also has a flange on one end, which locks the nut in place, prevents damage to the area where it is installed, and allows the load to be evenly distributed. It is important to replace your hex nut if it is loose, cracked, or corroded. If you have not yet removed the old hex nut from your equipment you will need a socket wrench to remove it. After that, you can easily install the new nut by threading it onto a bolt or screw and then tightening it with a wrench or pliers until it is tightly secured.
Read less

$6.40
In Stock
Clamp-hose
Part #791850
This is a genuine manufacturer-sourced part which is designed for use on lawn and garden equipment. It is an identical replacement for a missing or a damaged clamp that is used to secure the hose. Keep in mind this high-quality product is made of durable metal and is sold individually. Please make sure to check the appropriate diagrams for your model for the correct location and application of this hardware.

$6.40
In Stock
Plug
Part #7011024YP
This OEM plug is sold individually and measures just over an inch in diameter. It attaches to the case cove of your equipment, is black in color, made of plastic and will need to be replaced when the old plug is dry out, cracking, or generally showing signs of wear. You may observe grease leaking out if this part needs replacing.
Dirt c...Read morean also get into the case if it is cracked, and cause problems over time such as a grinding noise.
This is a somewhat challenging repair that requires a screwdriver, pliers, and a wrench.
Read less

$6.40
In Stock
Exact Part matches for your search term
No Longer Available
No Longer Available
No Longer Available
Common Symptoms of models starting with 33128
How this model fails, and the parts that fix it.
Fridge too warm
Fixed by
these parts
these parts

Show All
Freezer section too warm
Fixed by
these parts
these parts
Show All
Freezer not defrosting
Fixed by
these parts
these parts
Show All
Fridge and Freezer are too warm
Fixed by
these parts
these parts
Show All
Leaking
Fixed by
these parts
these parts
Show All
Will Not Start
Fixed by
these parts
these parts
Show All
Fridge runs too long
Fixed by
these parts
these parts
Show All
Noisy
Fixed by
these parts
these parts
Show All
Freezer too cold
Fixed by
these parts
these parts
Show All
Watch our pros, then fix it yourself.
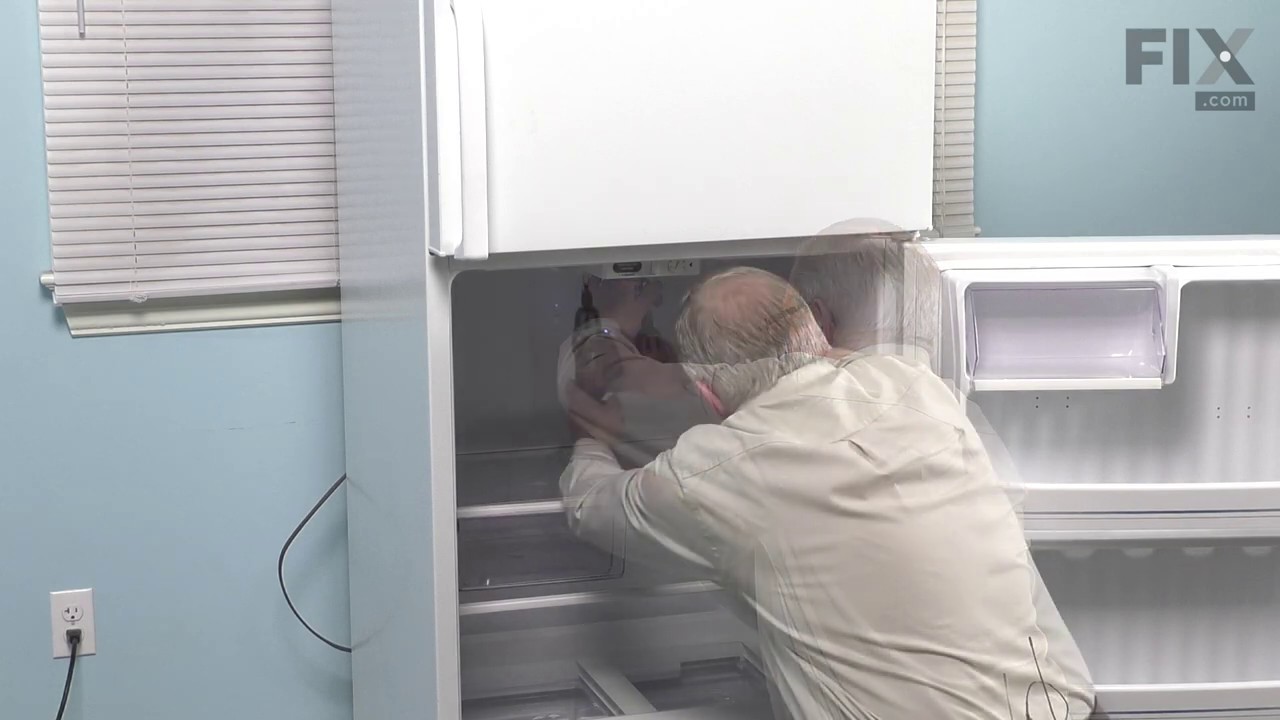
See how others fixed this model. Time, tools, difficulty, and steps that lead to victory!
View More