


 My Orders




327E Husqvarna - Overview
Models starting with 327E
Click on the best match to narrow your results.
- 327ES Husqvarna Edger (Husqvarna Edger Model 327ES Parts)
- 327ES ( 20144900001-Current 2014 ) Husqvarna Trimmer (327 Es, 20144900001-Current)
- 327ES (20101800001-20144900000) Husqvarna Edger (327 Es (20101800001-20144900000))
- 327ES (20144900001-Current) Husqvarna Edger (327 Es (20144900001-Current))
- 327ES (2010-05) Husqvarna Trimmer (Trimmer)
- 327ES (2014-12) Husqvarna Trimmer (From Trimmer)
Enter a part description. DIY Heroes keep it simple, eg. "belt" or "pump".
Search filter:
Clear Filter
Your search term must have 3 or more characters.

$30.75
In Stock
Chainsaw Primer Bulb
Part #503936601
Genuine Husqvarna replacement part, this part is sold individually. The 503939601 Air Purge does just what the part name says. It purges the air out of the carburetor. Then it forces fuel from the fuel tank and fuel line in to the carburetor.

$6.95
In Stock
Trimmer Hose
Part #537042401
This OEM fuel line, or hose, is a 4-inch, clear, plastic tube which is sold individually. It is rated as "Easy" to install. This part connects to the purge assembly and delivers fuel to the carburetor or is used as a return line to the tank. A broken hose will leak, and should be replaced. Refer to your make, model and diagrams to check if this part is right for you.

$6.72
In Stock
Fuel Tank Bushing
Part #580457501
Used to seal the fuel tank to prevent leaks and allow the fuel line to enter through it, this Fuel Tank Bushing is sourced directly from the manufacturer. It is made of black rubber, is not part of a kit or assembly, and is sold individually.
This part will wear through regular use and should be replaced if you notice signs of damage or...Read more wear. When it malfunctions, you will see fuel leaking from the bushing. You will need a screwdriver and pliers to complete this repair.
Customers rate this repair as Easy.
Read less

$35.15
In Stock
Trimmer Starter Pawl Bridge
Part #503873305
The Starter Pawl bridge provides the resistance needed for the starter rope to start the trimming engine. It is an OEM part that attaches inside the recoil assembly. If broken due to weaar or fatigue, the engine will not engaged when the rope is pulled, and the part should be replaced. Installation is rated as easy and requires a screwdrv...Read moreier, pliers and nutdriver. Refer to your make, model and diagram to check if this part is correct. This part is metal, individually sold, and comes in gold.
Read less

$98.95
In Stock
Carburetor
Part #588171156
This OEM carburetor mixes the air-fuel mixture to the proper ratio for combustion in your engine. This carburetor is sold individually, is silver in color and metal in material, and is located on the intake of the engine.
Issues with your carburetor will cause problems with your engine running, and could cause excessive smoke due to too...Read more much gas. This can happen due to corrosion inside the carburetor. Carburetors can be rebuilt easily, and repairing them requires an allen wrench and a screwdriver. When troubleshooting your carb, remove the air filter and pour a teaspoon of fuel into the carburetor. Pull the starter rope, and if the engine starts then quickly dies, the carburetor is likely the problem.
When replacing your carburetor, also replace all gaskets when doing so, as they are a one-time use.
Read less

$11.28
In Stock
Fuel Tank Bushing
Part #503735801
This fuel tank bushing grommet creates a tight seal where the fuel line enters the tank, helping prevent leaks and keep air and debris out of the fuel system. Made from durable, fuel-resistant rubber, it supports reliable engine performance and consistent fuel flow. Replacing a worn or damaged grommet can help eliminate leaks and restore proper operation.

$18.65
In Stock
Fuel Hose
Part #581756205
This fuel hose is a genuine OEM part designed to deliver fuel from your fuel tank to the carburetor. Also known as the fuel line, it is black in color, made of rubber, sold individually, and can be attached to your machine on the fuel tank and the carb. Over time, it is possible the line breaks due to wear or drying out.
If you notice c...Read moreracks or leaking fuel, it is time to replace the fuel hose. This is an easy repair according to most of our customers, and does not require any special tools.
Read less

$6.72
In Stock
Screw
Part #503216220
This is an authentic OEM sourced replacement screw designed for use with a variety of Husqvarna power equipment. It is a standard hardware which has multiple applications based on your tool. This part is made out of Metal and it is Sold Individually. Requires a Hex Key or a Wrench to tighten/loosen this Screw.

$13.92
In Stock
Primer Bulb
Part #188-512-1
This is a rubber primer bulb with a plastic adapter attachment that is used on a variety of lawn and garden equipment models. This bulb attaches to the carburetor and is used to pump gasoline from the fuel tank into the gas chamber of the carburetor. Over time and through regular use, the primer bulb will lose its elasticity and may crack...Read more, requiring it to be replaced. To replace your primer bulb, you simply need to locate the bulb on your machine, unscrew the housing and remove the bulb, and secure the new one. This bulb is sold as an individual part and has a 2.25cm (7/8-inch) outer-diameter and a 3.33cm (1.3125-inch) height.
Read less

$6.95
In Stock
O-ring
Part #537184901
This O-ring is a genuine OEM replacement part designed for use in a variety of power tools. It is a rubber seal used to prevent pressure loss, as well as oil, fuel, and air leakage from the fuel hose. It can be found on either end of the hose. You will need to replace this ring if it has lost elasticity, or if it is cracked or deformed. T...Read morehe O-ring can fail due to age, exposure to heat and chemicals, pressure buildup, or poor installation. A faulty ring will result in leakages, pressure loss, and decreased equipment performance. Carefully pry the old O-ring off the hose. Remove any dirt or debris in the area and lubricate the new ring before placing it in position. Apply light pressure to the ring until it is secure and sitting snugly. Note that your equipment may have several O-rings, therefore, inspect all of them as each ring is sold individually.
Read less

$6.72
In Stock
Bar Adjustment Retainer
Part #530038593
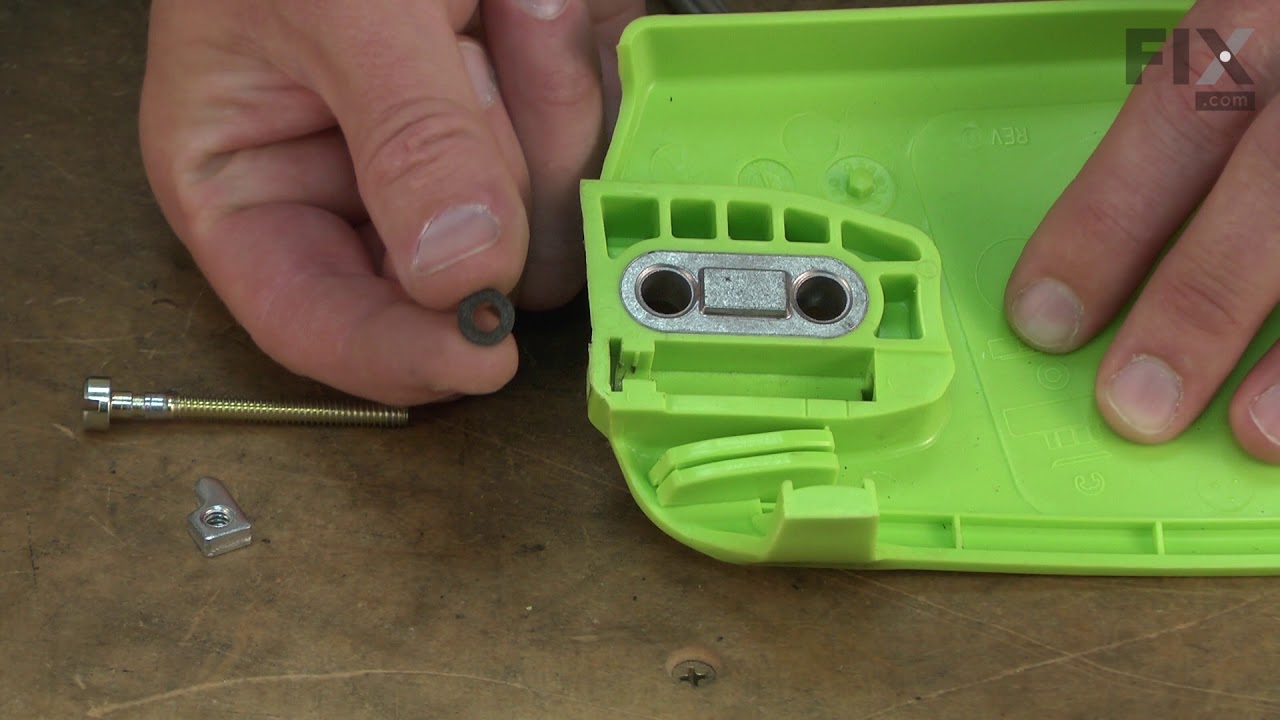
This OEM bar adjustment retainer is a metal component that securely holds the adjustment screw and pin in place, allowing you to adjust the chain tension. It is typically located near the front of the chainsaw, close to the guide bar. If the guide bar is over-pressured, the retainer can become stressed and fail, causing it to ride up on t...Read morehe screw. Signs of a damaged retainer include visible breaks or deformations. You may also have trouble in tightening or loosening the chain, as the screw may become loose during adjustment. To remove a faulty retainer, remove the side cover by loosening the nuts and the tension screw on it with a socket. Unscrew the guide bar and replace the damaged retainer. When installing the new retainer, ensure the cone points towards the adjustment pin. Please note that the replacement retainer is sold separately from the guide bar and adjustment pin.
Read less

$6.72
In Stock
Chainsaw E-Ring
Part #735310820
Designed for use in various chainsaws, the E-Ring secures the pivot pin, which holds the handguard. It is an authentic OEM replacement part made of durable black metal and sold individually, not as part of a kit or assembly.
When this part malfunctions, you may notice the handle or handguard is loose. At which point, it will need to be ...Read morereplaced. To complete this repair, you will need a pair of pliers.
Customers rate this repair as Easy.
Read less
Watch our pros, then fix it yourself.
See how others fixed this model. Time, tools, difficulty, and steps that lead to victory!
View More