


 My Orders




31C- - Overview
Models starting with 31C-
Click on the best match to narrow your results.
- 31C-040-701 MTD Snow Blower (Electric Snowblower)
- 31C-040-701 (2010) Yard Man Snow Blower (Snowblower)
- 31C-040-800 (Y040) Yard Machines Snow Blower (31c-040-800 Y040 31c-040-800)
- 31C-040-800 (2010) Yard Machines Snow Blower (Snow Thrower)
- 31C-040-800 MTD Snow Blower (Electric Snowblower)
- 31C-116-000 Yard Machines Snow Blower (Yard Machines Snowblower Model 31C-116-000 (31C116000, 31C 116 000) Parts)
- 31C-116-000 (2004) Yard Machines Snow Blower (Snowblower)
- 31C-140-352 MTD Snow Blower (MTD Snowblower Model 31C-140-352 (31C140352, 31C 140 352) Parts)
- 31C-140-352 (2002) Yard Machines Snow Blower (Snowblower)
- 31C-3KX (13X) Maytag Range (Maytag Range/Stove/Oven Model 31C-3KX/13X (31C3KX/13X, 31C 3KX/13X) Parts)
- 31C-3KX (10X) Maytag Range (Maytag Range/Stove/Oven Model 31C-3KX/10X (31C3KX/10X, 31C 3KX/10X) Parts)
Enter a part description. DIY Heroes keep it simple, eg. "belt" or "pump".
Search filter:
Clear Filter
Your search term must have 3 or more characters.

$50.56
On Order
Flat Style Oven Igniter Kit
Part #12400035
The flat style oven igniter kit is used in gas ovens and ranges. It is what provides the heat needed to open the gas valve, and it ignites fuel for the burner assembly. This part can be used for both bake and broil elements, and it can replace both short and long igniters. However, it cannot replace round style oven igniters. If your igni...Read moreter glows for 90 seconds or more without igniting the burner, this means it is too weak to open the valve. The element in your igniter may have shorted it and it might not glow at all, or it might only glow orange or red. It needs to glow white hot; if it cannot get hot enough the gas will not be released from the safety valve and it will be impossible to light the burner in your oven. This kit includes the igniter, ceramic wire nuts, an insulation pad, a metal bracket, a variety of plug ends, and an instruction sheet. The body length is 3 3/4 inches, and the element inside is approximately 1 1/2 inches. This replacement part has an amperage range of 3.3 to 3.6. The element inside this igniter is extremely fragile, do not touch it. Before you start repairing your oven or range, make sure you have unplugged it and shut off the gas supply.
Read less

$15.00
In Stock
Oven Door Spring
Part #WP7803P058-60
The oven door springs create tension which allows the door to open and close with ease. This spring can be used on either the left or right side of your oven, is made completely of metal, and is approximately 6 inches long. If your oven door will not open or close easily, you may need to replace this part. It may be a good idea to replace...Read more both hinges at the same time, because if a spring has become loose, the other hinge is likely to have the same issue. You may need to remove the side panel of the oven to reach where the spring attaches, so make sure the oven is off and is cool to the touch. This part is sold individually.
Read less

No Longer Available
Double Burner Assembly
Part #3412A004-19
This double burner design is not to be used with sealed burner style models.

No Longer Available
GRATE BURNER
Part #W11400301
This square burner grate has sides measuring approximately nine inches. It is all black in color.

$26.13
In Stock
Petrol Line Assembly
Part #791-682039
This OEM fuel line and filter supply fuel from the tank of your engine to its carburetor. Made of clear plastic and sold individually, the fuel line may end up clogged or cracked, causing fuel to leak as a result of general wear and tear.
The filter may also end up damaged or clogged over time, and shold be replaced regularly as a part ...Read moreof proper engine maintenance. Luckily, this is an easy repair that requires no tools to carry out.
Read less

No Longer Available
Safety Valve - just over four inches long
Part #WP7501P133-60
This safety valve ensures that no gas is released until the igniter has received the proper voltage needed to ignite the gas range. This safety valve has an amperage range of 3.3 to 3.6 amps. The valve body is just over four inches long.

$6.40
In Stock
Carriage Bolt 5/16-18 x 3/4" Lg.
Part #710-0451
This carriage bolt measures 5/16-18 x .75 and fastens two parts in your machine together. It has a round domed head and a square underside so the bolt does not rotate once it has been secured into place. If it has signs of deformation or wear, you will need to replace it. To unthread this bolt, you need an adjustable wrench to loosen the ...Read morenut found on the end of the bolt. You may need to apply a lubricating oil to the bolt if it is stuck. You may need to clamp down on the head of the bolt with pliers while continuing to turn the nut counterclockwise. You can then slide the carriage bolt out of its hole or tap it gently with a hammer. This bolt is a standalone product and the nut is not included. This bolt was sourced directly from its manufacturer.
Read less

No Longer Available
Oven Thermostat Kit
Part #12400034
This oven thermostat kit is to be used with gas oven models with a flat ignitor. Many thermostats do look similar. The knob has been updated by the manufacturer and may not look the same as the original.

$6.40
In Stock
Lawn Mower Hex Washer Head Screw
Part #710-0599
This is an original replacement part sourced directly from the manufacturer. The screw is commonly found in yard equipment from Craftsman, such as lawn tractors, snow blowers, and edgers. This part is made of metal, and may be found in various locations in the machine, depending on model. Please be aware that there are different screws...Read more used in the machine. Refer to the parts diagram to be sure of ordering the correct part. You will require a wrench when replacing this item. The screw is sold as an individual replacement part.
Read less

$6.40
In Stock
Chute Flange Keeper
Part #731-0851A
This chute flange keeper is sourced from the original equipment manufacturer for use in snowblowers. The plastic keeper allows the snowblower chute to pivot, and secures the flange that connects the chute to the blower frame and holds it in place during use. Over time the flange keeper can break or fall off, which causes the chute to disl...Read moreodge or shift from its position. If you notice that debris is discharged in the wrong direction, and you have difficulties adjusting the chute then this is a sign that the flange keeper is no longer functioning as it should. Clean the chute flange and surrounding area before placing the new keeper on. Use a pair of pliers to align the the holes on the flange keeper with the holes on the chute and lock it in place.
Read less

$65.73
In Stock

$6.40
In Stock
Nut-flglk
Part #712-04064
Also referred to as a Lock Nut or Flange Lock, this nut is designed for use with various lawn and garden equipment. The purpose of this part is to hold parts in place while resisting loosening when properly threaded. It is sold individually, not as part of a kit or assembly. It is black, made of metal, and is found in a variety of locatio...Read morens. Refer to your owners manual to determine if this is the correct part.
This part will need to be replaced when it is weak or broken. The symptoms experienced when this part breaks will depend on its location. You will need pliers to complete this repair.
Customers rate this repair as Easy.
Read less
Common Symptoms of models starting with 31C-
How this model fails, and the parts that fix it.
Gas igniter glows, but will not light
Fixed by
these parts
these parts


Show All
Little to no heat when baking
Fixed by
these parts
these parts
Show All
Will Not Start
Fixed by
these parts
these parts

Show All
Element will not heat
Fixed by
these parts
these parts
Show All
Oven not heating evenly
Fixed by
these parts
these parts
Show All
Door won’t close
Fixed by
these parts
these parts

Show All
Gas smell
Fixed by
these parts
these parts
Show All
Little to no heat when broiling
Fixed by
these parts
these parts
Show All
Oven is too hot
Fixed by
these parts
these parts

Show All
Watch our pros, then fix it yourself.
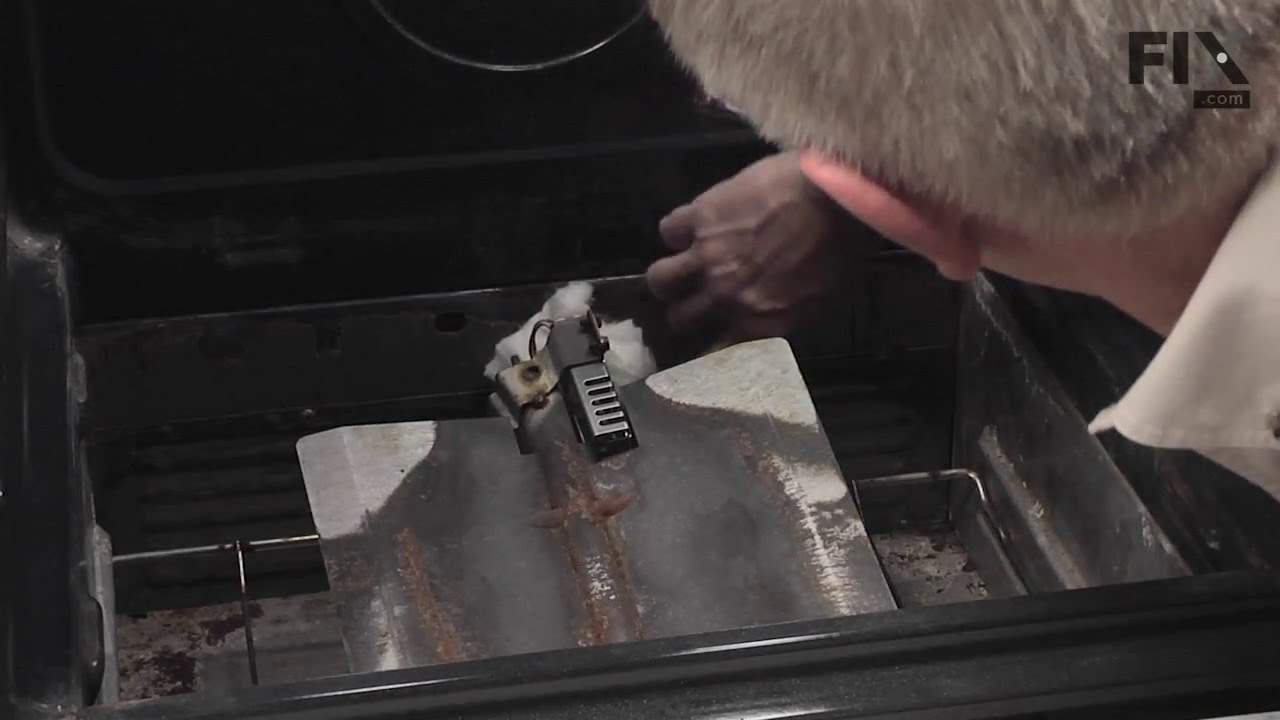



See how others fixed this model. Time, tools, difficulty, and steps that lead to victory!
View More