


 My Orders




31AH6W - Overview
Models starting with 31AH6W
Click on the best match to narrow your results.
- 31AH6WFG790 MTD Snow Blower (MTD Snowblower Model 31AH6WFG790 Parts)
- 31AH6WFG790 ( SB628 2008 ) MTD Snow Blower (Snowblower)
- 31AH6WK3597 ( 85026PC 2008 ) MTD Snow Blower (Snowblower)
- 31AH6WK3597 MTD Snow Blower (MTD Snowblower Model 31AH6WK3597 Parts)
- 31AH6WQ4 (2008) Troy-Bilt Snow Blower (Storm 2840 28" Self-Propelled)
- 31AH6WQ4 Troy-Bilt Snow Blower (31ah6wq4 Storm 2840 28 Inch Self-Propelled - Snow Throwers)
- 31AH6WQ4711 ( 31AH6WQ4766 2008 ) Troy-Bilt Lawn Mower ("""31ah6wq4 Storm 2840 28"""" Self-Propelled (2008) 31ah6wq4711 (2008) 31ah6wq4766 (2008)""")
- 31AH6WTS710 Cub Cadet Snow Blower (Cub Cadet Snowblower Model 31AH6WTS710 Parts)
- 31AH6WTS710 (2008) Cub Cadet Snow Blower (Cub Cadet Snowblower Model 31AH6WTS710/2008 Parts)
Enter a part description. DIY Heroes keep it simple, eg. "belt" or "pump".
Search filter:
Clear Filter
Your search term must have 3 or more characters.

$6.40
In Stock
Shear Pin, .25
Part #738-04124A
This individually sold shear pin is an OEM replacement that is most typically used in snowblowers but can also be used within snowblower attachments for lawn tractors. Its main uses are connecting the auger and auger shaft, which are the rotating blades, and to protect more valuable components such as the transmission.If the snow is causi...Read moreng excessive force or there is a jam within the auger and connected housing,it will cause the shear pin to snap, effectively stopping the rotation of the auger, while the auger shaft and gears will continue turning. If the shear pin snaps, snow will simply build up on the outside of the auger housing, since the auger will no longer spin. This shear pin has a .25-inch diameter, and 1.5-inch length and is sold individually. Most augers have a pin on each side, so you may need to purchase more than one, and it is also recommended that you carry spare pins in case of a future breakage.
Read less

$8.91
In Stock
Kit-needle/seat
Part #398188
This needle and seat kit, also known as a float valve, is found in many types of liquid-fueled lawn equipment, such as carburetors. The valve regulates the flow of fuel into the float bowl. The needle and seat work together to make sure that the valve opens and closes properly, so that it does not leak or overflow. If it is broken, you ma...Read morey notice a strong odor of fuel coming from your machine. Your engine may also run poorly or not start at all. A damaged or corroded float valve can cause fuel leaks, which can be dangerous as they are flammable. To remove the float valve, first disconnect the spark plug wire on your machine. You then need to consult your user manual to locate the float bowl of your machine and remove the bolts or screws securing their cover in place. When you lift off the cover, you will find the needle attached to the float. Using a pair of needle-nose pliers, grasp onto the needle and pull it out of the float. Keep in mind when you are purchasing this OEM-manufactured kit that it comes with the needle and seat together, but the float itself is not included.
Read less

$6.40
In Stock
Pin-bow Tie Cotter
Part #714-04040
Sourced directly from the manufacturer, this replacement part is designed to secure otherwise loose parts in place, allowing the machine to operate properly. This Bow Tie Cotter Pin is not part of a kit or assembly and is sold individually. It is silver, made of metal, and is used in a variety of models for various purposes.
This part n...Read moreeeds to be replaced when it is broken or damaged, or the threads have become stripped. Depending on their location, this part is known to wear with regular use. You will need a wrench or socket set to complete this repair.
Customers rate this repair as Easy.
Read less

$6.92
On Order
Snow Blower Chute Flange Keeper
Part #731-04869A
The chute flange keeper is a genuine OEM replacement part that secures the chute flange on snowblowers. The keeper is made of plastic and fits onto the metal piece, known as the flange, that connects the chute to the blower frame and holds it in place during use. Over time the flange keeper may wear down or fall off and cause the chute fl...Read moreange to fall out of alignment. If you notice that you have difficulties adjusting the direction of the chute and you hear rattling during use, then this is a sign that the flange keeper is no longer properly attached. Before positioning the new keeper, clear off any dirt or debris in the area. Use a pair of pliers to fit the keeper on and align the holes on the flange keeper with the holes on the chute before securing it.
Read less

$25.54
In Stock
Pulley/spring Assembly
Part #498144
This manufacturer approved recoil starter pulley is designed for lawn and garden equipment engines. The recoil starter engages the drive cup on the flywheel to start the engine when pulled. This assembly includes: Plastic Pulley and a Metal Recoil Spring.

$9.08
In Stock
Connector-hose
Part #692317
This is a Genuine Manufacturer Sourced replacement part used on a a variety of Engines. This is a Fuel Line Connector connects the fuel line to the carburetor. This part is made out of Plastic and Metal, it is Sold Individually.

$6.40
In Stock
Lawn Mower Self-Tapping Screw
Part #710-04484

$6.40
In Stock
Gasket-float Bowl
Part #693981
This is a Genuine OEM Authorized Gasket used on variety of Lawn and Garden Equipment Engines. This part is made out of Rubber and it is sold individually. If the carburetor is leaking fuel it is recommended to replace the Bowl Gasket. Gaskets and O-rings are a common source of problems. They eventually shrink, causing fuel and air leaks t...Read morehat lead to poor engine performance. When replacing this Gasket you would need a Screwdriver and a set of Wrenches.
Read less

$6.40
In Stock
Carriage Bolt 5/16-18 x 3/4" Lg.
Part #710-0451
This carriage bolt measures 5/16-18 x .75 and fastens two parts in your machine together. It has a round domed head and a square underside so the bolt does not rotate once it has been secured into place. If it has signs of deformation or wear, you will need to replace it. To unthread this bolt, you need an adjustable wrench to loosen the ...Read morenut found on the end of the bolt. You may need to apply a lubricating oil to the bolt if it is stuck. You may need to clamp down on the head of the bolt with pliers while continuing to turn the nut counterclockwise. You can then slide the carriage bolt out of its hole or tap it gently with a hammer. This bolt is a standalone product and the nut is not included. This bolt was sourced directly from its manufacturer.
Read less

$6.40
In Stock
Nut-flglk 5/16-18
Part #712-04063
This nut is a manufacturer-approved replacement part for various lawn and garden equipment. It is sold individually, not as part of a kit or assembly. Also referred to as a Lock Nut, it is resistant to loosening when threaded on a bolt. It has a variety of applications and is used in multiple locations on most models. Please refer to your...Read more owners manual to determine the exact location.
While made of durable metal, the ends can round off from improper use of a wrench or socket. Depending on the location, this part may also become worn through regular use of your machine. It should be replaced when visibly cracked, worn or damaged. To complete this repair, you will need a wrench or socket, and a torque wrench. Ensure you torque the bolt according to the manufacturer recommendations.
Customers rate this repair as Easy.
Read less

$32.33
In Stock
Cable-speed Select
Part #946-04396A
This speed selector cable is sourced from the original manufacturer and consists of a cable enclosed in an outer protective casing. It connects the control panel to the transmission/drive system of the snow blower, allowing you to adjust and select the speed at which the snow blower moves. When you adjust the speed on the control panel, t...Read morehe cable is activated, and it engages with the transmission to control the snowblower. The speed selector cable can fail over time due to various reasons including fraying from use and exposure to harsh conditions, corrosion, or inadequate lubrication, which causes it to become stiff. If the cable is faulty, your equipment will be unable to move, or stuck at one speed, and the control panel may be unresponsive. Disconnect the faulty cable and route the new cable through the same path. Connect the cable to the control panel and transmission, and secure it with the appropriate fasteners.
Read less

$6.40
In Stock
Lawn Mower Flanged Lock Nut
Part #712-04065
Designed for use in various models of lawn and garden equipment, this part is not sold as part of a kit or assembly. It is made of metal, is gold in color, and is sold individually. This part may also be called a Flange Lock. This nut is designed to lock in place, preventing vibrations and other parts coming loose.
This nut may be locate...Read mored in multiple locations on your machine, refer to your owners manual to determine if this is the correct part. You will need a wrench or socket set and a torque wrench to complete this repair. You should only torque the nut to the manufacturer recommendation, no tighter.
You will need to replace this part when it is worn or damaged. While this part can wear through regular use, it is most commonly damaged through improper use of a wrench or socket.
Customers describe this repair as Easy.
Read less
Common Symptoms of models starting with 31AH6W
How this model fails, and the parts that fix it.
Auger will not turn
Fixed by
these parts
these parts


Show All
Drive system does not work
Fixed by
these parts
these parts

Show All
Will Not Start
Fixed by
these parts
these parts

Show All
Auger / blower won't engage
Fixed by
these parts
these parts
Show All
Cannot pull starter cord out or engine will not turn over
Fixed by
these parts
these parts

Show All
Watch our pros, then fix it yourself.
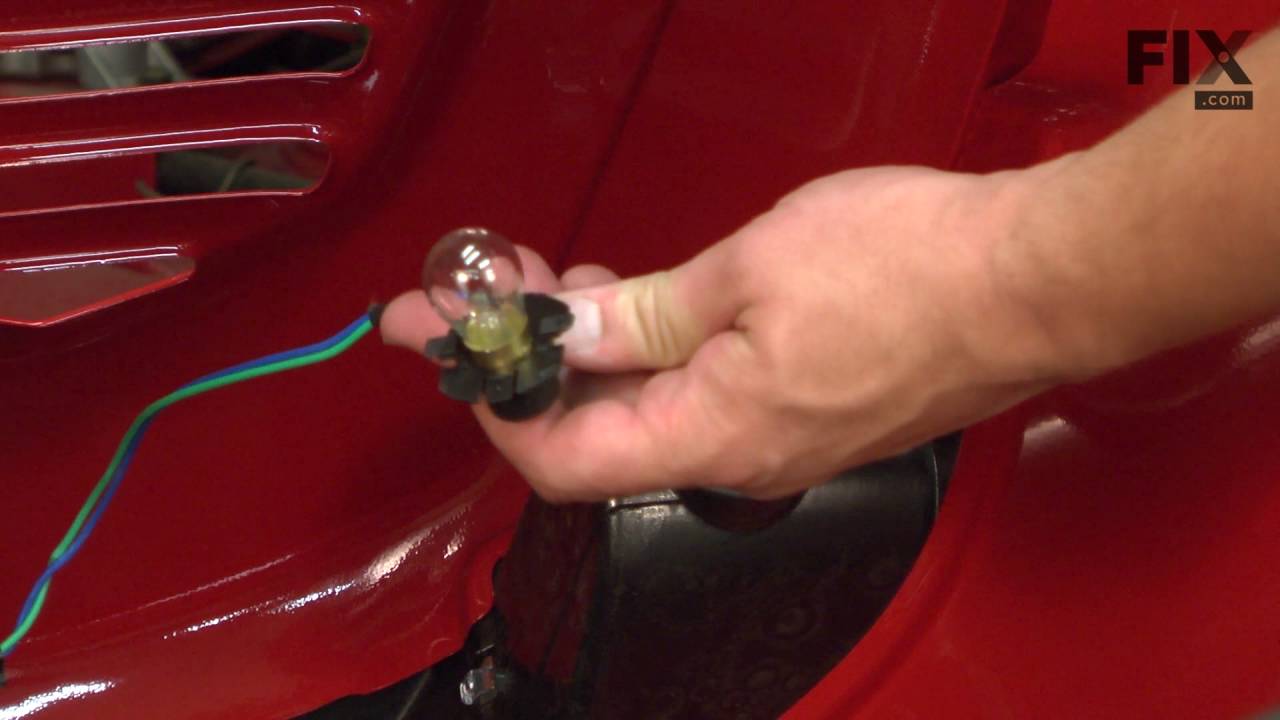
See how others fixed this model. Time, tools, difficulty, and steps that lead to victory!
View More