


 My Orders




3167944 Craftsman Trimmer - Overview
Models starting with 3167944
Click on the best match to narrow your results.
- 316794400 Craftsman Trimmer (Trimmer)
- 316794400 (41ADZ21C799) Craftsman Trimmer (String Trimmer)
- 316794450 ( 41ADZ2CC799 2012 ) Craftsman Trimmer (String Trimmer)
- 316794450 Craftsman Trimmer (Trimmer)
- 316794460 Craftsman Trimmer (Trimmer)
- 316794460 (41ADZ3CC799) Craftsman Trimmer (String Trimmer)
- 316794470 Craftsman Trimmer (Trimmer)
- 316794471 Craftsman Trimmer (Trimmer)
- 316794471 (41DDZ12G799) Craftsman Trimmer (String Trimmer)
- 316794490 ( 41ADZ43C799 2014 ) Craftsman Trimmer (String Trimmer)
- 316794490 Craftsman Trimmer (Trimmer)
Enter a part description. DIY Heroes keep it simple, eg. "belt" or "pump".
Search filter:
Clear Filter
Your search term must have 3 or more characters.

$21.42
In Stock
Fuel Tank Assembly
Part #753-06183
This fuel tank assembly is supplied by the original manufacturer for use in trimmers. It is responsible for storing and transferring fuel to the engine for combustion. The assembly consists of a plastic tank, a fuel cap, a fuel filter, and the fuel lines which have a diameter of 0.25 inches. If the fuel tank is damaged, or the fuel lines ...Read moreare clogged, the assembly will need to be replaced. A faulty fuel tank assembly will result in fuel leakage, hard starting, rough idling, and poor equipment performance. To begin, drain the fuel from the tank. Disconnect the fuel lines and remove the mounting hardware that secures the assembly to the equipment. Pull off the old assembly and align the new one with the mounting holes. Secure the assembly in place and reconnect the fuel lines. Refill the fuel tank to complete the repair.
Read less

$34.40
Special Order
Fuel Tank Asm
Part #753-06797
The fuel tank assembly is responsible for storing and supplying fuel to the engine in lawn and outdoor power equipment. It includes the tank, fuel cap, and fuel lines. The fuel tank assembly will fail if the tank develops cracks or leaks, or if the fuel lines can become clogged. When the fuel tank assembly fails, you will notice fuel leak...Read moreage, restricted fuel supply, stalling, difficulties starting and overall lower performance. Before beginning any repairs, first drain any remaining fuel from the tank for your safety. Disconnect the fuel lines from the tank and remove the fuel tank from the equipment. Position the new tank on to the mounting holes and secure it in place. Connect the fuel lines to the engine and vent to complete your repair.
Read less

$35.70
In Stock
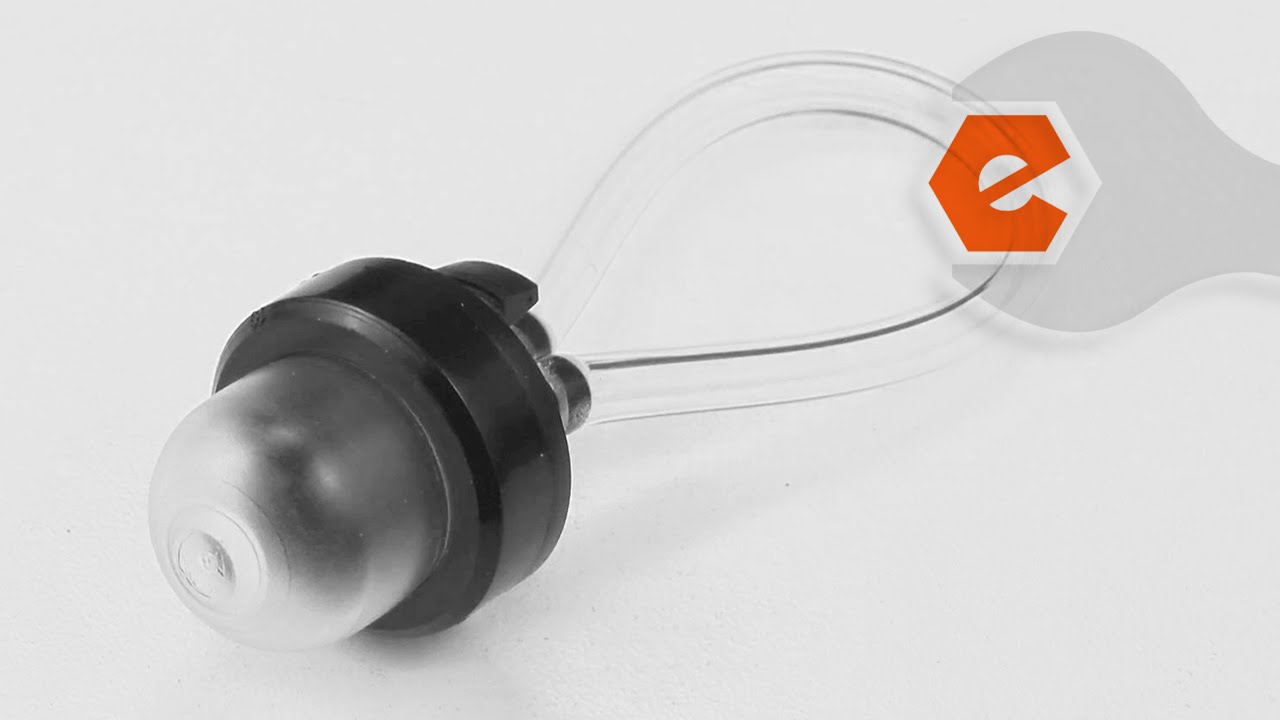
Primer and Hose Assembly
Part #791-683974B
This manufacturer-certified primer and hose assembly includes the primer bulb, the primer bulb housing, and the fuel line. Any or all of the clear plastic parts in this assembly may experience wear and tear over time that cause fuel to leak due to cracking or blockages.
If they are not functioning, these parts will fail in their functio...Read moren of supplying fuel from the tank to the carburetor.
This is an easy repair, which can be made by identifying the location of the parts, between the fuel tank and the carburetor, and reinstalling them with no special tools required. When installing, make sure the fuel lines are tight to prevent leaks and fire hazards.
Read less

$50.69
In Stock
Trimmer Carburetor
Part #753-06190
A carburetor basically consists of an open pipe through which the air passes into the inlet manifold of the engine. The pipe is in the form of a Venturi: it narrows in section and then widens again, causing the airflow to increase in speed in the narrowest part. Below the Venturi is a butterfly valve called the throttle valve ' a rotati...Read moreng disc that can be turned end-on to the airflow, so as to hardly restrict the flow at all, or can be rotated so that it (almost) completely blocks the flow of air. This valve controls the flow of air through the carburetor throat and thus the quantity of air/fuel mixture the system will deliver, thereby regulating engine power and speed. The throttle is connected, usually through a cable or a mechanical linkage of rods and joints. Fuel is introduced into the air stream through small holes at the narrowest part of the Venturi and at other places where pressure will be lowered when not running on full throttle.
Read less

$20.88
In Stock
Trimmer Bump Head Knob
Part #791-153066B
This genuine bump head knob assembly, sometimes known simply as the bump head, is black and approximately 2 inches long. Sold individually, this plastic part releases the cutting line. Over time, this part may break due to wear, and you will know it is broken because it will completely stop functioning.
A troubleshooting tip is to tap t...Read morehe part on theg round to see if the cutting line advances. This is an easy repair to make, and does not require any tools. You will need to look for the bump head attachment point on the bottom of the cutting head assembly.
Read less

$6.40
In Stock
Carriage Bolt 5/16-18 x 3/4" Lg.
Part #710-0451
This carriage bolt measures 5/16-18 x .75 and fastens two parts in your machine together. It has a round domed head and a square underside so the bolt does not rotate once it has been secured into place. If it has signs of deformation or wear, you will need to replace it. To unthread this bolt, you need an adjustable wrench to loosen the ...Read morenut found on the end of the bolt. You may need to apply a lubricating oil to the bolt if it is stuck. You may need to clamp down on the head of the bolt with pliers while continuing to turn the nut counterclockwise. You can then slide the carriage bolt out of its hole or tap it gently with a hammer. This bolt is a standalone product and the nut is not included. This bolt was sourced directly from its manufacturer.
Read less

No Longer Available
Trimmer Gear Box Assembly
Part #753-06571
This gearbox is for line trimmers.
Gearbox contains the gears that turn the line spool for cutting.

$34.80
In Stock
Clutch Assembly
Part #753-06281
Presenting the Craftsman Clutch Assembly kit ideal for your lawn and garden equipment. This assembly plays a crucial role in engaging and disengaging the drive shaft ensuring effective and efficient operation of your equipment. The kit potentially includes multiple parts -- you can refer to your parts diagram to learn about every piece in...Read morecluded in the set. Before you start with the installation of this part ensure you're working in an area with good ventilation. It's advised to drain your equipment's fuel tank and disconnect the spark plug wire prior to the repair process enhancing safety and ease of installation. Don?t forget to wear work gloves to safeguard your hands during the repair.
Read less
$34.80
In Stock
Clutch Assembly
Part #753-06281
Presenting the Craftsman Clutch Assembly kit ideal for your lawn and garden equipment. This assembly plays a crucial role in engaging and disengaging the drive shaft ensuring effective and efficient operation of your equipment. The kit potentially includes multiple parts -- you can refer to your parts diagram to learn about every piece in...Read morecluded in the set. Before you start with the installation of this part ensure you're working in an area with good ventilation. It's advised to drain your equipment's fuel tank and disconnect the spark plug wire prior to the repair process enhancing safety and ease of installation. Don?t forget to wear work gloves to safeguard your hands during the repair.
Read less

$6.40
In Stock
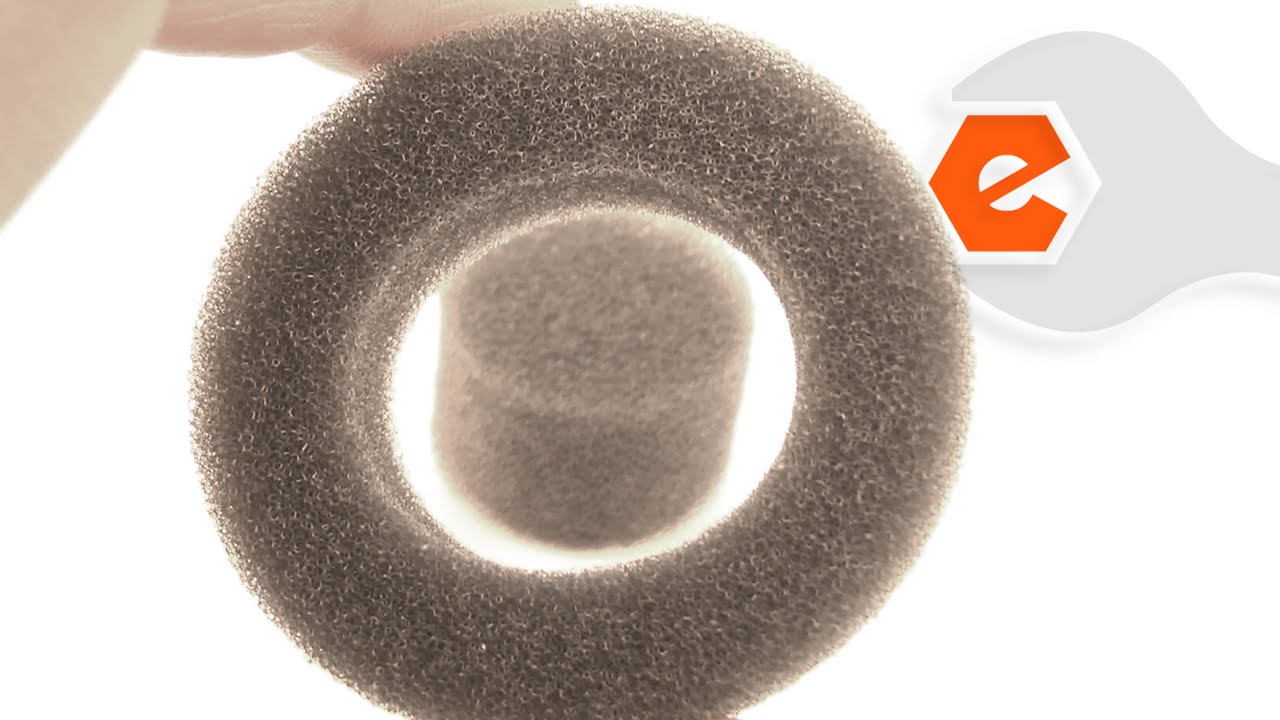
Aircleaner Filter
Part #753-06417
This is a genuine OEM replacement part designed for use with some Handheld String Trimmers. This filter is made out of Foam and it is sold individually. The purpose of this filter is to keep dirt and other small particles from entering the carburetor and engine and causing internal engine damage. Once this type of filter gets clogged or d...Read moreirty it should be changed (Not Cleaned). This is to prevent restricted air flow and foreign matter from entering the engine.
Read less

$6.40
In Stock
Carburetor Gasket
Part #753-06253
This is an authentic Craftsman replacement part that has been sourced from the original manufacturer to be used with trimmers and blowers. The gasket is used to seal the connection between the carburetor and the air cleaner assembly. It is recommended to replace gaskets when servicing the motor to ensure proper seals when the parts are reassembled. This item is available as an individual replacement part.

$36.65
In Stock
Clutch Asm Small
Part #753-05860
This clutch assembly is a genuine OEM replacement kit for outdoor lawn equipment. The kit includes the clutch drum, clutch, clutch washer, and screw. The clutch assembly transfers power from the engine to the cutting attachment which allows you to operate the equipment. Over time, the clutch assembly may malfunction due to normal wear and...Read more tear or accidental damage. If the small clutch assembly fails, the engine will likely stall, and the cutting attachment will not be able to engage. To remove the clutch assembly, first bind the piston to prevent it from rotating. You can do this by removing the spark plug and inserting a length of rope into the cylinder with a few inches remaining outside. Remove the clutch cover and use a clutch removal tool to remove the nut that secures the assembly. Pull the old assembly from the crankshaft and position the new assembly in its place, ensuring it is securely fitted.
Read less

$11.75
Special Order
Throttle Trigger
Part #753-04119
This plastic throttle trigger measures 2.5-inches in length and controls the power, speed, and intensity of the motor for your lawn equipment through the throttle cable and carburetor it is attached to. Sold as an individual part without any securing hardware, this trigger, although made of durable plastic, is a high-use part that will ne...Read moreed to be replaced more often than other parts. Check the user manual for your model for exact placement and installation location of this trigger.
Read less
Common Symptoms of models starting with 3167944
How this model fails, and the parts that fix it.
Will Not Start
Fixed by
these parts
these parts


Show All
Engine revs but trimmer head will not turn
Fixed by
these parts
these parts


Show All
Engine stops after a few seconds or minutes
Fixed by
these parts
these parts
Show All
Cutting line does not come out
Fixed by
these parts
these parts

Show All
Watch our pros, then fix it yourself.


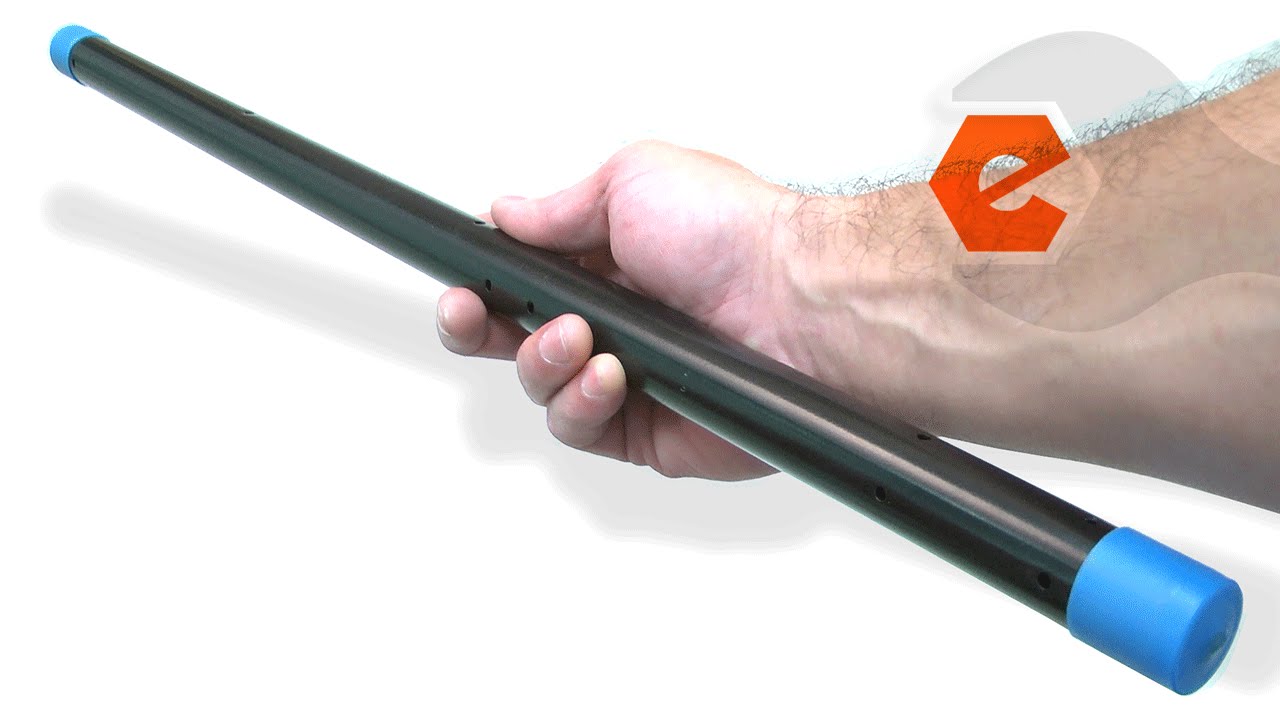
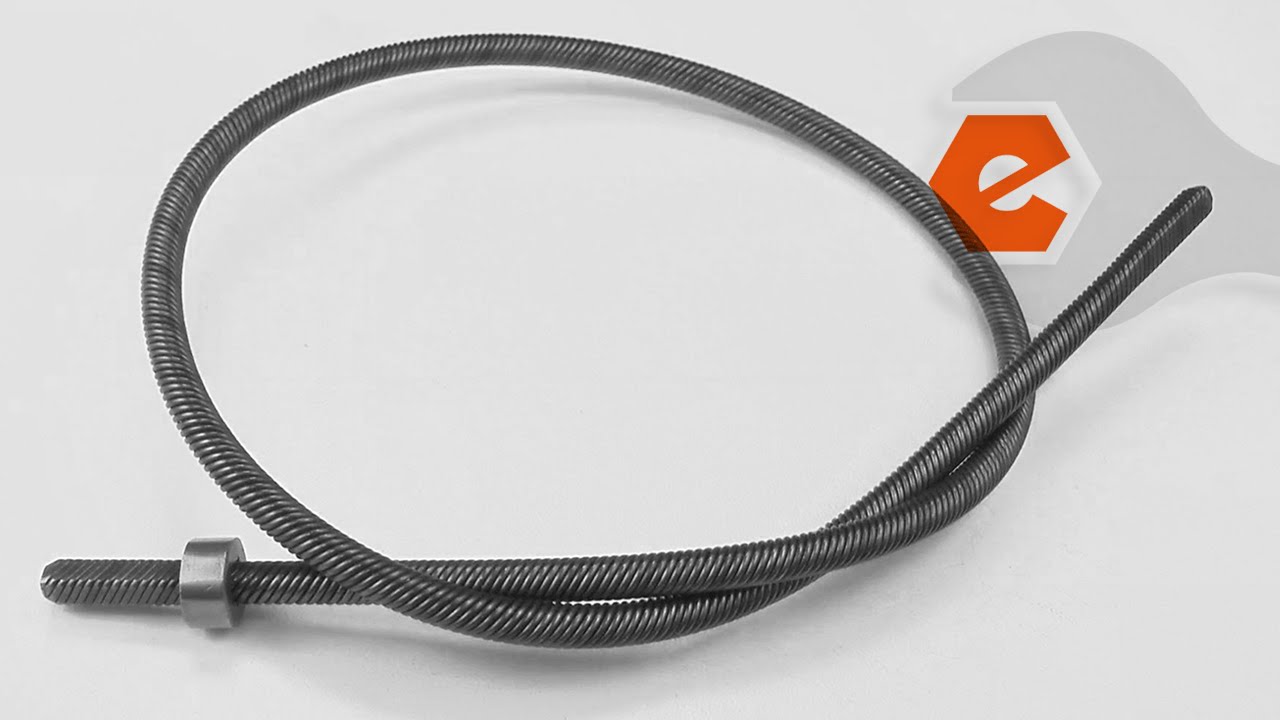
See how others fixed this model. Time, tools, difficulty, and steps that lead to victory!
View More
Search repair tips from other customers using simple keywords like "replace", "fit", "remove", "inspect". DIY doesn't mean you have to do it alone!
Search filter:
Clear Filter
Your search term must have 3 or more characters.
string trimmer would not start
8 of 10 people
found this instruction helpful.
emptied fuel from tank. pulled off the 2 fuel lines from the carburetor.opened the air cleaner door. removed the 2 torque screws that hold on the carburetor. removed the carburetor and air cleaner gasket. installed new carburetor and gasket and put back and tightened the 2 torque screws. closed air cleaner door and pushed the fuel lines o
... Read more
nto the new carburetor.put some fuel in the tank. started the trimmer. runs great.
Read less
Other Parts Used:


Was this helpful?
Thank you for voting!