


 My Orders




31203PAV Magic Chef Range - Overview
Diagrams for 31203PAV
See every part. Know exactly what you need.


Enter a part description. DIY Heroes keep it simple, eg. "belt" or "pump".
Search filter:
Clear Filter
Your search term must have 3 or more characters.

$50.56
In Stock
Flat Style Oven Igniter Kit
Part #12400035
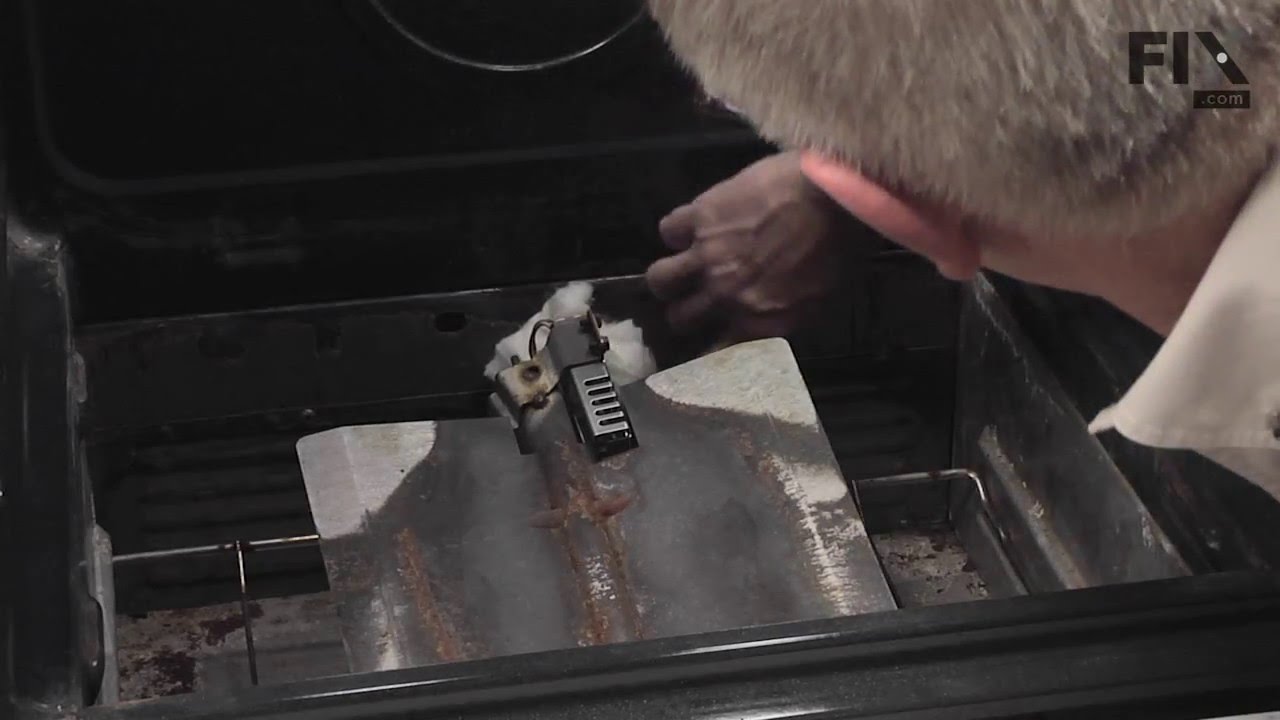
The flat style oven igniter kit is used in gas ovens and ranges. It is what provides the heat needed to open the gas valve, and it ignites fuel for the burner assembly. This part can be used for both bake and broil elements, and it can replace both short and long igniters. However, it cannot replace round style oven igniters. If your igni...Read moreter glows for 90 seconds or more without igniting the burner, this means it is too weak to open the valve. The element in your igniter may have shorted it and it might not glow at all, or it might only glow orange or red. It needs to glow white hot; if it cannot get hot enough the gas will not be released from the safety valve and it will be impossible to light the burner in your oven. This kit includes the igniter, ceramic wire nuts, an insulation pad, a metal bracket, a variety of plug ends, and an instruction sheet. The body length is 3 3/4 inches, and the element inside is approximately 1 1/2 inches. This replacement part has an amperage range of 3.3 to 3.6. The element inside this igniter is extremely fragile, do not touch it. Before you start repairing your oven or range, make sure you have unplugged it and shut off the gas supply.
Read less

$29.47
In Stock
Top Burner Igniter
Part #74004053
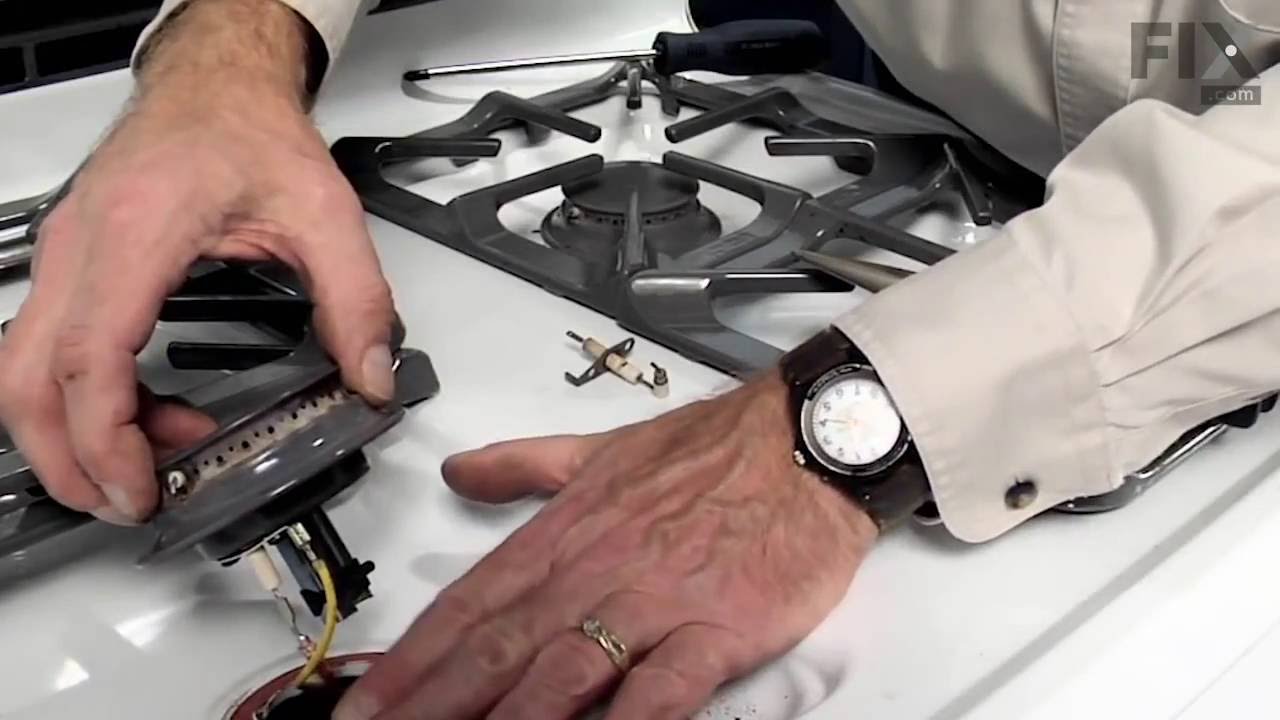
This is a surface burner igniter, also known as a top burner ignitor and stove top spark electrode. It is used to generate the spark that lights the surface burner. If your stove will not start, element does not heat, or gas igniter glows but does not light, replacing the igniter can solve these issues. For this installation, you will nee...Read mored a Phillips screwdriver and needle nose pliers. First place the grate on top of the burner, then lift the burner and disconnect the wires. Next remove the two Phillips screws from the bottom of burner, pull igniter out of the burner and wiggle in the new one. Refer to the installation instructions provided by the manufacturer for more instructions.
Read less

$23.60
In Stock
Leveler Foot Screw (Nylon)
Part #W11665456
This is a leveling leg for your oven, range, or stove. The leveling legs on your oven allow your appliance to sit perfectly flat. The new one may be longer in length than your original, but will work the same. Install the new leveling leg, and test if you have it adjusted properly by putting the appliance on four legs. Adjust in or out a...Read mores required if your oven is rocking. It is recommended to check the other three leveling legs on your appliance in case they are also damaged or worn. The leveling leg measures 1.859", is all black in color, and is made entirely out of plastic. This leg may be shorter than the original but is the factory replacement. Longer leg is not available.
Read less

$59.47
In Stock
Sealed Burner Cap with Electrode
Part #WP3412D024-26
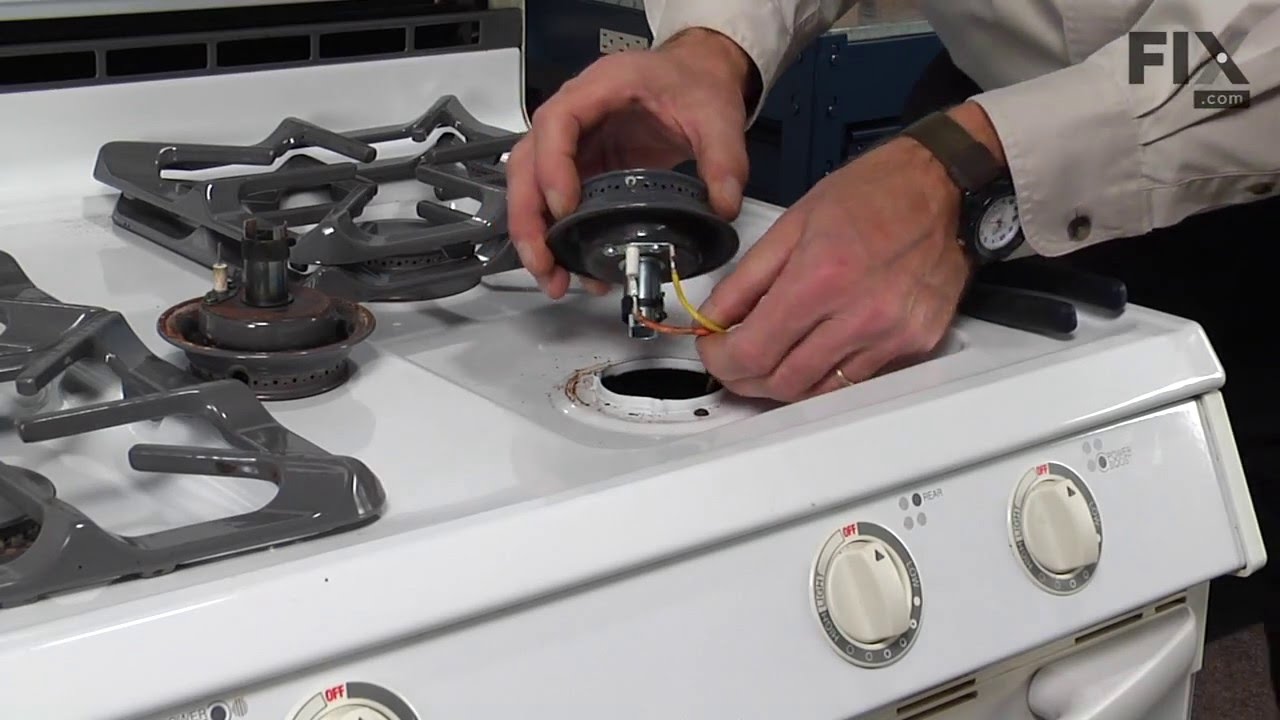
This burner cap assembly is sold with the spark electrode igniter and has a 7-inch outer diameter. This manufacturer-approved surface burner is for gas ranges. The surface burner supplies the heat to a cooking area on the cooktop. You may need to replace your burner cap if the gas igniter glows but will ignite the flame, the range will no...Read moret start, or if you can smell gas. Because a faulty burner cap could lead to a house fire, it is recommended that you replace this part as soon as you realize it is faulty. Remember to unplug the range, turn off the gas, and let the unit cool down before starting this installation.
Note: this part has been redesigned and no longer requires a gasket, and is sold individually.
Read less

$21.45
In Stock
Screw
Part #W11233072
This is a multi-use and multi-appliance screw. It can be used on a microwave, refrigerator, range/oven, air conditioner, dehumidifier, washer, or dryer. The measurements of this screw are 8 x 1/2 inch. It has 6 threads. Refer to the manual provided by the manufacturer for further information on repair and accurate guidance. Remember to wear work gloves as a safety precaution.

$7.47
In Stock

$53.20
In Stock
Door Seal
Part #WP7212P043-60
This door seal is used for ranges and ovens. The seal prevents hot air escaping from the oven to maintain a certain temperature when baking. The clips sticking out of the seal help secure it to the range doors for the most effective performance. This seal is black in color and is made of rubber. If your oven is not heating evenly, has lit...Read moretle to no heat when baking, or is too hot, replacing the seal can solve the problem. The tools needed for this repair are needle nose pliers. Make sure the oven is cool before starting this installation project. Refer to the diagram provided by the manufacturer for further installation instructions.
Read less

$75.13
In Stock
Spark Module - Surface Burners
Part #12001596
This part may differ in appearance, but functions same as original part. : This part sends enough current to the igniter to create a spark to the bottom of the burner cap.

$78.59
In Stock
Burner Orifice Fitting Assembly
Part #WP5187M026-60
This orifice fitting assembly is sixteen inches long and is made entirely of metal.

$8.55
In Stock

$8.55
In Stock

No Longer Available
Burner Grate - Gray
Part #WP7518P465-60
This grate is used for gas range/cooktop. Grate is sold individually. This is the grate that sits over the burner for your pots and pans to rest on while cooking.
Common Symptoms of the 31203PAV
How this model fails, and the parts that fix it.
Gas igniter glows, but will not light
Fixed by
these parts
these parts


Show All
Will Not Start
Fixed by
these parts
these parts

Show All
Little to no heat when baking
Fixed by
these parts
these parts


Show All
Element will not heat
Fixed by
these parts
these parts
Show All
Gas smell
Fixed by
these parts
these parts

Show All
Oven not heating evenly
Fixed by
these parts
these parts
Show All
Little to no heat when broiling
Fixed by
these parts
these parts
Show All
Oven is too hot
Fixed by
these parts
these parts
Show All
Door won’t close
Fixed by
these parts
these parts
Show All
Watch our pros, then fix it yourself.
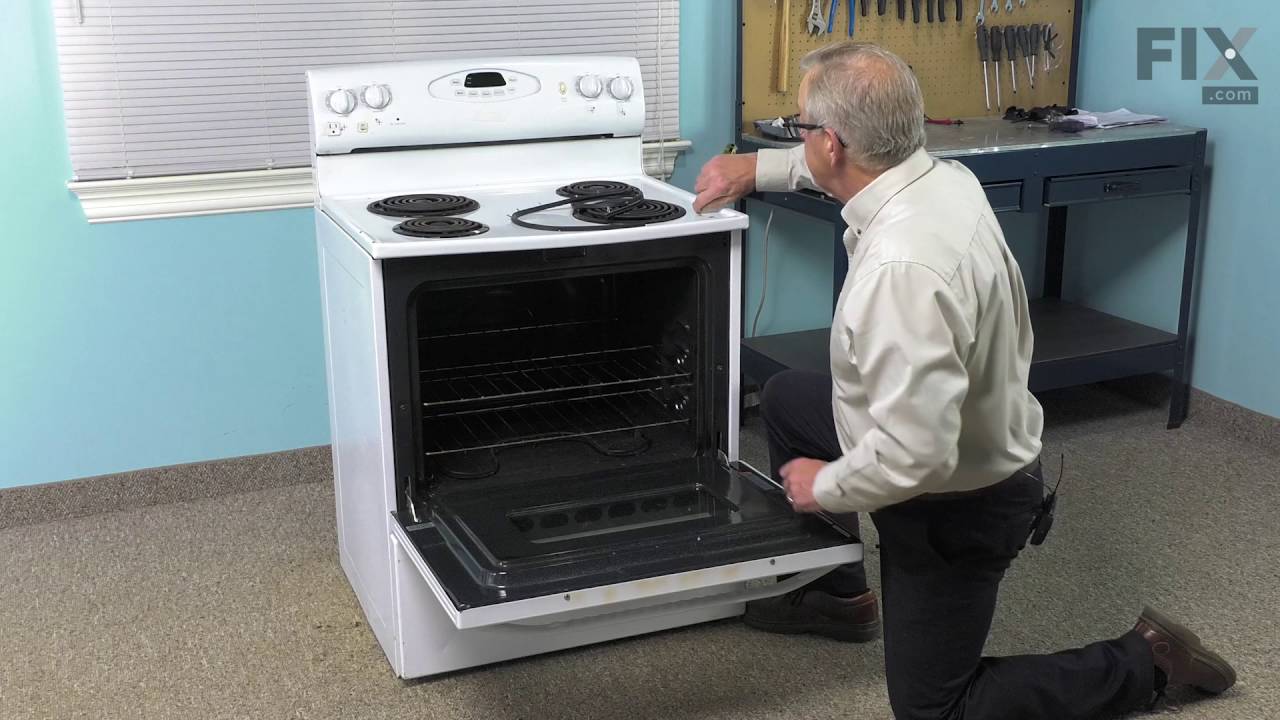
See how others fixed this model. Time, tools, difficulty, and steps that lead to victory!
View More