


 My Orders




2DWTW4705EW3 Whirlpool Washer - Overview
Diagrams for 2DWTW4705EW3
See every part. Know exactly what you need.


Enter a part description. DIY Heroes keep it simple, eg. "belt" or "pump".
Search filter:
Clear Filter
Your search term must have 3 or more characters.

$102.77
In Stock
Washing Machine Door Lock Assembly
Part #W11307244
This is lid lock designed for use within various washing machines. This lid lock, also known as a latch assembly, is used to secure the lid of your washing machine during the washing cycle. If your washing machine is experiencing issues starting or if the lid is not securing, this lid lock assembly likely needs to be replaced. This lid lo...Read moreck attaches underneath the top portion of your washer and its wire harness connects to the rear of the appliance. To replace this assembly, you will need a screwdriver, flathead screwdriver or putty knife, and wrench. This lid lock is an OEM part that is sold individually and does not come with any other parts or accessories.
Read less

$76.17
In Stock
Suspension Rod Kit
Part #W10780045
This suspension rod kit includes four rods designed to stabilize the wash tub in compatible top-load washing machines. By minimizing vibrations and excessive movement during wash and spin cycles, these rods help maintain balance and improve overall performance—especially when handling off-balance loads. Replacing worn or damaged suspensio...Read moren rods can resolve issues such as shaking, banging, or the washer shifting during operation. Installation requires unplugging the appliance and consulting the user manual for model-specific guidance. This kit is compatible with a range of washing machine models and is sold as a complete set.
Read less

$12.85
In Stock

$23.60
In Stock
Washer Fabric Softener Dispenser
Part #63580
Use this dispenser for your direct drive washing machine.

No Longer Available
Touch-Up Paint - White
Part #72017
This touch-up paint can be used on a wide variety of household appliances. It is most often used on washers, dryer, refrigerators, dishwashers, ranges, freezers, trash compactors, or microwaves. It is an 18 ml, or.6 fluid ounces, bottle of touch-up paint. It also features a brush for easy application. This quick-drying, long-lasting paint...Read more is perfect for fixing any nicks, scratches, or chips on the exterior of your appliance. This paint is white in color, and provides a durable finish.
Read less

$9.62
In Stock
Washer D-Shaped Knob Insert
Part #WP8536939
This insert is sold individually. Knob not included. Knob is sold separately.

$9.62
In Stock
Hose Clamp
Part #WP285655
The hose clamp is used to hold the water hose in place which will prevent the hose from leaking water. Sometimes the clamp may lose its ability to latch on, causing a leaking washer. For the installation, you will need a flat head screw driver to replace the clamp and a drill to access the screws to remove the front of the washer. Be care...Read moreful if you do not have specific clamp pliers as the clamp could fly off. Once the front of the washer has been removed, take a quick look for water damage or any obvious signs of where the leak is coming from. If it is not obvious, run water to test.
Read less

$20.36
Special Order
Affresh Washing Machine Cleaner - 3 pack
Part #W10135699
Affresh Washing Machine Cleaner includes three slow-dissolving tablets that help remove odor-causing residue from inside the washer. Suitable for all washer brands, including high-efficiency (HE) machines, the formula is also septic-safe. Place one tablet directly in the empty wash basket and run the Clean Washer cycle, or use a normal cycle with hot water. Use monthly or every 30 wash cycles for best results.

$7.47
In Stock
Lid Hinge Mounting Screw
Part #WPW10119828
Sold individually. NOTE: The color on the screw may not be the same as the image, but will still function the same.

$21.45
In Stock
STRIKE
Part #W10837741
This is a lid strike for various models of top-load washing machines. Lid strikes are designed to engage with the lid switch and communicate to the control board that the washer can start. If your washing machine is having issues starting, or if the lid strike for your washer is visibly damaged it will need to be replaced. Replacing this ...Read morewashing machine lid strike is simple and only requires a screwdriver. This lid strike is made almost entirely of durable white plastic and features two holes on either side for securing with screws. This lid strike is an OEM part and is not sold with any other parts or accessories, such as the necessary screws.
Read less

$76.17
In Stock
ACTUATOR
Part #W11481722
This is a shift actuator, and is designed for use in washing machines. This shift actuator is made to change the mode of the motor between spin and agitate, as well as communicate with the control board how fast the washer is spinning. If the shift actuator in your washer is broken or bad, it can lead to the washer not spinning or agitati...Read moreng correctly and may even show an error code related to that. This shift actuator is made mostly of plastic but does feature a 120V/60HZ/2.8W motor. This actuator is an OEM part and is sold individually.
Read less

$19.30
In Stock
Drive Block - 2 5/16 Inch High
Part #WP389140
This washer drive block is an essential component that connects the inner spin basket to the drive shaft, enabling proper spinning during wash and spin cycles. Measuring approximately 2-5/16 inches high, it is designed for large-capacity washers with belt or direct drive systems. A worn drive block can cause loud noises, shaking, poor spi...Read morenning, or leave clothes excessively wet. Installation requires basic tools and disassembly; always unplug the appliance and shut off water supply before starting the repair. Regular inspection and timely replacement help maintain optimal washer performance.
Read less
Common Symptoms of the 2DWTW4705EW3
How this model fails, and the parts that fix it.
Leaking
Fixed by
these parts
these parts


Show All
Shaking and Moving
Fixed by
these parts
these parts


Show All
Will not agitate
Fixed by
these parts
these parts


Show All
Will Not Start
Fixed by
these parts
these parts


Show All
Locking Issues
Fixed by
these parts
these parts
Show All
Spinning Issues
Fixed by
these parts
these parts

Show All
Lid or door won’t close
Fixed by
these parts
these parts

Show All
Cycle Not Advancing
Fixed by
these parts
these parts
Show All
Does not dispense fabric softener or detergent
Fixed by
these parts
these parts

Show All
Will not drain
Fixed by
these parts
these parts
Show All
Timer Not Working
Fixed by
these parts
these parts


Show All
Draining Issues
Fixed by
these parts
these parts
Show All
Spins slowly
Fixed by
these parts
these parts

Show All
Watch our pros, then fix it yourself.
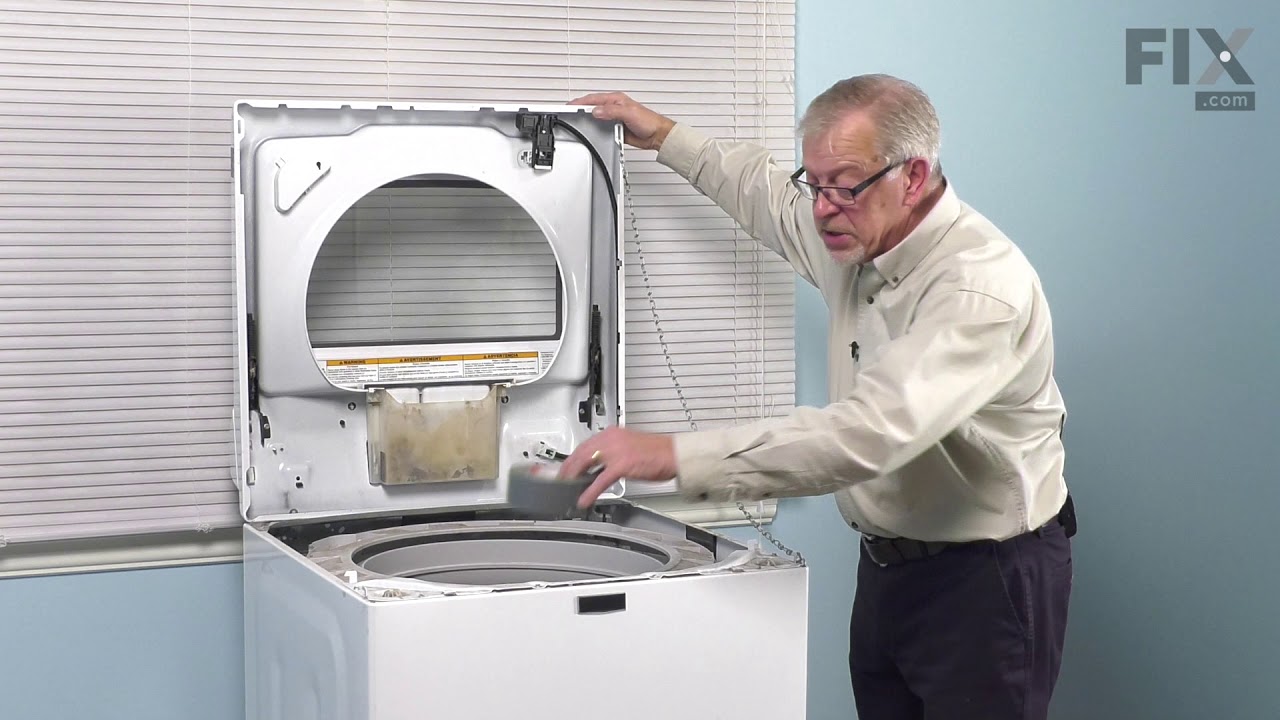
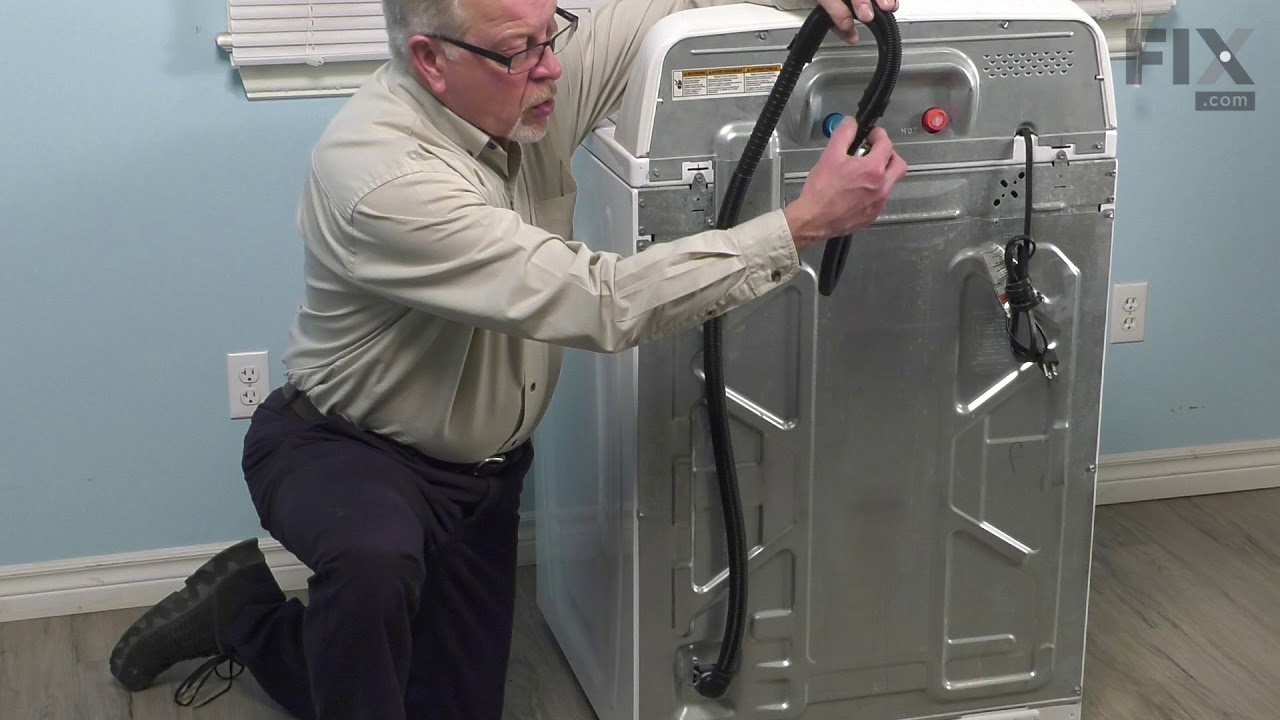
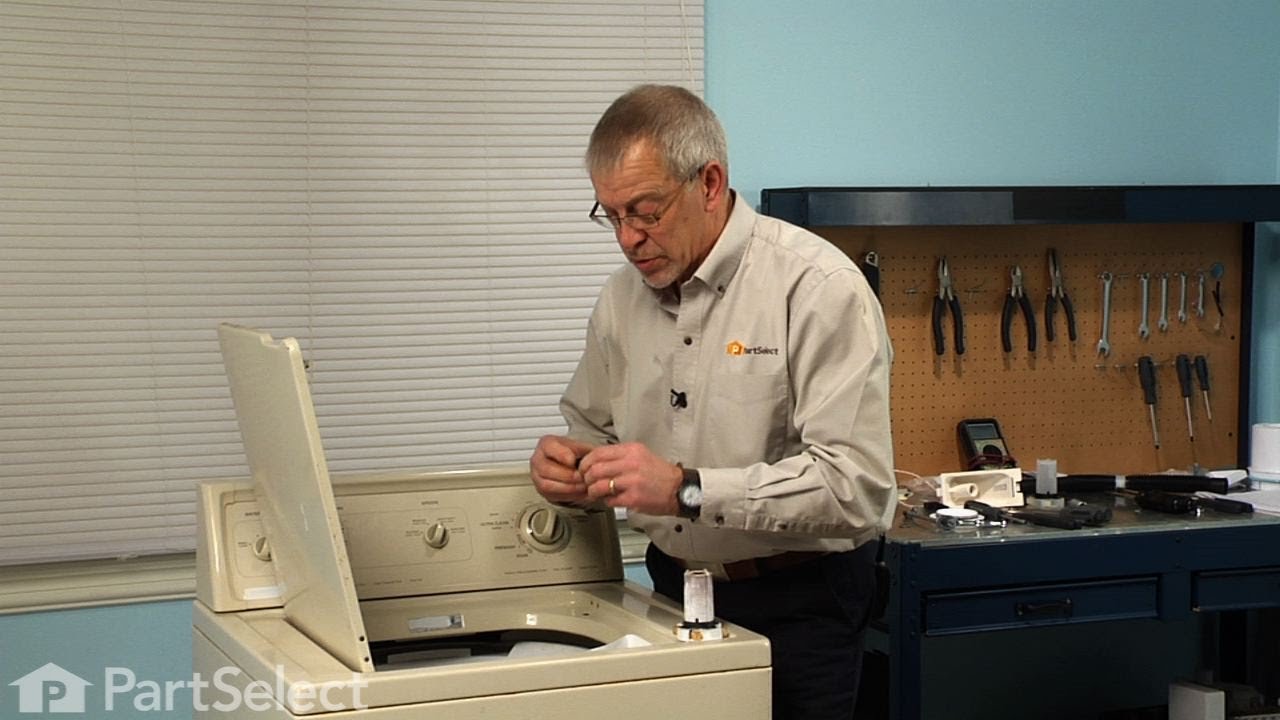
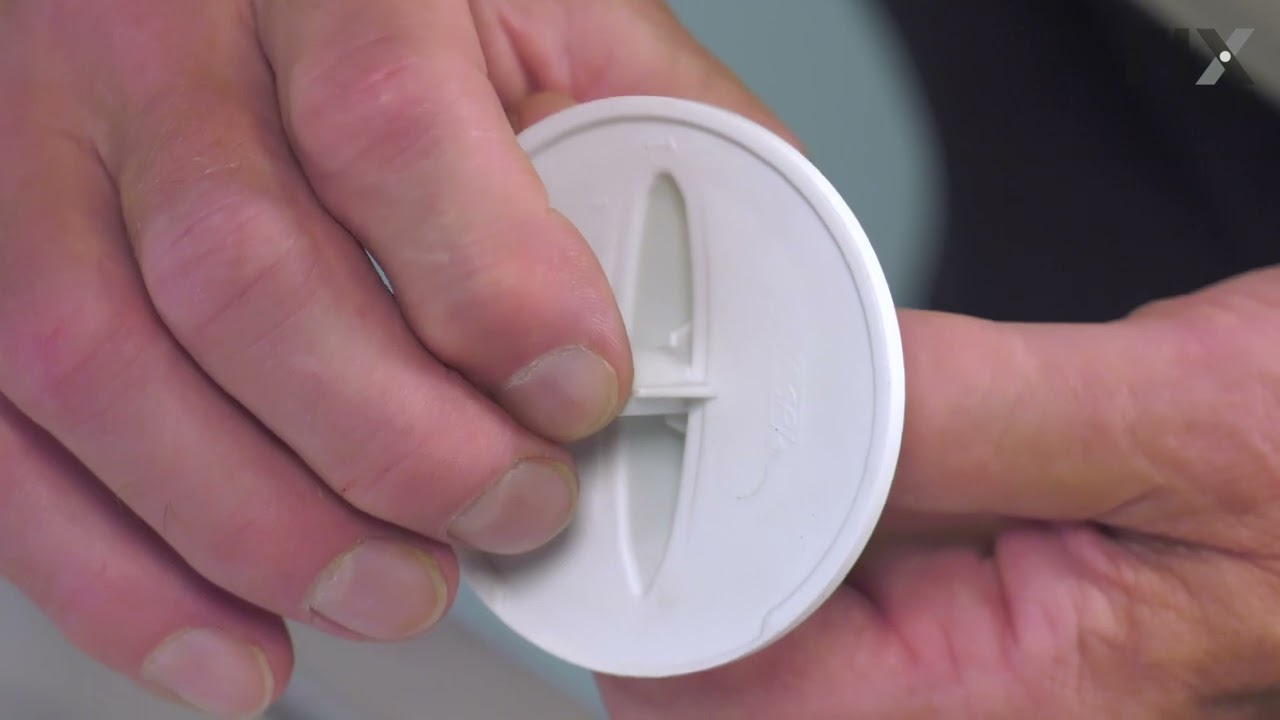
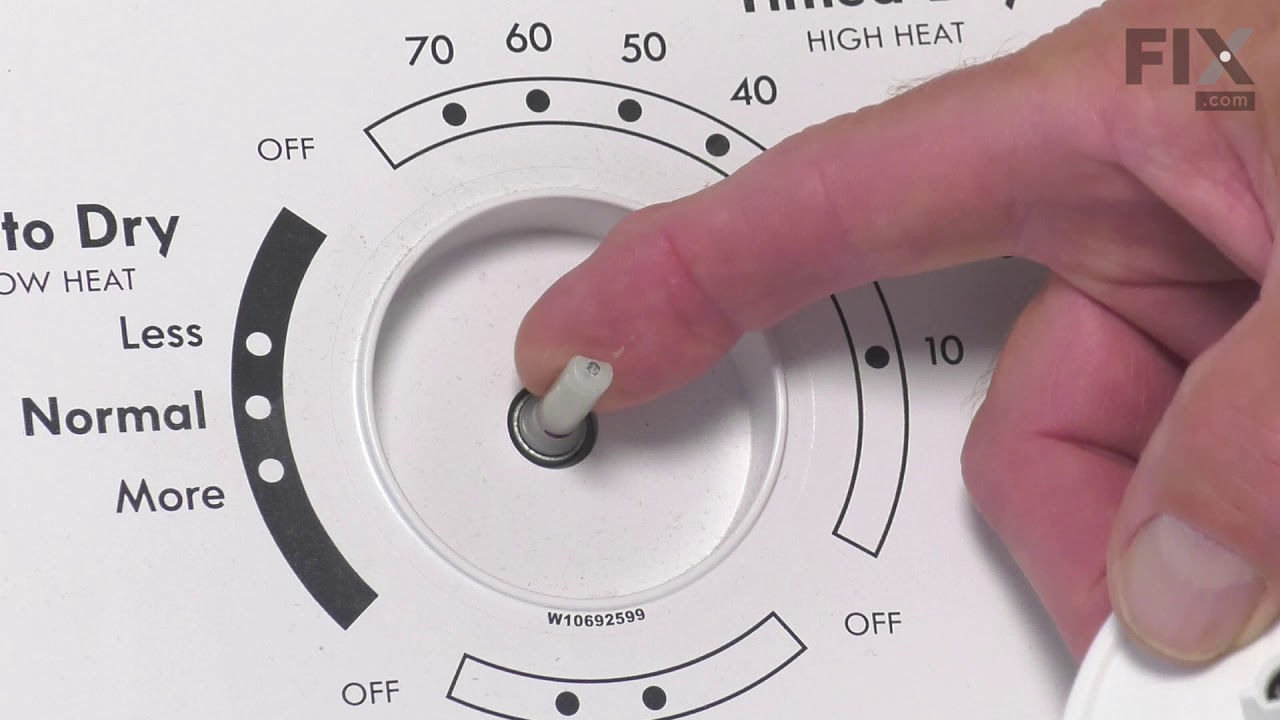

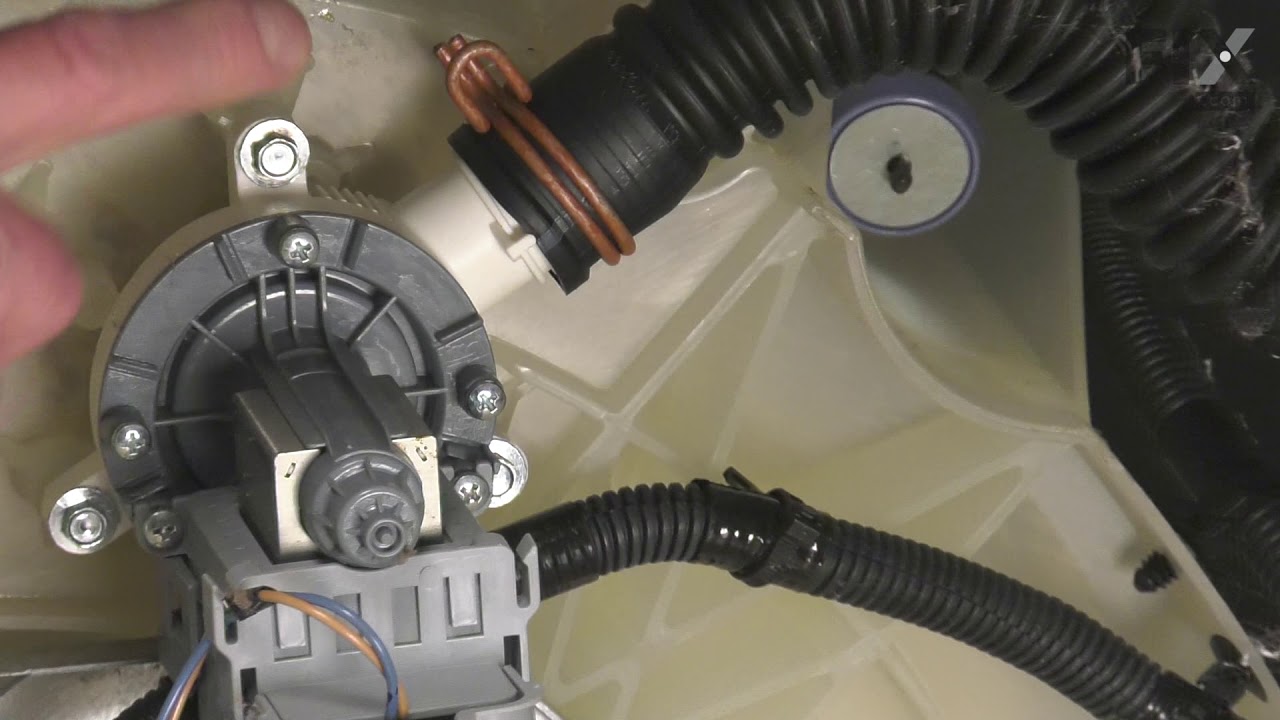

See how others fixed this model. Time, tools, difficulty, and steps that lead to victory!
View More