


 My Orders




2927 - Overview
Models starting with 2927
Click on the best match to narrow your results.
- 2927 Amana Range (GAS RANGE)
- 29270 Craftsman Edger (Cultivator Edger)
- 29272 LG Washer (LG Washing Machine Model 29272 Parts)
- 29272 (ABWESEU) LG Washer (Washer)
- 292777 Midea Air Conditioner (Midea Ptac Window Air Conditioner With Heat 292777)
- 292778 Midea Air Conditioner (Midea Ptac Window Air Conditioner With Heat 292778)
- 29278 LG Washer (LG Washing Machine Model 29278 Parts)
- 292781 Midea Air Conditioner (Midea Portable 292781)
- 292782 Midea Air Conditioner (Midea Portable 292782)
Enter a part description. DIY Heroes keep it simple, eg. "belt" or "pump".
Search filter:
Clear Filter
Your search term must have 3 or more characters.

$19.54
In Stock
Light Bulb - 40W
Part #8009
This an authentic OEM 40-Watt replacement light bulb, used in a number of household appliances. It is specially designed to withstand extreme temperatures, which is why these replacement bulbs are most often used to light the inside of refrigerators and ranges. It features a standard socket base, which means you simply unscrew the burnt-o...Read moreut bulb and screw in the replacement. Depending on the appliance you may require a screwdriver or nut driver to access the light bulb. We recommend you wear work gloves while handling this replacement part. It is constructed of glass and metal and is sold individually. Depending on the appliance and location of the bulb within it, you may want to consider disconnecting power and using a flashlight for easier access to unscrewing and re-screwing in your bulb during this repair.
Read less

$138.79
On Order
Washer Water Inlet Valve
Part #AJU75152601
This is an authentic LG water inlet valve for a top-load washer. It is designed to control the flow of water into the washer. If your washer is filling slowly, making loud noises, overflowing, or stopping in the middle of a cycle, you may need to replace the water inlet valve. Be sure to disconnect the power and water supply before you begin this repair.

$24.67
Special Order
Square Chrome Drip Pan
Part #WPY0060872
The drip pan is found under the burner. This square chrome stovetop drip pan is intended for use with gas ranges. It has a 4-inch diameter center hole and 7 3/4 inch sides. Drip pans should be cleaned regularly, and replaced when too much food has been burned and stuck to it, making it too hard to clean. You should replace your drip pan i...Read moref it is rusted or damaged. Grease, oil, and food can spill into your unit and become a fire hazard. This drip pan is dishwasher safe and is sold individually.
Read less

$55.29
In Stock
SENSOR ASSEMBLY
Part #6501KW2002B
This is a replacement sensor assembly for your washer. It may also be known as a motor rotor position sensor. The sensor assembly monitors the direction and speed of the spinning rotor and communicates this information to the electronic control board. If your washer pumps but will not spin or agitate, you may have a damaged sensor assembl...Read morey. This part is sold individually, and is an OEM part sourced directly from the manufacturer. Be sure to shut off the power to your washer before you begin this repair.
Read less

$47.40
In Stock
Pulsator Cap
Part #5006EA3009B
This part is known as a pulsator cap or washplate cap, and is designed for your LG washer. It fits over the washplate mounting bolt and prevents clothes from getting caught on the washplate during a wash cycle. It is round in shape, and approximately 3 inches in diameter.

$161.46
In Stock
Pulsator Assembly
Part #AGZ72909711
This is a pulsator assembly, also known as an agitator, for your washing machine. This pulsator sits at the bottom of your washer and is what is used as the main driving force to wash your clothes. If the pulsator in your washer is broken, it will need replacing immediately to continue to wash and clean your clothes evenly. The cap that sits in the center of this part is sold separately.

$42.12
In Stock
Tub-to-Pump Hose
Part #AEM73213001
This is a drain hose assembly for top-load models of LG washing machines. This hose specifically is used to allow water to drain from the tub to the drain pump of the washer. This hose is made of plastic and comes with two clamps to secure it within your washer, one on each end. If you notice your washer is leaking check to make sure if t...Read morehis hose is cracked or damaged, because it will need to be replaced immediately. This drain hose is an OEM part that is sold individually and will require you to disassemble part of your washer to replace it.
Read less

$47.40
In Stock
Washer drain Hose Assembly
Part #AEM73732901
This drain hose is a genuine OEM replacement part supplied by LG for use in their washing machines. It is a light gray pipe with a diameter of 1.25 inches. The drain hose is connected to the drain pump, and it is responsible for transporting water out of the washing machine after a cycle. If the drain hose is kinked, damaged, or clogged, ...Read morethe washer will leak, or you may find standing water in the drum at the end of the cycle. Each drain hose comes with a metal clamp for fastening.
Read less

$21.45
In Stock
Screw
Part #FAB30598601
Introducing the customized screw designed exclusively for LG washers. Manufactured with safety and efficiency in mind, installation is straightforward when you adhere to correct safety regulations. Showcasing genuine OEM status, the product delivers authenticity and durability, promising a perfect fit and excellent performance. This highl...Read morey-crafted and customized screw is specifically tailored to function with select models of LG washing machines. Please cross-check your model before purchase, as parts may vary in size and shape for different models. Trust LG's expertise for a reliable, high-quality appliance part you can depend on.
Read less

$65.73
In Stock
Washer Switch Assembly sensor
Part #6501EA1001R
This water-level pressure switch in your wash monitors and regulates the water levels throughout the fill, wash, and rinse cycles. You will usually find it inside the control panel or near the tub. It ensures that the washer uses the appropriate amount of water for each cycle and load type. This genuine OEM assembly includes not only the switch itself but also the accompanying air dome tube.

No Longer Available
Gas Burner Grate
Part #WP314647B
This gas burner grate is used for some gas ranges and cooktops. This is a black burner grate with each side measuring almost eight inches. This part may become rusted or burnt over time if not properly taken care of or with excessive use. If you notice that your grate is discolored or blackening, it may need to be replaced. The surface bu...Read morerner grate provides a steady surface for your cookware that is placed on top of the surface burner. This is a genuine OEM part that is sourced directly from the manufacturer.
Read less

$59.47
Special Order
Range Suface Burner Ignition Switch
Part #WP4157180
When the gas burner valve knob is depressed and turned, this part creates a spark that lights the gas and starts the burner.
Exact Part matches for your search term

No Longer Available
$309.21
Special Order
$30.27
Special Order
Common Symptoms of models starting with 2927
How this model fails, and the parts that fix it.
Leaking
Fixed by
these parts
these parts


Show All
Will not agitate
Fixed by
these parts
these parts


Show All
Water Filling Issues
Fixed by
these parts
these parts

Show All
Spinning Issues
Fixed by
these parts
these parts

Show All
Will Not Start
Fixed by
these parts
these parts

Show All
Will not drain
Fixed by
these parts
these parts

Show All
Marks left on clothes
Fixed by
these parts
these parts
Show All
No hot or cold water
Fixed by
these parts
these parts
Show All
Lid or door won’t close
Fixed by
these parts
these parts

Show All
Spins slowly
Fixed by
these parts
these parts
Show All
Draining Issues
Fixed by
these parts
these parts
Show All
Locking Issues
Fixed by
these parts
these parts
Show All
Watch our pros, then fix it yourself.

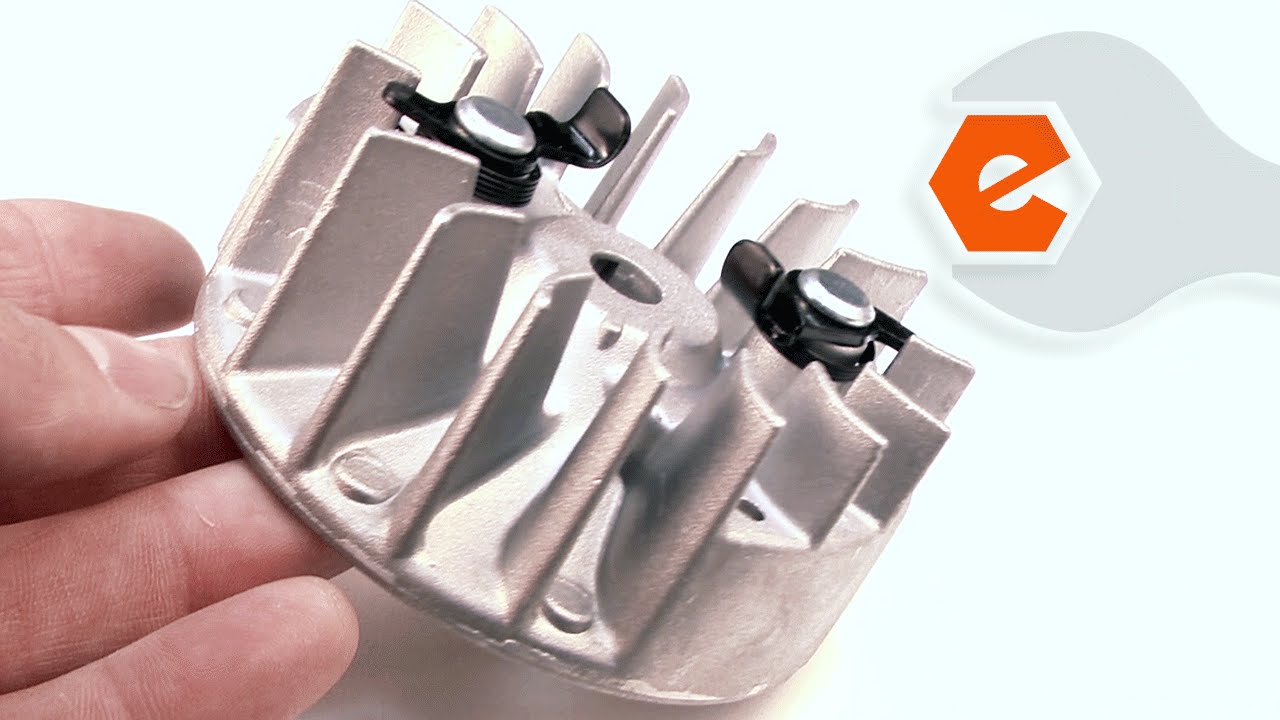
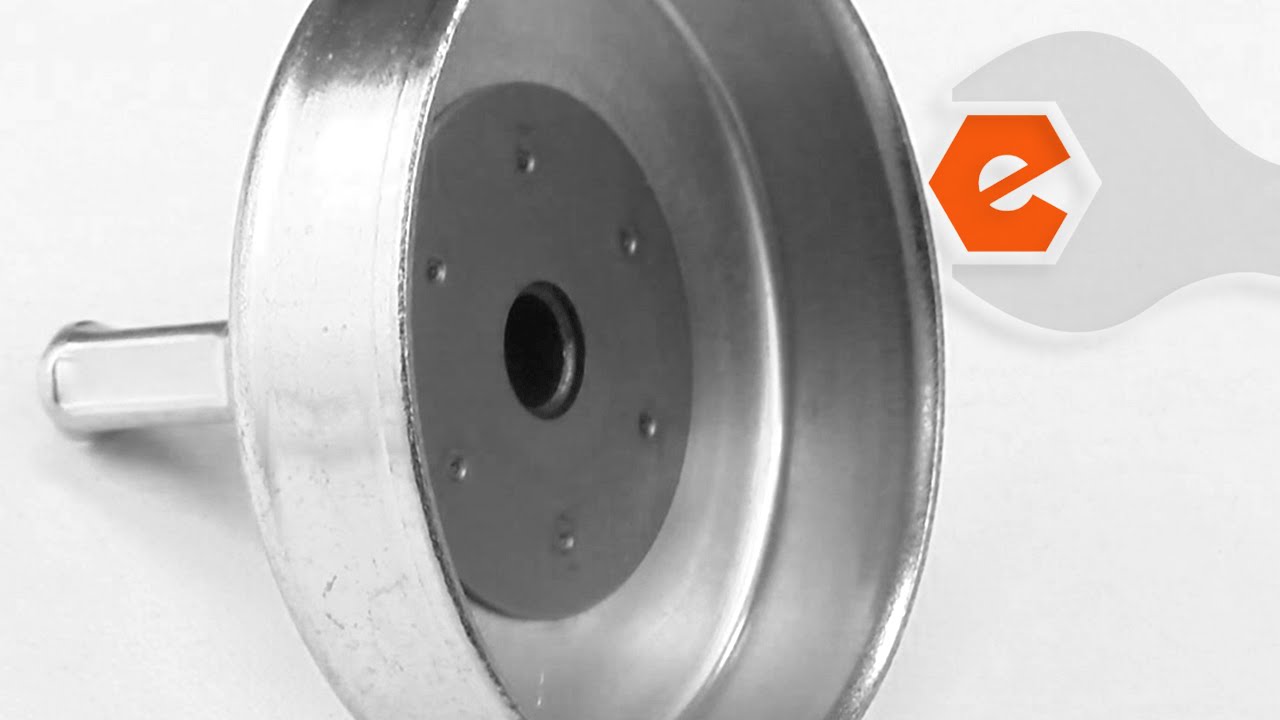
See how others fixed this model. Time, tools, difficulty, and steps that lead to victory!
View More