


 My Orders




2539280213 Kenmore Freezer - Overview

Enter a part description. DIY Heroes keep it simple, eg. "belt" or "pump".
Search filter:
Clear Filter
Your search term must have 3 or more characters.

$126.45
In Stock
Freezer Door Gasket
Part #5304507199
This gasket is used to seal the freezer door when closed to keep the cool air inside and the warm temperature surrounding the freezer from getting in. It is white in color. If you notice that your freezer is not shutting with ease, is not maintaining your desired temperature, or there is frost build up, it could be due to the door gasket ...Read morebeing damaged. You might also notice that there is a leak coming from the door and this could also be caused by the gasket being worn, damaged, or no longer aligned properly. You will need to remove the existing screws before installing the gasket.
Read less

$48.93
In Stock
DEFROST TIMER
Part #5304518034
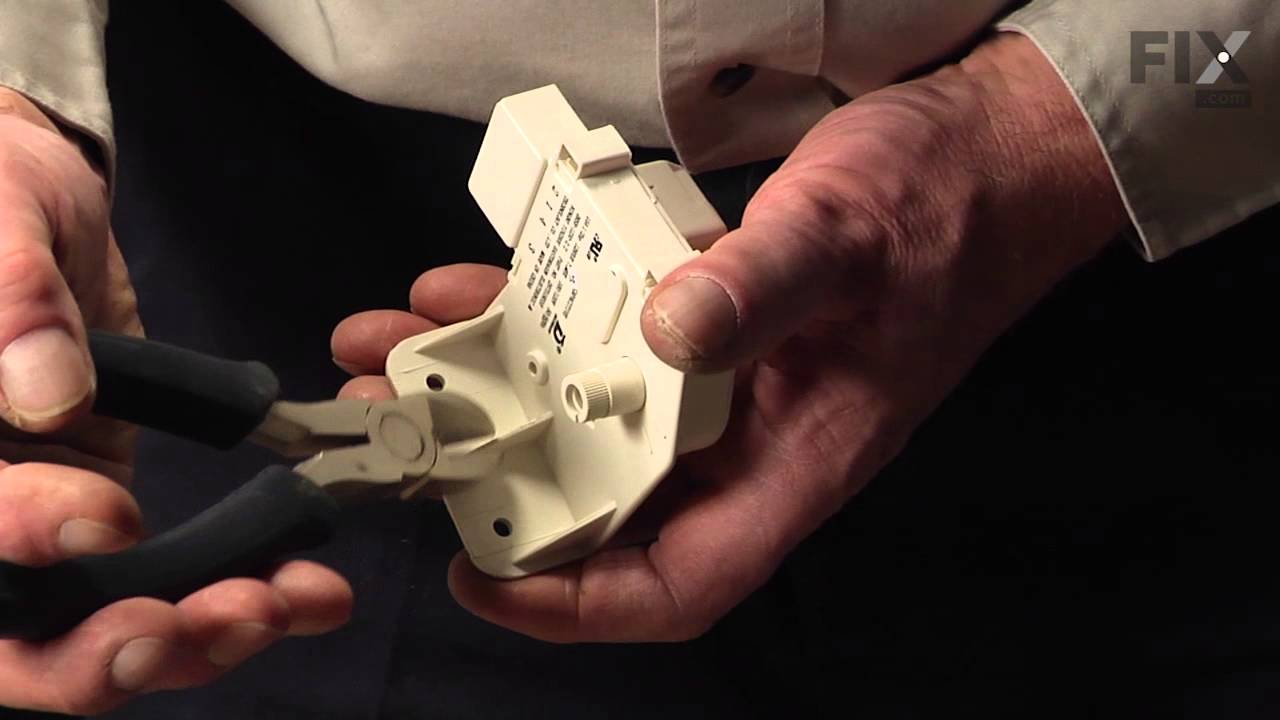
This is a 120 volt defrost timer manufactured for refrigerators. The defrost timer manages the automatic defrost systemin the unit. It acts like a clock by switching between activating the cooling cycle and the defrost heater to maintain the set thermostat temperature, preventing the unit from being too warm or cold. The defrost timer may...Read more need to be replaced if the fridge will not maintain its temperature or has frost buildup. Depending on the model, it could be located on the rear panel or ceiling of the fresh food compartment. Be sure to disconnect power to the refrigerator before replacing this part.
Read less

$41.75
In Stock
Defrost Thermostat
Part #5303917954
This limiter thermostat cuts out when the temperature inside your refrigerator reaches 55 degrees Fahrenheit and kicks back in when the internal temperature drops to 20 degrees Fahrenheit. If you discover temperature issues with your refrigerator or freezer, the defrost thermostat may need to be replaced. You will need tools for this repa...Read moreir, including a 1/4-inch nut driver, a pair of wire strippers, and a heat gun. Be sure to disconnect power to the refrigerator before completing this repair. The defrost thermostat is located behind the back panel of your side-by-side refrigerator/freezer. You will first need to remove the panel and take the defrost thermostat out to complete the repair.
Read less

$53.85
In Stock
Evaporator Fan Blade
Part #5308000010
This evaporator fan blade is a genuine OEM part that is sourced directly from the manufacturer. The evaporator fan blade circulates air through the refrigerator to control the amount of cold air goes that goes to internal compartments of the unit. It may need to be replaced if the fridge is noisy or not cold enough. This part is made of p...Read morelastic and is sold individually. It will be necessary to disconnect power to the refrigerator and empty the freezer compartment of the refrigerator. The tools needed to complete this repair are a 1/4 inch nut driver and a pair of needle nose pliers.
Read less

$63.72
In Stock
Refrigerator Light Bulb
Part #5304517886
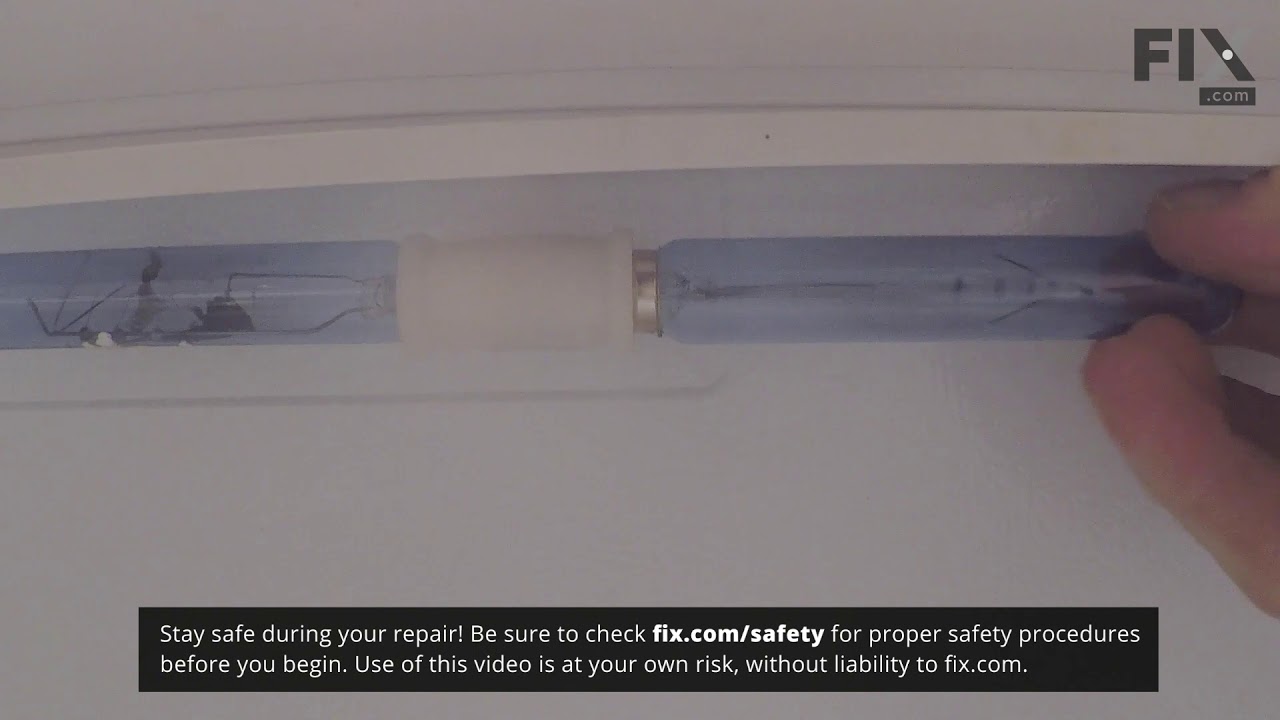
This is an LED light for a variety of refrigerator models. This 3.8W LED light is used to shine and adequately light the contents of your refrigerator when you open its door. If your current light is significantly dimmer than normal, or simply not working anymore, it will need to be replaced. To replace this bulb, unplug your fridge momen...Read moretarily, and then simply unthread the old one and screw in the new one. This bulb is sold individually and does not come with any other parts.
Read less

$70.35
In Stock
Gasket Retainer Clip Kit - 24 Pieces
Part #5303922007
This gasket retainer clip kit is for freezers. There are 24 pieces in this kit. The clips are what secure the gasket and liner to the freezer lid. The clips are white in color and made of plastic. If you notice frost build up in your freezer or that is it is not maintaining its temperature, this might be because the retainer clips have br...Read moreoken, and this has caused the gasket to become loose. This is a genuine OEM part that is obtained right from the manufacturer, ensuring a quality repair.
Read less

$39.94
Special Order
Adjustable Leveling Foot - Black
Part #216396900
This part could be found underneath a fridge, dryer, or freezer. The original foot may be cracked, broken, or perhaps missing altogether. If you notice the appliance is uneven to the floor or wobbling, it may indicate that the levelling foot needs to be replaced. You will need pliers and a block of wood to perform this task. There will be...Read more one adjustable foot found in the package. Lift the dryer and place the wood to keep it propped up. You may need to use the pliers to remove the old foot. Screw the new foot into place using your hand. Once the new leveling foot is in place, lift the appliance and remove the block. Test the machine out to ensure it is now sitting level.
Read less

$24.67
Special Order
White Touch up Paint
Part #5303321319
This is white touch up paint for refrigerators, microwaves, ranges, dryers, and freezers. It is used to cover, or touch up, nicks and scratches on the appliance from wear and tear. It is an 18ml bottle that contains paint and a small brush for easy application. It is a little over 2 inches tall. This is an OEM part that is sourced directl...Read morey from the genuine manufacturer, and is meant to be an exact match to the color of the appliance. If the appliance is not white, please see other colors such as almond or black.
Read less

$30.08
In Stock
Door Light Switch
Part #297243800
This is a switch for your refrigerator, but you may also know it as a door switch or a plunger light switch. This part turns your appliance light on and off as the door is opened and closed. If your current light does not turn on, it will need to be replaced. To make this repair you will need a Phillips head screwdriver, a putty knife, and a flat head screwdriver.

$19.68
In Stock

$39.82
In Stock
Filter - Drier
Part #5303305677
A filter-drier in a refrigerator has two essential functions. The first is to absorb system contaminants, such as water, which can create acids. The second is to provide physical filtration. This means trapping moisture, small metal chips, and dirt found in the refrigerant gas. If your refrigerator motor is constantly running, but the ref...Read morerigerator is not getting cold, the issue could be due to a damaged or faulty filter-drier. Faulty filter-driers are sometimes the cause for abnormal freezer compartment temperatures and partially frosted evaporators. This filter-drier is approximately 11 inches long. Remember to disconnect the power from your refrigerator before beginning this repair.
Read less

$43.95
In Stock
Compressor Start Relay
Part #216594300
The compressor start relay attaches to the compressor in your refrigerator. If your refrigerator will not start, one of the most common parts to fail is the compressor start relay. Sometimes called the controller, this device is used to boost the compressor until the unit is running. Other common symptoms connected to start relays include...Read more: refrigerator will not start, will not cool, is making a clicking, humming or buzzing sound, or the compressor itself is warm to the touch. You may also smell a burnt plastic odor if the relay has failed. Shake the relay and listen for any rattling, as this is a sign that it is faulty.
Read less
Common Symptoms of the 2539280213
How this model fails, and the parts that fix it.
Frost buildup
Fixed by
these parts
these parts


Show All
Fridge too warm
Fixed by
these parts
these parts


Show All
Too warm
Fixed by
these parts
these parts
Show All
Noisy
Fixed by
these parts
these parts
Show All
Freezer not defrosting
Fixed by
these parts
these parts
Show All
Won’t start
Fixed by
these parts
these parts

Show All
Freezer section too warm
Fixed by
these parts
these parts
Show All
Doesn’t stop running
Fixed by
these parts
these parts
Show All
Fridge runs too long
Fixed by
these parts
these parts
Show All
Will Not Start
Fixed by
these parts
these parts
Show All
Freezer too cold
Fixed by
these parts
these parts
Show All
Fridge and Freezer are too warm
Fixed by
these parts
these parts
Show All
Fridge too cold
Fixed by
these parts
these parts
Show All
Leaking
Fixed by
these parts
these parts
Show All
Watch our pros, then fix it yourself.

See how others fixed this model. Time, tools, difficulty, and steps that lead to victory!
View More