


 My Orders




2536480240C Kenmore Refrigerator - Overview
Diagrams for 2536480240C
See every part. Know exactly what you need.

Enter a part description. DIY Heroes keep it simple, eg. "belt" or "pump".
Search filter:
Clear Filter
Your search term must have 3 or more characters.

$47.25
In Stock
Door Shelf Retainer Bar
Part #240534901
This white plastic door shelf retainer bar keeps bottles, jars, and condiments on the refrigerator shelf when the door moves. It snaps into the inner door mounting points without tools and is sold individually. Cracks, warping, or damaged ends may keep the bar from staying secure or holding items in place. Inspect the door attachment poin...Read morets as well before replacement. Match the shelf position and mounting shape to the appliance parts diagram, since the middle rack may use a different retainer. Check that the replacement is fully seated before loading the shelf. This is an OEM part sourced directly from the manufacturer.
Read less

$38.45
In Stock
Door Shelf Retainer Bar
Part #240534701
Bottles, jars, and condiments stay contained behind this white plastic refrigerator door shelf retainer bar. The rail attaches to the inner fresh food door and forms a barrier along the shelf edge, helping prevent items from falling out as the door opens and closes. Cracks, broken ends, or damaged locking tabs can leave the bar loose or u...Read morenable to secure stored containers. Replacing a damaged retainer restores usable door shelf storage. Its snap-in design allows attachment to the door supports without complex assembly. This is an OEM part sourced directly from the manufacturer.
Read less

$56.05
In Stock
Drawer Support Rail - Right Side
Part #240530701
Supporting the meat or deli drawer from the right side, this refrigerator drawer slide rail keeps the pan level and guides it as it opens and closes. The rail attaches to the interior cabinet wall and provides a sliding surface for the drawer edge. Cracks or broken sections may cause the pan to sag, stick, or slip off its track. Replacing...Read more a damaged rail helps restore stable storage and smoother access when the drawer and other supports remain in good condition. This is an OEM part sourced directly from the manufacturer.
Read less

$43.63
In Stock
Refrigerator Crisper Pan
Part #240337103
This clear plastic crisper pan provides a separate storage space for fruits and vegetables in the refrigerator fresh food compartment. The transparent sides make the contents easy to see. Cracks, broken edges, or damaged sliding surfaces may keep the drawer from holding food securely or moving smoothly. Inspect the shelf frame and drawer ...Read moresupports as well if the pan catches or will not close fully, since those parts can cause similar problems. Match the drawer shape and compartment position to the appliance parts diagram before selecting a replacement. This is an OEM part sourced directly from the manufacturer.
Read less

$53.85
In Stock
Crisper Glass Shelf Insert
Part #240350608
This clear glass shelf insert rests in the supporting frame above the refrigerator crisper drawers. It provides a surface for storing food and measures approximately 23.82 inches wide by 15.5 inches deep. This item includes the glass only; the frame and mounting hardware are not included. Cracks, chips, or broken glass are reasons to repl...Read moreace the insert. No tools are needed for installation. Remove the old glass carefully, inspect the supporting frame for damage, and position the replacement so it sits evenly within the shelf lip. This is an OEM part sourced directly from the manufacturer.
Read less

$40.84
In Stock
Defrost Timer - 60Hz 120V
Part #215846602
This 120 volt, 60 hertz defrost timer switches the refrigerator into a 30 minute defrost cycle after eight hours of compressor run time. The cycle allows the heater to clear frost from the evaporator so air can circulate. A faulty timer may allow frost buildup that restricts airflow and leaves the refrigerator or freezer too warm. It may ...Read morealso fail to return the appliance to cooling. Confirm the timer fault before replacement, since other defrost components can cause similar symptoms. Disconnect power before accessing the control. This is an OEM part sourced directly from the manufacturer.
Read less

$56.05
In Stock
Drawer Support Rail - Left Side
Part #240530601
Smooth drawer movement depends on a stable support rail. This left side refrigerator drawer rail supports the meat or deli pan and guides it as it slides open and closed. A cracked, bent, or broken rail may allow the drawer to sag, tilt, catch, or slip out of place. Replacing a damaged rail helps restore level support and easier access to...Read more stored food. The drawer edges and surrounding supports should also be free of damage so the pan can travel smoothly along the rail. This is an OEM part sourced directly from the manufacturer.
Read less

$131.88
In Stock
Refrigerator Door Gasket
Part #242193213
This white refrigerator door gasket seals the fresh food compartment to help keep cold air inside and warm, moist air out. Its flexible vinyl edge fits around the inner door panel and makes contact with the cabinet when closed. Tears, cracks, or distorted sections may allow air leaks that contribute to condensation, warmer temperatures, o...Read morer longer running times. Replacing a damaged gasket restores the sealing surface around the door, helping maintain steady cooling and reducing moisture entering the compartment between door openings. This is an OEM part sourced directly from the manufacturer.
Read less

$21.95
In Stock
Light Bulb
Part #316538904
This OEM 40 watt appliance light bulb is used for some ranges, refrigerators, freezers, and microwaves. Simply locate the existing bulb, unscrew it from its socket, and replace with new light bulb. If the existing bulb is broken in the socket, disconnect the power to the refrigerator and use a pair of needle nose pliers to grip the intern...Read moreal fragments of the bulb to unscrew. Replace with the new bulb and reconnect the power to the refrigerator. These bulbs are sold individually and are a commonly replaced part; consider ordering a spare.
Read less

$43.95
In Stock
Evaporator Fan Motor Kit - 120V 60Hz
Part #5303918549
Cold air moves through the food compartments with help from this refrigerator evaporator fan motor kit. The motor drives the fan that circulates air across the evaporator coils and distributes cooled air through the freezer and fresh food sections. A worn or failed motor may cause squealing, buzzing, reduced airflow, or warmer compartment...Read more temperatures. Replacing a faulty motor helps restore air circulation and more even cooling. The kit includes the motor, two retainer clips, three terminal connectors, and an installation instruction sheet. This is an OEM part sourced directly from the manufacturer.
Read less

$41.14
In Stock
Defrost Thermostat
Part #5303918202
Cooling problems or a failure to defrost can point to an issue in the refrigerator defrost system, but they do not confirm this thermostat is the cause. During defrost, the thermostat helps protect the evaporator from overheating. This is an OEM kit. Unplug the refrigerator before installation.

$17.17
In Stock
Screw - Kit of Four
Part #5304515677
To secure a refrigerator or freezer door handle to the door, this OEM kit includes four #10-16 screws. Each is 0.500 in. long and has a Phillips or square drive. Confirm compatibility with your appliance before buying.
Manuals & Care Guides for 2536480240C
Click to downloadCommon Symptoms of the 2536480240C
How this model fails, and the parts that fix it.
Fridge too warm
Fixed by
these parts
these parts


Show All
Door won’t open or close
Fixed by
these parts
these parts


Show All
Freezer section too warm
Fixed by
these parts
these parts
Show All
Freezer not defrosting
Fixed by
these parts
these parts
Show All
Noisy
Fixed by
these parts
these parts

Show All
Leaking
Fixed by
these parts
these parts

Show All
Fridge and Freezer are too warm
Fixed by
these parts
these parts

Show All
Door Sweating
Fixed by
these parts
these parts


Show All
Will Not Start
Fixed by
these parts
these parts
Show All
Fridge runs too long
Fixed by
these parts
these parts
Show All
Fridge too cold
Fixed by
these parts
these parts
Show All
Light not working
Fixed by
these parts
these parts


Show All
Frost buildup
Fixed by
these parts
these parts
Show All
Too warm
Fixed by
these parts
these parts
Show All
Freezer too cold
Fixed by
these parts
these parts
Show All
Watch our pros, then fix it yourself.
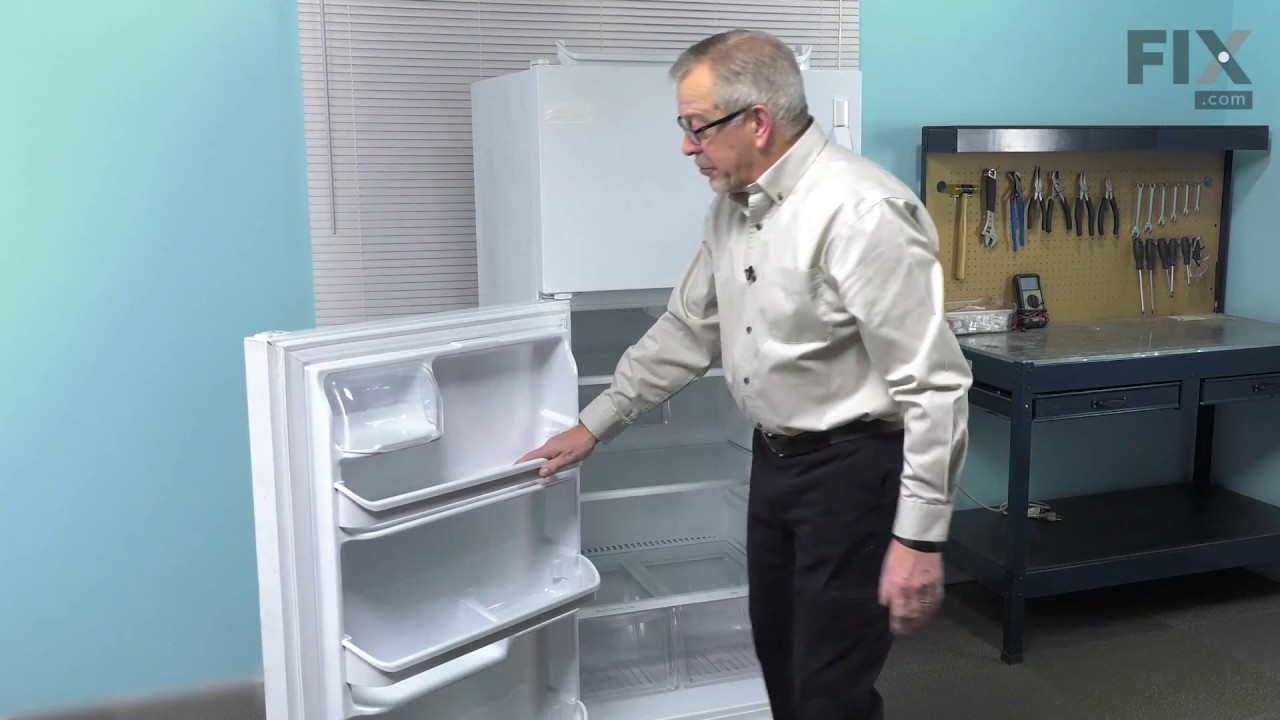
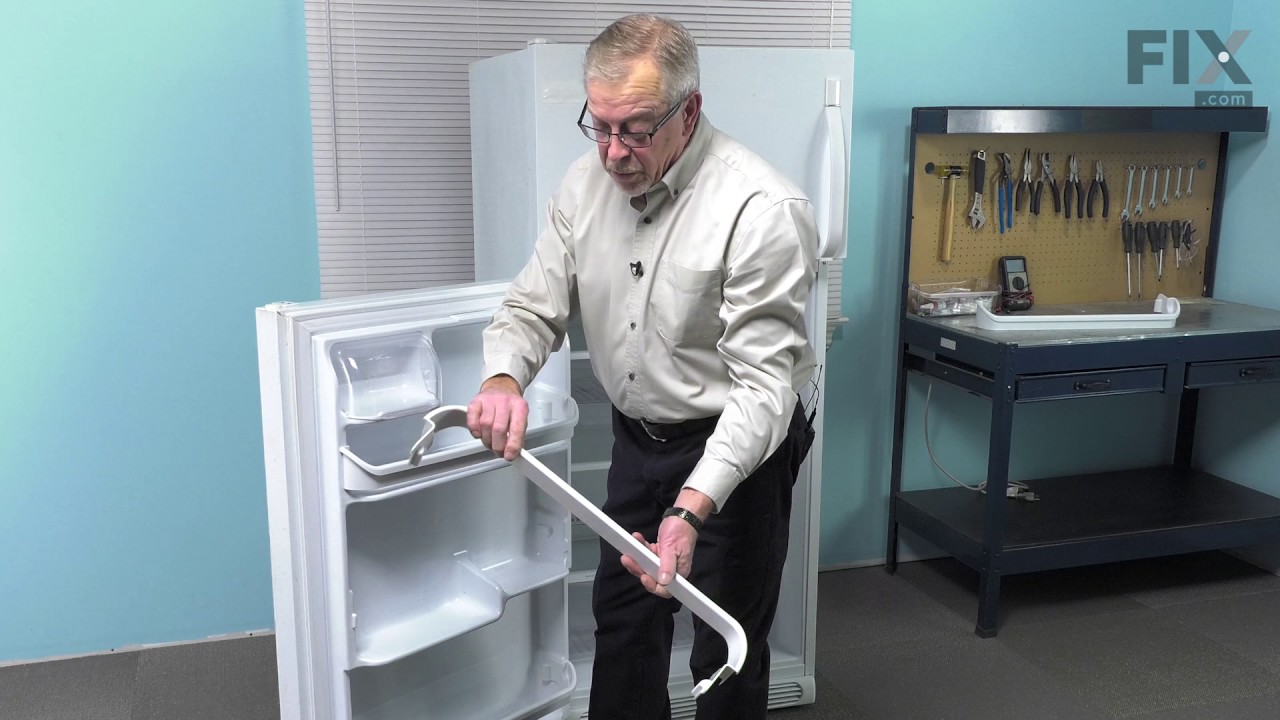
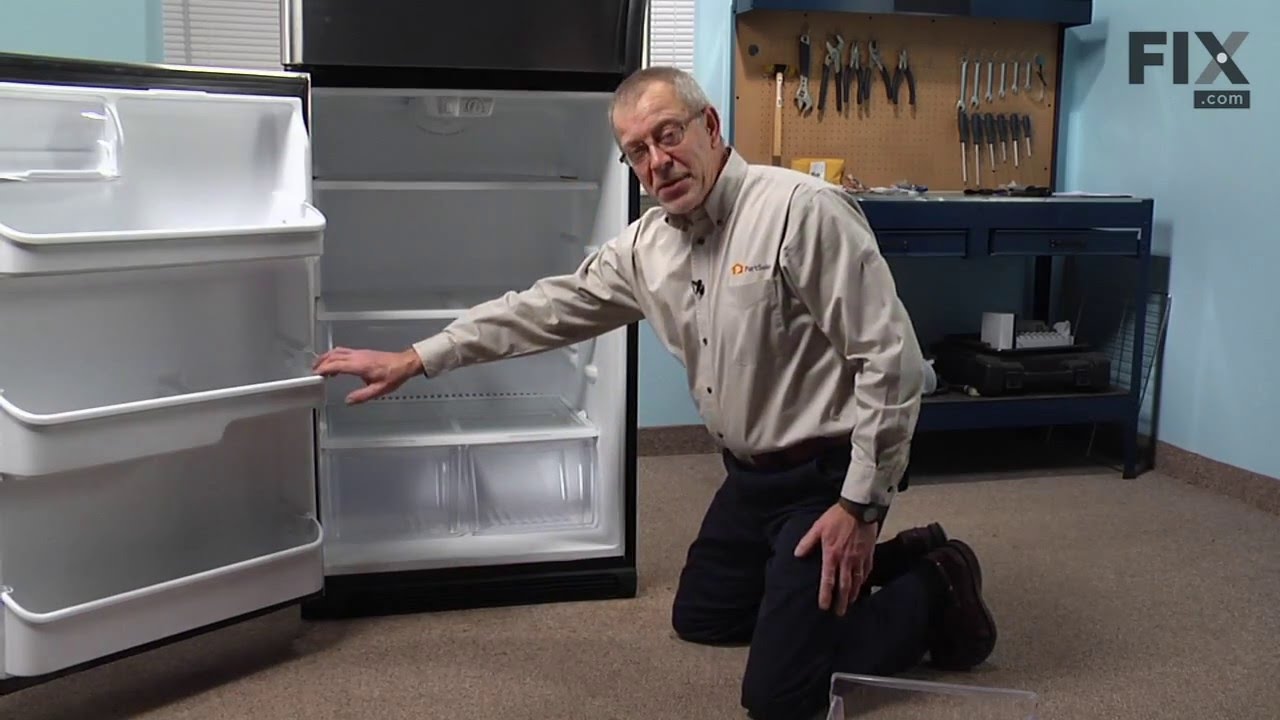
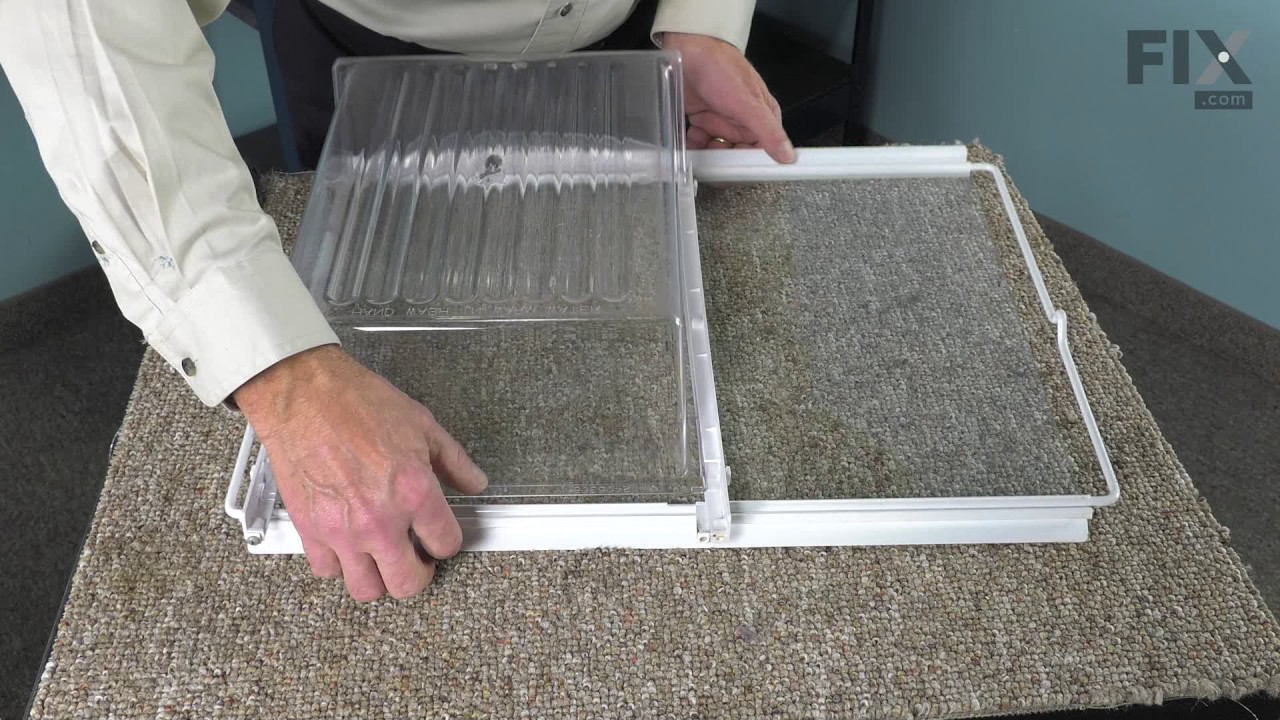
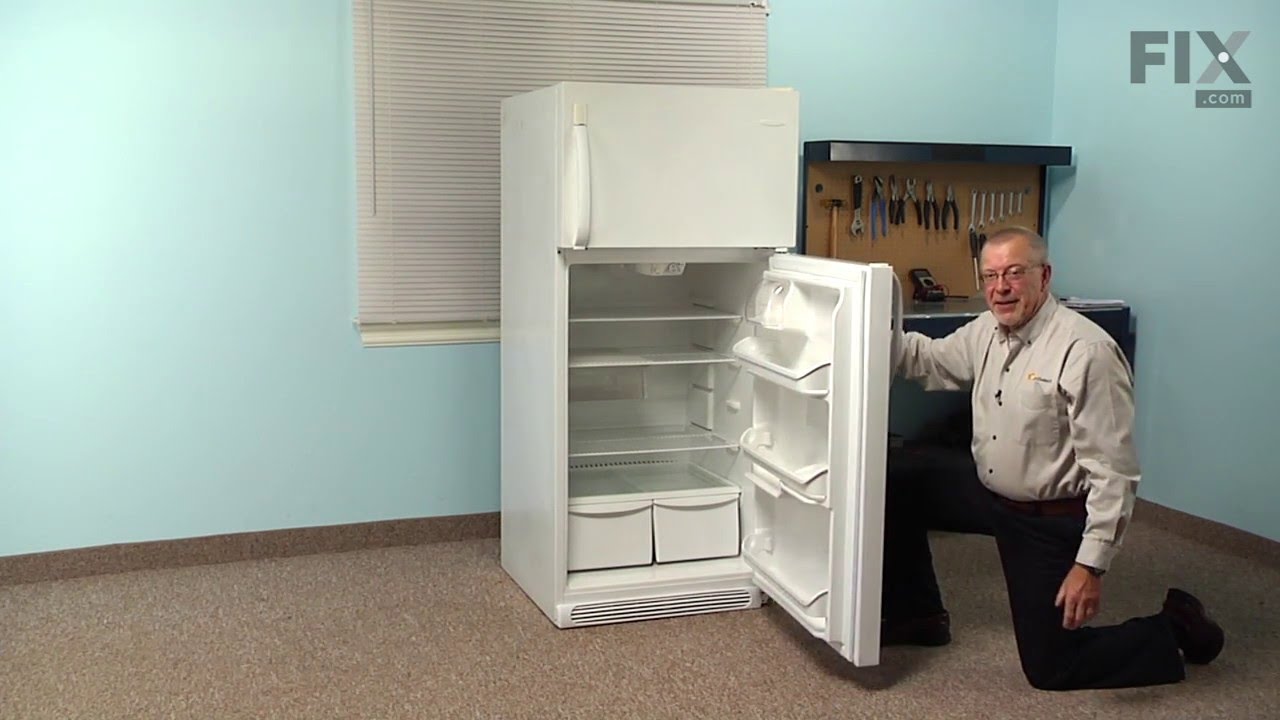
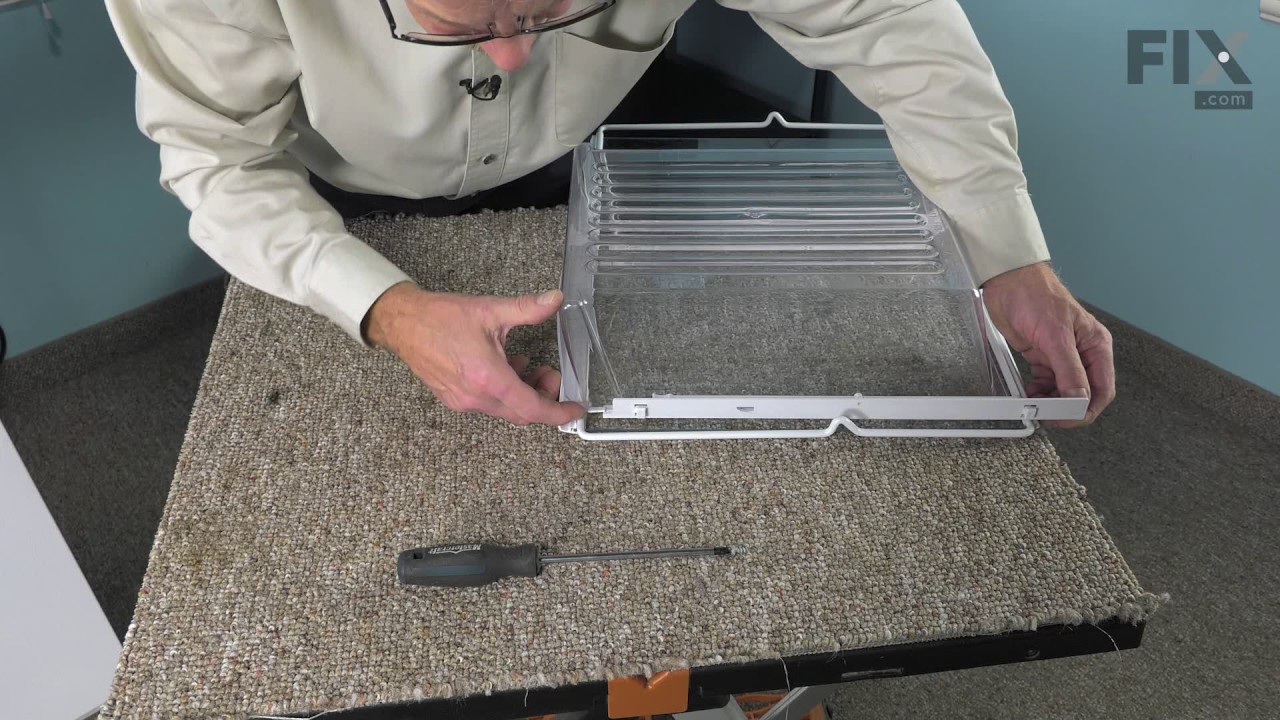
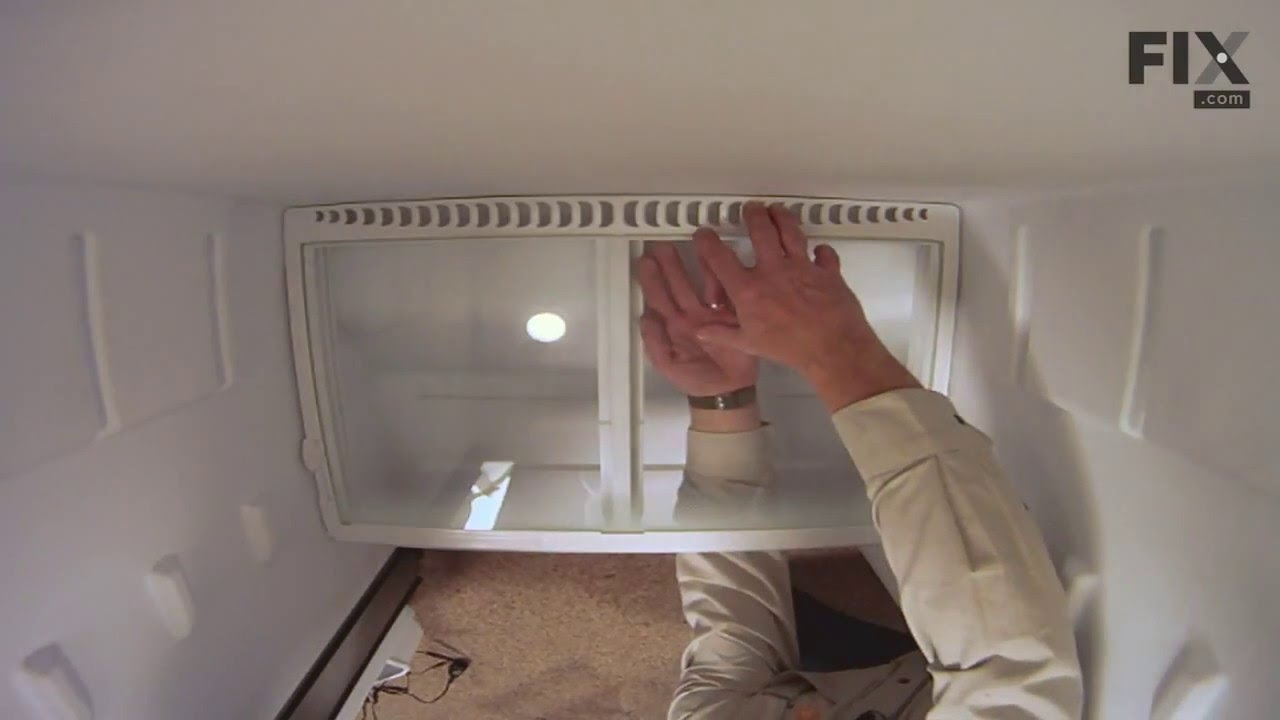
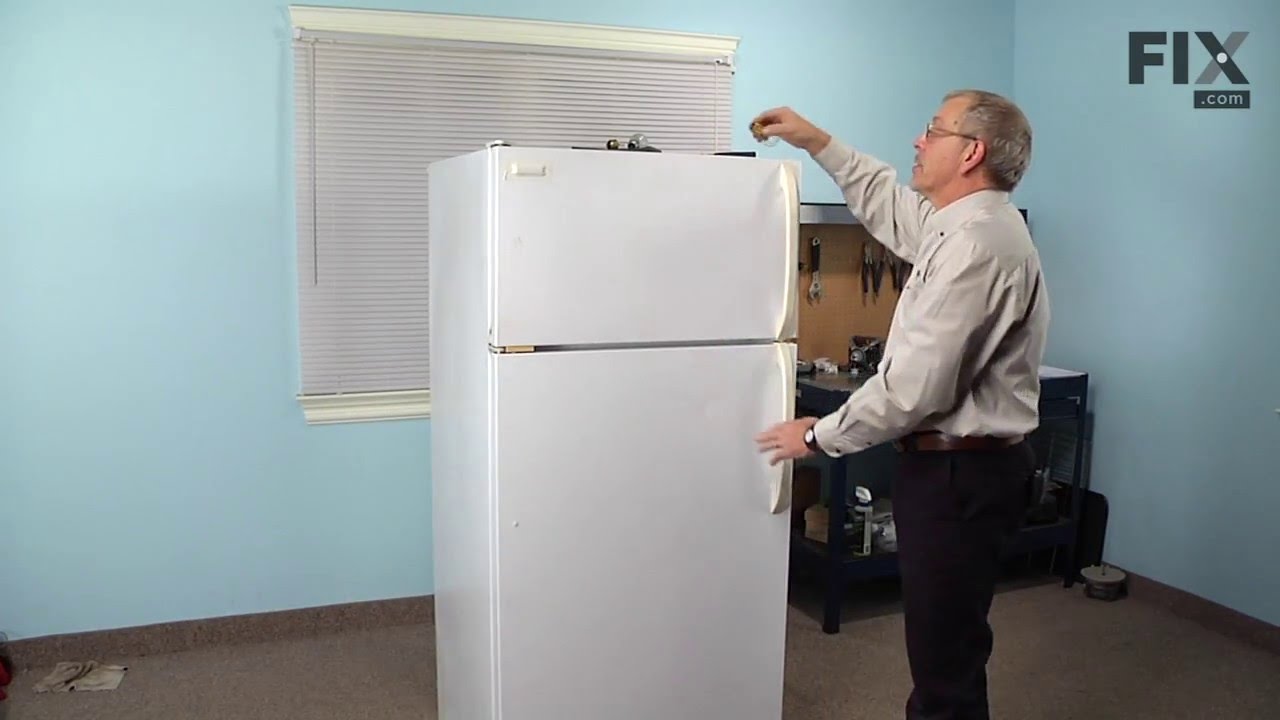
See how others fixed this model. Time, tools, difficulty, and steps that lead to victory!
View More