


 My Orders




25321742513 Kenmore Freezer - Overview


Enter a part description. DIY Heroes keep it simple, eg. "belt" or "pump".
Search filter:
Clear Filter
Your search term must have 3 or more characters.

$52.75
In Stock
Run Capacitor - 120V
Part #297286803
This part helps the compressor kick on and off while maintaining a constant temperature to keep things frozen in your freezer. The run capacitor is attached to the compressor. This part is 120 volts and 15 mfd. The run capacitor helps the compressor kick on and off while maintaining a constant temperature to keep things frozen in your fre...Read moreezer. If your refrigerator is too warm, will not start, or your freezer section is too warm, you may need to replace this part. This is a genuine OEM part. Please remember to disconnect power to your refrigerator before starting your repair.
Read less

$25.25
In Stock
Screw
Part #218755504
Sold individually.
This is a genuine part. The handle mounting shoulder screw (no.10 ab) is made for use with many refrigerators. The metal screw helps to fasten the handle assembly to the outer door panel. The handle mounting shoulder screw is sold individually. For the repair, you will need a pair of pliers.

$63.72
In Stock
Refrigerator Light Bulb
Part #5304517886
This is an LED light for a variety of refrigerator models. This 3.8W LED light is used to shine and adequately light the contents of your refrigerator when you open its door. If your current light is significantly dimmer than normal, or simply not working anymore, it will need to be replaced. To replace this bulb, unplug your fridge momen...Read moretarily, and then simply unthread the old one and screw in the new one. This bulb is sold individually and does not come with any other parts.
Read less

$70.35
In Stock
Gasket Retainer Clip Kit - 24 Pieces
Part #5303922007
This gasket retainer clip kit is for freezers. There are 24 pieces in this kit. The clips are what secure the gasket and liner to the freezer lid. The clips are white in color and made of plastic. If you notice frost build up in your freezer or that is it is not maintaining its temperature, this might be because the retainer clips have br...Read moreoken, and this has caused the gasket to become loose. This is a genuine OEM part that is obtained right from the manufacturer, ensuring a quality repair.
Read less

$26.35
In Stock
Hinge Mounting Hexagonal Screw
Part #240578902
This genuine OEM hinge mounting screw is designed for use in Frigidaire and Electrolux refrigerators, providing a secure and reliable way to fasten door hinges to the cabinet. Built with a durable hex washer head and standard threading, it helps restore proper door alignment and maintain a tight seal to prevent cold air loss. Ideal for re...Read moreplacing worn, stripped, or corroded hardware, this heavy-duty screw ensures long-lasting stability and dependable everyday performance.
Read less

$18.60
In Stock

$69.59
In Stock

$27.90
In Stock
Shelf Support - Right Side
Part #297001500
This is a shelf support for freezers. It is used to help hold the inside of the shelf from both sides (left and right.) Please note: right and left side of shelf support are sold separately. If the shelf in your fridge is not leveled and is unstable, changing this part could be the solution. Make sure to unplug the refrigerator from the p...Read moreower source before beginning this replacement project and safely store your food. Follow the instructions in the diagram provided by the manufacturer for further instructions and guidance.
Read less

$27.90
On Order
Shelf Support - Left Side
Part #297001600
This is a shelf support for the left side of a freezer. It is used to help support the inside of the shelf from both sides. *Please note: right and left side of shelf support are sold separately. If the shelf in your fridge is unstable, replacing this part could be the solution. Make sure to unplug the refrigerator or freezer from the pow...Read moreer source before beginning this replacement project and safely store food. Follow the instructions in the diagram provided by the manufacturer for further instructions and guidance.
Read less

$19.68
In Stock

$21.86
In Stock

$161.25
In Stock
Door Gasket - White
Part #5304505529
This white freezer door gasket is designed to create a secure, airtight seal around the freezer door, helping to maintain optimal internal temperatures and improve energy efficiency. Measuring approximately 33.07 inches by 61.42 inches, the gasket is constructed from high-elasticity rubber or flexible PVC and features an embedded magnetic...Read more strip to ensure a tight closure. It is compatible with a wide range of models from Frigidaire, Electrolux, Kenmore, Crosley, White Westinghouse, and Tappan. This component is ideal for replacing worn, cracked, or damaged gaskets that may cause frost buildup, condensation, or inconsistent cooling. Installation requires softening the gasket beforehand—either by soaking it in warm water or using a hairdryer on a low setting—to eliminate creases and ensure a proper fit.
Read less
Common Symptoms of the 25321742513
How this model fails, and the parts that fix it.
Won’t start
Fixed by
these parts
these parts


Show All
Fridge too warm
Fixed by
these parts
these parts

Show All
Frost buildup
Fixed by
these parts
these parts


Show All
Will Not Start
Fixed by
these parts
these parts
Show All
Light not working
Fixed by
these parts
these parts

Show All
Too warm
Fixed by
these parts
these parts
Show All
Fridge and Freezer are too warm
Fixed by
these parts
these parts
Show All
Freezer section too warm
Fixed by
these parts
these parts
Show All
Clicking sound
Fixed by
these parts
these parts
Show All
Noisy
Fixed by
these parts
these parts
Show All
Door won’t open or close
Fixed by
these parts
these parts

Show All
Watch our pros, then fix it yourself.
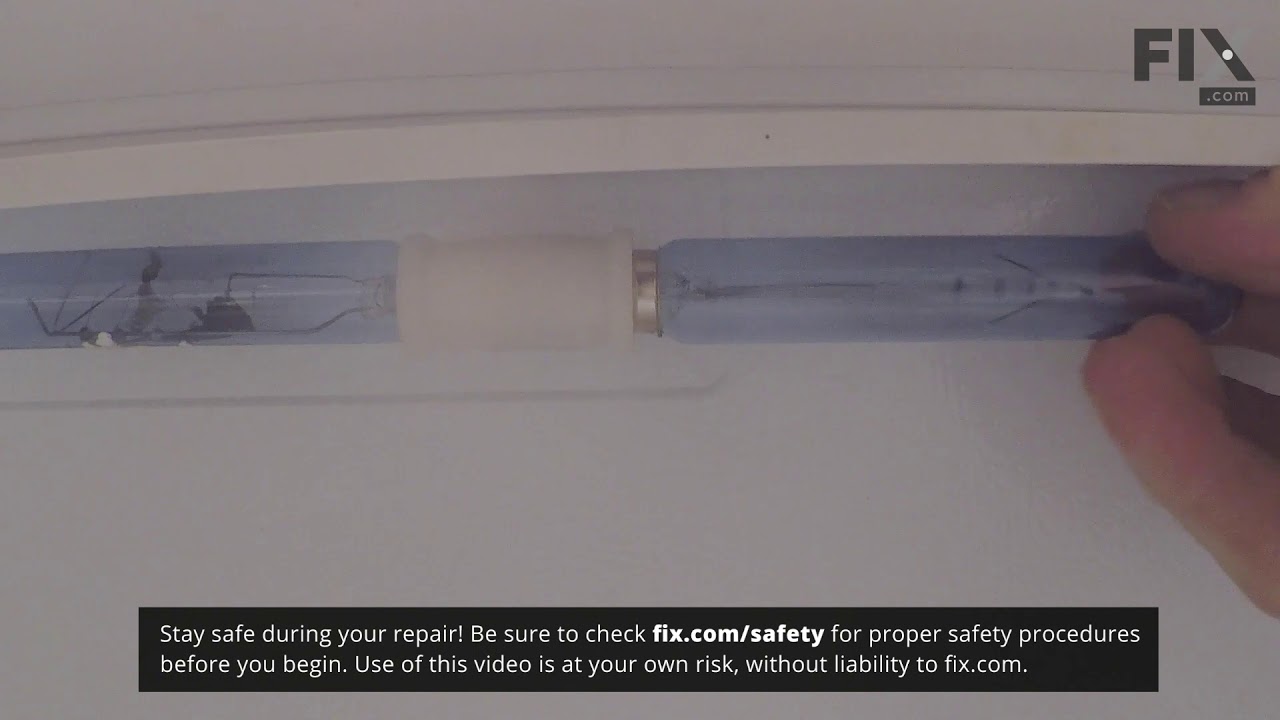
See how others fixed this model. Time, tools, difficulty, and steps that lead to victory!
View More
Search repair tips from other customers using simple keywords like "replace", "fit", "remove", "inspect". DIY doesn't mean you have to do it alone!
Search filter:
Clear Filter
Your search term must have 3 or more characters.
Door would not open all the way
7 of 7 people
found this instruction helpful.
Removed items from door. Put down blanket on floor. Remove top hinge cover. Removed small bolts. Open and lift door off bottom hinge. Put on blanket on side and remover screw holding upper closure. Installed new closure. Removed bottom closure and installed new closure. Reinstalled door and closed to frame. Reinstalled top hinge and bolts
... Read more
adjusted door and tighten bolts. Reinstalled top hinge cover. For indicator light. Unplug unit and removed screws for kick plate. Removed light holder and removed terminals. Removed light and install in reverse order.
Read less
Other Parts Used:

Was this helpful?
Thank you for voting!