


 My Orders




2382W2A Roper Range - Overview
Diagrams for 2382W2A
See every part. Know exactly what you need.


Enter a part description. DIY Heroes keep it simple, eg. "belt" or "pump".
Search filter:
Clear Filter
Your search term must have 3 or more characters.

$28.42
In Stock
Standard Y-Frame Range Surface Burner
Part #WP660532
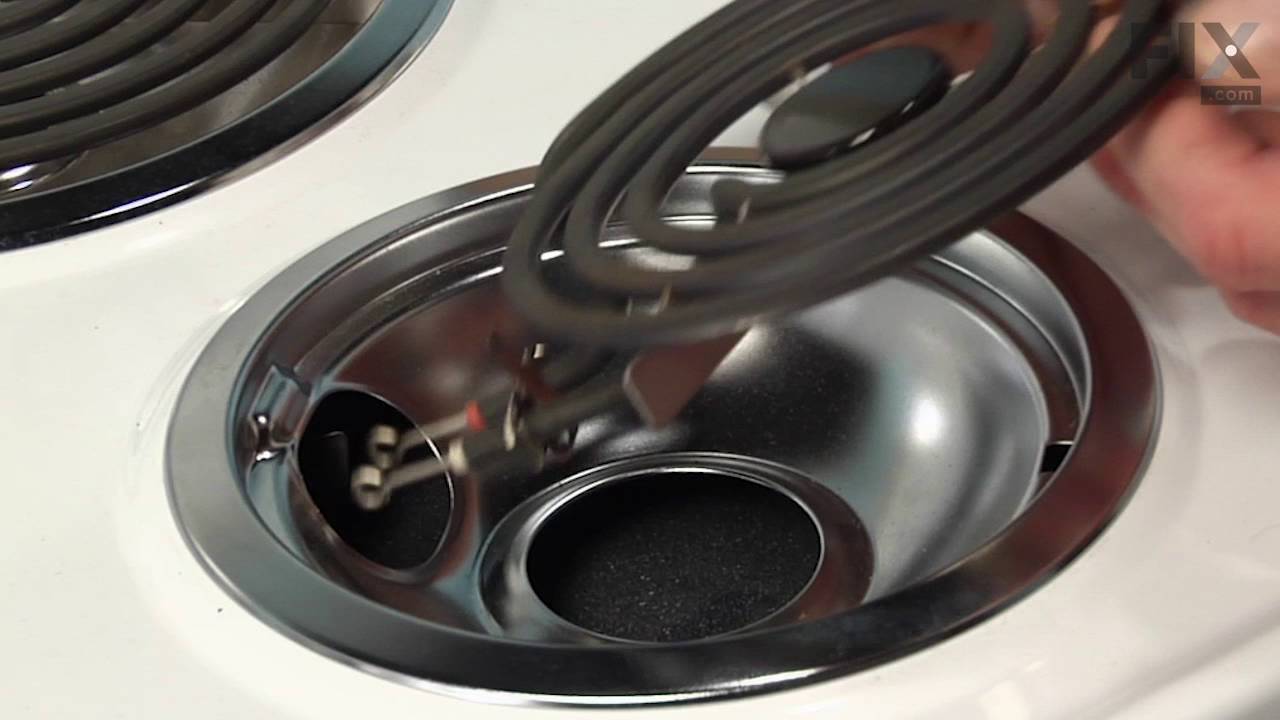
The standard y-frame surface burner provides heat to your range. If you notice that your element will not heat, you may need to replace your surface burner. This product is 6 inches in diameter, and 1500W. The manufacturer suggests replacing the receptacle at the same time that you replace the surface burner. Many of our customers have ra...Read moreted this repair as very easy, and you will not need any tools. To complete the repair, simply lift out the old burner and replace it with the new one. Check that the burners are turned off before you begin this repair.
Read less

$7.47
In Stock
Range Hex Nut
Part #WP112432
This 10-32-inch hex nut works with multiple appliances in your home as a fastener. This specific model is sold individually. Hex nuts usually have 6 even sides and together they are used with bolts and screws in order to hold items firmly together. This piece is a fastener that attaches one item to another. This part has several advantage...Read mores, the main one being that it is universal and can be used with most pieces and appliances in your home. This hex nut is an original equipment manufacturer part, meaning it is directly sourced from the manufacturer.
Read less

No Longer Available
SWTCH-LITE
Part #WP8189867

$63.64
In Stock
$7.47
Special Order
Screw
Part #WP487353
No Longer Available
Washer
Part #303963
No Longer Available
DISCONTINUED
Part #348778
No Longer Available
SWTCH-LITE
Part #308830

No Longer Available
USE WPL 4325190
Part #239802
No Longer Available
MOTOR-STIR
Part #311223
No Longer Available
No Longer Available
Support-Backguard
Part #319361
Common Symptoms of the 2382W2A
How this model fails, and the parts that fix it.

Watch our pros, then fix it yourself.
See how others fixed this model. Time, tools, difficulty, and steps that lead to victory!
View More