


 My Orders




22MA-7KLXV8 Magic Chef Microwave Oven Combo - Overview
Diagrams for 22MA-7KLXV8
See every part. Know exactly what you need.


Enter a part description. DIY Heroes keep it simple, eg. "belt" or "pump".
Search filter:
Clear Filter
Your search term must have 3 or more characters.

$8.55
In Stock
Light Bulb - 40W
Part #8206232A
This 40w light bulb is a replacement bulb constructed of glass and metal. It is an easy-to-install electrical part which produces 40w of light. If the bulb won't light up then it may be broken and should be replaced. The bulb attaches directly to an appropriate light socket and has a small screw-in base. To access the exterior light bulb,...Read more you will need to remove the panel on the bottom of the microwave using a Phillips screwdriver. If your exterior light bulb has not been changed before, it is probably held in place with some silicone. You will need to cut away this silicone to remove the old bulb. If you cannot access the silicone with a utility knife, it can be removed using dental floss. Once the silicone is removed, simply unscrew the old bulb, and replace it with the new one. Be sure to disconnect the power to the microwave before you begin this repair. This light bulb measures about 1 1/8 inches. We do not recommend using a higher-wattage bulb for this appliance, and can only recommend this specific bulb. If fixing the bulb does not solve your microwave light issue, it's possibly a problem with the socket, which means the socket and/or board will need to be replaced. This can be a more dangerous repair, so consult your user manual or a technician before attempting.
Read less

$19.54
In Stock
Light Bulb - 40W
Part #8009
This an authentic OEM 40-Watt replacement light bulb, used in a number of household appliances. It is specially designed to withstand extreme temperatures, which is why these replacement bulbs are most often used to light the inside of refrigerators and ranges. It features a standard socket base, which means you simply unscrew the burnt-o...Read moreut bulb and screw in the replacement. Depending on the appliance you may require a screwdriver or nut driver to access the light bulb. We recommend you wear work gloves while handling this replacement part. It is constructed of glass and metal and is sold individually. Depending on the appliance and location of the bulb within it, you may want to consider disconnecting power and using a flashlight for easier access to unscrewing and re-screwing in your bulb during this repair.
Read less

$50.56
In Stock
Flat Style Oven Igniter Kit
Part #12400035
The flat style oven igniter kit is used in gas ovens and ranges. It is what provides the heat needed to open the gas valve, and it ignites fuel for the burner assembly. This part can be used for both bake and broil elements, and it can replace both short and long igniters. However, it cannot replace round style oven igniters. If your igni...Read moreter glows for 90 seconds or more without igniting the burner, this means it is too weak to open the valve. The element in your igniter may have shorted it and it might not glow at all, or it might only glow orange or red. It needs to glow white hot; if it cannot get hot enough the gas will not be released from the safety valve and it will be impossible to light the burner in your oven. This kit includes the igniter, ceramic wire nuts, an insulation pad, a metal bracket, a variety of plug ends, and an instruction sheet. The body length is 3 3/4 inches, and the element inside is approximately 1 1/2 inches. This replacement part has an amperage range of 3.3 to 3.6. The element inside this igniter is extremely fragile, do not touch it. Before you start repairing your oven or range, make sure you have unplugged it and shut off the gas supply.
Read less

$67.82
In Stock
Burner Head Cap with Spark Electrode
Part #WP3412D024-09
The burner head cap with spark electrode directs the gas to the front and back burner heads and will equally distribute the gas across cooking areas. This part can help the following symptoms: if your oven will not start, element will not heat, the gas ignitor does not light, and/or gas spreads a smell. Make sure to rotate the burner asse...Read morembly clockwise to release the burner from the top. Please note: this part has been updated and the gasket seal is no longer required. Make sure to unplug the oven before installing this part and wear work gloves to protect your hands.
Read less

$49.50
In Stock
2 Piece Broiler Pan
Part #4396923
This broiler pan and roasting rack set is designed to help reduce mess while cooking by allowing grease to drain away from food. Its durable porcelain-coated construction stands up to high temperatures and makes cleanup simple. With approximate dimensions of 16 3/4 inches long, 12 3/4 inches wide, and 1 3/4 inches high, it offers a convenient size for everyday broiling and roasting.

$15.00
In Stock
Oven Door Spring
Part #WP7803P058-60
The oven door springs create tension which allows the door to open and close with ease. This spring can be used on either the left or right side of your oven, is made completely of metal, and is approximately 6 inches long. If your oven door will not open or close easily, you may need to replace this part. It may be a good idea to replace...Read more both hinges at the same time, because if a spring has become loose, the other hinge is likely to have the same issue. You may need to remove the side panel of the oven to reach where the spring attaches, so make sure the oven is off and is cool to the touch. This part is sold individually.
Read less

$75.13
In Stock
Spark Module - Surface Burners
Part #12001596
This part may differ in appearance, but functions same as original part. : This part sends enough current to the igniter to create a spark to the bottom of the burner cap.

No Longer Available
Spray Paint - 12 oz. - White
Part #350930
Appliance spray paint is a great way to cover up any chips and scratches that have appeared on your appliances. Instead of replacing the part entirely, this is an easy fix. This is also a great way to give a fresh new look to any handles or areas that have discoloring due to wear. Make sure to clean the area before you begin and wear a pr...Read moreotective mask for safety. Give the can a good shake and spray a few inches away from the surface. Apply the paint until the area is fully covered as desired. Wait until the paint has dried before using the appliance.
Read less

$7.47
Special Order

$8.55
In Stock

$8.55
In Stock

$7.47
In Stock
Common Symptoms of the 22MA-7KLXV8
How this model fails, and the parts that fix it.
Gas igniter glows, but will not light
Fixed by
these parts
these parts


Show All
Will Not Start
Fixed by
these parts
these parts
Show All
Little to no heat when baking
Fixed by
these parts
these parts
Show All
Element will not heat
Fixed by
these parts
these parts
Show All
Gas smell
Fixed by
these parts
these parts
Show All
Oven not heating evenly
Fixed by
these parts
these parts
Show All
Door won’t close
Fixed by
these parts
these parts

Show All
Little to no heat when broiling
Fixed by
these parts
these parts
Show All
Oven is too hot
Fixed by
these parts
these parts

Show All
No heat
Fixed by
these parts
these parts

Show All
Won’t turn on
Fixed by
these parts
these parts

Show All
Watch our pros, then fix it yourself.
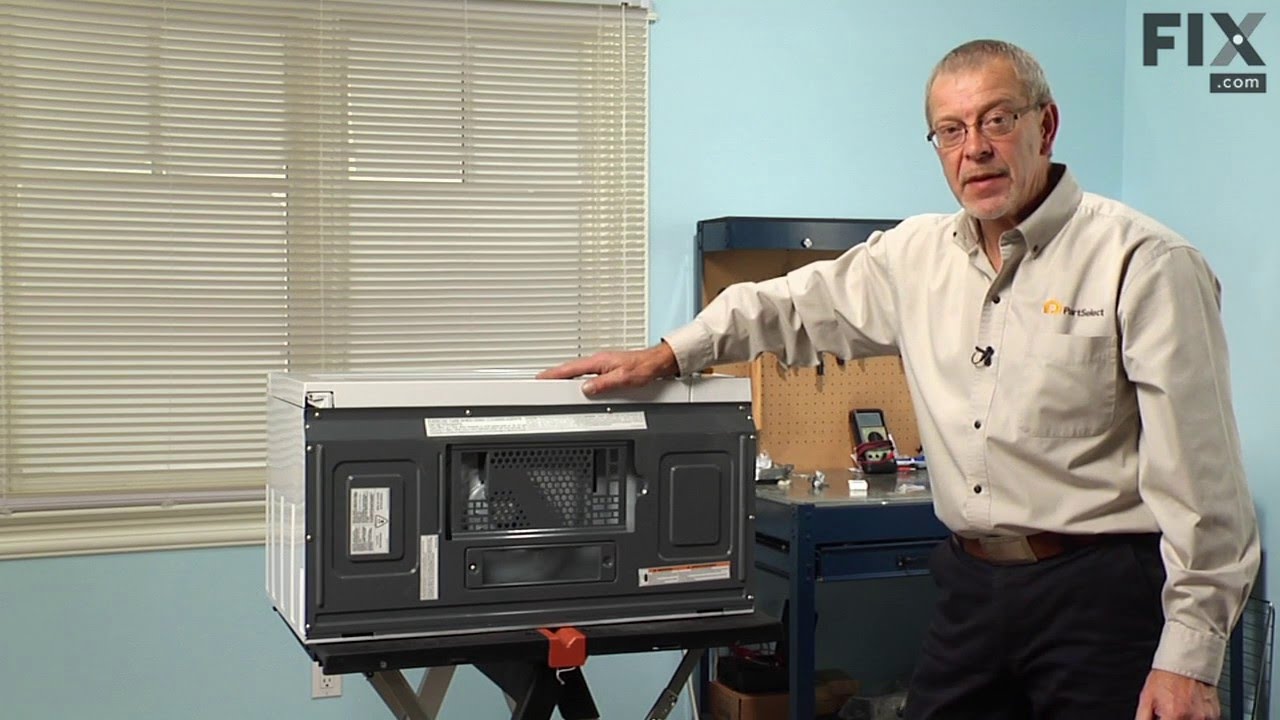

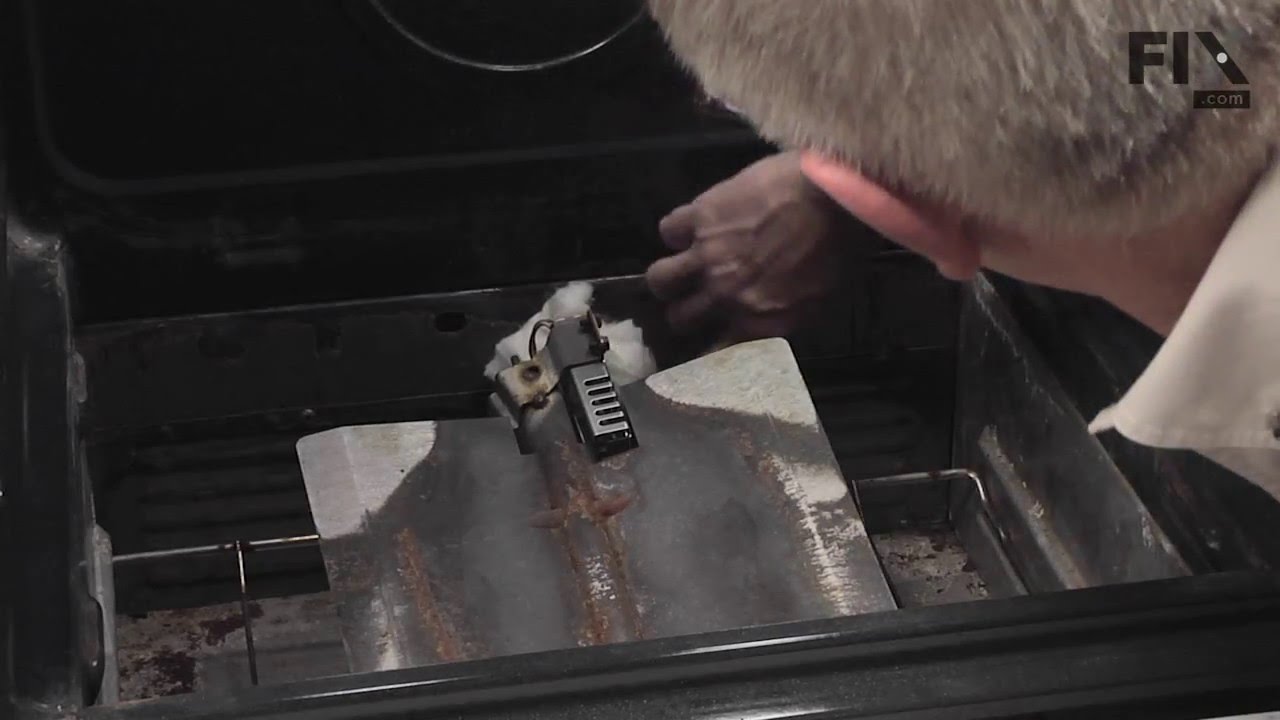

See how others fixed this model. Time, tools, difficulty, and steps that lead to victory!
View More