


 My Orders




22310 (1988) Kenmore Range - Overview

Enter a part description. DIY Heroes keep it simple, eg. "belt" or "pump".
Search filter:
Clear Filter
Your search term must have 3 or more characters.

$28.42
On Order
Range Grease Filter
Part #WP707929
The function of the grease filter is to trap grease into the filter from the exhaust air. The grease filter is intended to be used with certain downdraft cooktops and ranges. This grease filter is roughly fourteen inches long and almost twelve inches wide, and chrome in color. Removing your old grease filter and replacing it with a new on...Read moree is an easy job, users say it took them less than fifteen minutes to install. We recommend that when removing your current grease filter, you use work gloves to protect your hands and clean the entire area thoroughly before installing the new filter.
Read less

$232.24
In Stock
Cartridge 4 Spades - Stainless Steel
Part #JEA7000ADSA
Upgrade your cooktop with this easy-to-install electric coil cartridge, perfect for replacing worn-out burners and restoring consistent heat. The sleek stainless steel housing holds two coil burners—one large (2100W) and one small (1250W)—giving you the flexibility to cook everything from quick breakfasts to hearty dinners. Compatible wit...Read moreh a variety of ranges, this module is a simple way to refresh your kitchen setup. Sold as a single unit.
Read less

$21.45
In Stock
Screw
Part #W11233072
This is a multi-use and multi-appliance screw. It can be used on a microwave, refrigerator, range/oven, air conditioner, dehumidifier, washer, or dryer. The measurements of this screw are 8 x 1/2 inch. It has 6 threads. Refer to the manual provided by the manufacturer for further information on repair and accurate guidance. Remember to wear work gloves as a safety precaution.

$7.47
In Stock

$117.51
In Stock
Door Hinge
Part #WP74008014
The hinges control the rate that the oven door opens and closes, and allows the door to stay open at an angle. This hinge can be used on either the left or right hand side of your oven, and is approximately 20 1/2 inches long. If your oven door will not open or close easily, you may need to replace this part. It may be a good idea to repl...Read moreace both hinges at the same time. If a spring has become loose on one hinge, the other hinge is likely to have the same issue. The repair is simple and only requires a Phillips screwdriver and a small bent nail. For a full step-by-step guide, check out the video below.
Read less

$250.82
In Stock
Stove Cartridge Assembly
Part #JEA7000ADBA
This stove cartridge assembly, also known as a cooktop module, is a manufacturer-approved replacement part for your stove. It is black in color and comes complete with burner elements. Make sure to shut off power to the unit before replacing this part.

$78.26
In Stock
Surface Burner Switch - 240V
Part #W11120791
This surface burner switch, also known as an infinite switch, controls and regulates the heat output of the burners on a stovetop. The user simply adjusts the knob on the user interface panel, which in turn controls this switch. Made for various ranges, wall ovens and cooktops, this is a genuine OEM part that comes by itself, without any ...Read morehardware like screws or nuts. This burner switch is an electrical component that you also handle directly, so it can become faulty leading to problems like your stovetop not heating enough, overheating or staying at a fixed heat. This burner switch is a vital component for your stovetop and if it presents any of those issues, it needs to be replaced immediately. A screwdriver, set of pliers and wiring diagram will be needed for the replacement and installation process, and you will need to remove your appliance from the wall outlet first. Remove the knobs from the control panel and then gain access to the underneath portion of it with your screwdriver and disconnect the switch. Remove the wires from the burner switch with a set of pliers and disconnect the securing screws holding the switch in place. Now, you can install the new switch and reassemble the panel, being mindful of wiring each connector to the appropriate wire.
Read less

$876.92
In Stock
Black Radiant Element Cartridge
Part #JEA8120ADBA
This black radiant element cartridge is a genuine replacement module designed for use with select cooktops and ranges. Featuring an Ultra Quick-Start radiant heating element beneath a sleek glass-ceramic surface, it delivers efficient and responsive heat for everyday cooking. The cartridge includes two burners, a main top, housing, and te...Read morerminal connections, and is designed to plug directly into compatible cooktop units. Measuring approximately 24 inches in length, 5.5 inches in width, and 14.5 inches in height, it fits a variety of models from Jenn-Air, KitchenAid, Maytag, Kenmore, and other Whirlpool-affiliated brands. Installation requires basic hand tools and novice repair experience. Always disconnect power before beginning any repairs. Sold individually.
Read less

No Longer Available

$413.46
In Stock
Radiant Smoothtop Cartridge Assembly
Part #A122BA
This cooktop burner module assembly is designed to replace two burners on compatible ranges, offering a reliable and efficient cooking solution. Housed in a sleek black frame, it contains the necessary heating elements for everyday use. Measuring approximately 24 inches long, 5.5 inches wide, and 14.5 inches high, it installs easily into ...Read moreyour existing cooktop setup. Ideal for restoring performance when burners are no longer functioning properly. Designer Line.
Read less

No Longer Available
Non-Stick Griddle for Electric Elements
Part #A302
Griddle for Jenn-Air Designer Line cooktops. Fits over electric grill elements to provide a quality, non-stick surface for pancakes, eggs, bacon and sausages. Heats food evenly, with holes for draining and capturing grease.
***May not be exactly as shown.

No Longer Available
Fan Switch Kit
Part #12001129
This down-draft fan switch kit comes with the switch itself and two metallic push nuts. At 125 volts,this switch will allow for 6 amps, and at 250 volts, this switch will allow for 250 volts. This switch runs at 1/4 horsepower.
Exact Part matches for your search term

No Longer Available
No Longer Available
No Longer Available
Common Symptoms of the 22310
How this model fails, and the parts that fix it.
Element will not heat
Fixed by
these parts
these parts


Show All
Door won’t close
Fixed by
these parts
these parts

Show All
Will Not Start
Fixed by
these parts
these parts


Show All
Touchpad does not respond
Fixed by
these parts
these parts

Show All
Oven is too hot
Fixed by
these parts
these parts
Show All
Watch our pros, then fix it yourself.
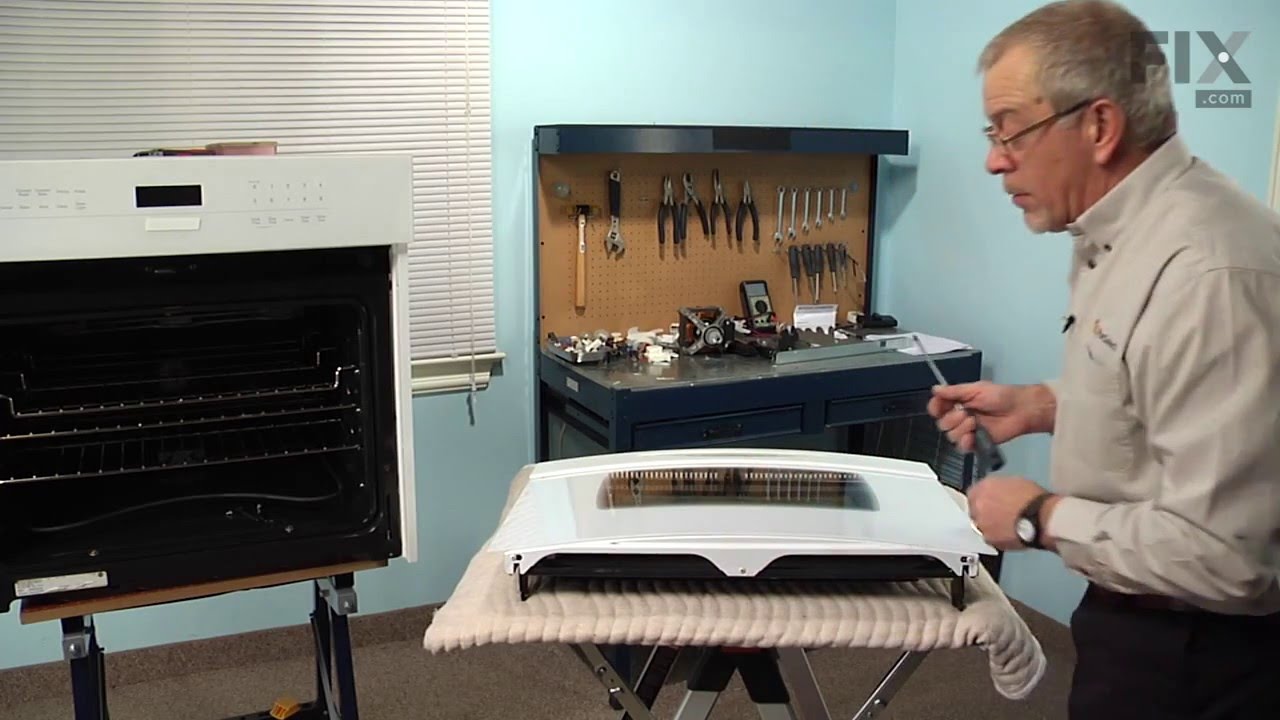
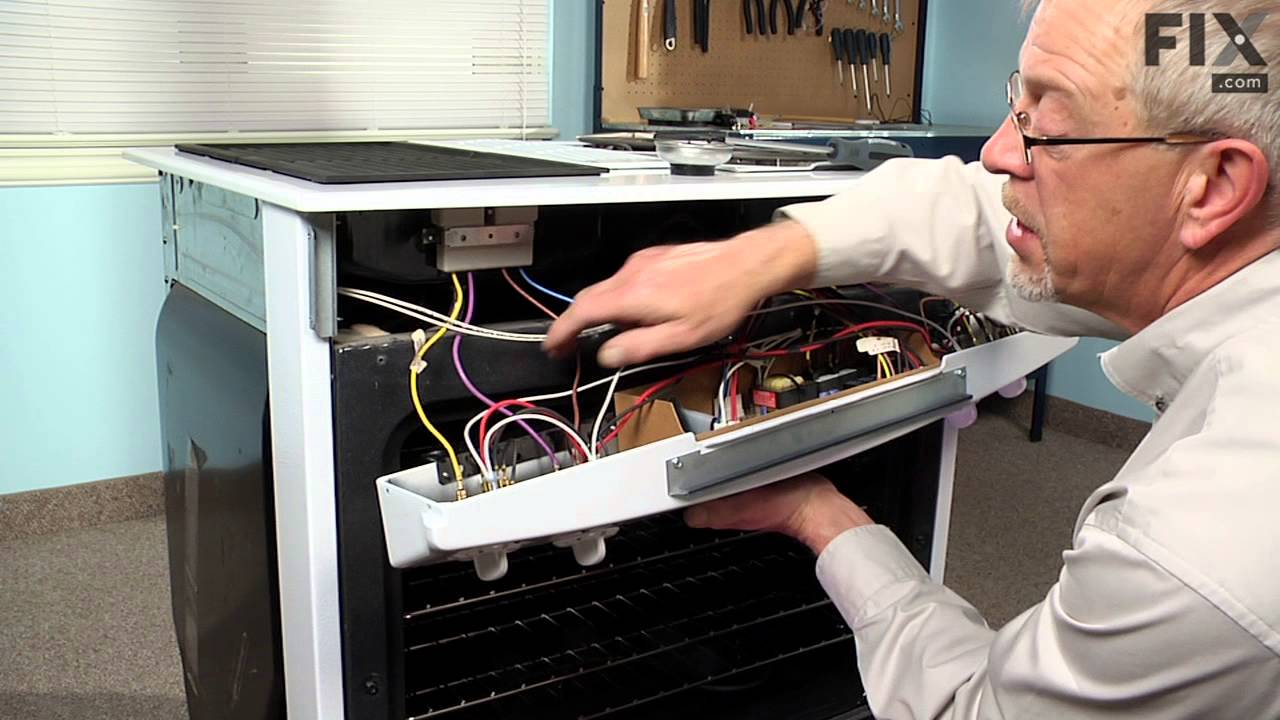
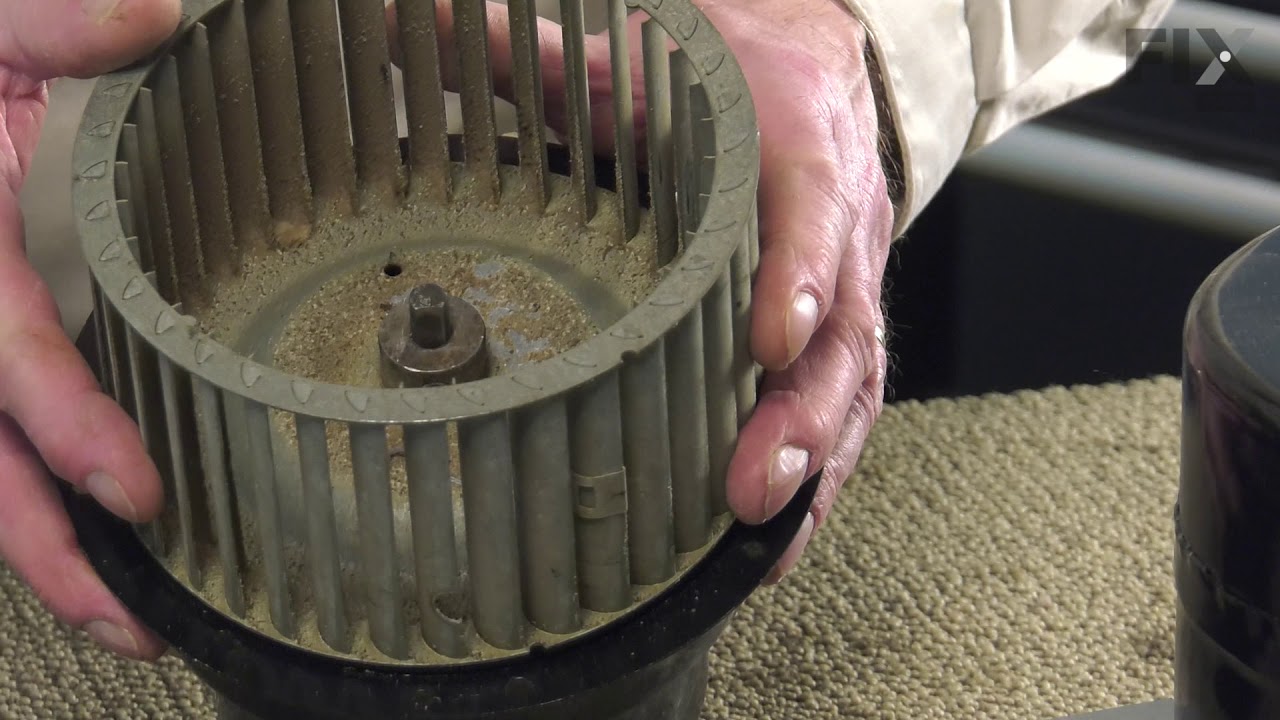
See how others fixed this model. Time, tools, difficulty, and steps that lead to victory!
View More