


 My Orders




2213809N710 Kenmore Dishwasher - Overview

Enter a part description. DIY Heroes keep it simple, eg. "belt" or "pump".
Search filter:
Clear Filter
Your search term must have 3 or more characters.

$9.62
In Stock
Dishwasher Rack Track Stop
Part #WP8565925
The rack track stop on your dishwasher is designed to stop the dish rack at the appropriate place when opening and closing the rack. If your dishwasher is not cleaning your dishes properly, the rack stop may need to be replaced. The replacement part may differ slightly from the broken part, depending on the model. However, the different s...Read moretyles are interchangeable. This product is sold individually and comes in both a white and grey plastic version. Many of our customers found this repair to be very easy and takes less than 30 minutes to complete. Simply snap the old part out and snap the new part into place. You will not require any tools to complete the job. This is an authentic part approved by the manufacturer.
Read less

$46.34
In Stock
Dishwasher Heating Element
Part #W10518394
This manufacturer-certified heating element is used to create heat during the dry cycle and increase water temperature during portions of the wash cycle when certain options are selected. If your dishes are not drying or the water in the dishwasher is not getting hot you may need to replace the element. This kit includes the heater, two h...Read moreeater fasteners, and is a genuine OEM part. Please remember to disconnect the power before starting the repair. Use a multi-meter to test your heating element for continuity to determine whether this is the part that is causing your symptom. This part does not include any washers. To make your repair, disconnect the wires from the bottom of the element in the back, remove the plastic nuts holding it in place, remove the element, and repeat these steps in reverse order to install your new part. This is an easy repair that requires only a screwdriver, wrench set, and should take less than 30 minutes.
Read less

$15.00
In Stock
Dishwasher Mounting Bracket
Part #WP8269145
The mounting bracket is sold individually, without screws. This part secures the upper side of the dishwasher to the underside of the counter or cabinet to prevent the dishwasher from moving, shaking, or tilting forward. The bracket is made entirely of metal. It is recommended to check all brackets, if applicable, because they often wear ...Read moreat the same rate and both may need to be replaced. This is an OEM part that is sourced from the authentic manufacturer. Tools needed are a pair of needle nose pliers and a screwdriver.
Read less

$9.62
In Stock
Dishwasher Friction Sleeve
Part #WP8268961
This part helps to keep your door quiet when it opens and closes.

$44.23
In Stock
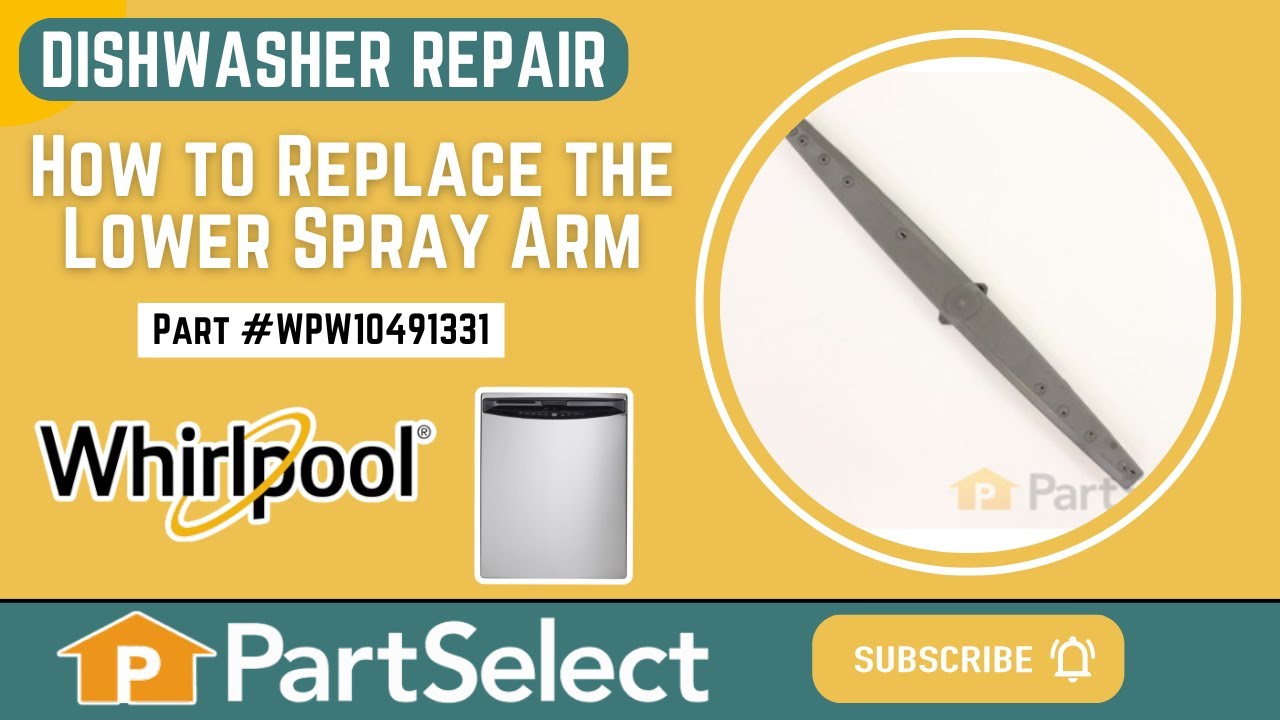
Dishwasher Lower Spray Arm
Part #WPW10491331
This is a lower spray arm for a dishwasher. The lower spray arm allows water to be spread evenly throughout the dishwasher tub with the proper force so dishes come out clean. This spray arm is gray in color and is about 20 inches long. You may need to replace this part if the water is not being distributed.

$54.24
In Stock
Dishwasher INLET VALVE
Part #W11175771
This water inlet valve should be located behind the lower kick plate panel in either the right or left corner. The attaching solenoids on the valve open and close according to the desired amount of water needed.

$48.45
In Stock
Dishwasher Filter
Part #W10872845
This dishwasher filter is a genuine OEM component designed to work with the water pump, preventing debris from entering and potentially damaging the pump system. Made with a gray plastic top and bottom, each approximately 5 inches in diameter, the filter plays a critical role in maintaining proper drainage and cleaning performance. Over t...Read moreime, the filter may become clogged or damaged, leading to poor cleaning results or drainage issues. Replacement is straightforward: turn the old filter counterclockwise to unlock and remove it, then screw in the new filter, ensuring it is securely seated. Regular inspection and replacement help maintain optimal dishwasher function.
Read less

$7.47
In Stock
Washer Hose Clamp
Part #WP596669
This hose clamp is used in a wide variety of household appliances. Most often it is found in washers, dishwashers, refrigerators, freezers, dehumidifiers, garbage disposals, or air conditioners. This clamp is used to securely attach a hose to another part of your appliance, which helps prevent leaks from those connections. Depending on th...Read moree appliance, it can attach hoses to drain pumps, water inlet valves, pressure switches, and injector nozzles. We recommend you refer to model-specific diagrams for appropriate uses and exact placement. This hose clamp is made of metal, and is sold individually. To access and replace this part you will need a nut driver, pliers, and screwdrivers. Before you begin any repair work, make sure you have unplugged your appliance, and shut off the water supply if applicable.
Read less

$29.47
In Stock
Dishwasher High Limit Thermostat
Part #WP661566
This part acts as as safety mechanism that keeps the dryer from overheating. Once the dryer temperature reaches a certain point, this part will shut down power to the heating element.

$43.18
In Stock
Middle Spray Arm
Part #WPW10498900
Enhance the efficiency of your Whirlpool dishwasher with this top-quality spray arm. This essential part rotates and sprays water effectively to clean the dishes inside the dishwasher tub, providing a thorough and comprehensive cleaning. Durably constructed, it stands up to regular use and ensures a lasting performance. Keep in mind, it's...Read more advised to wear work gloves in order to protect your hands while handling the repair. Invest in this Whirlpool spray arm for an unmatched cleanliness standard.
Read less

$27.36
In Stock
GASKET
Part #W11768590
This door gasket is a genuine OEM replacement part that is specially designed for your dishwasher. The gasket is located around the frame of the dishwasher. It is a rubber seal that helps prevent water from leaking out of the dishwasher during the wash cycle. It also helps to absorb the noise and vibrations created while the dishwasher is...Read more running. Over time the gasket may wear down, tear, or fall off due to exposure to heat and chemicals. If the gasket can no longer create a watertight seal, it is best to replace it promptly to keep your dishwasher running efficiently and to prevent potential accidents.
Read less

$6.40
In Stock
Dishwasher Retainer Clip
Part #WPW10503549
This part is used to hold the access panel in place. Sold individually.
Common Symptoms of the 2213809N710
How this model fails, and the parts that fix it.
Leaking
Fixed by
these parts
these parts


Show All
Not cleaning dishes properly
Fixed by
these parts
these parts


Show All
Not drying dishes properly
Fixed by
these parts
these parts


Show All
Not draining
Fixed by
these parts
these parts


Show All
Will not fill with water
Fixed by
these parts
these parts

Show All
Will Not Start
Fixed by
these parts
these parts
Show All
Door latch failure
Fixed by
these parts
these parts


Show All
Door won’t close
Fixed by
these parts
these parts
Show All
Noisy
Fixed by
these parts
these parts
Show All
Will not dispense detergent
Fixed by
these parts
these parts

Show All
Will not drain
Fixed by
these parts
these parts

Show All
Watch our pros, then fix it yourself.
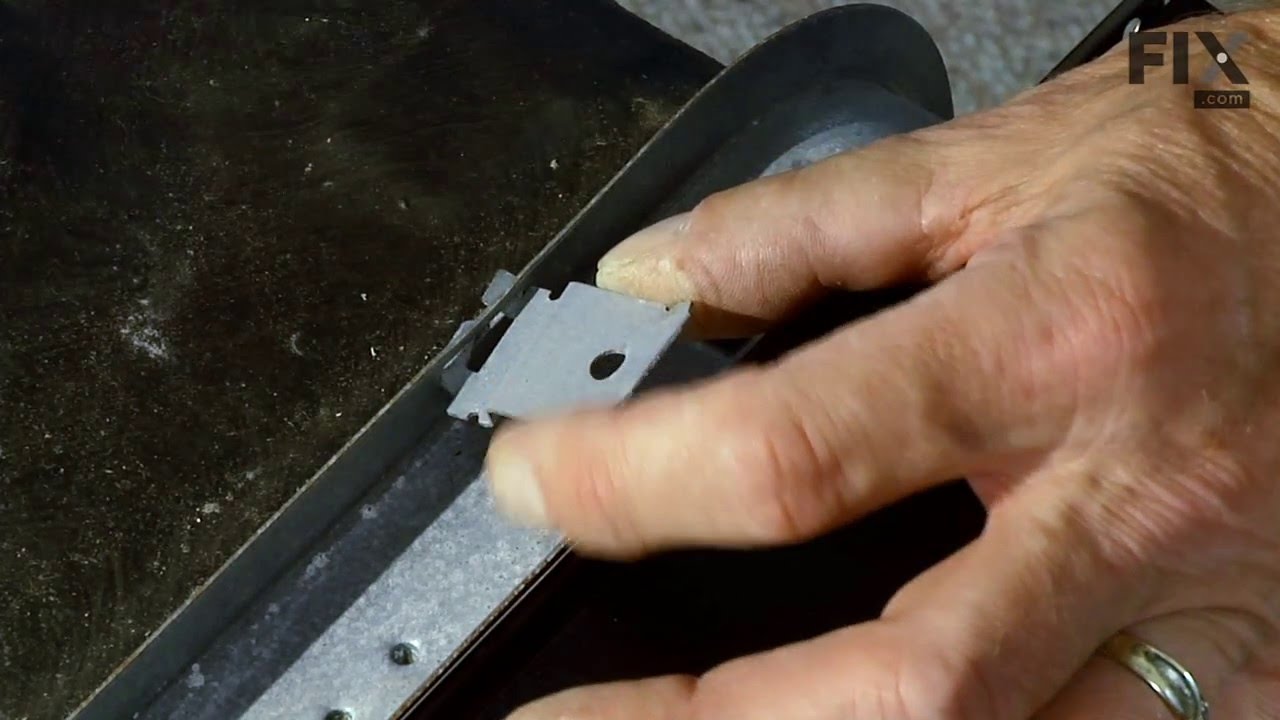
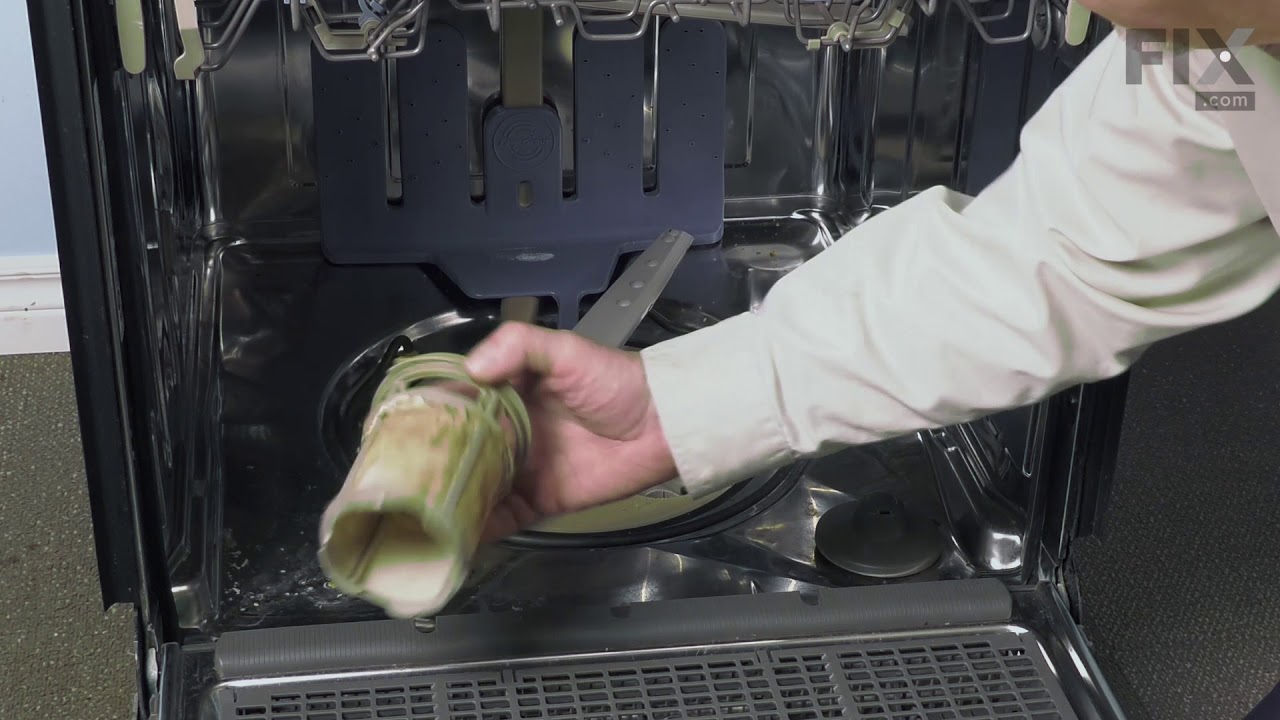
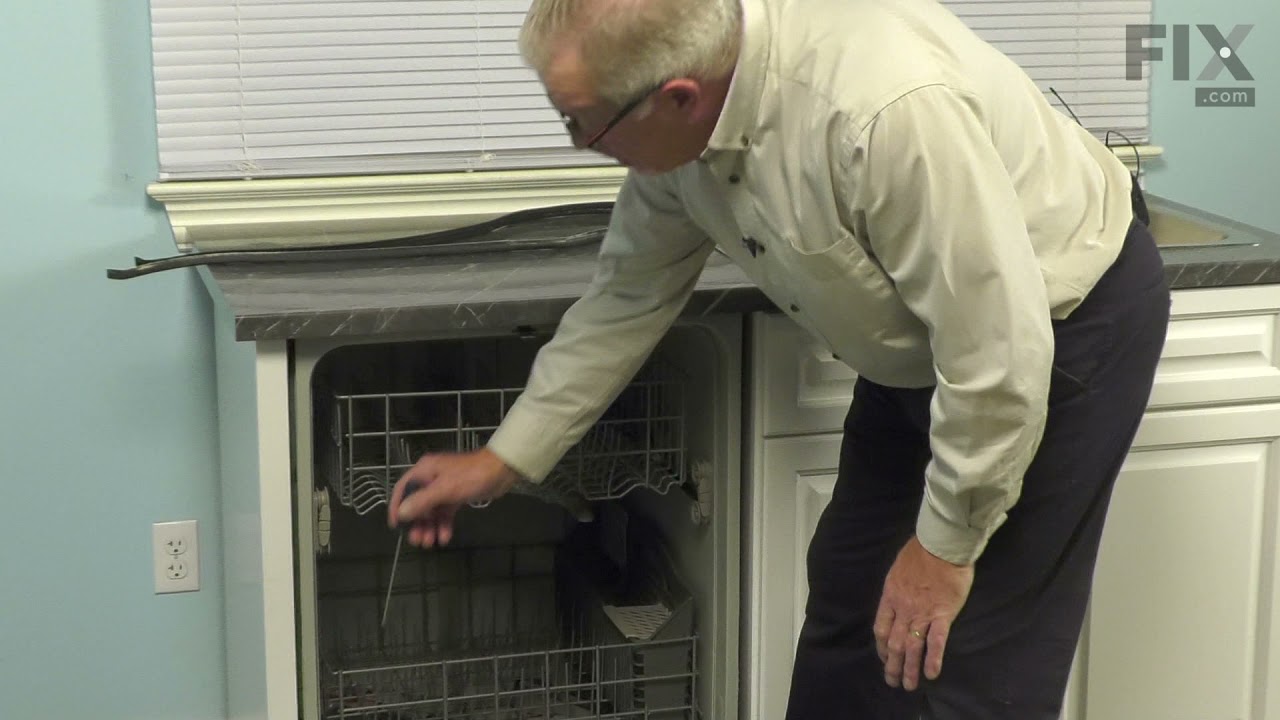


See how others fixed this model. Time, tools, difficulty, and steps that lead to victory!
View More
Search repair tips from other customers using simple keywords like "replace", "fit", "remove", "inspect". DIY doesn't mean you have to do it alone!
Search filter:
Clear Filter
Your search term must have 3 or more characters.
My filters had completely clogged up with hard deposits and food left on the dishes after running the dishwasher.
53 of 68 people
found this instruction helpful.
My filters had completely clogged up and had not cleaned my filters at all which was a no-no.I had lots of food left on the dishes after running my dishwasher, so I took bothp filters out and replaced them no tools required. I won’t be using powdered or liquid detergent for my dishwasher anymore only pods and promise to clean my filters
... Read more
once a month, so hopefully that’ll help keep them clean. Very easy replacement even for an old woman.
Read less
Other Parts Used:


Was this helpful?
Thank you for voting!