EasyApplianceParts is now PartSelect! We've merged our sites to provide a better shopping experience for you.   Full Details

Find Parts

Parts Departments

Top Model Types

Top Brands

Repair Help

Expert Repair Videos

Keep typing for more specific results...

22108 (1988) Kenmore Range - Overview

Diagrams for 22108

See every part. Know exactly what you need.

Enter a part description. DIY Heroes keep it simple, eg. "belt" or "pump".

Search filter:
Clear Filter
Your search term must have 3 or more characters.
Surface Element - 8 Inch - 2350W – Part Number: WB30M2
$58.42
In Stock
Surface Element - 8 Inch - 2350W
★★★★★
★★★★★
(19)
Part #WB30M2
The surface element, also known as the coil surface element, transfers heat to the area on top of range. The element is 8 inches in diameter. If your surface element does not heat, over heats, or heats inconsistently, replacing this part can be the solution to your issue. To determine whether the element is defective, use a multimeter to test it. Before installing the new element, make sure the drip bowl is properly aligned with the notch of the pan. Insert the new element into the reciprocal at a 40 degree angle. Refer to the instructions provided by the manufacturer for more guidance.
Surface Element - 6 Inch - 240V – Part Number: WB30M1
$51.61
In Stock
Surface Element - 6 Inch - 240V
★★★★★
★★★★★
(7)
Part #WB30M1
If you notice that your surface element will not heat properly, you may need to replace it. This surface element is 6 inches in diameter and 240V. It is a Y-frame surface burner element with five turns and a metallic center medallion. When completing this repair, if you notice any signs of corrosion or overheating on the terminal, you may want to consider replacing the terminal block as well as the surface element. Many of our customers have rated this repair as easy. To complete this repair, simply tilt the old element up and remove it, and then replace it with your new one.
Range Terminal Block – Part Number: WB17X5113
$37.91
In Stock
Range Terminal Block
★★★★★
★★★★★
(6)
Part #WB17X5113
This kit includes one ceramic block with 6" wire leads, 2 wire nuts and 2 heat shrink with mounting bracket.
Drip Bowl - 6" – Part Number: WB31X5010
No Longer Available
Drip Bowl - 6"
★★★★★
★★★★★
(5)
Part #WB31X5010
This six inch chrome drip bowl is intended for use with looped terminal style surface mount burner element units.
Drip Bowl - 8 Inch – Part Number: WB31X5011
$28.42
In Stock
COOKTOP AD – Part Number: WB62X1468
No Longer Available
COOKTOP AD
Part #WB62X1468
COOKTOP HA – Part Number: WB62X1467
No Longer Available
COOKTOP HA
Part #WB62X1467
BOX COOKTOP – Part Number: WB63X5203
No Longer Available
BOX COOKTOP
Part #WB63X5203

Exact Part matches for your search term

Fan – Part Number: 22108
No Longer Available
Fan
This part number matches the current model number 22108
Part #22108
Latch, Door (Door Storil – Part Number: 22108
$18.34
Special Order
Latch, Door (Door Storil
This part number matches the current model number 22108
Part #22108
Fan – Part Number: 22108
No Longer Available
Fan
This part number matches the current model number 22108
Part #22108
Rt. Side Plate 55/6500C3 – Part Number: 22108
No Longer Available
Rt. Side Plate 55/6500C3
This part number matches the current model number 22108
Part #22108

Common Symptoms of the 22108

How this model fails, and the parts that fix it.

Watch our pros, then fix it yourself.
See how others fixed this model. Time, tools, difficulty, and steps that lead to victory! View More

Search repair tips from other customers using simple keywords like "replace", "fit", "remove", "inspect". DIY doesn't mean you have to do it alone!

Search filter:
Clear Filter
Your search term must have 3 or more characters.
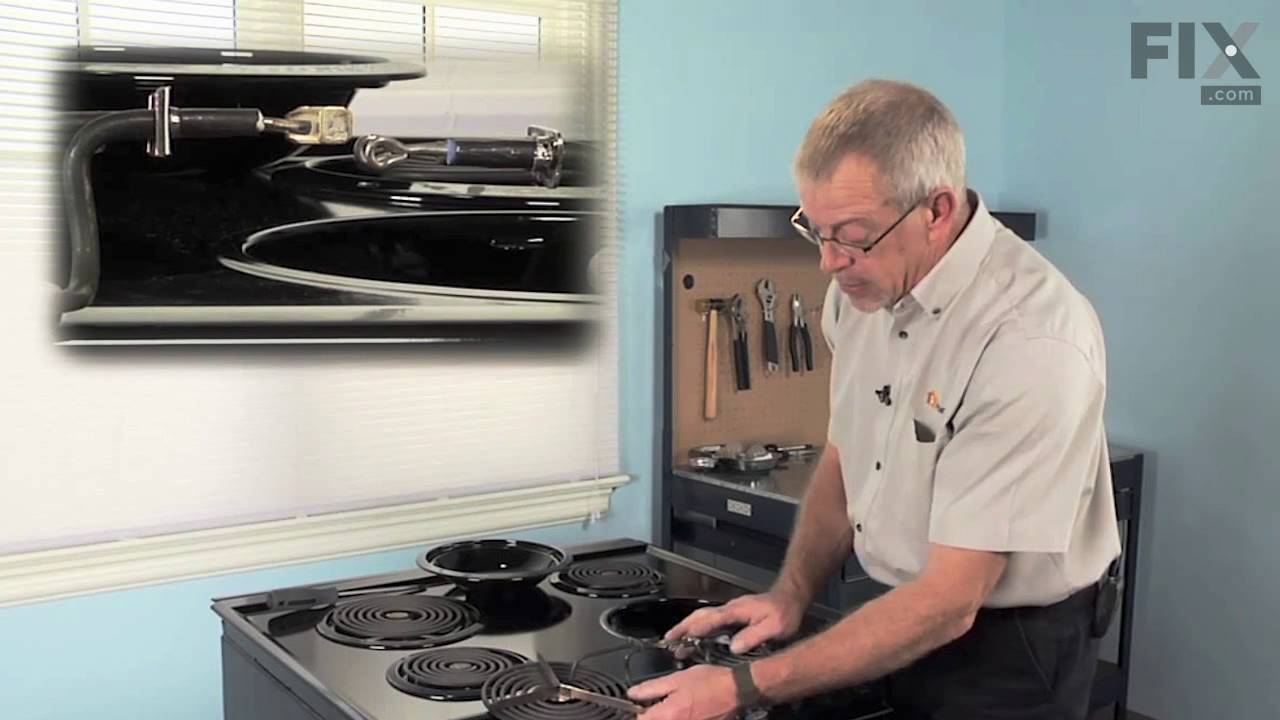
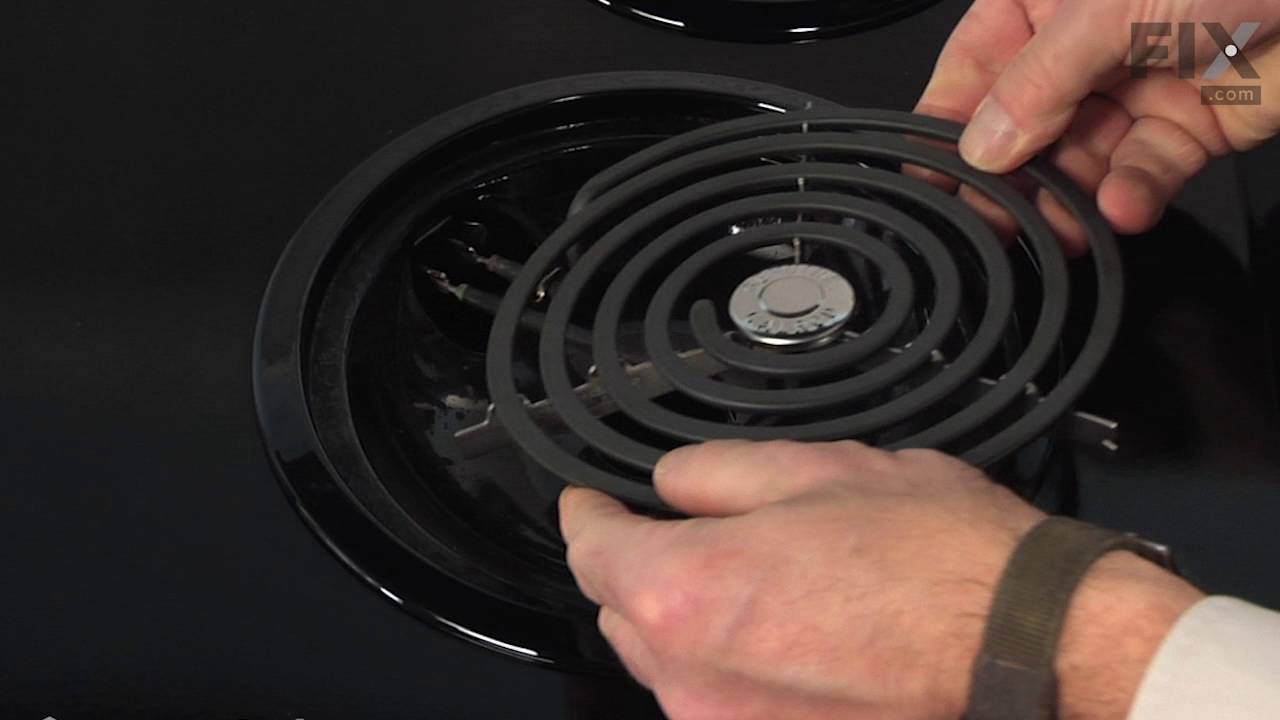
Replacement of Coils
35 of 42 people found this instruction helpful.
  • Joseph from South Plainfield, NJ
  • Really Easy
  • Less than 15 mins
Removed by slightly wiggling out of the coupling. No tools needed, seriously, (and I'm a contractor). Basically, pull out and snap back in.
Was this helpful?
Thank you for voting!
Heating element required continuous adjustments to work.
29 of 32 people found this instruction helpful.
  • Richard from Apex, NC
  • Really Easy
  • 30 - 60 mins
  • Pliers, Screw drivers
I removed old 8" surface element and terminal block. Some of old wiring had to be cut off because of harding/cracking of old wiring. Stove was 23 years old and this burner was the most frequently used one. I soldered the new and remaining old wires together. I used the shirnk wrap that came with the terminal block to cover the solder join t. I screwed the new terminal block (one screw holds it in place - used same screw from old terminal block that was removed). I finished by inserting the new surface element. Everything works fine. In the next week or two after we use it a while, I will check wiring again to make sure there are no changes. You need to be very careful as it gets very hot under the burner.
Was this helpful?
Thank you for voting!
I had 2 of the terminals where the burner coil plugs into completely fry
9 of 11 people found this instruction helpful.
  • PATRICK from WASHINGTON, DC
  • Easy
  • 15 - 30 mins
  • Screw drivers
First thing to do is to KILL THE POWER. The last thing you want is for two leads feeding power to a range coil burner "hot" when you are working on them. After power is off, I removed the coils and set them aside. The terminals had "fried" apparently from to much cooking with hot oils and having the "over splash" working its way down t o where the coils plug into the terminals and over time the oil getting in the terminals causes shorting / frying of the leads / contacts.

Anyway, after removing the heat coils I removed the drip pans and cleaned up the area underneath before working on terminals. I like a clean area when I work. I then unscrewed the "brackets" that house the terminals with a Phillips screwdriver and pulled out the assembly.

To completely remove the assembly I cut with a straight razor the existing heat shrink around the wire nuts (These two had been replaced once before. On first go around, I just cut the terminal assembly off and stripped the wire to attach the new terminals). Then I removed the wire nuts and the old assembly. After that I trimmed the wire to the correct length on the new terminal assembly and checked that the wire from the stove was in good shape. Upon confirming I had a good lead, I connected the new terminal leads to the stove leads and put the heat shrink over the connections. I used a lighter to "shrink" the heat shrink to the new connection (not having a proper heat shrink gun, which most of us don't have, the lighter works well as long as you are careful and do not let the lighter heat up to much. Let the lighter cool (esp. if a plastic disposable type or it will melt and ruin the lighter or burn your fingers).

After that I cleaned the area where the terminal block bracket connects to the stove (it gets a bit gunked up over time) before screwing in the new bracket / assembly in place with my screwdriver.

I gave the drip pans a good cleaning, adjusted the new terminal brackets so they were even / centered, cleaned once more the area under the drip pan and replaced the drip pans. The types of pans I have are one piece with a hole for the heat coil leads to go through.

Before placing the coils back in the terminals I took a strip of medium grade, 220 grit, sand paper (you could use steal wool or small wire brush) and cleaned the terminal leads (the steal end that plugs into the terminal only, careful not to damage the burner). This was needed as the leads had accumulated some residue from the same dynamics that caused the burning / melting of the terminal leads and terminal block. Once the leads were clean I fitted them into the place in the new terminal blocks and drip pan grooves.

Finally I turned back on the breaker to the stove and cranked on the burners to test out the connection and that everything was working A-OK.

Job done:-)
Was this helpful?
Thank you for voting!