


 My Orders




21246 (1988) Kenmore Range - Overview

Enter a part description. DIY Heroes keep it simple, eg. "belt" or "pump".
Search filter:
Clear Filter
Your search term must have 3 or more characters.

$19.54
In Stock
Light Bulb - 40W
Part #8009
This an authentic OEM 40-Watt replacement light bulb, used in a number of household appliances. It is specially designed to withstand extreme temperatures, which is why these replacement bulbs are most often used to light the inside of refrigerators and ranges. It features a standard socket base, which means you simply unscrew the burnt-o...Read moreut bulb and screw in the replacement. Depending on the appliance you may require a screwdriver or nut driver to access the light bulb. We recommend you wear work gloves while handling this replacement part. It is constructed of glass and metal and is sold individually. Depending on the appliance and location of the bulb within it, you may want to consider disconnecting power and using a flashlight for easier access to unscrewing and re-screwing in your bulb during this repair.
Read less

$21.45
In Stock
Screw
Part #W11233072
This is a multi-use and multi-appliance screw. It can be used on a microwave, refrigerator, range/oven, air conditioner, dehumidifier, washer, or dryer. The measurements of this screw are 8 x 1/2 inch. It has 6 threads. Refer to the manual provided by the manufacturer for further information on repair and accurate guidance. Remember to wear work gloves as a safety precaution.

$7.47
In Stock

$117.51
In Stock
Door Hinge
Part #WP74008014
The hinges control the rate that the oven door opens and closes, and allows the door to stay open at an angle. This hinge can be used on either the left or right hand side of your oven, and is approximately 20 1/2 inches long. If your oven door will not open or close easily, you may need to replace this part. It may be a good idea to repl...Read moreace both hinges at the same time. If a spring has become loose on one hinge, the other hinge is likely to have the same issue. The repair is simple and only requires a Phillips screwdriver and a small bent nail. For a full step-by-step guide, check out the video below.
Read less

$7.47
On Order
Range Screw
Part #WP179051
Sold individually. Lock washers are used with screws when vibration from an appliance may cause the screw to loosen. Lock washers are also used in the electrical components of an appliance to ensure an electrical connection is not lost.

$49.50
In Stock
2 Piece Broiler Pan
Part #4396923
This broiler pan and roasting rack set is designed to help reduce mess while cooking by allowing grease to drain away from food. Its durable porcelain-coated construction stands up to high temperatures and makes cleanup simple. With approximate dimensions of 16 3/4 inches long, 12 3/4 inches wide, and 1 3/4 inches high, it offers a convenient size for everyday broiling and roasting.

$51.61
In Stock
Thermostat Knob
Part #WPY703499
This thermostat knob is two inches in diameter. It is a black knob with white numbering indicating the temperature inside the oven as well as the 'off' and 'clean' positions. There is also some chrome present on this knob. This thermostat knob is used for some self-cleaning ovens.

$97.14
In Stock
Bake Element
Part #WPY04100020
This lower bake element provides heat from the bottom of your electric oven, ensuring even cooking and baking. Made from a durable metal coil, it heats up as electricity flows through it. Located at the base of the oven cavity, it’s easy to replace and helps restore proper oven function when heating issues arise.

No Longer Available
Clock Knob
Part #WP7711P466-60
This clock knob is just under an inch long. It is black in color and is made of plastic. There is a chrome disc of decoration on its top.

No Longer Available
Upper Selector Knob
Part #WP703502
This upper selector knob is two inches in diameter. It is primarily black with white lettering denoting the many different functions of the oven: bake, convection, broil, off, and clean. Its center is chrome. This knob is used for some self-cleaning ranges.

No Longer Available

$7.47
In Stock
Exact Part matches for your search term

No Longer Available
No Longer Available
No Longer Available
No Longer Available
No Longer Available
Common Symptoms of the 21246
How this model fails, and the parts that fix it.
Door won’t close
Fixed by
these parts
these parts


Show All
Little to no heat when baking
Fixed by
these parts
these parts

Show All
Element will not heat
Fixed by
these parts
these parts
Show All
Oven not heating evenly
Fixed by
these parts
these parts
Show All
Little to no heat when broiling
Fixed by
these parts
these parts

Show All
Watch our pros, then fix it yourself.

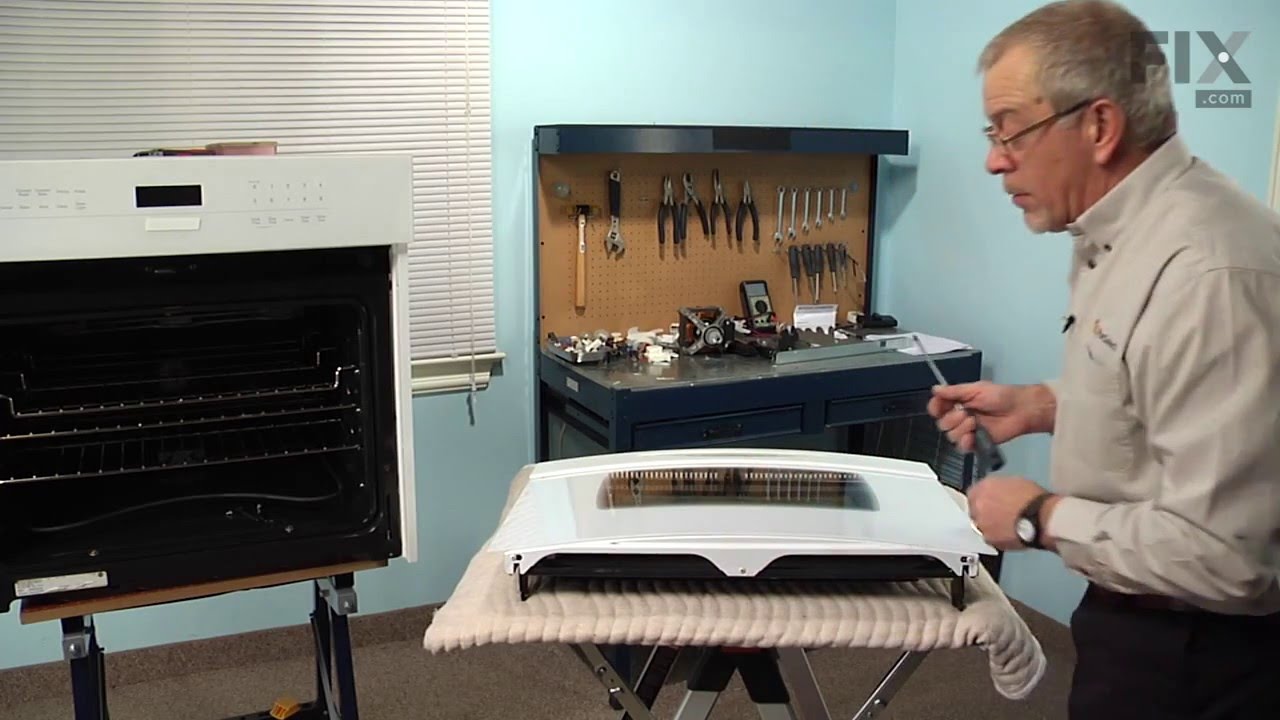

See how others fixed this model. Time, tools, difficulty, and steps that lead to victory!
View More