



 My Orders




20236 Jenn-Air Range - Overview
Diagrams for 20236
See every part. Know exactly what you need.


Enter a part description. DIY Heroes keep it simple, eg. "belt" or "pump".
Search filter:
Clear Filter
Your search term must have 3 or more characters.

$19.54
In Stock
Light Bulb - 40W
Part #8009
This an authentic OEM 40-Watt replacement light bulb, used in a number of household appliances. It is specially designed to withstand extreme temperatures, which is why these replacement bulbs are most often used to light the inside of refrigerators and ranges. It features a standard socket base, which means you simply unscrew the burnt-o...Read moreut bulb and screw in the replacement. Depending on the appliance you may require a screwdriver or nut driver to access the light bulb. We recommend you wear work gloves while handling this replacement part. It is constructed of glass and metal and is sold individually. Depending on the appliance and location of the bulb within it, you may want to consider disconnecting power and using a flashlight for easier access to unscrewing and re-screwing in your bulb during this repair.
Read less

$25.75
In Stock
Grease Filter
Part #WP71002111
This filter is made of metal and is intended for use with ranges and cooktops. Grease filters are an important but often neglected part of ranges. If the filter is full, your extractor fan will become noisier, and cause a bad odor to come from your range. Neglecting the grease filter can also pose a fire hazard in your kitchen. Regular ma...Read moreintenance and cleaning of the grease filter is important and will make the part work more efficiently and last longer. It takes about 30 seconds to replace your grease filter. While replacing the filter, take a minute to check for a grease buildup underneath, and clean out any drip-through grease. As per the manufacturer, if this filter is 1/2" less wide than the original, it will still function the same.
Read less

$21.45
In Stock
Screw
Part #W11233072
This is a multi-use and multi-appliance screw. It can be used on a microwave, refrigerator, range/oven, air conditioner, dehumidifier, washer, or dryer. The measurements of this screw are 8 x 1/2 inch. It has 6 threads. Refer to the manual provided by the manufacturer for further information on repair and accurate guidance. Remember to wear work gloves as a safety precaution.

$7.47
In Stock

$117.51
In Stock
Door Hinge
Part #WP74008014
The hinges control the rate that the oven door opens and closes, and allows the door to stay open at an angle. This hinge can be used on either the left or right hand side of your oven, and is approximately 20 1/2 inches long. If your oven door will not open or close easily, you may need to replace this part. It may be a good idea to repl...Read moreace both hinges at the same time. If a spring has become loose on one hinge, the other hinge is likely to have the same issue. The repair is simple and only requires a Phillips screwdriver and a small bent nail. For a full step-by-step guide, check out the video below.
Read less

$78.26
In Stock
Surface Burner Switch - 240V
Part #W11120791
This surface burner switch, also known as an infinite switch, controls and regulates the heat output of the burners on a stovetop. The user simply adjusts the knob on the user interface panel, which in turn controls this switch. Made for various ranges, wall ovens and cooktops, this is a genuine OEM part that comes by itself, without any ...Read morehardware like screws or nuts. This burner switch is an electrical component that you also handle directly, so it can become faulty leading to problems like your stovetop not heating enough, overheating or staying at a fixed heat. This burner switch is a vital component for your stovetop and if it presents any of those issues, it needs to be replaced immediately. A screwdriver, set of pliers and wiring diagram will be needed for the replacement and installation process, and you will need to remove your appliance from the wall outlet first. Remove the knobs from the control panel and then gain access to the underneath portion of it with your screwdriver and disconnect the switch. Remove the wires from the burner switch with a set of pliers and disconnect the securing screws holding the switch in place. Now, you can install the new switch and reassemble the panel, being mindful of wiring each connector to the appropriate wire.
Read less

$7.47
On Order
Range Screw
Part #WP179051
Sold individually. Lock washers are used with screws when vibration from an appliance may cause the screw to loosen. Lock washers are also used in the electrical components of an appliance to ensure an electrical connection is not lost.

$91.06
In Stock
Bake Element (16 Inch long x 19 Inch wide)
Part #WPY04100019
This electric oven bake element with screw in wire terminals is 19 inches wide. It has a terminal depth of three inches and a total element length of nineteen inches. This element is intended for use with some electric ovens.

$49.50
In Stock
2 Piece Broiler Pan
Part #4396923
This broiler pan and roasting rack set is designed to help reduce mess while cooking by allowing grease to drain away from food. Its durable porcelain-coated construction stands up to high temperatures and makes cleanup simple. With approximate dimensions of 16 3/4 inches long, 12 3/4 inches wide, and 1 3/4 inches high, it offers a convenient size for everyday broiling and roasting.

$12.85
In Stock
Cartridge Male Contact Spade
Part #Y708572
This cartridge assembly male contact spade is made of metal. These are sold individually, though each range uses four contact spades.

$49.50
Special Order

No Longer Available
Oven Rack
Part #Y704660
This is an oven rack for various models of ranges and ovens and is sold individually. This oven rack allows you to lay different kitchen items on it to cook or bake within your range, and over time these racks can become discolored, stained and even damaged. Since there are normally multiple racks within your oven and this rack is sold as...Read more an individual, it is ideal to replace all of the racks at the same time to ensure a similar condition to each rack simultaneously. Measuring approximately 15.75-inches long and 21-inches wide, this oven rack is made of high-quality metal and can replace a bent or broken oven rack by simply sliding the old rack out, and sliding the new rack in.
Read less
Exact Part matches for your search term

$174.41
Special Order

$26.95
Special Order
Common Symptoms of the 20236
How this model fails, and the parts that fix it.
Element will not heat
Fixed by
these parts
these parts


Show All
Little to no heat when baking
Fixed by
these parts
these parts


Show All
Door won’t close
Fixed by
these parts
these parts


Show All
Will Not Start
Fixed by
these parts
these parts


Show All
Oven not heating evenly
Fixed by
these parts
these parts
Show All
Touchpad does not respond
Fixed by
these parts
these parts


Show All
Oven is too hot
Fixed by
these parts
these parts
Show All
Little to no heat when broiling
Fixed by
these parts
these parts

Show All
Watch our pros, then fix it yourself.

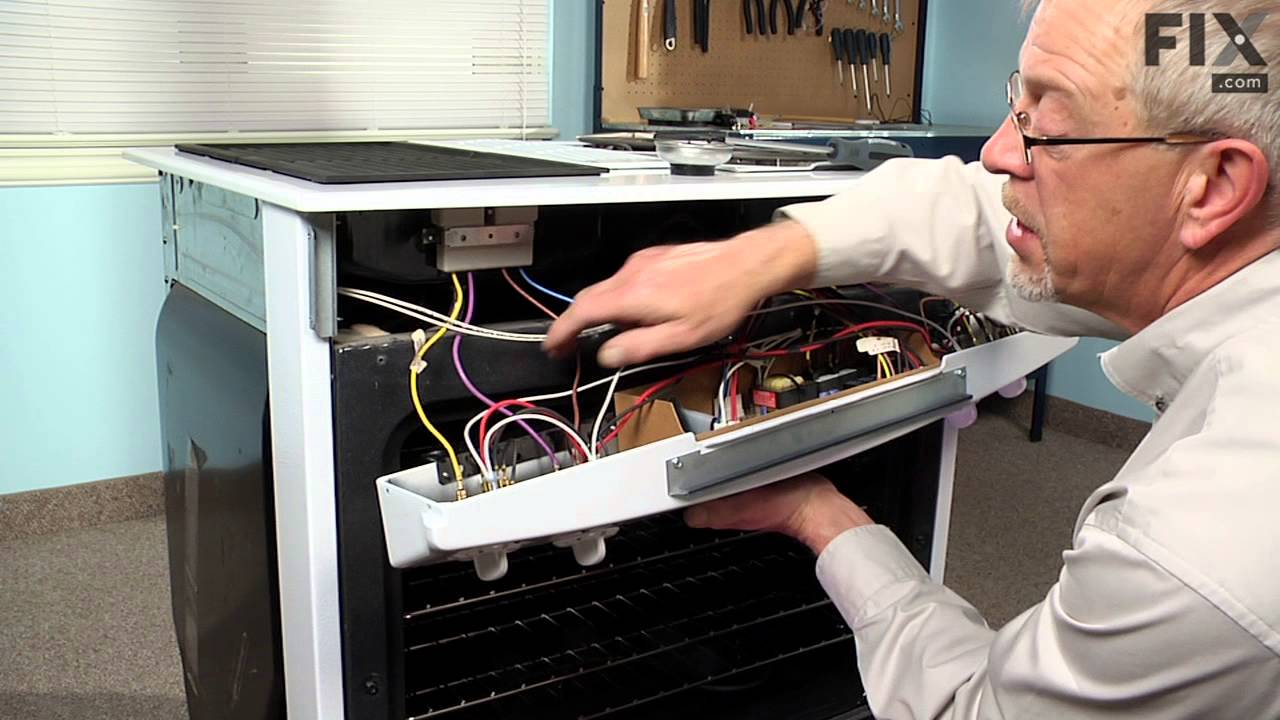


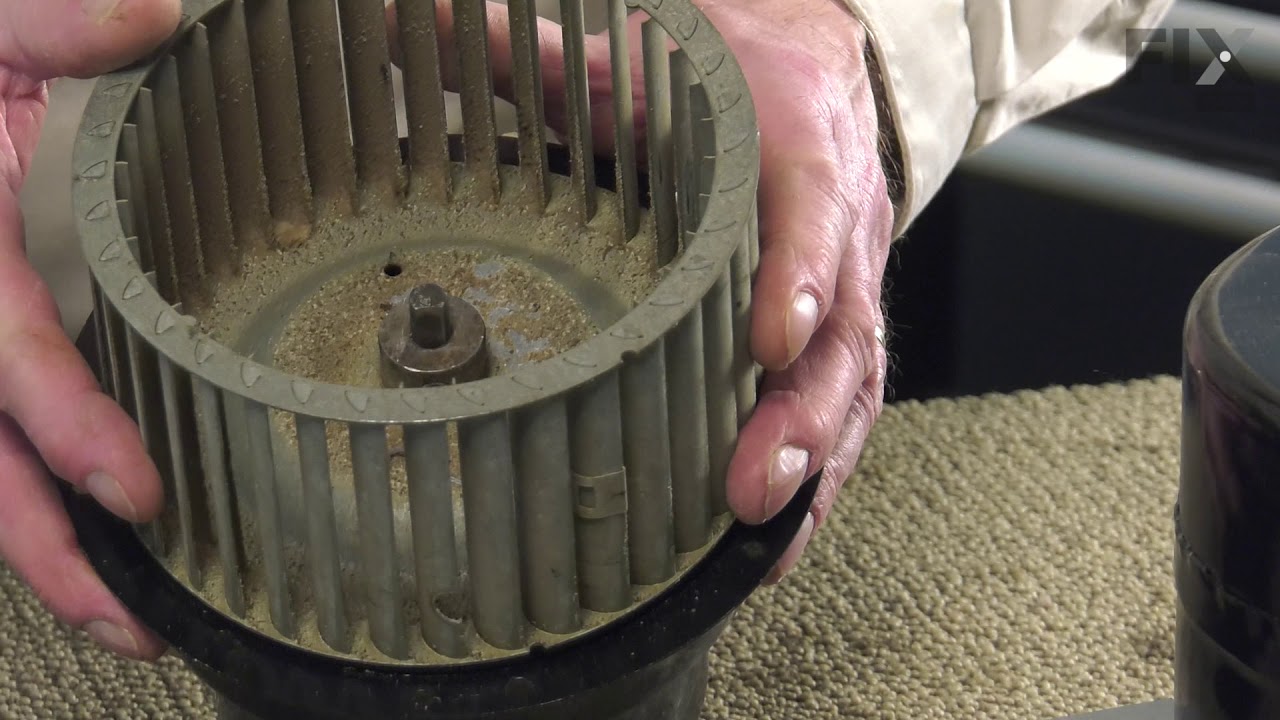
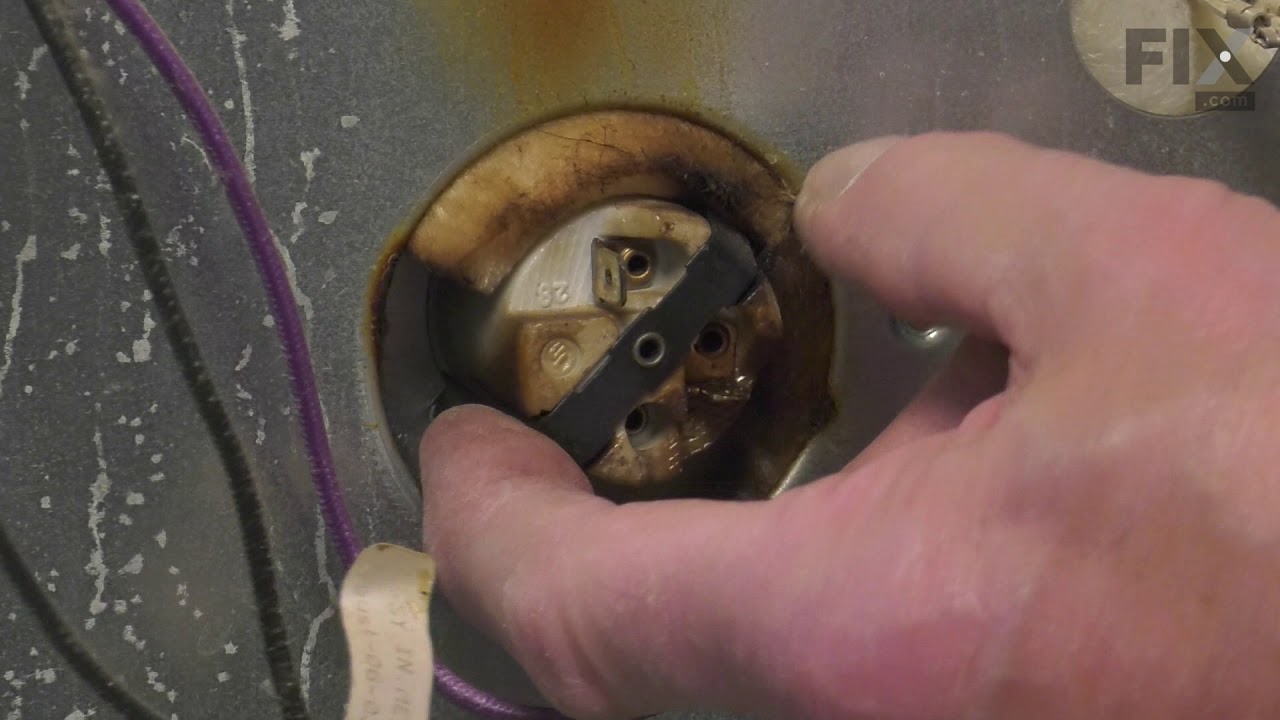
See how others fixed this model. Time, tools, difficulty, and steps that lead to victory!
View More
Search repair tips from other customers using simple keywords like "replace", "fit", "remove", "inspect". DIY doesn't mean you have to do it alone!
Search filter:
Clear Filter
Your search term must have 3 or more characters.
Blower motor died and I needed to replace it
377 of 384 people
found this instruction helpful.
Most of the repair was obvious as I took the blower apart before ordering the parts. Unfortunately the new motor was significantly larger than the original motor so I had to um. Adjust the position of some of the other parts to fit it in. There was a sheet metal flange that was installed on the other side of the blower from the motor whi
... Read more
ch was designed to focus the air flow into the blower. I used a hammer to ajust the angle of flange so it no longer extended as far into the blower housing.
It works just fine although its a bit louder than the old motor was.
It works just fine although its a bit louder than the old motor was.
Read less
Other Parts Used:


Was this helpful?
Thank you for voting!