


 My Orders




20212 (1988) Kenmore Range - Overview

Enter a part description. DIY Heroes keep it simple, eg. "belt" or "pump".
Search filter:
Clear Filter
Your search term must have 3 or more characters.

$19.54
In Stock
Light Bulb - 40W
Part #8009
This an authentic OEM 40-Watt replacement light bulb, used in a number of household appliances. It is specially designed to withstand extreme temperatures, which is why these replacement bulbs are most often used to light the inside of refrigerators and ranges. It features a standard socket base, which means you simply unscrew the burnt-o...Read moreut bulb and screw in the replacement. Depending on the appliance you may require a screwdriver or nut driver to access the light bulb. We recommend you wear work gloves while handling this replacement part. It is constructed of glass and metal and is sold individually. Depending on the appliance and location of the bulb within it, you may want to consider disconnecting power and using a flashlight for easier access to unscrewing and re-screwing in your bulb during this repair.
Read less

$52.67
In Stock
Bake Element - 220V 2300W
Part #WB44X5082
This bake element goes in the bottom of your range and is 220 volts and 2300 watts. This closed hinged style element with screw-in terminals measures at 15-1/4 inches long and 18-1/4 inches wide. The bottom bake element provides heat for baking. Tools you will need for this repair include pliers, screwdrivers, and an adjustable wrench. Be...Read morefore you begin this installation, remember to shut off the house circuit breaker or unplug your range. For safety purposes we also recommend wearing work gloves.
Read less

$21.45
In Stock
Drip Bowl - 6 Inch
Part #WB32X10012
This six inch chrome drip bowl is intended for use with tilt lock style surface mount burner element units.

$10.70
In Stock
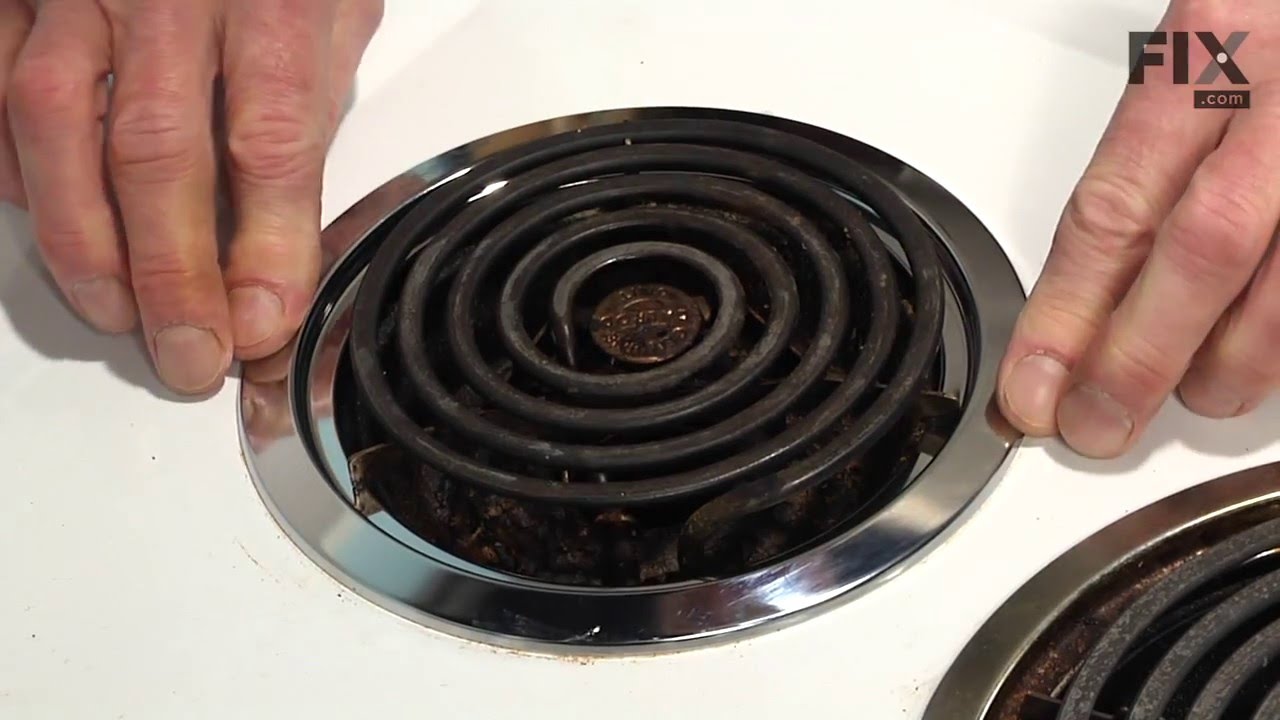
Trim Ring - 6 Inch
Part #WB31X5013
This 6 inch high rise burner trim ring is intended for use with detached style low rise tilt lock surface mount burners on ranges.

$17.15
In Stock
Trim Ring - 8 Inch
Part #WB31X5014
This 8 inch high rise burner trim ring is intended for use with detached style low rise tilt lock surface mount burners on ranges.

$28.42
In Stock
Drip Bowl - 8 Inch
Part #WB32X10013
This eight inch chrome drip bowl is intended for use with with tilt lock style surface mount burner element units.

$53.20
In Stock
Range Infinite Heat Switch Kit
Part #WB21X36771
The infinite switch controls the stove top surface burner. This switch will work with most of the electrical range models with coil burner elements.

$36.85
In Stock
Timer Knobs - Kit of 3
Part #WB3X5699
This set of 3 clock timer knobs let you set and change the settings on your range clock. These genuine OEM knobs are made of black plastic and measure approximately 1-inch long.

$58.04
In Stock
Tilt Lock Hinge Mounted Surface Element - 6"
Part #WB30X359
This tilt lock hinge mounted surface element kit includes a 6 inch, two wire, 1350 watt surface element, and a terminal block with all three-wire units. These high rise elements do not come with an attached trim ring.

$47.40
In Stock
Surface Element Switch
Part #W10900107
A surface element switch, also known as a burner/infinite switch, is a device used to control and regulate the heat output of the burners on a stovetop or cooktop. This switch is controlled with a knob on the user interface of the cooktop or stovetop and is adjustable by the user. This burner switch is compatible with various ranges and c...Read moreooktops and is a genuine OEM part that is sold with all of the necessary hardware to secure it, such as the Philips-head and flat-head screws, brackets, bolts, washers, palnuts (also known as a push-on nut) and terminals. Over time, this switch can wear out or become faulty, leading to heating issues for your stovetop and cooktop, such as not heating, overheating, or staying at the same heat level. Depending on the orientation of your cooktop, you will need to install this switch with or without the bracket and palnut, so reference your user manual for that information when replacing this switch. You will need a screwdriver and set of pliers during the replacement and installation process, and simply need to follow the instruction manual included with this switch to correctly replace and rewire it.
Read less

$16.47
In Stock
RECEPTACLE PUSH-IN
Part #WB08T10026
This part is the replacement light socket for your oven. The oven light socket provides power to the light, and at the same time holds the light bulb in place.

$26.39
In Stock
Light Cover
Part #WB36X192
This light bulb lens covers the interior light bulb in an oven, range, or stove. No tools are necessary to replace this part. Simply slide off the wire bracket to remove the existing light bulb lens. Disconnect power to your appliance before this repair. It is recommended to check the light bulb while the lens cover is removed in case it ...Read moreneeds to be replaced. Be sure to remove all broken glass, if applicable, before installing new lens. This part is sourced directly from the genuine manufacturer, and is sold individually.
Read less
Exact Part matches for your search term

$8.55
Special Order
No Longer Available
$2.99
Special Order
Common Symptoms of the 20212
How this model fails, and the parts that fix it.
Little to no heat when baking
Fixed by
these parts
these parts

Show All
Element will not heat
Fixed by
these parts
these parts


Show All
Oven not heating evenly
Fixed by
these parts
these parts
Show All
Little to no heat when broiling
Fixed by
these parts
these parts

Show All
Oven is too hot
Fixed by
these parts
these parts
Show All
Will Not Start
Fixed by
these parts
these parts

Show All
Timer will not advance
Fixed by
these parts
these parts

Show All
Watch our pros, then fix it yourself.

See how others fixed this model. Time, tools, difficulty, and steps that lead to victory!
View More