EasyApplianceParts is now PartSelect! We've merged our sites to provide a better shopping experience for you.   Full Details

Find Parts

Parts Departments

Top Model Types

Top Brands

Repair Help

Expert Repair Videos

Keep typing for more specific results...

19985 (1988) Kenmore Dishwasher - Overview

Diagrams for 19985

See every part. Know exactly what you need.

Enter a part description. DIY Heroes keep it simple, eg. "belt" or "pump".

Search filter:
Clear Filter
Your search term must have 3 or more characters.
Dryer Screw – Part Number: WP90767
$7.47
In Stock
Dryer Screw
★★★★★
★★★★★
(2)
Part #WP90767
This screw is sold individually.
Dishwasher Detergent Lid Spring – Part Number: WP8066018
$7.47
In Stock
Dishwasher Detergent Lid Spring
★★★★★
★★★★★
(14)
Part #WP8066018
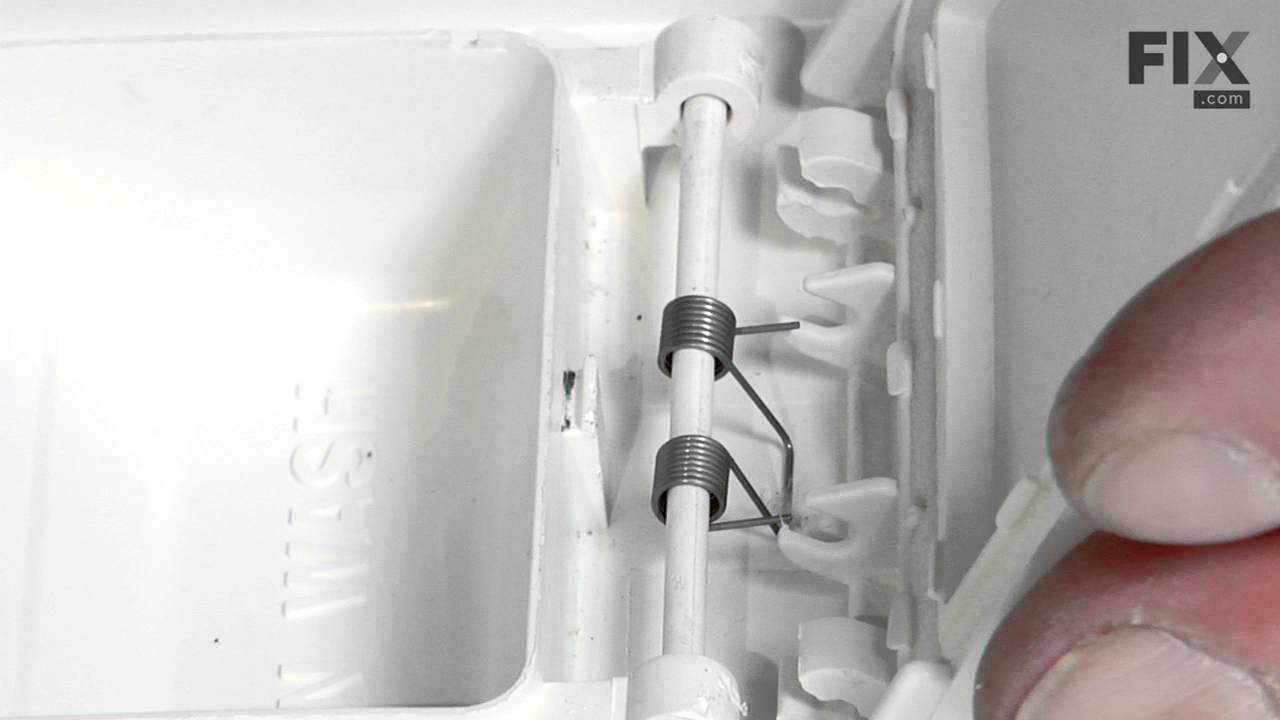
The dishwasher lid spring helps open the dispenser cover in the soap box when the control releases the latch. If your dishwasher does not dispense detergent, is broken and worn out, or the door is not opening properly, replacing the dispenser spring could be the solution. For this replacement you will need needle nose pliers. First, release the cover on the detergent dispenser, then remove the cover from the shaft it hinges on. Pull the shaft from one side and remove the spring from the shaft. Next, replace with the new spring and engage the two open hooks into the soap cover. Finally, grasp the hook and pull it over tab on the side of the wash cup. Verify that it works properly by opening and closing the cap. Refer to the manual provided by the manufacturer for further instructions.
Washer Hose Clamp – Part Number: WP596669
$7.47
In Stock
Washer Hose Clamp
★★★★★
★★★★★
(1)
Part #WP596669
This hose clamp is used in a wide variety of household appliances. Most often it is found in washers, dishwashers, refrigerators, freezers, dehumidifiers, garbage disposals, or air conditioners. This clamp is used to securely attach a hose to another part of your appliance, which helps prevent leaks from those connections. Depending on the appliance, it can attach hoses to drain pumps, water inlet valves, pressure switches, and injector nozzles. We recommend you refer to model-specific diagrams for appropriate uses and exact placement. This hose clamp is made of metal, and is sold individually. To access and replace this part you will need a nut driver, pliers, and screwdrivers. Before you begin any repair work, make sure you have unplugged your appliance, and shut off the water supply if applicable.
Dishwasher Door Spring Assembly w/Adjusting Hook – Part Number: 675611
$53.54
Special Order
Dishwasher Door Spring Assembly w/Adjusting Hook
★★★★★
★★★★★
(7)
Part #675611
This kit includes spring, retainer and protective tip. It is recommended to replace both springs at the same time.
Air Conditioner Cover Screw – Part Number: WP308685
$7.47
In Stock
Air Conditioner Cover Screw
Part #WP308685
Sold individually.
Tandem Rack Rollers - Set of 4 – Part Number: 4317933
$29.47
In Stock
Tandem Rack Rollers - Set of 4
★★★★★
★★★★★
(16)
Part #4317933
Each tandem roller holds two wheels. There are four sets of tandem rollers in this roller kit, so you will be getting eight wheels in all. They are all white, and are meant for use on the lower rack of your dishwasher.
Touch-Up Paint - White – Part Number: 72017
$24.15
In Stock
Touch-Up Paint - White
★★★★★
★★★★★
(7)
Part #72017
This touch-up paint can be used on a wide variety of household appliances. It is most often used on washers, dryer, refrigerators, dishwashers, ranges, freezers, trash compactors, or microwaves. It is an 18 ml, or.6 fluid ounces, bottle of touch-up paint. It also features a brush for easy application. This quick-drying, long-lasting paint is perfect for fixing any nicks, scratches, or chips on the exterior of your appliance. This paint is white in color, and provides a durable finish.
Screw - 8-18 x 1/2 – Part Number: WP302868
$7.47
In Stock
Detergent Dispenser Cover Kit – Part Number: 4387043
$35.80
On Order
Detergent Dispenser Cover Kit
★★★★★
★★★★★
(9)
Part #4387043
This kit also includes the lid hinge pin, spring, snap and latch.
Screw – Part Number: WP488729
$7.47
In Stock
Screw
★★★★★
★★★★★
(1)
Part #WP488729
Metallic screw that is less than an inch long. Does not include the plastic washer.
Lower Dishrack Kit – Part Number: W10311986
$188.90
In Stock
Lower Dishrack Kit
★★★★★
★★★★★
(15)
Part #W10311986
The lower rack provides easy loading with flexibility for small and large items, and helps hold the dishes in place during the wash and dry cycle. The rack measures approximately 22-inch x 21-inch. The rack is light gray in color with wheels included, lower fold down, and a flexrow retainer. This is a genuine OEM part.
Dishwasher Screw 818 X 5/8 – Part Number: WP9741232
$7.47
In Stock

Common Symptoms of the 19985

How this model fails, and the parts that fix it.

Watch our pros, then fix it yourself.
See how others fixed this model. Time, tools, difficulty, and steps that lead to victory! View More

Search repair tips from other customers using simple keywords like "replace", "fit", "remove", "inspect". DIY doesn't mean you have to do it alone!

Search filter:
Clear Filter
Your search term must have 3 or more characters.
Dishwasher Not Draining
163 of 214 people found this instruction helpful.
  • Lewis from Portsmouth, NH
  • Really Easy
  • 30 - 60 mins
  • Pliers, Screw drivers
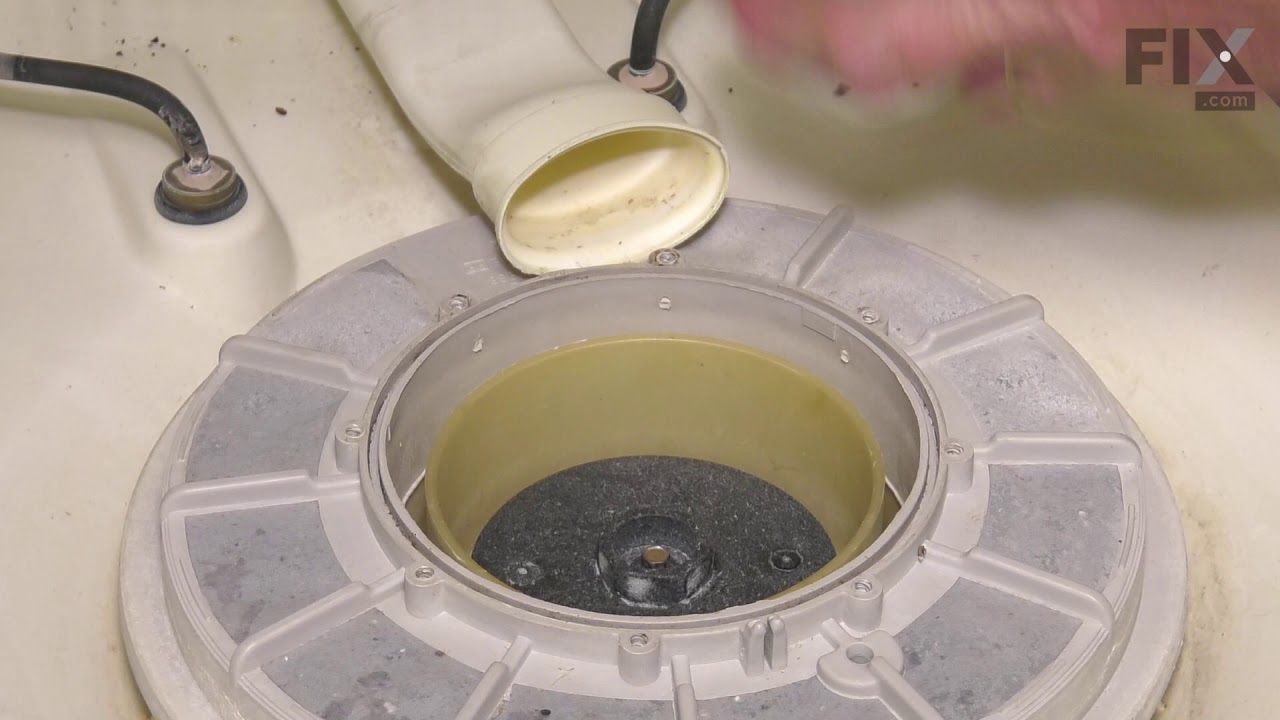
Ordered both drain & wash impeller kit and the drain check valve with o-ring. Decided to test the cheaper drain check valve first. Pulled dishwasher out from wall & adjacent cabinetry; removed drain hose from disposer and drained as much water as possible; "jacked" side of dishwasher to gain access to drain hose and drain check valve; us ed pliers to remove hose clamp; placed flat pan underneath to catch remaining water drainage; unscrewed drain check valve; tested under bathroom faucet--determined faulty; replaced with the new one, restored connections, reset dishwasher in proper location; voila--fixed! Plan to return the unneeded impeller kit.
Was this helpful?
Thank you for voting!
One of the door springs broke. These add a coutner balance to the door so it is easier to open and close
24 of 29 people found this instruction helpful.
  • Ruthann from Auburn, WA
  • Really Easy
  • Less than 15 mins
  • Nutdriver, Screw drivers
I have a Kenmore model that can either be totally installed under counter, left on casters or in my case installed permanently with the 'portable' covers still on. A model that is only for installation in a cabinet may be different.
Open door part way and flex the plastic hinge 'pins' on the kick plate out of the door itself. Once t hese are out you can close the door and lay the kick plate down towards you. This will expose a spring that is attached to pins on either side of the kick plate and held in place by a rubber cap. Remove the cap, pull the loop of the spring off the pin, and repeat for the other side. At this point you can remove the kick plate and set aside out of the way.
There is a second plate behind the kick plate held in place by four screws. Remove the screws with a Phillips head screw driver or a 1/4 inch wrench or socket, then remove the plate and set aside.
Now you have exposed the frame rails that somewhat hide the springs, one on each side. If you are lucky, like I was, only one is broken so you can use the other as a guide. Also the installation drawings that came with the part were very helpful. The information supplied by Kenmore in the parts list was no help at all.
Follow the 'assembly' found in the kit to assemble the 3 parts of the spring. A this time you may want to open the door halfway then close it and reopen a couple of times and observe how the tail of the door hinge moves, this will show you where the spring is attached. The spring is mostly hidden behind the frame rails but the two connection points are visible with the help of a flashlight. If one of the springs in still connected, observe the two connection points, one on the tail of the door hinge (top of spring) and the other in a series of slots in the frame rail.
With the door closed, hold the spring assembly in one hand (easier said than done) and hook the top of the assembly over the hook on the door hinge. Let it hang down in place and slip the lower part of the assembly into one of the slots. Again if one of the springs is still in place just use the same location as before. If both springs are missing, use one of th slots in the middle.
Only one of my springs were broken but I installed new ones on both sides as cheap insurance against doing this again in a few months.
Step by step appears a bit complicated but the whole thing only took about 10 minutes.
Good luck.
Was this helpful?
Thank you for voting!
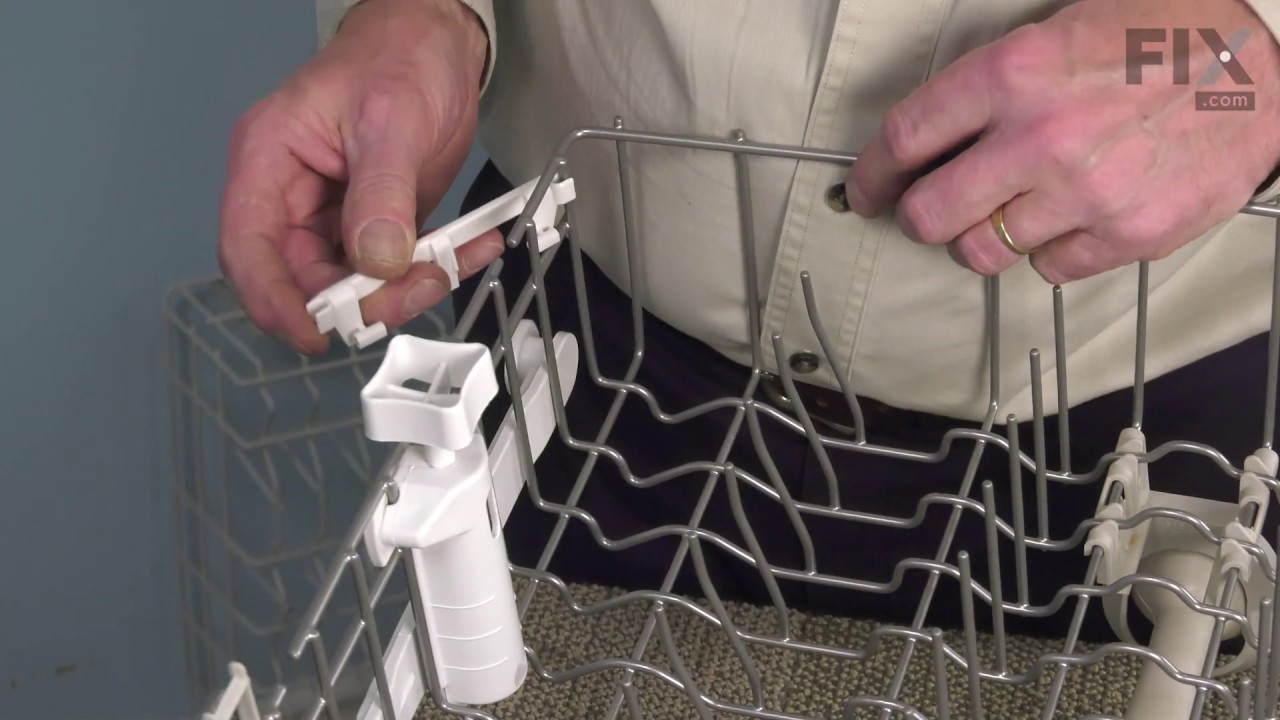
One of the 4 latches that holds the spray arm to the top rack broke and fell off.
19 of 26 people found this instruction helpful.
  • Mickey from Novato, CA
  • Easy
  • Less than 15 mins
  • Screw drivers
It just snaps back in but it was a very tight fit and took two people to force it in. Plus I had no instructions and hadn't seen it before it broke so it took a little time to figure out where it was supposed to go. The arm doesn't connected to anything except the rack. I guess water just shoots up into it from below.
Was this helpful?
Thank you for voting!