


 My Orders




1960 - Overview
Models starting with 1960
Click on the best match to narrow your results.
- 1960 Bissell Carpet Cleaner (Upright Deep Cleaner)
- 1960 Weed Eater Leaf Blower / Vacuum (Blower)
- 1960-0 Briggs and Stratton Generator (1960-0 - Proclassic 3500)
- 1960-3 Bissell Carpet Cleaner (Upright Deep Cleaner)
- 19604 Maytag Refrigerator (REFRIGERATOR)
- 1960BVL-09 Cleco Angle Grinder (Inline Grinder)
- 1960W Bissell Carpet Cleaner (Upright Deep Cleaner)
Enter a part description. DIY Heroes keep it simple, eg. "belt" or "pump".
Search filter:
Clear Filter
Your search term must have 3 or more characters.

$95.17
In Stock
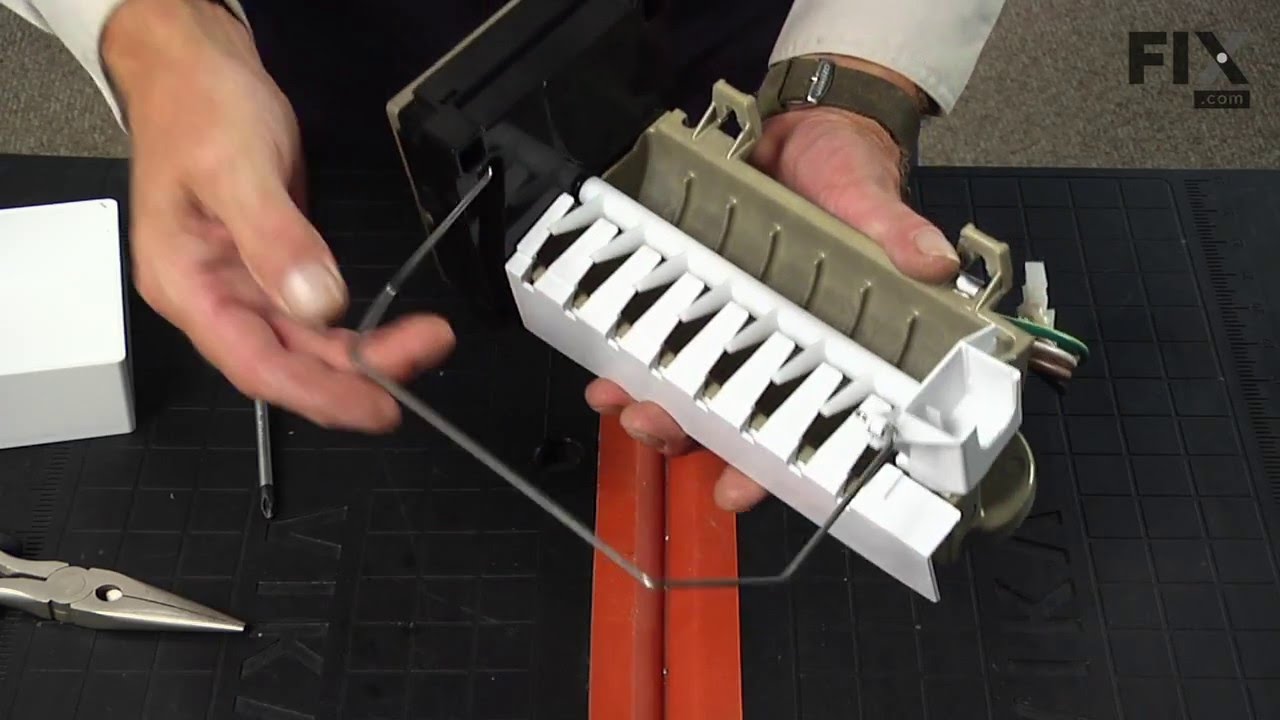
Replacement Ice Maker
Part #D7824706Q
This ice maker (Ice Maker Assembly, Refrigerator Ice Maker) produces ice cubes that are ejected into the storage bucket. It is located in the freezer section of your appliance, mounted on the freezer wall. The ice maker can break from normal wear and accidental damage. If this happens, your refrigerator may no longer make ice cubes, or ma...Read morey not make enough cubes, and the part should be replaced. This model measures approximately 11 inches long and 5 inches wide. It’s constructed of plastic and metal, and comes in black/white/silver. This assembly includes the ice mold and the control device.
Read less

$12.20
In Stock

$21.45
In Stock
Screw
Part #W11233072
This is a multi-use and multi-appliance screw. It can be used on a microwave, refrigerator, range/oven, air conditioner, dehumidifier, washer, or dryer. The measurements of this screw are 8 x 1/2 inch. It has 6 threads. Refer to the manual provided by the manufacturer for further information on repair and accurate guidance. Remember to wear work gloves as a safety precaution.

$35.80
In Stock
Refrigerator Water Fill Cup & Bearing
Part #WP628356
This refrigerator ice maker fill cup dispenses the water into the ice cube mold during the fill cycle. Replacing the water fill cup is a possible solution if you notice that the ice maker is leaking, or not making/dispensing ice. If you notice the fill cup has been damaged or cracked; replace the part straight away. This water fill cup is...Read more a genuine OEM part and will fit most refrigerators, but check the list of compatible brands to make sure yours is included before purchasing.
Read less

$47.40
In Stock
Single Outlet Water Valve Kit
Part #4318047
This part is a solenoid-operated switch located at the bottom of the refrigerator. When the water inlet valve is turned on, water is released from the supply line through the water valve and into the compact icemaker mold. The kit includes the mounting hardware and bracket plastic tubing fittings. The retaining nut must be cut off the pla...Read morestic water line and gently pushed into the new valve. To remove, press down on the ring that the tube slides into. Refer to the installation instructions for further guidance. Please note: the manufacturer has redesigned this part and it can appear different than the original. It has a new quick connection.
Read less

$12.81
In Stock
Fuel Line (25" Length)
Part #530069247
This 25-inch fuel line carries fuel from the tank to the carburetor, ensuring proper engine operation. Made from durable clear plastic, it is designed to withstand regular use but may become clogged or brittle over time. Replacing a worn or damaged line can help prevent leaks and restore reliable starting and performance.

$9.62
In Stock
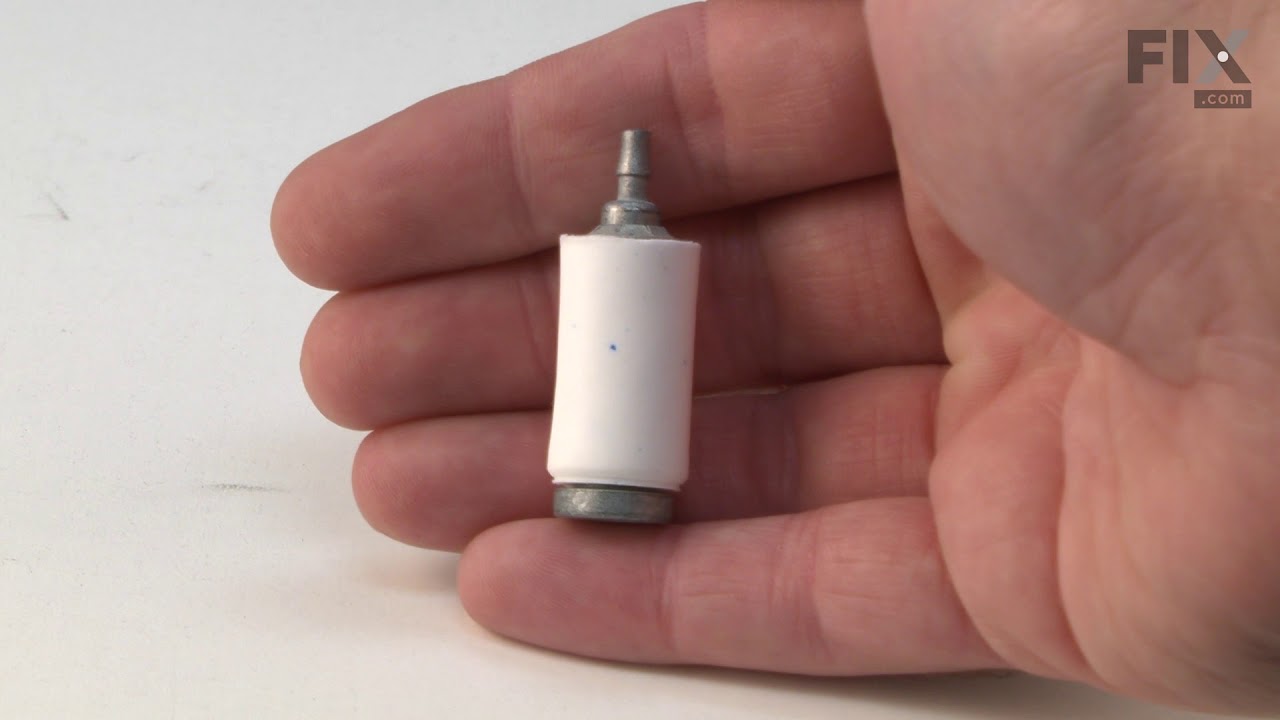
Engine Fuel Filter
Part #530095646
This Genuine OEM fuel filter is designed to maintain the performance and longevity of your equipment by preventing dirt and debris from entering the carburetor. Located inside the fuel tank, this essential component ensures clean fuel delivery, protecting the engine from potential damage caused by contaminants. Sold individually, the filt...Read moreer is built to meet original equipment standards for fit and function. Over time, the filter may become clogged, restricting fuel flow and making engine starts more difficult. For optimal performance, it should be replaced—not cleaned—at the first sign of blockage or wear.
Read less

$60.51
In Stock
Cycling thermostat
Part #WP627985
The ice maker thermostat, also known as the cycling thermostat, controls and regulates the ice maker ejection cycle by monitoring the temperature inside the freezer to determine when to release the ice into the bin and start the ice making cycle again. If your ice maker is making unusual noises, or if the ice maker is not making or dispen...Read moresing ice, there could be an issue with the thermostat. Before you begin this repair, make sure the power is disconnected from your refrigerator, and that any food that may spoil is safely stored. This is an OEM part and is sourced directly from the manufacturer. This thermostat is sold individually, and comes with two attachment clips.
Read less

$11.77
In Stock
Refrigerator Compression Nut
Part #WP627018
The compression nut is used as a connection between the water supply line and other components in your refrigerator such as your ice maker and your water dispenser. Tools required for this repair include a pair of pliers and a socket set. Before installing this part you should take all perishable foods out of your refrigerator and store t...Read morehem somewhere cool, unplug the refrigerator from the power source, and shut off the water supply. This repair may require you to wear work gloves to protect your hands, and is considered an easy do-it-yourself fix.
Read less

$7.47
In Stock

$76.03
In Stock
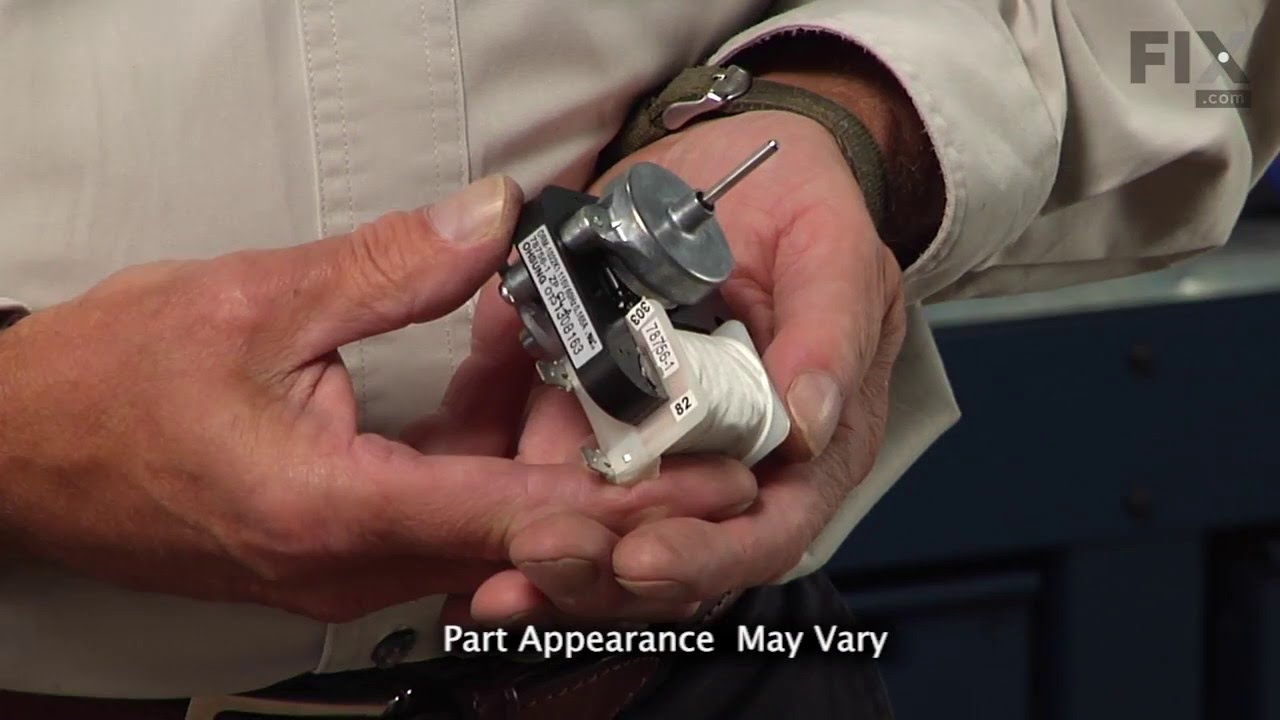
Evaporator Fan Motor - 115V 60Hz - Blade NOT Included
Part #WP61004888
This is an evaporator fan motor for a refrigerator. The fan motor circulates air through the refrigerator to the fresh food compartment for efficient cooling. It is just over three inches long. It is made of both metal and plastic, and is made up of black, white, and metallic pieces. Disconnect power from your refrigerator before starting...Read more the repair because you will be working near electrical circuits. This is an authentic replacement part that is sourced directly from the original manufacturer. It is important to note that the blade is sold separately and is not included with the evaporator fan motor.
Read less

No Longer Available
Exact Part matches for your search term

No Longer Available
No Longer Available
No Longer Available
No Longer Available
Tongs, traditional, hardwood handle
This part number matches the current model number 1960
Part #1960
No Longer Available
Common Symptoms of models starting with 1960
How this model fails, and the parts that fix it.
Ice maker not making ice
Fixed by
these parts
these parts


Show All
Leaking
Fixed by
these parts
these parts

Show All
Ice maker won’t dispense ice
Fixed by
these parts
these parts

Show All
Will Not Start
Fixed by
these parts
these parts


Show All
Ice maker dispenses too much ice
Fixed by
these parts
these parts
Show All
Noisy
Fixed by
these parts
these parts

Show All
Fridge too warm
Fixed by
these parts
these parts
Show All
Engine stops after a few seconds or minutes
Fixed by
these parts
these parts
Show All
Ice maker dispenses too little ice
Fixed by
these parts
these parts
Show All
Won’t start
Fixed by
these parts
these parts
Show All
Freezer section too warm
Fixed by
these parts
these parts
Show All
Watch our pros, then fix it yourself.

")

See how others fixed this model. Time, tools, difficulty, and steps that lead to victory!
View More