



 My Orders




180SB Weed Eater Leaf Blower / Vacuum - Overview

Enter a part description. DIY Heroes keep it simple, eg. "belt" or "pump".
Search filter:
Clear Filter
Your search term must have 3 or more characters.

$12.81
In Stock
Fuel Line (25" Length)
Part #530069247
This 25-inch fuel line carries fuel from the tank to the carburetor, ensuring proper engine operation. Made from durable clear plastic, it is designed to withstand regular use but may become clogged or brittle over time. Replacing a worn or damaged line can help prevent leaks and restore reliable starting and performance.

$9.62
In Stock
Engine Fuel Filter
Part #530095646
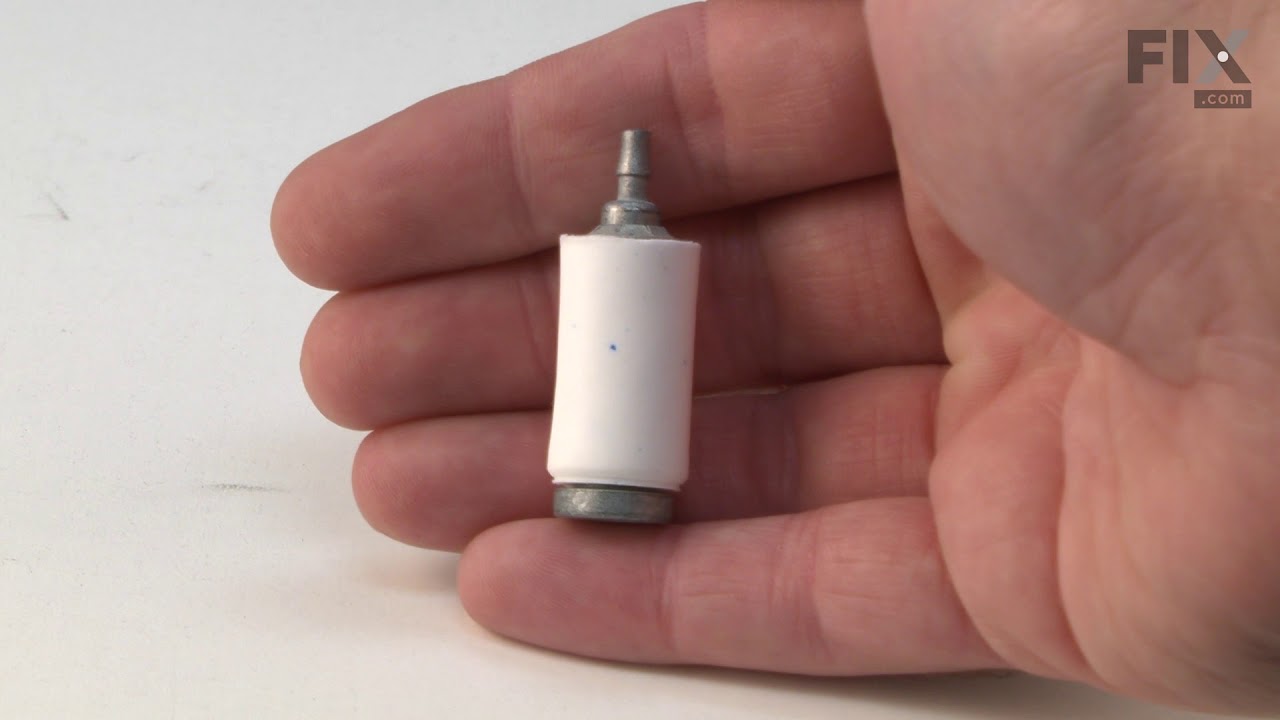
This Genuine OEM fuel filter is designed to maintain the performance and longevity of your equipment by preventing dirt and debris from entering the carburetor. Located inside the fuel tank, this essential component ensures clean fuel delivery, protecting the engine from potential damage caused by contaminants. Sold individually, the filt...Read moreer is built to meet original equipment standards for fit and function. Over time, the filter may become clogged, restricting fuel flow and making engine starts more difficult. For optimal performance, it should be replaced—not cleaned—at the first sign of blockage or wear.
Read less

$12.05
In Stock
Fuel Cap
Part #530014347
The Fuel Cap with retainer, often simply known just as the fuel cap, keeps fuel from splashing out of your tank and debris from entering it. Black in color, it is sold individually and made of plastic.
Because of everyday fatigue and wear, the cap can become damaged over time and must be replaced. You will know if it is time to replace ...Read moreyour fuel cap if you notice visible damage or experience fuel leaking from it. You can make this repair by hand, just attach the cap directly back onto the fuel tank.
Most of our customers found this repair very easy.
Read less

$7.65
In Stock
Rope Kit
Part #530069232
The chainsaw starter rope is a three-foot-long white rope that is approved by the original equipment manufacturer, and which wraps around the recoil pulley and is pulled to start the engine. Installation is rated as "Easy" by customers and requires a screw driver, pliers, and torx screwdriver. If the rope breaks it should be replaced. Ref...Read moreer to your make, model and diagram to ensure this rope is right for your machine.
Read less

$5.95
In Stock
Screw Catcher
Part #530015814
This is a standard hardware which has multiple applications based on your tool. It is sourced from original equipment manufacturer for use with a variety of power equipment. Please refer to diagrams for proper application. This screw is made out of metal and it is sold individually. Requires a hex key or an allen wrench to install or remove it.

$6.72
In Stock
Screw-6-19x9/32 Pan/Sem
Part #530016080
This genuine replacement screw is a high-quality OEM part designed for use with Paramount and Poulan gas-powered lawn and garden equipment. It is specifically engineered to secure the starter rope within the pulley, ensuring reliable starting performance.
Made from durable metal, this specialty screw is sold individually.
Installation...Read more Tip: A flat-head screwdriver is required for removal and installation.
For proper placement and application, please refer to your equipment’s model diagram.
Read less

$6.95
In Stock
Starter Handle
Part #530027569
This is an authentic part that is specially manufactured for use with Craftsman handheld lawn and garden equipment. The starter grip attaches to the rope to provide a user with a comfortable grip to pull start the engine. Check the owners manual and the appropriate diagram of your model for the correct application of this part. This high-quality component is made of durable plastic and is sold individually.

$12.05
In Stock
Stop Switch
Part #530069572
This red and black OEM switch is an important component of your handheld lawn and garden equipment, allowing you to easily turn it on or off. The specific location of the switch can vary depending on the model and make of your machine, so it is advisable to consult your user manual for guidance. As the switch is used over time, it can wea...Read morer out and potentially fail. If the switch is broken, you will not be able to start your machine, and you must replace it immediately. To remove the switch, you will require either a screwdriver or needle-nose pliers. If the switch housing is secured with fasteners, unscrew them first. Then carefully pry the switch out of its housing and disconnect the attached wires. Please note that this switch is sold individually.
Read less

$6.72
In Stock
Screw 1/4-20x7/8
Part #530015771
It is a genuine OEM sourced replacement screw that is specially produced for use with handheld lawn and garden equipment. This screw is a standard hardware which has multiple applications depending on your unit, for please refer to the appropriate diagrams for the correct location and use of this part. It is a high-quality hex socket head screw which is sold individually.

$6.72
In Stock
Screw 8-16 x 9/16 (Plas
Part #530015775
It is a genuine OEM sourced replacement screw that is specially produced for use with the handheld lawn and garden equipment. This screw is a standard hardware which has multiple applications depending on your unit, for correct location and uses make sure to check appropriate diagrams of your model. This hex socket head screw is made of durable, high-quality metal and it is sold individually.

$6.72
In Stock
Wrench, Hex (5/32")
Part #530031159
Wrench - Hex (5/32"), this is an OEM hex wrench for use on hex fasteners.

$3.84
Special Order
Wave Washer
Part #530015254
A genuine item which is supplied directly from the original equipment manufacturer for use with handheld lawn and garden equipment. The purpose of a washer is to provide a tight seal between connected parts, make sure to refer to the appropriate diagrams of your model for the correct location and application of this hardware. Keep in mind this high-quality component is made of durable metal and is sold individually.
Common Symptoms of the 180SB
How this model fails, and the parts that fix it.
Will Not Start
Fixed by
these parts
these parts


Show All
Engine stops after a few seconds or minutes
Fixed by
these parts
these parts
Show All
Watch our pros, then fix it yourself.
")
See how others fixed this model. Time, tools, difficulty, and steps that lead to victory!
View More
Search repair tips from other customers using simple keywords like "replace", "fit", "remove", "inspect". DIY doesn't mean you have to do it alone!
Search filter:
Clear Filter
Your search term must have 3 or more characters.
installing fuel through fuel tank wall
11 of 18 people
found this instruction helpful.
To start, remove the plastic carburetor grill. DO NOT remove the carburetor. The fuel line has to be sliced down to fit through the tank hole and get it in far enough up into the tank to grab with needle nose pliers.( need long needle nose pliers which I didn't have) I placed about six inches of the plastic tubing in the jaws of vice so t
... Read more
hat half of the tube was squeezed in the vice jaws. I then used a razor blade to shave off the exposed tube. I slipped the shaved end of the tube up through the tank hole far enough to grab with long tweezers and pulled it up to where I could grab it in the tank with needle nose pliers. I put light lube oil on the remaining tubing and pulled it through. It takes a steady firm pull to pull it in. Install the filter and pull the tube back down into the tank. I also used a small diameter drill bit and with my fingers slightly reamed the tube ends to ease the tube over the filter and carburetor nipples. To prime the engine, spray starting fluid into the carburetor and start. Repeat until the engine will run on fuel. It took me hours to figure this out, but will take less than an hour with this method.
Read less
Other Parts Used:

 – Part Number: 530069247")
Was this helpful?
Thank you for voting!