



 My Orders




1544 - Overview
Models starting with 1544
Click on the best match to narrow your results.
- 15440-1 General Electric Range
- 1544026620 Kenmore Wall Oven
- 15440280 Kenmore Cooktop (KENMORE BUILT-IN TWO SURFACE UNIT DROP-IN)
- 1544036640 Kenmore Wall Oven
- 15440380 Kenmore Cooktop (KENMORE BUILT-IN FOUR SURFACE UNIT DROP-IN)
- 15440383 Kenmore Cooktop (KENMORE BUILT-IN FOUR SURFACE UNIT DROP-IN)
- 15440385 Kenmore Cooktop (KENMORE BUILT-IN FOUR SURFACE UNIT DROP-IN)
- 15440480 Kenmore Cooktop (KENMORE BUILT-IN FOUR SURFACE UNIT DROP-IN)
- 15440483 Kenmore Cooktop (KENMORE BUILT-IN FOUR SURFACE UNIT DROP-IN)
- 15440485 Kenmore Cooktop (KENMORE BUILT-IN FOUR SURFACE UNIT DROP-IN)
- 15440683 Kenmore Cooktop
- 15441-1 General Electric Range
- 15441080 Kenmore Wall Oven (KENMORE BUILT-IN OVEN UNIT)
- 15441081 Kenmore Wall Oven
- 15441082 Kenmore Wall Oven
- 15441180 Kenmore Wall Oven (KENMORE BUILT-IN OVEN UNIT)
- 15441280 Kenmore Wall Oven (KENMORE BUILT-IN OVEN UNIT)
- 1544146620 Kenmore Cooktop (KENMORE ELECTRIC COOKTOP)
- 1544156640 Kenmore Cooktop (KENMORE ELECTRIC COOKTOP)
- 15448-1 General Electric Range
Enter a part description. DIY Heroes keep it simple, eg. "belt" or "pump".
Search filter:
Clear Filter
Your search term must have 3 or more characters.

$19.54
In Stock
Light Bulb - 40W
Part #8009
This an authentic OEM 40-Watt replacement light bulb, used in a number of household appliances. It is specially designed to withstand extreme temperatures, which is why these replacement bulbs are most often used to light the inside of refrigerators and ranges. It features a standard socket base, which means you simply unscrew the burnt-o...Read moreut bulb and screw in the replacement. Depending on the appliance you may require a screwdriver or nut driver to access the light bulb. We recommend you wear work gloves while handling this replacement part. It is constructed of glass and metal and is sold individually. Depending on the appliance and location of the bulb within it, you may want to consider disconnecting power and using a flashlight for easier access to unscrewing and re-screwing in your bulb during this repair.
Read less

$38.96
In Stock
Bake Element - 240V 2100W
Part #326791
This lower oven bake element is a high-performance heating component designed for electric ranges and wall ovens. Located at the bottom of the oven cavity, it delivers 2100 watts of power at 240 volts to provide consistent heat for baking. Engineered for durability and even heat distribution, this element is a direct replacement for units...Read more that are burned out, broken, or producing uneven results. Common symptoms of a failing element include weak or no heat, inconsistent baking, or visible damage. Replacing the bake element restores proper oven function and ensures reliable cooking performance.
Read less

$19.30
In Stock
Refrigerator Light Bulb 10w
Part #WP22002263
This 10-watt clear incandescent light bulb is designed to provide reliable interior illumination for household appliances such as dryers and refrigerators. Measuring approximately 2 inches in length, it fits securely into standard appliance sockets and activates when the appliance door is opened, offering clear visibility inside the drum ...Read moreor compartment. The bulb is suitable for use in a wide range of models across multiple appliance brands and is engineered to deliver consistent performance and durability. Installation is straightforward—simply screw the bulb into the designated socket within the appliance. Ensure the appliance is powered off before installation to maintain safety.
Read less

$7.47
In Stock

$37.91
In Stock
Burner Bowl - 8 Inch
Part #WB31T10013
This burner bowl or drip pan is found beneath the heating element on your cooktop or range. This part measures 8 inches in diameter, and should not be confused with the smaller pan, which measures 6 inches in diameter. The burner bowl collects spills that may build up when cooking on your range. If your old 8-inch burner bowl is cracked, broken, or missing, this is the part that can replace it.

$38.96
In Stock

$31.86
In Stock

$64.77
In Stock
Terminal Block Kit
Part #WB17T10011
This part provides a way of connecting individual electrical wires and offers protection of the device from electrical surges (voltages and/or currents).

$50.56
In Stock
Range Insulation
Part #WPW10208653
This insulation is also known as oven wrap insulation, and is used in conjunction with your range. Its purpose is to be installed in between the oven and the cabinets that surround it. This will help prevent the heat from escaping while cooking and essentially keep it locked inside the oven. The most common reason for needing to replace t...Read morehe insulation in your oven is that it becomes a comfy place for vermin to nest. Before making this installation, it would be best to disconnect the electrical power to your appliance, and to make sure that your range is cool to the touch.
Read less

$7.47
In Stock
Refrigerator Screw
Part #WP98165
This screw is a little under an inch long and is made of metal. It is used with a refrigerator's ice maker assembly. Sold individually.

$31.62
In Stock

$10.70
In Stock
Exact Part matches for your search term

No Longer Available
No Longer Available
$3.83
Special Order
$1937.76
Special Order
Common Symptoms of models starting with 1544
How this model fails, and the parts that fix it.
Little to no heat when baking
Fixed by
these parts
these parts

Show All
Element will not heat
Fixed by
these parts
these parts

Show All
Oven not heating evenly
Fixed by
these parts
these parts
Show All
Will Not Start
Fixed by
these parts
these parts
Show All
Door won’t close
Fixed by
these parts
these parts

Show All
Watch our pros, then fix it yourself.

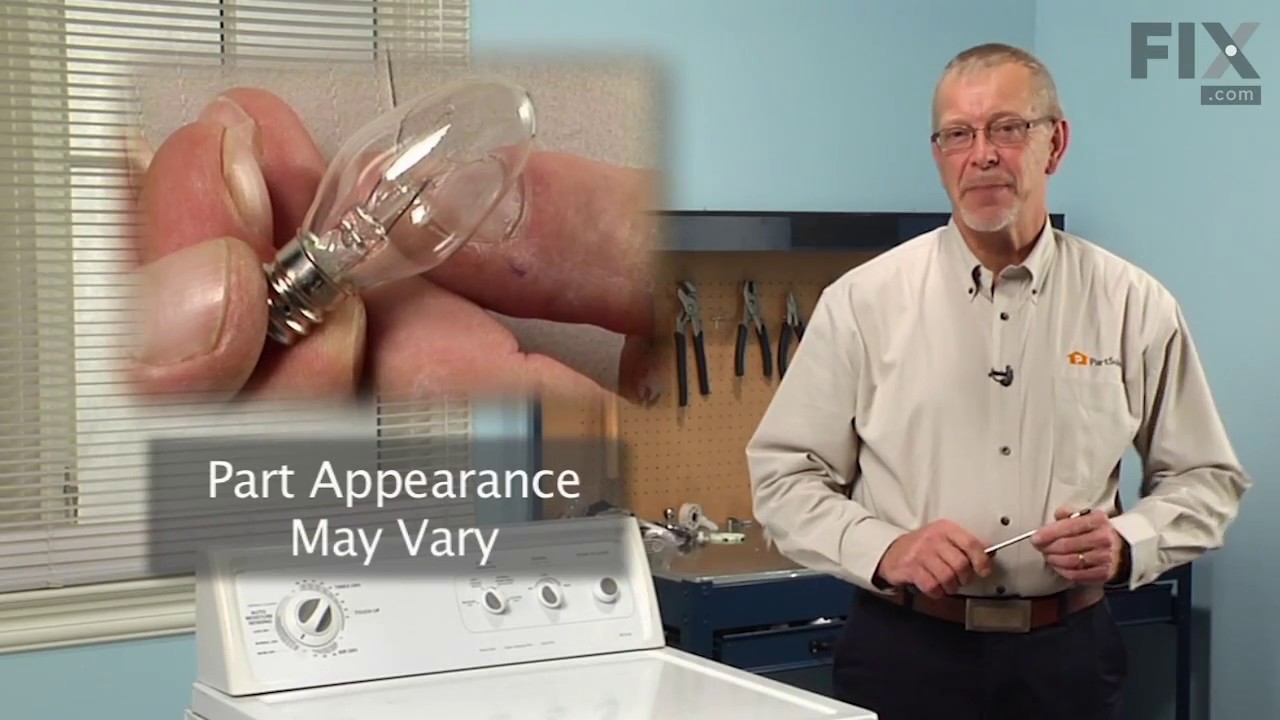

See how others fixed this model. Time, tools, difficulty, and steps that lead to victory!
View More