


 My Orders




1525 - Overview
Models starting with 1525
Click on the best match to narrow your results.
- 1525 Cub Cadet Lawn Mower (Cub Cadet Lawn Mower Model 1525 Parts)
- 1525 Wilton Vise (Vise)
- 1525 (13A-221F100) Cub Cadet Lawn Tractor (Tractor 1000)
- 1525*1A Roper Range (GAS RANGE)
- 1525*2A Roper Range (GAS RANGE)
- 1525*3A Roper Range (GAS RANGE)
- 1525-0 Briggs and Stratton Generator (4,200 Watt Portable Generator)
- 1525-0-580329120 Craftsman Generator (1525-0 - 580.329120, 4,200 Watt Craftsman)
- 1525^1A Whirlpool Range
- 1525^2A Whirlpool Range
- 1525^3A Whirlpool Range
- 1525L0A Roper Range (Freestanding, Gas)
- 1525W0A Whirlpool Range
- 1525W1A Whirlpool Range
- 1525W2A Whirlpool Range
- 1525W3A Whirlpool Range
Enter a part description. DIY Heroes keep it simple, eg. "belt" or "pump".
Search filter:
Clear Filter
Your search term must have 3 or more characters.

$16.07
In Stock
Range Surface Burner Plug-In Block Kit
Part #330031
The surface burner plug-in block kit features a newer-style terminal block. This kit is designed for use with ranges and cooktops. This terminal block is how the coil element on your stove connects to the inner wiring of your appliance. Without this connection your burner element would not get the electrical current it needs to heat up. W...Read morehen your element will not heat at all, or if it is not heating properly it is likely an issue with the terminal block. You need to remove the element to replace this part. While you have the element out, inspect the element and the terminal for any corrosion, arcing, or discoloration. If you notice any damage to the element or the terminals we recommend you replace this part as well. This kit includes two metal brackets, two pre-crimped high-temperature wire leads, two ceramic wire nuts, two heat-shrinking insulators, and a mounting screw. Before you begin this repair, make sure you have unplugged your appliance.
Read less

$7.47
In Stock
Range Hex Nut
Part #WP112432
This 10-32-inch hex nut works with multiple appliances in your home as a fastener. This specific model is sold individually. Hex nuts usually have 6 even sides and together they are used with bolts and screws in order to hold items firmly together. This piece is a fastener that attaches one item to another. This part has several advantage...Read mores, the main one being that it is universal and can be used with most pieces and appliances in your home. This hex nut is an original equipment manufacturer part, meaning it is directly sourced from the manufacturer.
Read less

$27.33
In Stock
Fuel Valve With Bushing
Part #192980GS
Made of durable rubber and plastic components, this Fuel Valve and Bushing are designed for use in over 150 models of generators and pressure washers. This item is sold as a kit, including the valve and the rubber cap. Its primary purpose is to deliver fuel from the tank to the carburetor.
This part is found on the underside of the fuel...Read more tank and should be replaced when it is worn or damaged. When malfunctioning, it may cause your engine to be starved of fuel and run rough or not at all. You will need a screwdriver and pliers to complete this repair.
Customers rate this repair as Easy.
Read less

$58.31
In Stock
Fuel Gauge Cap
Part #B4363GS
This OEM replacement fuel gauge cap is designed for use in generators. It comes in a cylindrical shape and has a built-in window to easily view the fuel levels without pulling out the entire cap. It is approximately 5.25 inches in length, while the head has a diameter of 3 inches. The purpose of the cap is to cover and protect the fuel ga...Read moreuge, which indicates the levels of gas available in the tank. It prevents dirt and debris from entering the gauge area and prevents fuel from leaking out. A faulty cap will allow contaminants to enter the gauge, and cause fuel to leak, leading to inaccurate fuel readings and safety risks. Twist the cap to remove it and clean the surrounding area thoroughly. Place the new gauge cap in position and ensure that it is locked in place.
Read less

$6.40
In Stock
Lawn Mower Hex Washer Head Screw
Part #710-0599
This is an original replacement part sourced directly from the manufacturer. The screw is commonly found in yard equipment from Craftsman, such as lawn tractors, snow blowers, and edgers. This part is made of metal, and may be found in various locations in the machine, depending on model. Please be aware that there are different screws...Read more used in the machine. Refer to the parts diagram to be sure of ordering the correct part. You will require a wrench when replacing this item. The screw is sold as an individual replacement part.
Read less

$16.91
In Stock
Lawn Mower Steering Pinion Gear
Part #717-1554
This steering gear is an original part from Craftsman for lawn tractors. This piece is part of the tractors steering mechanism. This steering gear maneuvers the steering sector gear to move the lawn tractor wheels right or left. You will need a socket set to replace this part. This steering gear is made of metal and sold individually.

$7.75
In Stock
Oil Seal
Part #92049-7011
This manufacturer-approved Oil Seal, SD 35x62x8, is a Black, rubber, individually sold part with a 2 inch outer diameter. It can be installed with a wrench and screwdriver, and is rated as Easy to install by users.
When installing, the housing must be clean and dry so use something that makes contact around the entire seal, such as a la...Read morerge socket or pipe, and tap into place evenly. This part attaches inside the crankcase around the crankshaft to provide a tight seal. If broken due to fatigue or drying out and cracking, there will be oil leaking from it, that you will be able to visually observe. If this happens, the part must be replaced. Refer to your owners manual or model number to ensure you are selecting the correct part. Note: this part may require a Seal Puller for maintenance.
Read less

$6.40
In Stock
Bushing-.380 Id
Part #941-0475
This is an authentic OEM part for Craftsman lawn and garden equipment. This bushing has an internal diameter of 0.380", is made of durable black plastic, is not part of an assembly or kit, and is sold individually. The purpose of this bushing is to ensure there is a tight fit between parts.
A common sign this part needs to be replaced i...Read mores if you notice any parts loosely connected or detached. This part will become worn through regular use of the machine. It is located in various areas, depending on your model. Refer to your owner's manual for the exact location. You will need a wrench and pliers to complete this repair.
Customers rate this repair as Medium difficulty.
Read less

$6.40
In Stock
Screw Hex.wash.hd
Part #710-1652
This item is a genuine OEM replacement part that is intended to be used with snowthrowers and lawnmowers from Ryobi, MTD, Yard Machines, Troy-Bilt, Bolens, and Yard-Man. The metal hex head screw is used with different types of machines and the application of the screw can vary based on the model of the equipment. This screw is sold as an individual replacement part.

$6.63
In Stock
Push Rod
Part #13116-2057
This OEM Push Rod is a silver, metal part, approximately 5.5 inches long. It can be installed using a wrench or sockets. A Spark Plug Gap Tool may also be needed for maintenance. The installation of this partis rated as Medium difficulty by customers.
It attaches inside the cylinder head, and is installed by tightening the rocker nut on...Read more top to manufacturer specs. This part opens and closes the intake and exhaust valves, and if broken there will be poor engine performance as well as an internal knocking or tapping sound from the engine.
If damaged, likely due to fatigue or stress, it must be replaced. Refer to your owners manual or model number to ensure you are slecting the correct part.
Read less

$6.40
In Stock
Oil Seal
Part #92049-7019
This genuine oil seal is a brown, rubber part, measuring 8 x 14 x 5mm. This part can be installed using a screwdriver, wrench set, pliers, and pick, and a seal puller may also be required for maintenance. This repair is rated as "Easy" to install by customers.
It attaches to the governer shaft to provide a tight seal, and if broken due ...Read moreto general wear or drying out, there will be visible oil coming out around the shaft. If damaged or missing, it should be replaced. Check your owners manual for the correct part number.
Read less
$9.99
In Stock
Use 712-0417a
Part #712-0417A
Exact Part matches for your search term
No Longer Available
No Longer Available
$2.99
Special Order
$634.63
Special Order
No Longer Available
Common Symptoms of models starting with 1525
How this model fails, and the parts that fix it.


Watch our pros, then fix it yourself.
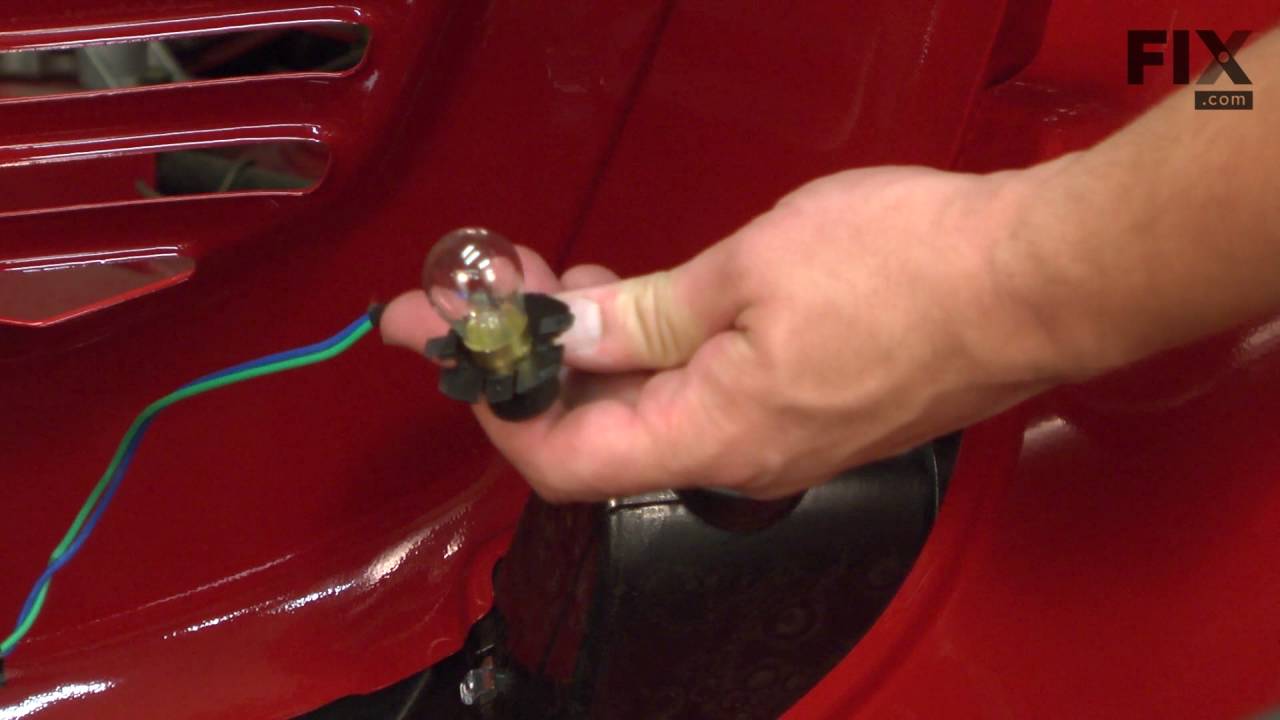
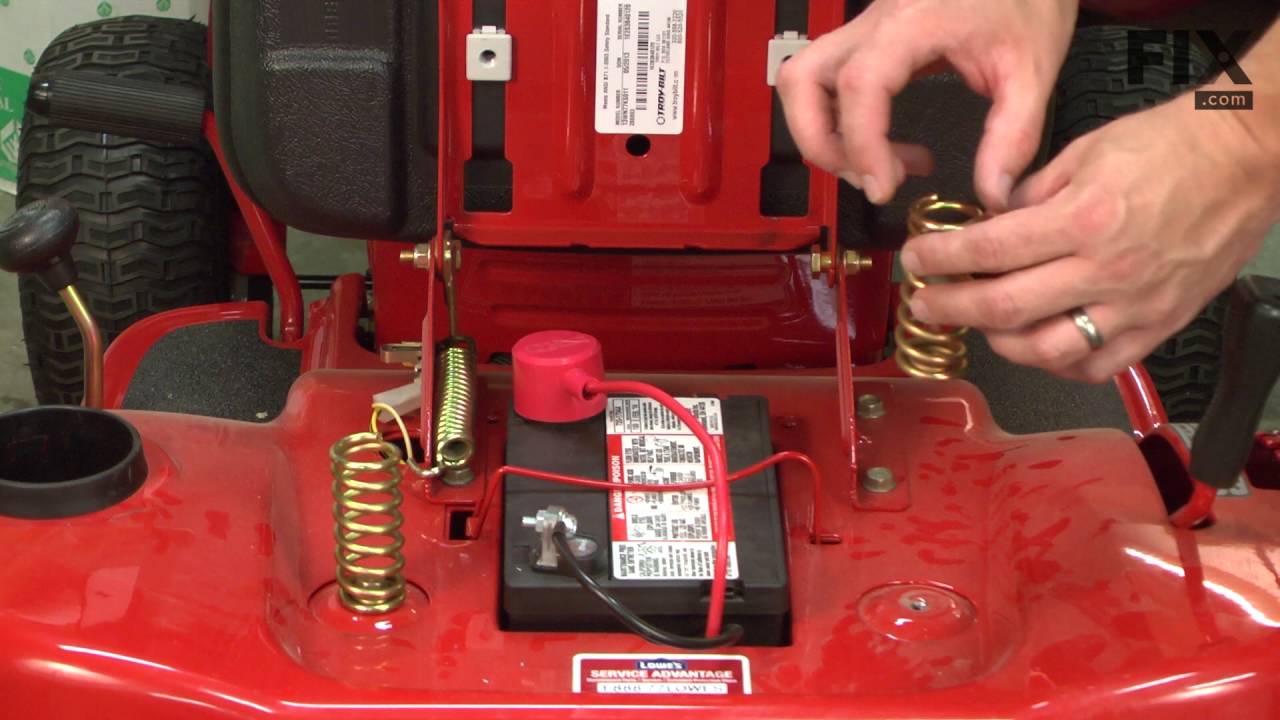
See how others fixed this model. Time, tools, difficulty, and steps that lead to victory!
View More