



 My Orders




1455 - Overview
Models starting with 1455
Click on the best match to narrow your results.
Enter a part description. DIY Heroes keep it simple, eg. "belt" or "pump".
Search filter:
Clear Filter
Your search term must have 3 or more characters.

$56.33
In Stock
Surface Burner Element Switch, Large Burner
Part #WP3149400
This surface burner element switch is for an 8-inch surface burner on an oven, stove, or range. The element switch controls the heat of the surface burner. Disconnect power to your range before completing this repair because you will be working closely with electrical circuits. Remove the screws from back panel and the console, and remove...Read more the console to expose the switch. It is recommended to check for overheating or arcing on the wiring harness in case they need to be replaced as well. The harness that connects to the switch features a slip-on terminal for easy installation.
Read less

$7.47
In Stock

$22.52
In Stock
Lid Switch
Part #W10820036
This washer/dryer lid or door switch kit serves as a critical safety component, designed to prevent the appliance from operating when the lid or door is open. It ensures that the washer does not fill or spin and the dryer does not start unless the door is securely closed, helping to avoid water spills and potential safety hazards. The kit...Read more includes all necessary components for installation and is compatible with a wide range of top-loading washers and front-loading dryers. Installation typically involves disconnecting power, accessing the control panel or door area, and replacing the switch using standard tools. The switch is compact and designed to fit seamlessly within the appliance’s housing, with dimensions approximately 2.5 inches in length, 1 inch in width, and 1 inch in height. It features a neutral color finish that blends with most appliance interiors.
Read less

$8.95
In Stock
Ceramic Fuse - 20 amp
Part #WPM0805101
This microwave fuse is just over an inch in length. It has a white ceramic center, and metal on either end. This is a twenty amp 250-volt fuse, and is used to power your microwave. If your microwave will not heat properly, will not turn on, or the touch pad becomes unresponsive, there could be a faulty fuse which should be replaced. Remem...Read moreber, since this part contains an electrical charge, before you replace the fuse from your microwave, make sure that the power is disconnected from the unit. This part is sold individually.
NOTE: Make sure your microwave is unplugged, and your capacitor is discharged before you begin this repair. A capacitor stores large amounts of electricity even after your microwave is unplugged.
Read less

$18.22
In Stock
Heat Resistant Adhesive
Part #W10841140
This is a heat-resistant adhesive for your appliance. The heat resistance allows you to stick parts such as grate feet, gaskets, and felt seals in hot areas, such as a cooktop, without compromising the integrity of the adhesive. It is white in color, and the tube is approximately 7.5 inches long.

$8.55
Special Order
Range Hex Nut
Part #WP488130
This hex nut is an authentic Whirlpool part that is sourced directly from the original equipment manufacturer, and will fit a variety of appliances including ovens, microwaves, refrigerators, air conditioners, and dishwashers. It is a metal part with a threaded hole to fasten parts in the appliance together. It is common for this part to ...Read morewear out; it is recommended to order a spare. To replace this part the tools needed are a nut driver or wrench. This nut features a built-in external tooth lock washer, which is used to help keep the nut in place.
Read less

$7.47
On Order
Range Hex Nut
Part #WP112432
This 10-32-inch hex nut works with multiple appliances in your home as a fastener. This specific model is sold individually. Hex nuts usually have 6 even sides and together they are used with bolts and screws in order to hold items firmly together. This piece is a fastener that attaches one item to another. This part has several advantage...Read mores, the main one being that it is universal and can be used with most pieces and appliances in your home. This hex nut is an original equipment manufacturer part, meaning it is directly sourced from the manufacturer.
Read less

No Longer Available
Broil Element
Part #326795
This is a five-loop broil element for an oven, range, or stove. It is approximately 11-3/4 inches wide and 18-5/8 inches long with approximately 11-3/4 inches between terminal connections. It features a.25-inch male terminal push-in connection for easy replacement and a hanger style mount. It is 3000/2500 watts and 240/208 volts. This bro...Read moreil element is located on the inner upper wall of your oven. Be sure your element wires do not fall through the wall of your oven when you uninstall the existing part. The wires are short and will make your repair more difficult because they are difficult to retrieve.
Read less

$55.29
Special Order
Blower Belt
Part #WP691371
This dryer blower belt is designed to connect the motor to the blower wheel in compatible Whirlpool dryers, enabling proper air circulation during the drying cycle. Manufactured to OEM specifications, it ensures efficient airflow, consistent heat distribution, and optimal drying performance. A worn or broken belt can lead to symptoms such...Read more as extended drying times, lack of heat, or unusual noise. Constructed from durable, high-quality materials, this replacement part offers a secure fit and long-lasting reliability. Installation should be performed with the appliance disconnected from power, and model compatibility must be verified before replacement.
Read less

$50.55
In Stock
Capacitor
Part #59001651

$11.29
In Stock
Oil Seal
Part #93680GS
This is a genuine Briggs & Stratton replacement part. The oil seal is designed by the manufacturer for use in pressure washers. This part is placed in the crankcase to prevent inadvertent oil leakage. You may require a screwdriver or Allen wrench when replacing this item. This part is sold individually.

No Longer Available
STIRRER COVER ***
Part #313563
Exact Part matches for your search term
No Longer Available
No Longer Available
No Longer Available
Swivel Connector - Hose Adapter 1 1/2" I .D.
This part number matches the current model number 1455
Part #1455
No Longer Available
$982.68
Special Order
Common Symptoms of models starting with 1455
How this model fails, and the parts that fix it.
Element will not heat
Fixed by
these parts
these parts

Show All
Will Not Start
Fixed by
these parts
these parts

Show All
Leaking
Fixed by
these parts
these parts

Show All
Won’t turn on
Fixed by
these parts
these parts

Show All
Will not drain
Fixed by
these parts
these parts
Show All
Oven is too hot
Fixed by
these parts
these parts
Show All
Will not agitate
Fixed by
these parts
these parts
Show All
Won’t Start
Fixed by
these parts
these parts
Show All
Will not program
Fixed by
these parts
these parts
Show All
Oven not heating evenly
Fixed by
these parts
these parts
Show All
Watch our pros, then fix it yourself.
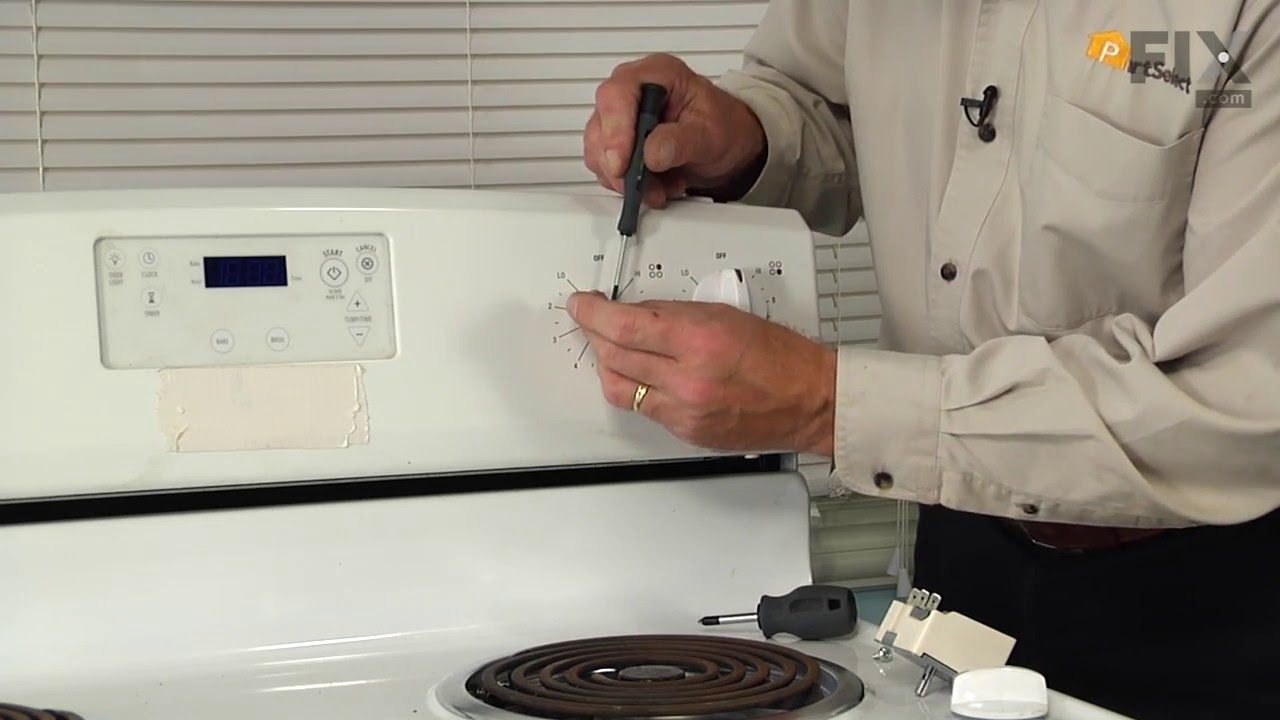
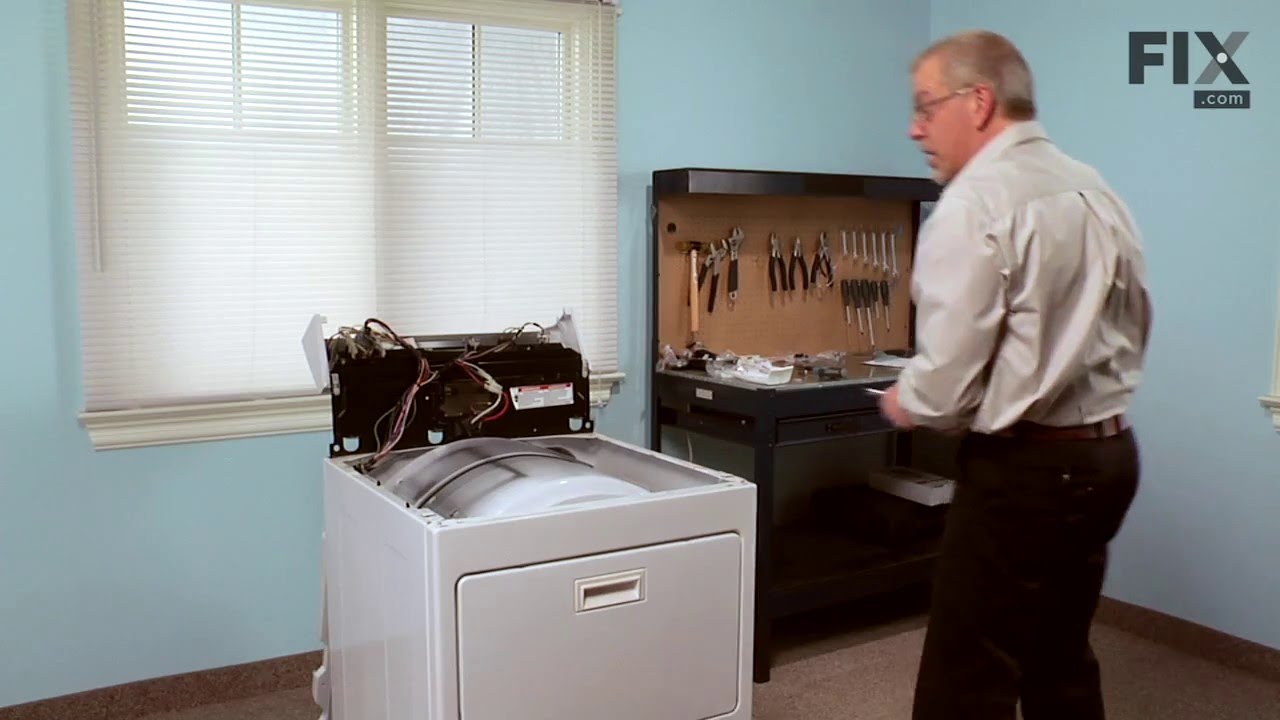
See how others fixed this model. Time, tools, difficulty, and steps that lead to victory!
View More