EasyApplianceParts is now PartSelect! We've merged our sites to provide a better shopping experience for you.   Full Details

Find Parts

Parts Departments

Top Model Types

Top Brands

Repair Help

Expert Repair Videos

Keep typing for more specific results...

14520-1 General Electric Range - Overview

Diagrams for 14520-1

See every part. Know exactly what you need.

Enter a part description. DIY Heroes keep it simple, eg. "belt" or "pump".

Search filter:
Clear Filter
Your search term must have 3 or more characters.
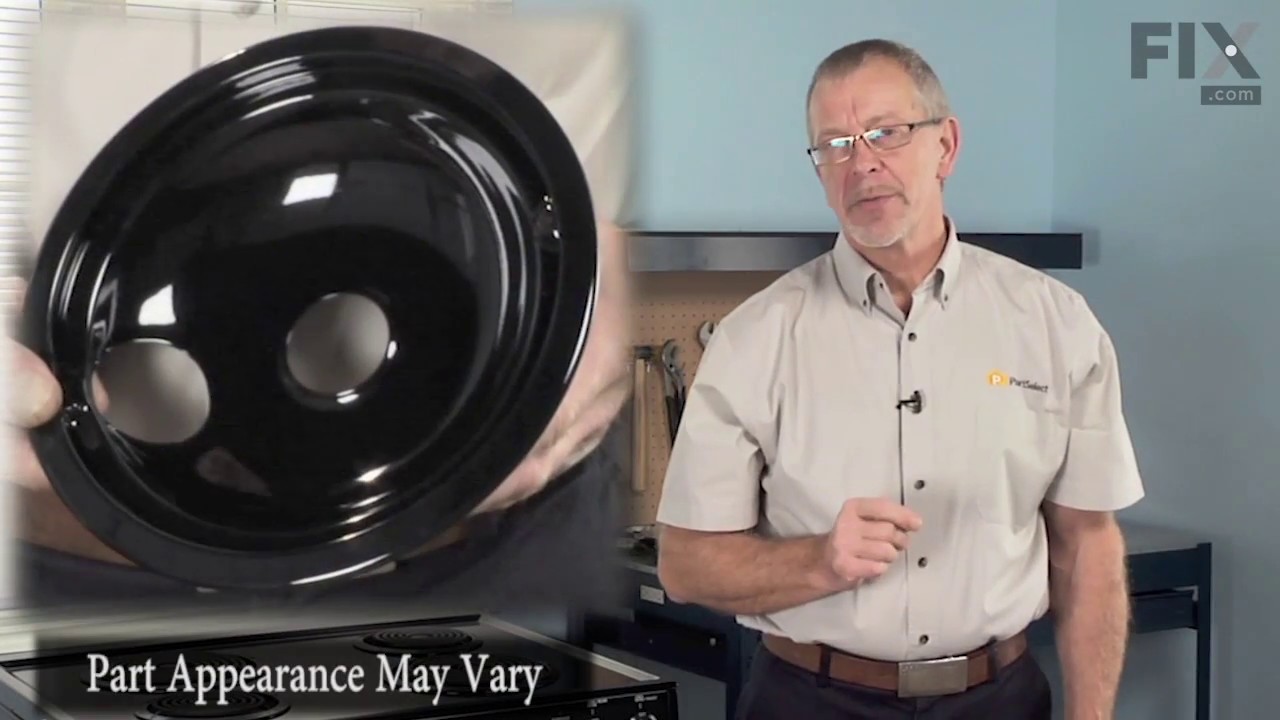
Burner Bowl - 8 Inch – Part Number: WB31T10015
$22.52
In Stock
Burner Bowl - 8 Inch
★★★★★
★★★★★
(31)
Part #WB31T10015
This part is located beneath the element and catches any spills.
Burner Bowl - 6 Inch – Part Number: WB31T10014
$18.22
In Stock
Burner Bowl - 6 Inch
★★★★★
★★★★★
(1)
Part #WB31T10014
This burner bowl is also known as a burner drip bowl or burner drip pan, and is designed for use with your cooktop or range. It is black in color and is approximately 6 inches in diameter. It can be found beneath the element and catches spills. If your old burner bowl is damaged or missing, you may need to replace it with this part.
Door Handle End Cap – Part Number: WB7X7183
No Longer Available
Door Handle End Cap
★★★★★
★★★★★
(43)
Part #WB7X7183
This oven door handle end cap is used on both the left and right hand sides. Sold individually.
Light Cover – Part Number: WB36X192
$26.39
In Stock
Light Cover
★★★★★
★★★★★
(10)
Part #WB36X192
This light bulb lens covers the interior light bulb in an oven, range, or stove. No tools are necessary to replace this part. Simply slide off the wire bracket to remove the existing light bulb lens. Disconnect power to your appliance before this repair. It is recommended to check the light bulb while the lens cover is removed in case it needs to be replaced. Be sure to remove all broken glass, if applicable, before installing new lens. This part is sourced directly from the genuine manufacturer, and is sold individually.
Terminal Block Kit – Part Number: WB17T10011
$64.77
In Stock
Terminal Block Kit
★★★★★
★★★★★
(13)
Part #WB17T10011
This part provides a way of connecting individual electrical wires and offers protection of the device from electrical surges (voltages and/or currents).
Screws - Package of 12 – Part Number: WB1X500D
$13.92
Special Order
Screws - Package of 12
Part #WB1X500D
These are replacement screws designed to fit your range. They are made of metal and are approximately ¼ inch long. They come in a package of 12. These are OEM parts sourced directly from the manufacturer.
Oven Door Bottom Trim - Black – Part Number: WB07K10232
$31.62
In Stock
Washer - 12 Pack – Part Number: WB1X119D
$24.09
Special Order
Washer - 12 Pack
Part #WB1X119D
Leveling Leg – Part Number: WB2X8248
No Longer Available
Leveling Leg
Part #WB2X8248
Door End Cap - Black - Right Side – Part Number: WB7X7289
No Longer Available
SCREW – Part Number: WR2X9260
$37.91
Special Order
SCREW
Part #WR2X9260
RETAINER – Part Number: WB2X2030
$28.42
Special Order
RETAINER
Part #WB2X2030

Common Symptoms of the 14520-1

How this model fails, and the parts that fix it.

Watch our pros, then fix it yourself.
See how others fixed this model. Time, tools, difficulty, and steps that lead to victory! View More

Search repair tips from other customers using simple keywords like "replace", "fit", "remove", "inspect". DIY doesn't mean you have to do it alone!

Search filter:
Clear Filter
Your search term must have 3 or more characters.
terminal block melted
56 of 77 people found this instruction helpful.
  • jonathan from willow springs, IL
  • Easy
  • Less than 15 mins
  • Nutdriver, Screw drivers
The existing terminal block on my Ge oven/Range had melted due to a loose wire causing sparking and starting the plastic casing of the terminal block on fire and melting it, Part select made the part easy to find and had it at my house in 2 days. All I had to do was remove six screws to take the back sheet metal cover off of the oven. U nscrew the terminal connections remove two mounting screws that held the terminal on to the oven body. This was a little trickier than it should have been because the melted plastic had reformed making it very hard to access the mounting screws. i then mounted the new piece and plugged the oven in, it took 15 minutes and was very easy. definitely saved me at-least a $100 for the service call i would have made if finding the part wasn't so convenient
Was this helpful?
Thank you for voting!
The end caps broke on my oven door handle.
45 of 46 people found this instruction helpful.
  • Harry from Thomasville, GA
  • Easy
  • 15 - 30 mins
  • Screw drivers
1st I opened the oven door and removed the 2 screws that hold the outside and inside of the door together. With the door separated I removed the 2 screws that hold the end caps in place, then removed the old end caps. I put the new end caps on the oven door handle, aligned the holes for the end cap screws and reinstalled the screws,then reinstalled the oven door screws,closed the oven door and started cooking.
Was this helpful?
Thank you for voting!
old enc caps cracked; one broken off the oven door
6 of 6 people found this instruction helpful.
  • Randy from Olympia, WA
  • Easy
  • 15 - 30 mins
  • Nutdriver, Screw drivers
Removed oven door from oven. Removed the inner oven door portion from the outer part to gain access to inner screws attaching end caps to front of stove door. Removed those screws and the old end caps & broken off pieces. Pressed oven door handle bar into new end caps. Reattached oven door handle assembly to front of oven door. Reinstalle d inner oven door which included long screws that also went into the new end caps. Reinstalled oven door on oven. Job was easy. Price was certainly right for the end caps at $10.01/each.
Was this helpful?
Thank you for voting!