



 My Orders




14420 - Overview
Models starting with 14420
Click on the best match to narrow your results.
- 14420-1 General Electric Range
- 144200-144254 (0010 - 0016) Briggs and Stratton Engine (Gas Engine)
- 1442004 Litton Microwave (Litton Microwave Model 1442.004 (1442004, 1442 004) Parts)
- 144201-0144-99 Briggs and Stratton Engine (Engine)
- 144201-0144-XX Briggs and Stratton Engine (Horizontal Engine)
- 144202-0015-99 Briggs and Stratton Engine (Engine)
- 144202-0015-XX Briggs and Stratton Engine (Horizontal Engine)
- 144202-0110-99 Briggs and Stratton Engine (Engine)
- 144202-0110-XX Briggs and Stratton Engine (Horizontal Engine)
- 144202-0131-99 Briggs and Stratton Engine (Engine)
- 144202-0131-XX Briggs and Stratton Engine (Horizontal Engine)
- 144202-0132-99 Briggs and Stratton Engine (Engine)
- 144202-0132-XX Briggs and Stratton Engine (Horizontal Engine)
- 144202-0133-99 Briggs and Stratton Engine (Engine)
- 144202-0133-XX Briggs and Stratton Engine (Horizontal Engine)
- 144202-0135-99 Briggs and Stratton Engine (Engine)
- 144202-0135-XX Briggs and Stratton Engine (Horizontal Engine)
- 144202-0137-99 Briggs and Stratton Engine (Engine)
- 144202-0137-XX Briggs and Stratton Engine (Horizontal Engine)
- 144202-0138-99 Briggs and Stratton Engine (Engine)
- 144202-0138-XX Briggs and Stratton Engine (Horizontal Engine)
- 144202-0139-99 Briggs and Stratton Engine (Engine)
- 144202-0139-XX Briggs and Stratton Engine (Horizontal Engine)
- 144202-0141-99 Briggs and Stratton Engine (Engine)
- 144202-0141-XX Briggs and Stratton Engine (Horizontal Engine)
- 144202-0142-99 Briggs and Stratton Engine (Engine)
- 144202-0142-XX Briggs and Stratton Engine (Horizontal Engine)
- 144202-0147-99 Briggs and Stratton Engine (Engine)
- 144202-0147-XX Briggs and Stratton Engine (Horizontal Engine)
Enter a part description. DIY Heroes keep it simple, eg. "belt" or "pump".
Search filter:
Clear Filter
Your search term must have 3 or more characters.

$22.52
In Stock
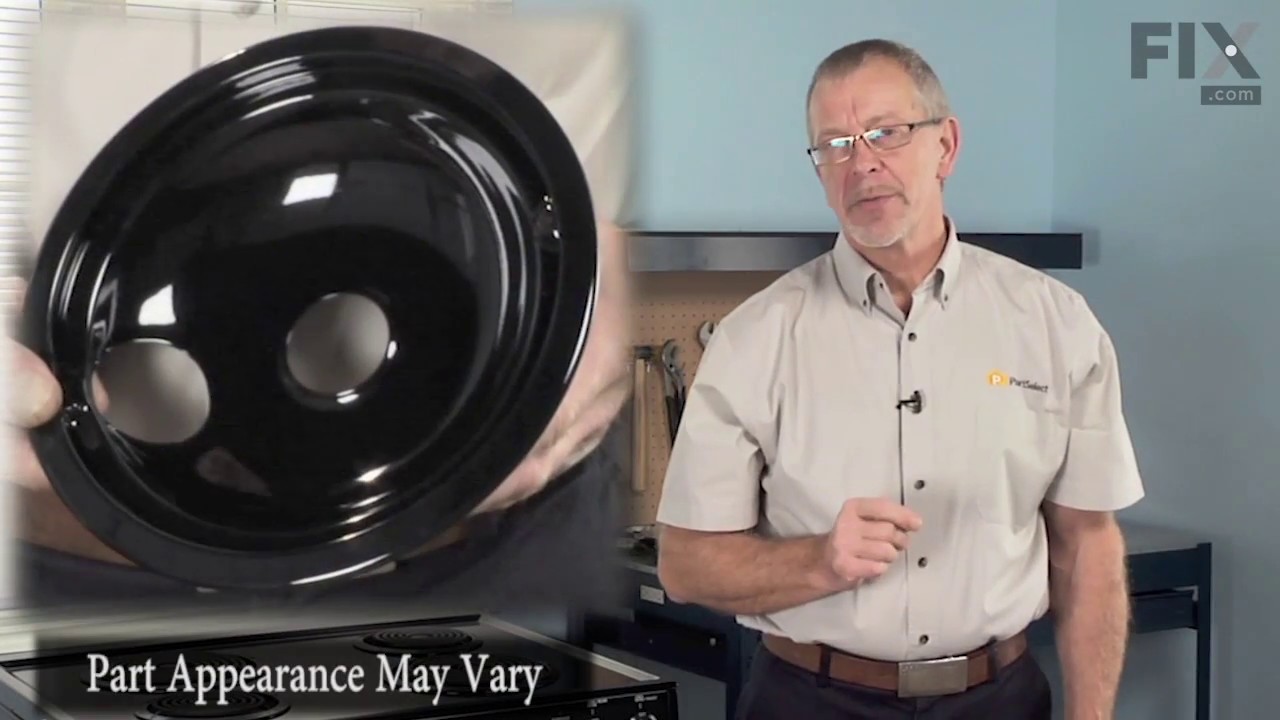
Burner Bowl - 8 Inch
Part #WB31T10015
This part is located beneath the element and catches any spills.

$18.22
In Stock
Burner Bowl - 6 Inch
Part #WB31T10014
This burner bowl is also known as a burner drip bowl or burner drip pan, and is designed for use with your cooktop or range. It is black in color and is approximately 6 inches in diameter. It can be found beneath the element and catches spills. If your old burner bowl is damaged or missing, you may need to replace it with this part.

No Longer Available
Door Handle End Cap
Part #WB7X7183
This oven door handle end cap is used on both the left and right hand sides. Sold individually.

$7.47
In Stock

$59.18
In Stock
Door Handle
Part #WB15K5076
This replacement door handle is designed to fit select range models and provides a secure grip for opening and closing the oven door. Measuring approximately 22 inches by 1 inch, it is constructed from durable black plastic for long-lasting performance. If your current handle is broken or missing, this genuine OEM part offers a reliable s...Read moreolution. Depending on your model, installation may require removing the inner panel of the oven door. Always refer to your owner's manual and wear work gloves for safety during installation.
Read less

$6.40
In Stock
Lawn Mower Spark Plug
Part #796112S
This is an OEM replacement part and is sold individually. Its propose is to deliver an electric current from an ignition system to the combustion chamber of a gas fueled engine. It will ignite the air fuel mixture by the spark. Spark Plugs will usually have to gapped to the manufactures specifications found in the owners manual. Over tim...Read moree a Spark Plug will become fouled because the air/fuel ratio may be set wrong,worn piston rings, carbon build up and other factors. It is better to replace a fouled spark plug, rather then trying to clean it.
Read less

$8.95
In Stock
Ceramic Fuse - 20 amp
Part #WPM0805101
This microwave fuse is just over an inch in length. It has a white ceramic center, and metal on either end. This is a twenty amp 250-volt fuse, and is used to power your microwave. If your microwave will not heat properly, will not turn on, or the touch pad becomes unresponsive, there could be a faulty fuse which should be replaced. Remem...Read moreber, since this part contains an electrical charge, before you replace the fuse from your microwave, make sure that the power is disconnected from the unit. This part is sold individually.
NOTE: Make sure your microwave is unplugged, and your capacitor is discharged before you begin this repair. A capacitor stores large amounts of electricity even after your microwave is unplugged.
Read less

$18.22
In Stock
Heat Resistant Adhesive
Part #W10841140
This is a heat-resistant adhesive for your appliance. The heat resistance allows you to stick parts such as grate feet, gaskets, and felt seals in hot areas, such as a cooktop, without compromising the integrity of the adhesive. It is white in color, and the tube is approximately 7.5 inches long.

$64.77
In Stock
Terminal Block Kit
Part #WB17T10011
This part provides a way of connecting individual electrical wires and offers protection of the device from electrical surges (voltages and/or currents).

$8.55
Special Order
Range Hex Nut
Part #WP488130
This hex nut is an authentic Whirlpool part that is sourced directly from the original equipment manufacturer, and will fit a variety of appliances including ovens, microwaves, refrigerators, air conditioners, and dishwashers. It is a metal part with a threaded hole to fasten parts in the appliance together. It is common for this part to ...Read morewear out; it is recommended to order a spare. To replace this part the tools needed are a nut driver or wrench. This nut features a built-in external tooth lock washer, which is used to help keep the nut in place.
Read less

$31.62
In Stock

No Longer Available
Diaphragm-carburetor
Part #270026
This is a carburetor diaphragm, which is an OEM part that pumps fuel from the tank to the engine. It is roughly 1x2 inches and black in color. Sold individually, this part can fail due to fatigue and wear, and if it is broken you may notice your engine is running rough or not starting. If your engine exhibits these signs of being starved...Read more of fuel, your diaphragm is damaged and needs to be replaced.
Our customers found this repair to be of medium difficulty. It requires a wrench, screwdriver, and pliers to complete. You will be able to locate your diaphragm inside the carburetor itself to swap it out with your new one.
Read less
Exact Part matches for your search term

No Longer Available
No Longer Available
Common Symptoms of models starting with 14420
How this model fails, and the parts that fix it.
Leaking
Fixed by
these parts
these parts

Show All
Won’t turn on
Fixed by
these parts
these parts

Show All
Will Not Start
Fixed by
these parts
these parts


Show All
Element will not heat
Fixed by
these parts
these parts
Show All
Door won’t close
Fixed by
these parts
these parts

Show All
Watch our pros, then fix it yourself.
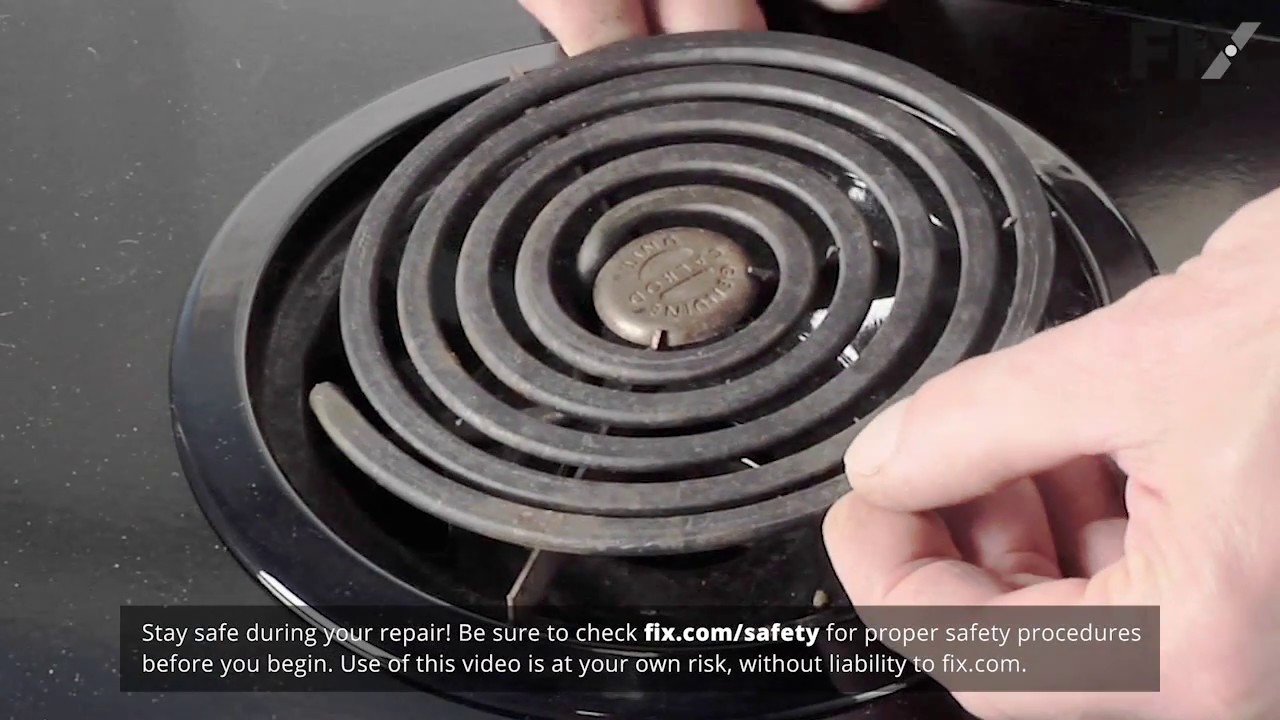
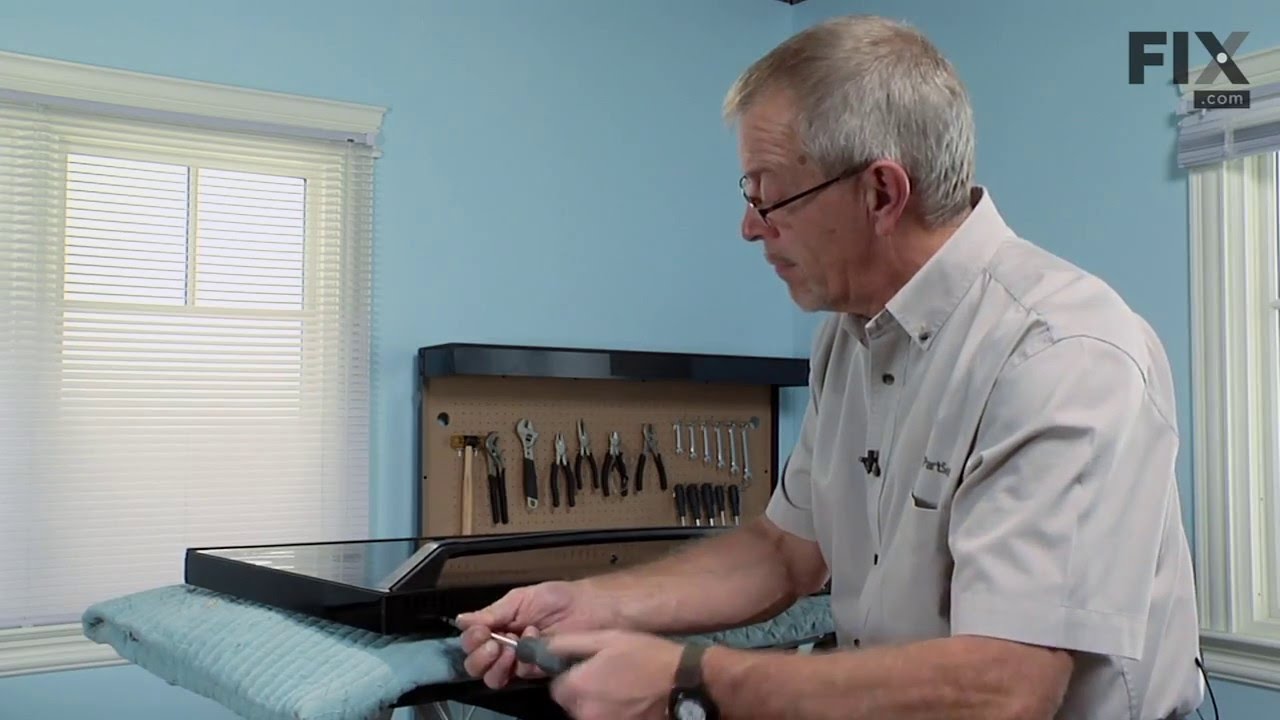
See how others fixed this model. Time, tools, difficulty, and steps that lead to victory!
View More